Description
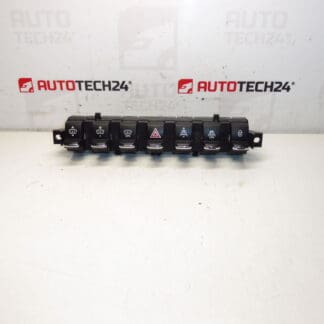
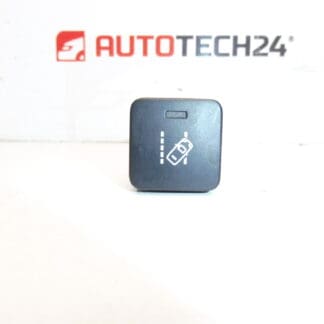
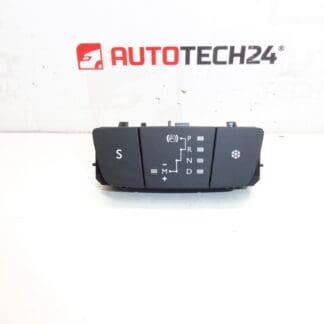
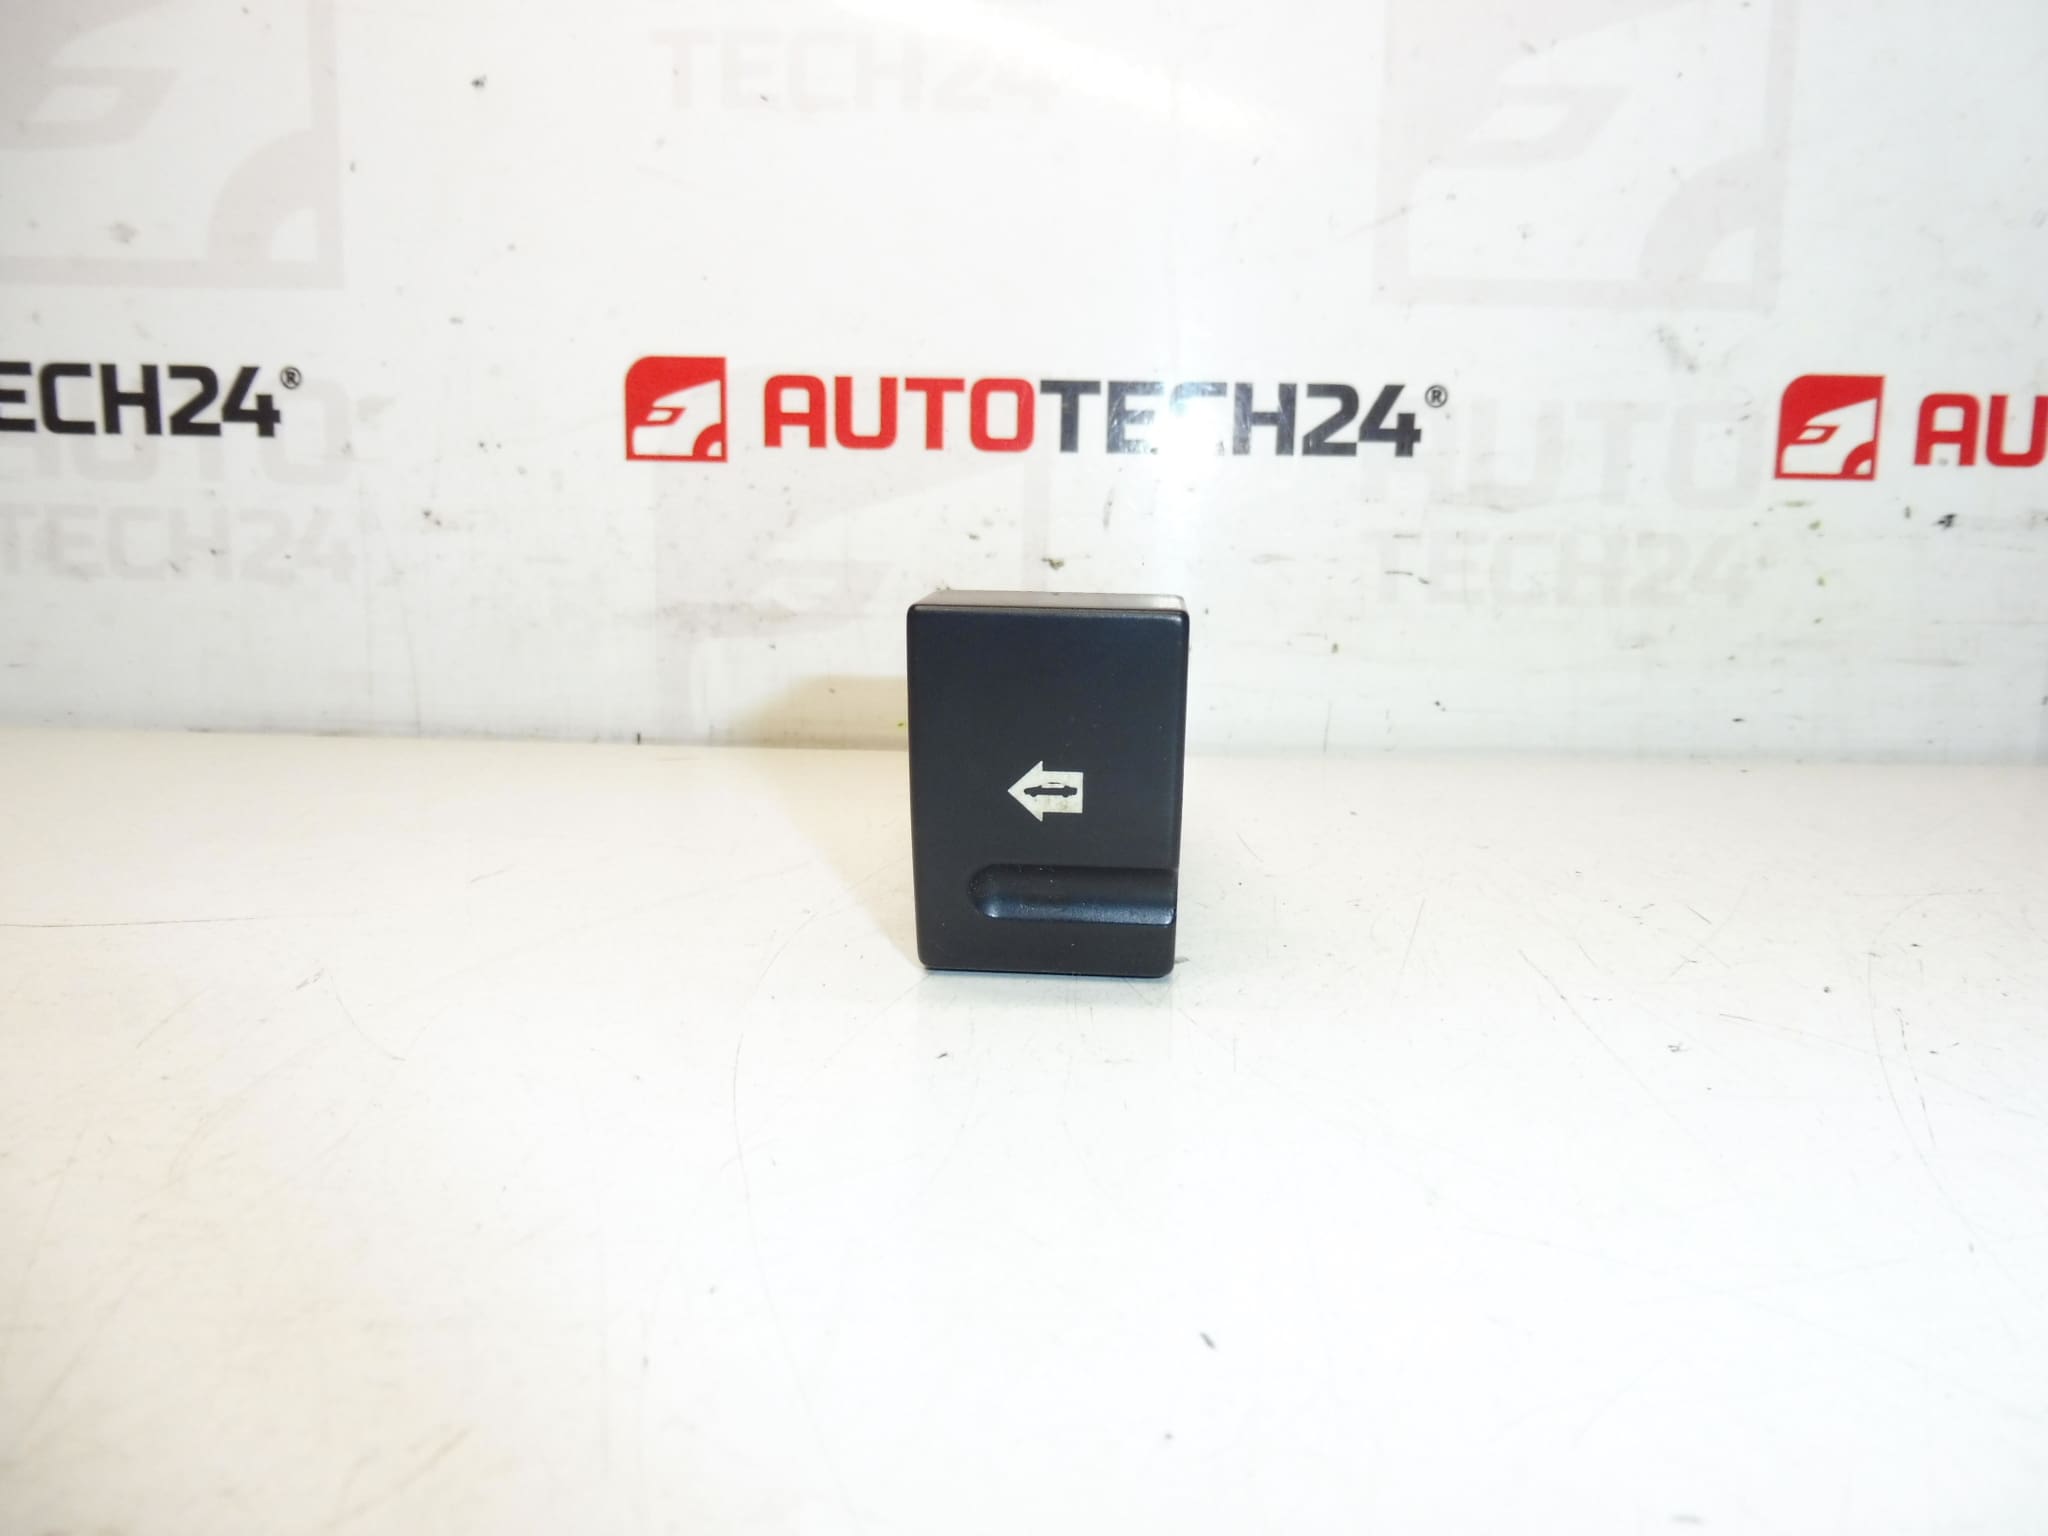
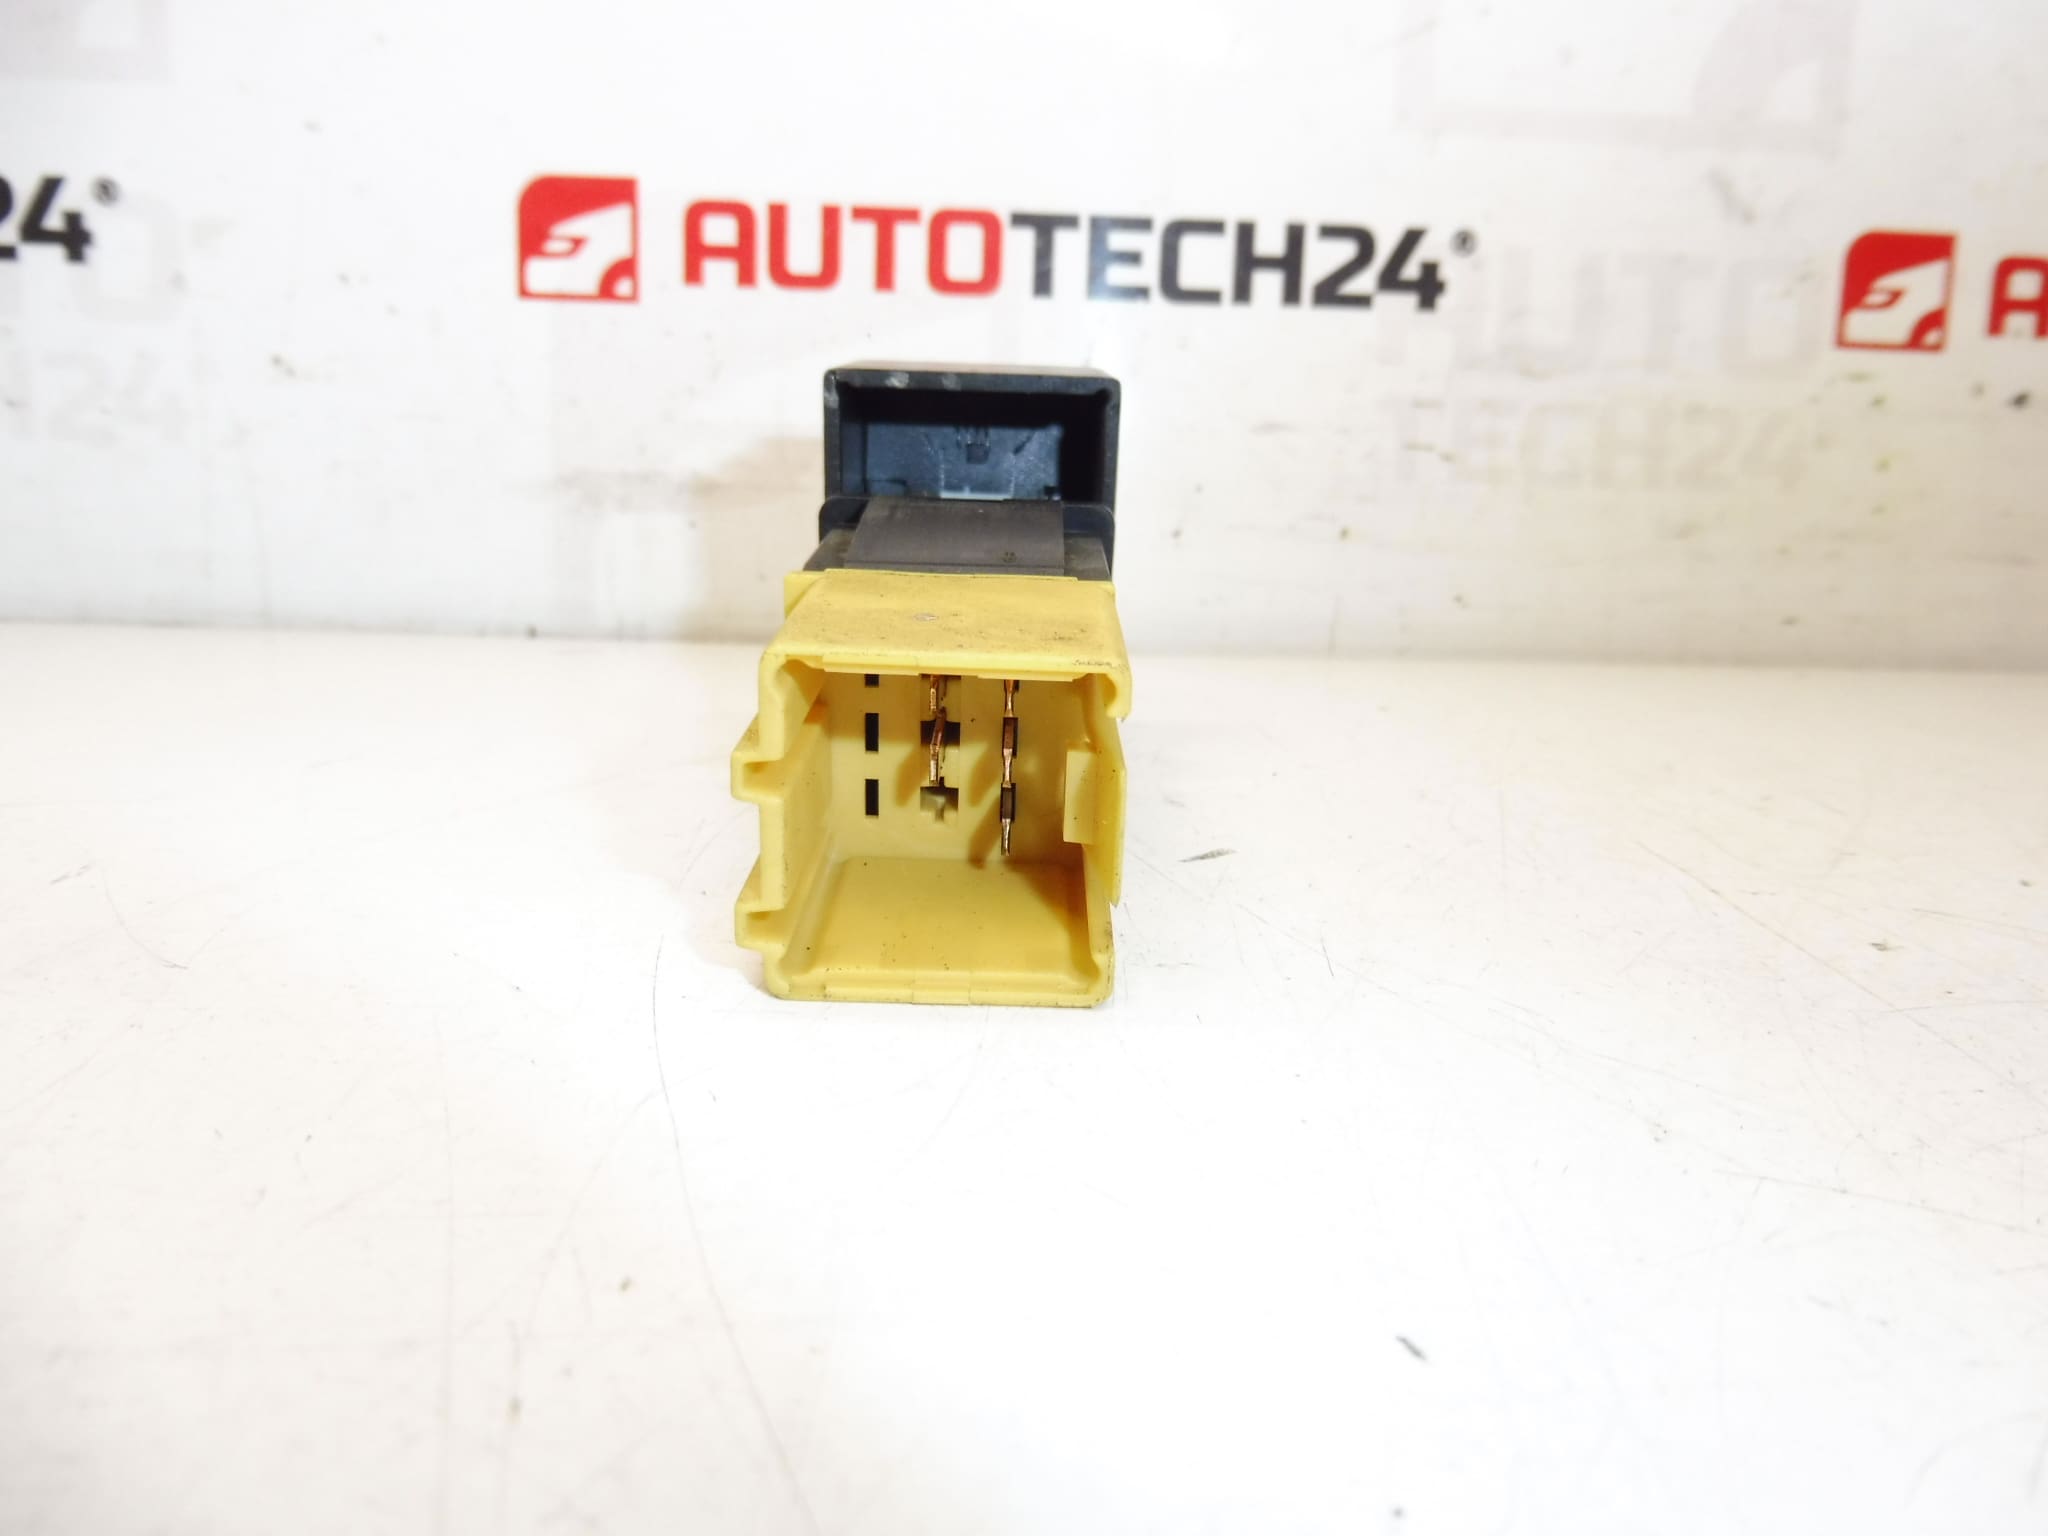
Controller for PEUGEOT 406 vehicles
High-quality replacement controller designed for PEUGEOT 406 owners and professional technicians. This unit is commonly referenced by product code 6552LW and is intended to restore reliable electrical control functions in the vehicle cabin. Ideal for workshops and skilled DIY mechanics, the controller helps recover proper operation of affected circuits and reduces downtime. The robust design ensures a precise fit and straightforward replacement, improving vehicle comfort and safety.
Technical Information
- Manufacturer: Stellantis (Citroën / Peugeot)
- Model: PEUGEOT 406
- Product Codes: 6552LW
- Additional Numbers: NFP
How To Replace
Replacement is suitable for experienced mechanics and competent DIYers. Typical replacement steps:
- Disconnect the negative terminal of the battery before starting work.
- Remove the relevant trim or door panel to access the controller (location varies by installation).
- Release retaining clips or screws securing the unit and carefully unplug the electrical connector(s).
- Install the new controller by reversing the removal procedure, ensuring connectors seat fully and clips engage.
- Reconnect the battery and test all related functions (locks, switches, and affected circuits) before reassembling trim.
Installation Recommendations
- Always disconnect the battery before removal and follow manufacturer procedures to avoid electrical damage.
- Inspect connectors and wiring for corrosion or damage; clean contacts with appropriate contact cleaner if required.
- Use proper trim tools to avoid damaging panels and clips during removal.
- After installation, verify operation of all related functions and check relevant fuses and grounds if problems persist.
Why This Part Most Commonly Fails
- Wear And Mechanical Fatigue: Frequent use leads to worn contacts and mechanical components inside the switch.
- Moisture And Corrosion: Water ingress or humid conditions corrode terminals and cause intermittent faults.
- Contamination: Dirt and debris accumulate on contacts, preventing reliable electrical connection.
- Electrical Surges Or Short Circuits: Faults elsewhere in the electrical system can damage the controller.
- Aging And Material Degradation: Plastic and internal components degrade over time, reducing reliability.
Search by Part Number: Many technicians search by the part code 6552LW when sourcing this controller — using the correct product code speeds up identification and ensures compatibility with the PEUGEOT 406 wiring and mounting.
Order this replacement controller to restore dependable cabin control functions and minimize workshop time. Suitable for professional installation and experienced DIY mechanics.