Description
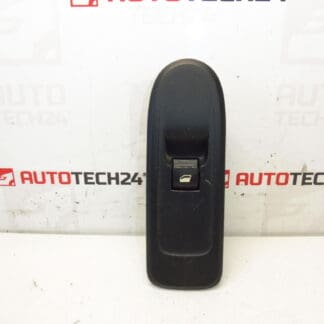
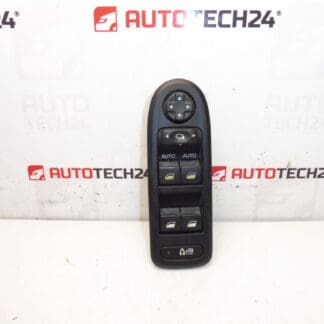
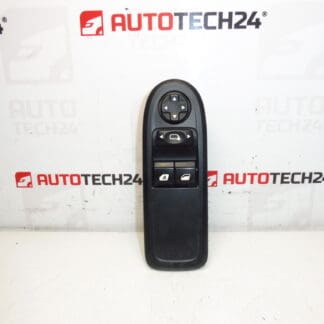
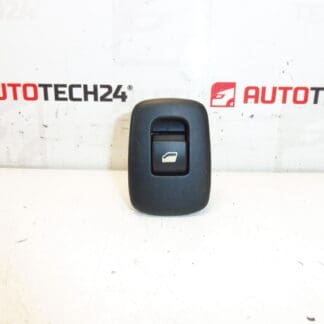
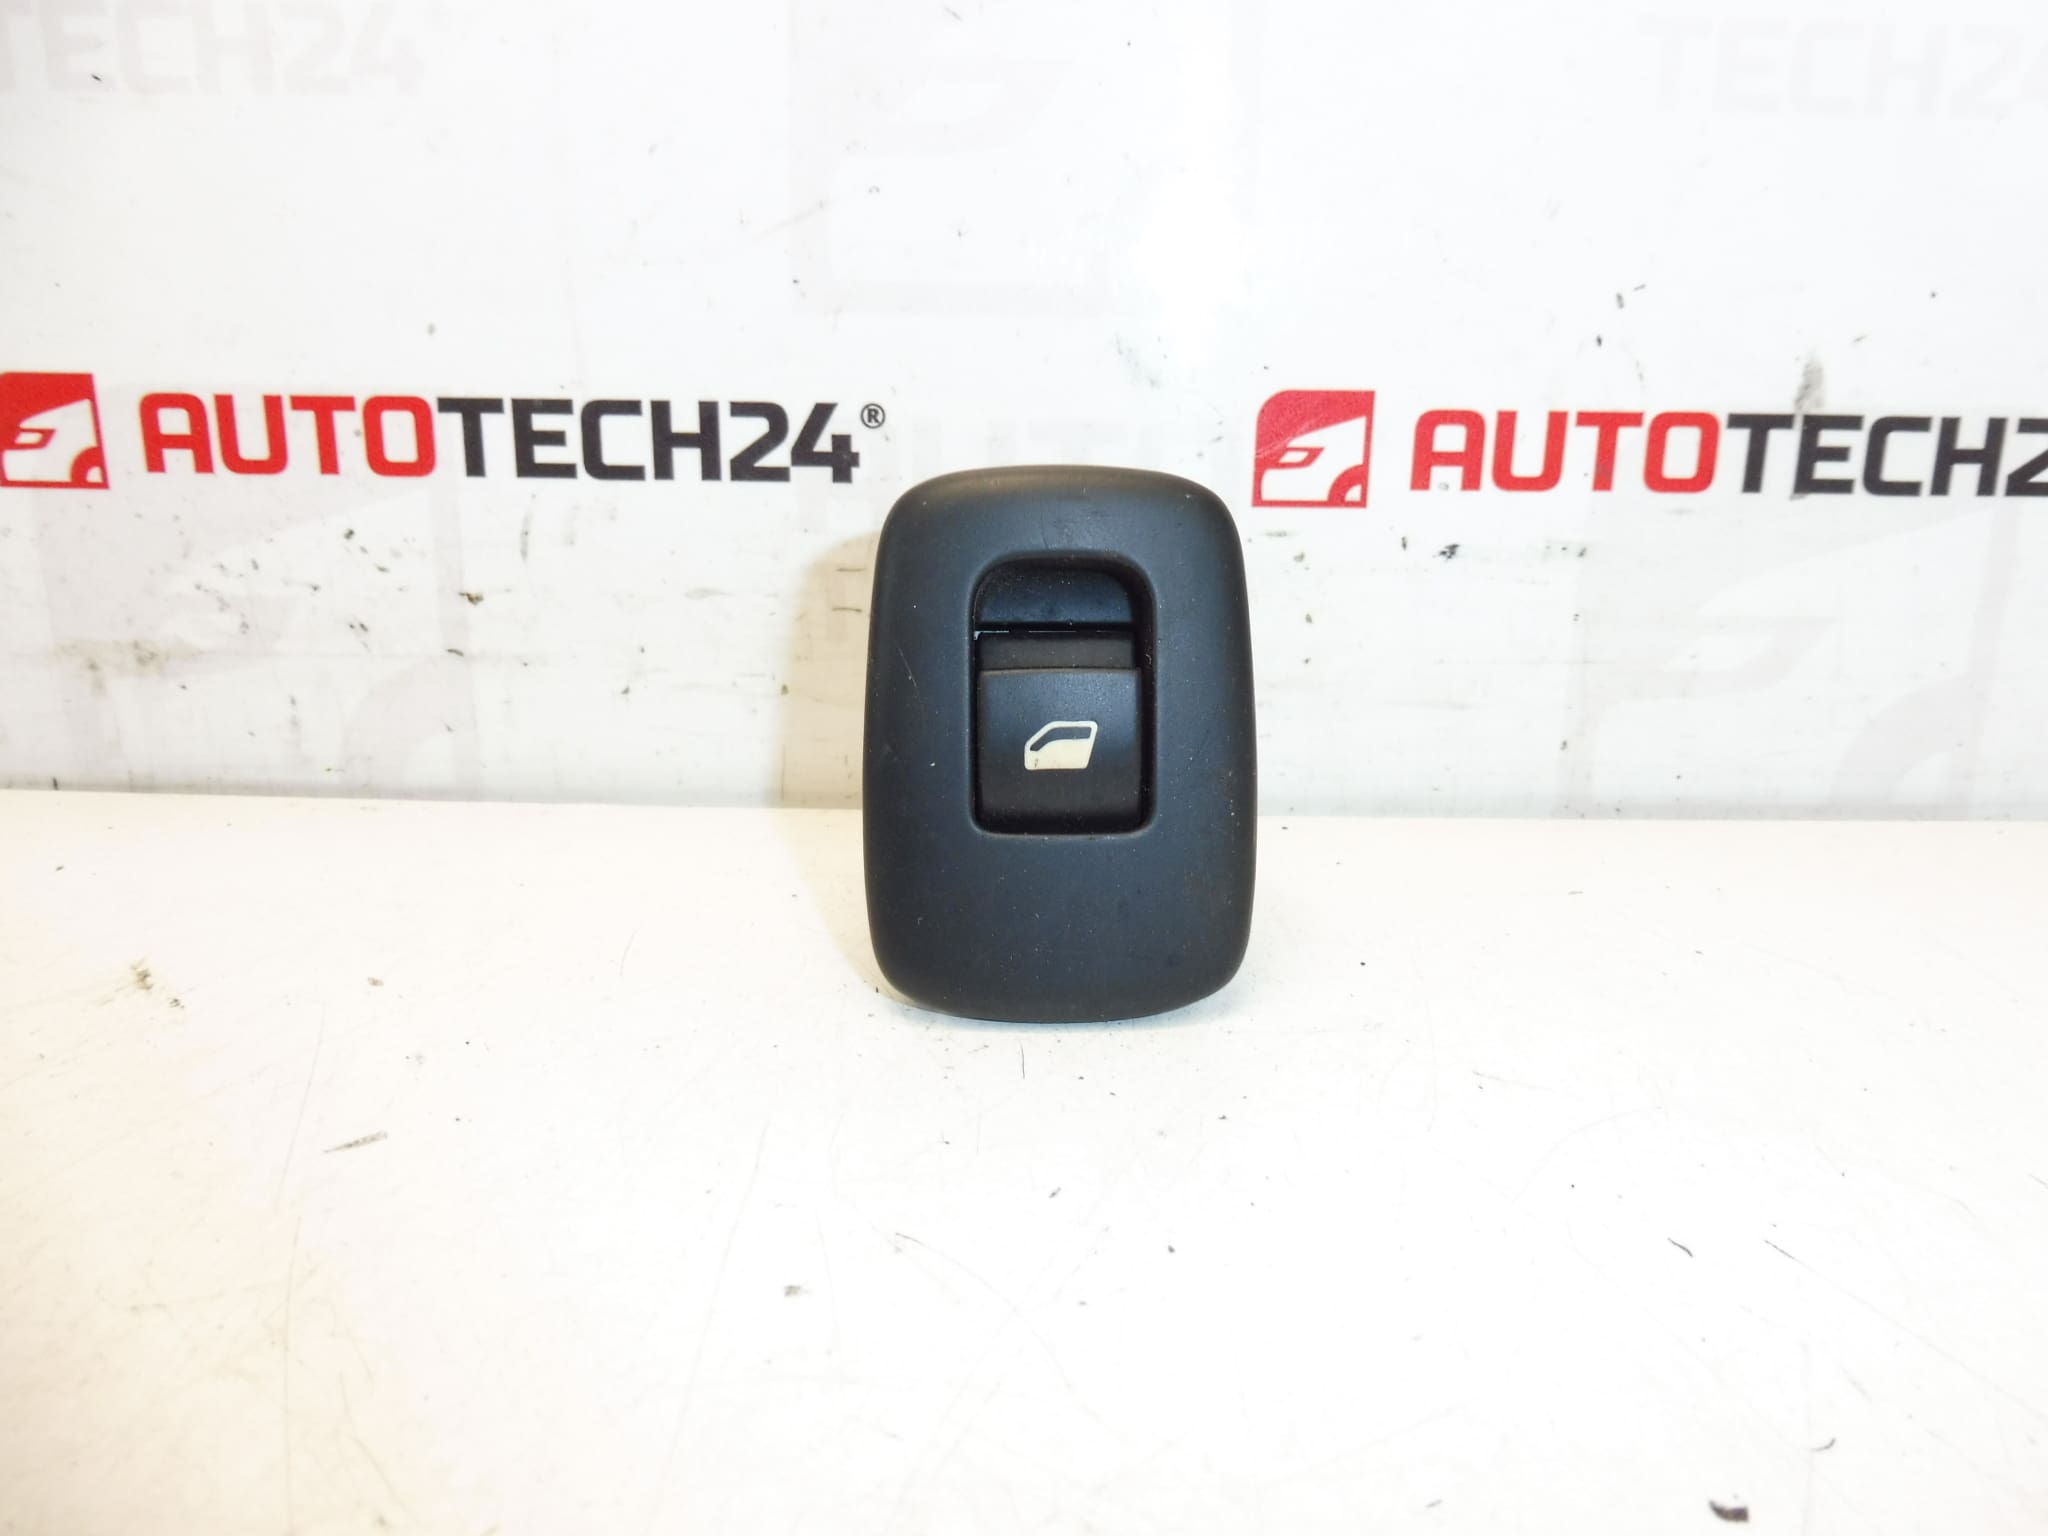
Window switch for CITROËN C3 II 2009–2016. Color FXT – Black Cornelie. For Passenger And Driver Doors.
Product Overview
High-quality replacement power window switch designed for Citroën C3 II (A51) models produced between 2009 and 2016. This unit fits the driver and passenger door locations and is finished in FXT Black Cornelie to match interior trim. Commonly searched under OEM codes 96637535XT, 98012514XT and 6490CJ, the switch provides a direct-fit solution for workshops and DIY repairers who need a reliable control for one-touch and standard window operation.
Function And Benefits
- Controls Electric Window Motor: Provides the user interface to raise and lower the door window on driver and passenger sides.
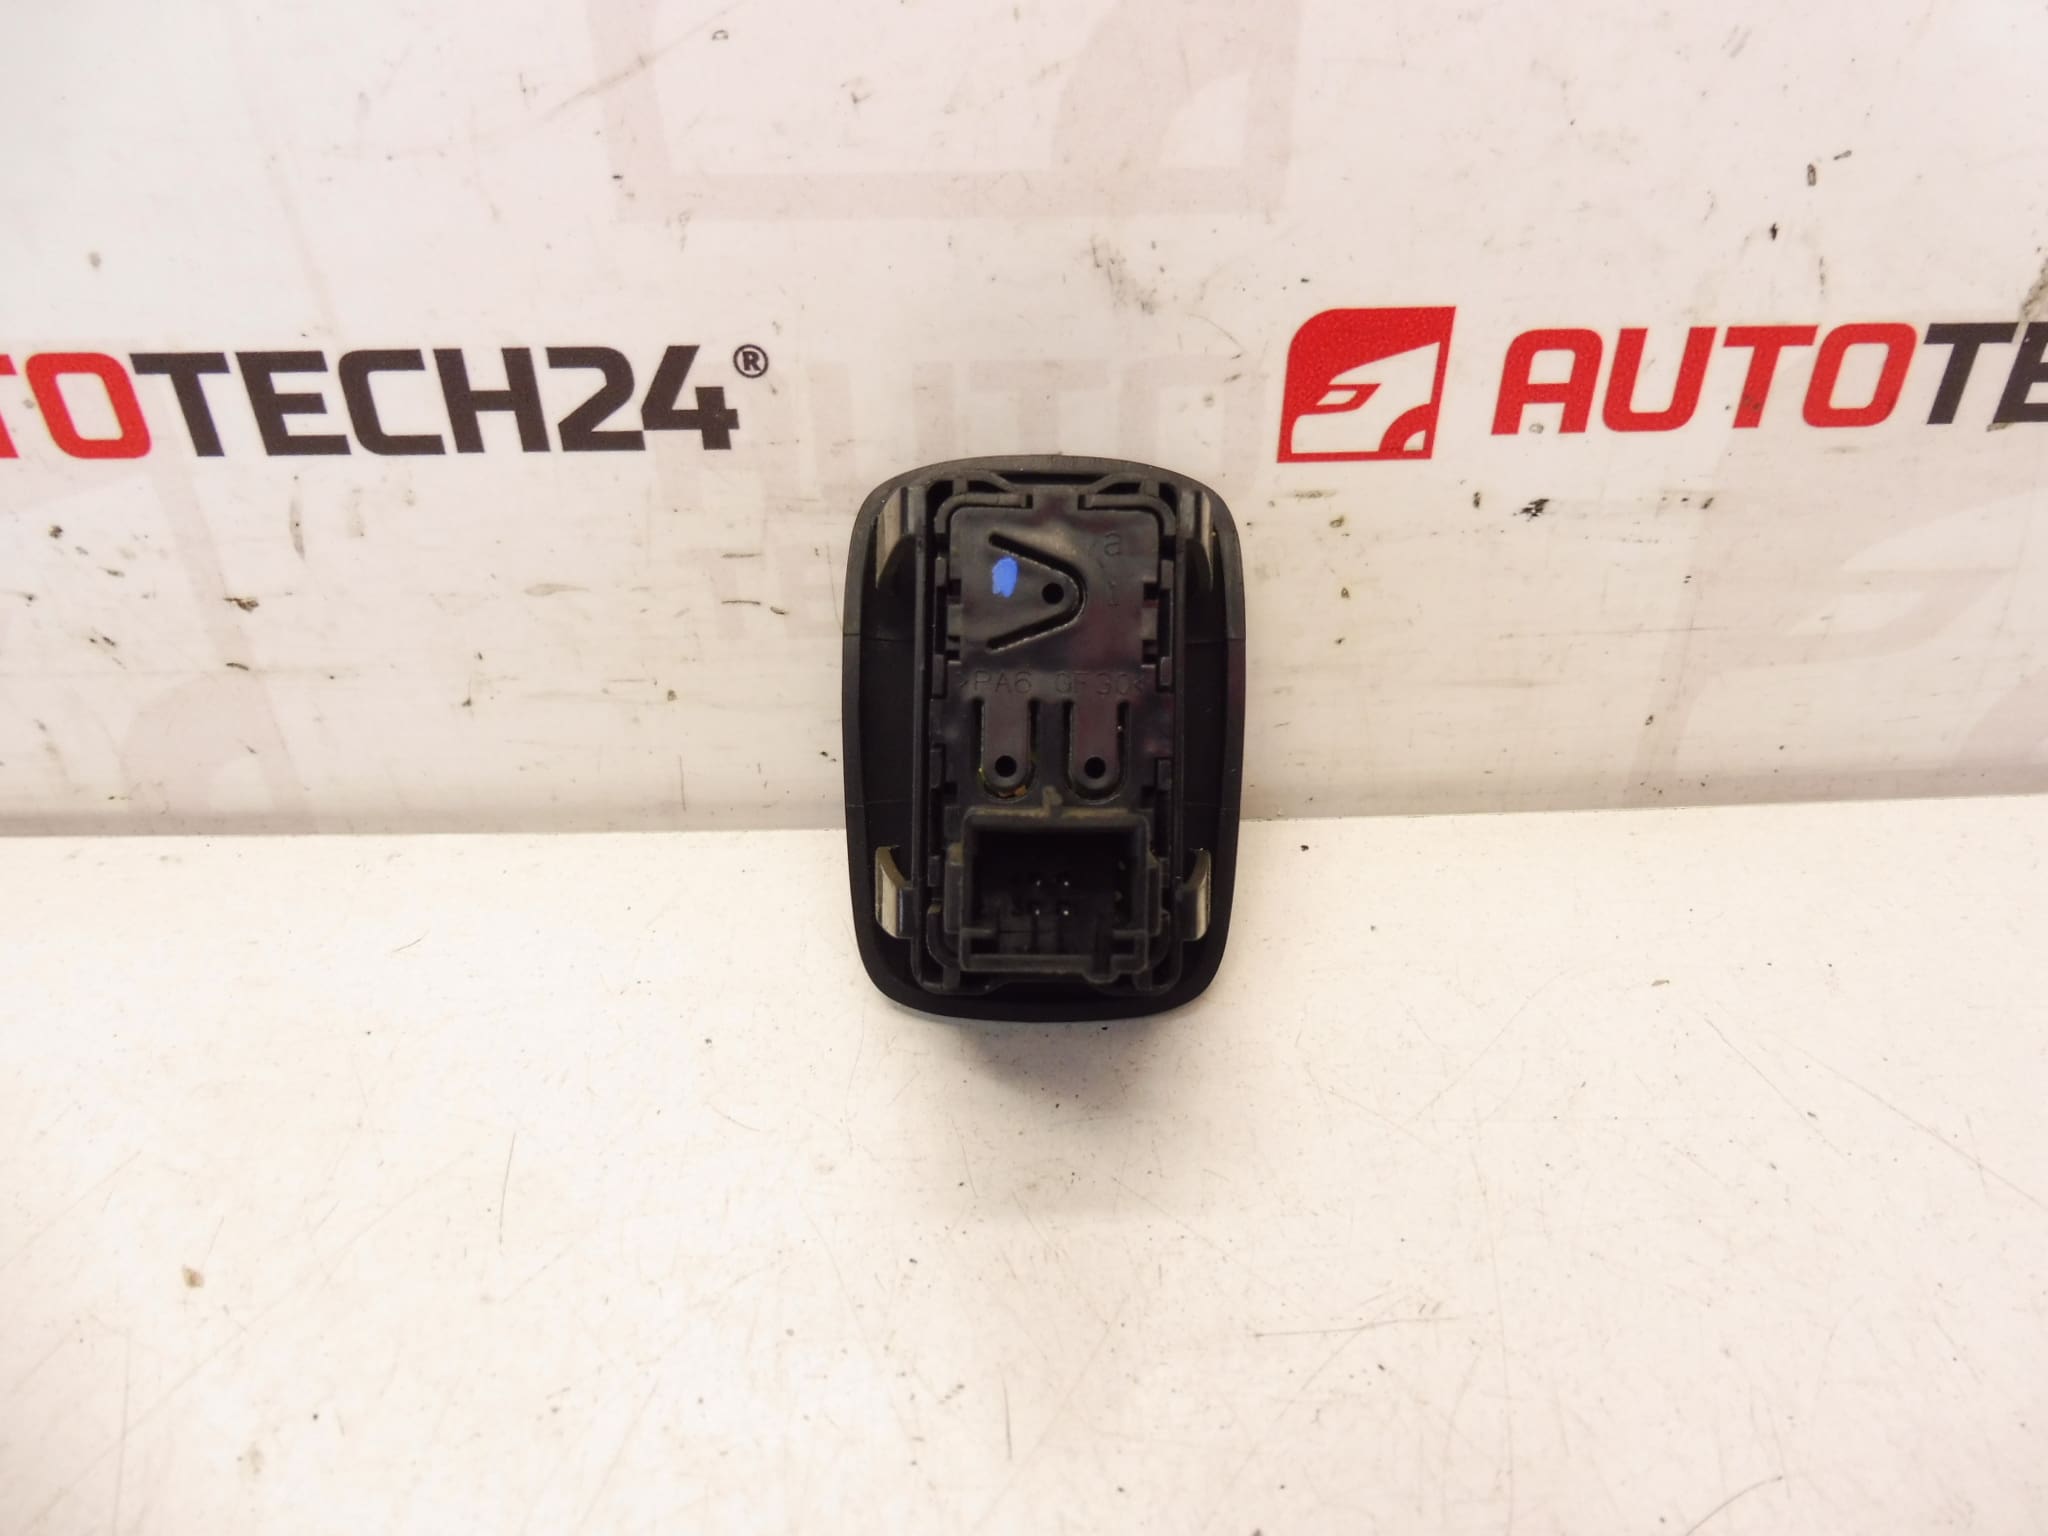
- Direct-Fit Replacement: Designed to match original mounting points and electrical connector for quick swap-over.
- Durable Finish: FXT Black Cornelie color ensures consistent appearance with original interior trim.
- Cost-Effective Repair: Restores window control without the need to replace door modules or wiring harnesses in most cases.
Compatibility And Models
Intended For Citroën C3 II (A51) Produced 2009–2016. Check The Vehicle Model Year And Door Application Before Installation. Frequently Referenced Part Numbers: 96637535XT, 98012514XT, 6490CJ.
Technical Information
- Manufacturer: Citroën (Stellantis)
- Model: Citroën C3 II (A51) 2009–2016
- Product Codes: 96637535XT, 98012514XT
- Other Numbers: 6490CJ
How To Replace
- Prepare Tools: Trim removal tools, Phillips screwdriver or Torx depending on fasteners, and a clean cloth.
- Disconnect Battery: For safety when working on electrical components, disconnect the negative terminal before starting.
- Remove Door Trim: Carefully pry off the trim panel or switch bezel to access the switch module; retain all clips and screws.
- Unplug Connector: Release the electrical connector locking tab and disconnect the wiring harness from the switch.
- Swap Switch: Unclip or unscrew the old switch, install the replacement, reconnect the harness and test window operation before reassembling the trim.
- Reassemble: Refit the trim panel, ensuring all clips seat correctly and fasteners are tightened to specification.
Installation Recommendations
- Perform Installation In A Dry, Clean Area To Avoid Contamination Of Electrical Contacts.
- Use Plastic Trim Tools To Prevent Damage To Interior Panels And Bezel Surfaces.
- Inspect Connector Pins For Corrosion Or Bent Contacts; Clean Or Repair As Needed Before Installing The New Switch.
- Test Window Operation Fully (Up/Down And Any One-Touch Functions) Before Final Reassembly.
Why The Part Most Often Fails
- Worn Electrical Contacts: Frequent Use Causes Contact Wear And Increased Resistance Leading To Intermittent Operation.
- Moisture Ingress: Water Or Condensation Entering The Door Can Corrode Switch Contacts And Connectors.
- Mechanical Wear Or Broken Actuation Tabs: Repeated Operation Can Weaken Plastic Components Or Clips.
- Contaminants And Dirt: Debris Between The Button Surfaces Can Prevent Proper Contact Engagement.
Search And Ordering Tips
This Switch Is Often Searched By Its Part Numbers 96637535XT, 98012514XT And 6490CJ. Use These Codes When Looking For A Direct Replacement To Ensure Correct Fitment For Citroën C3 II Models.
Notes For Professionals And Enthusiasts
This Item Is Suited For Automechanics And Competent DIYers Familiar With Door Trim Removal And Basic Electrical Checks. When Replacing A Switch, Verify Connector Integrity And Window Motor Behavior To Rule Out Additional Faults In The Door Harness Or Regulator.