Description
Window and mirror control for PEUGEOT 3008 and 5008 T84 cars
Part description
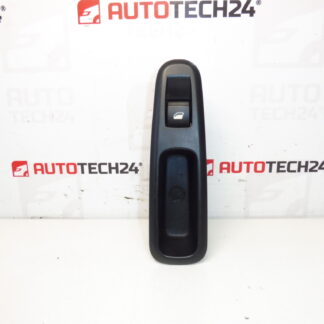
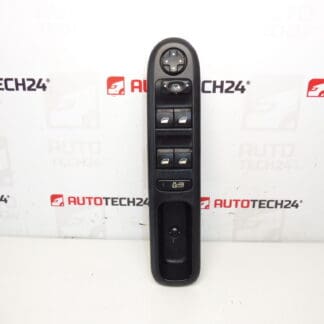
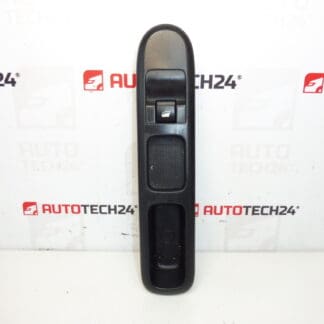
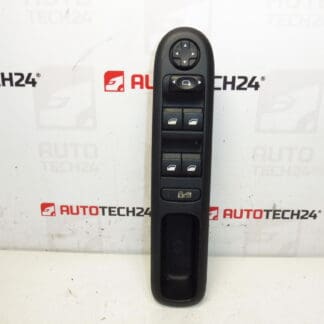
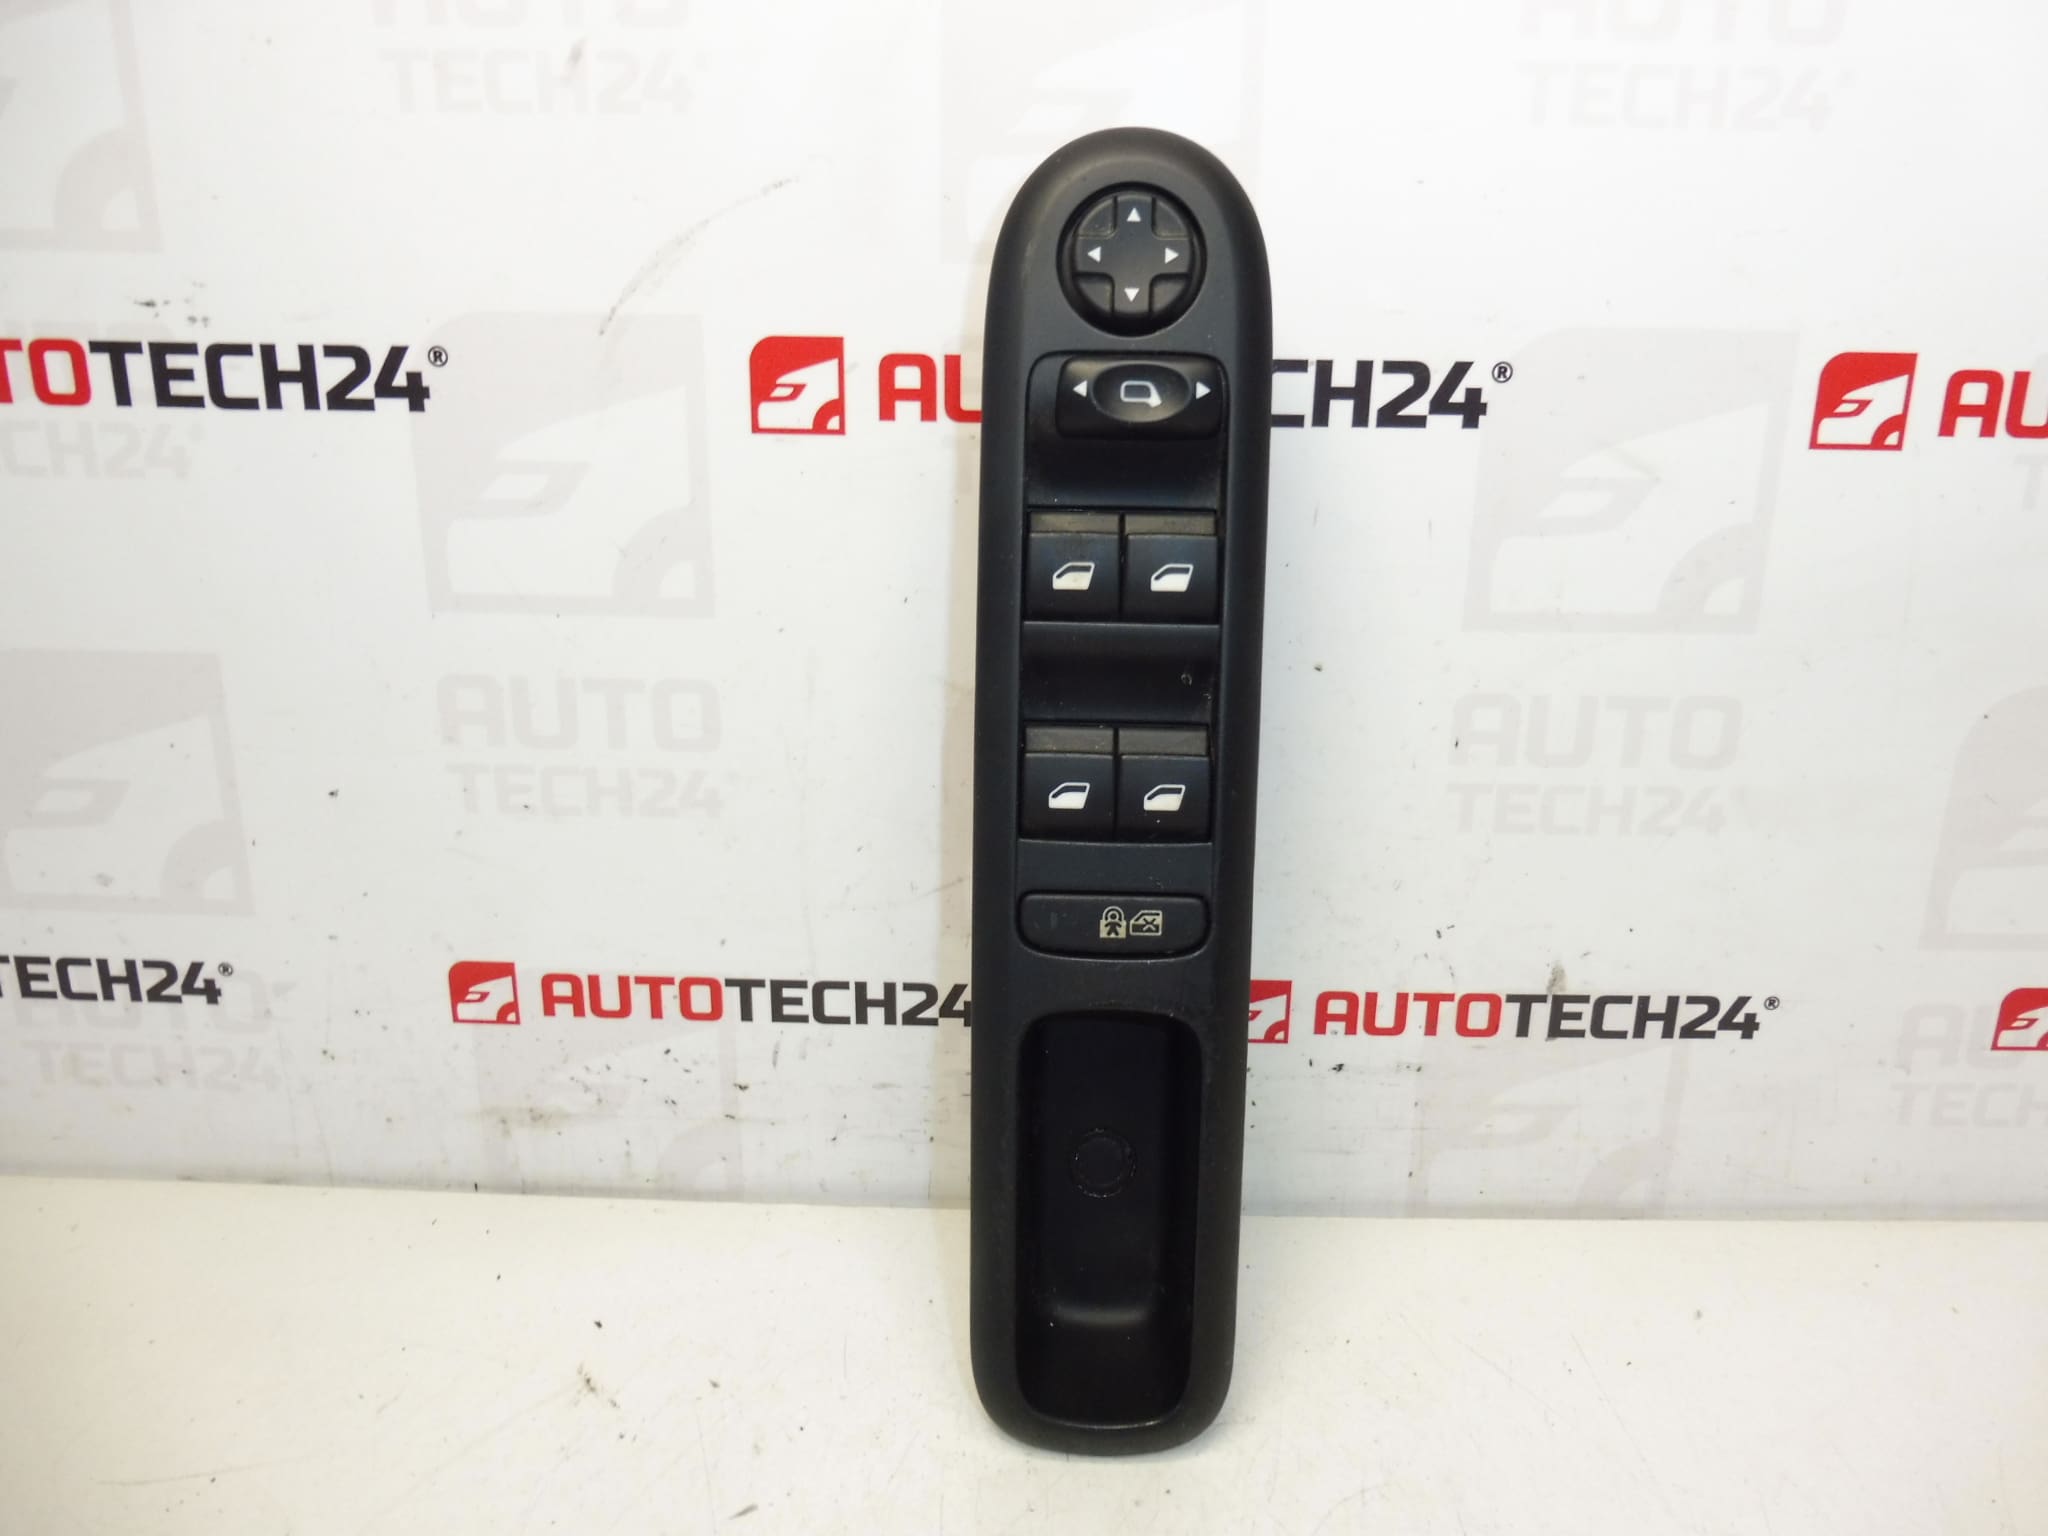
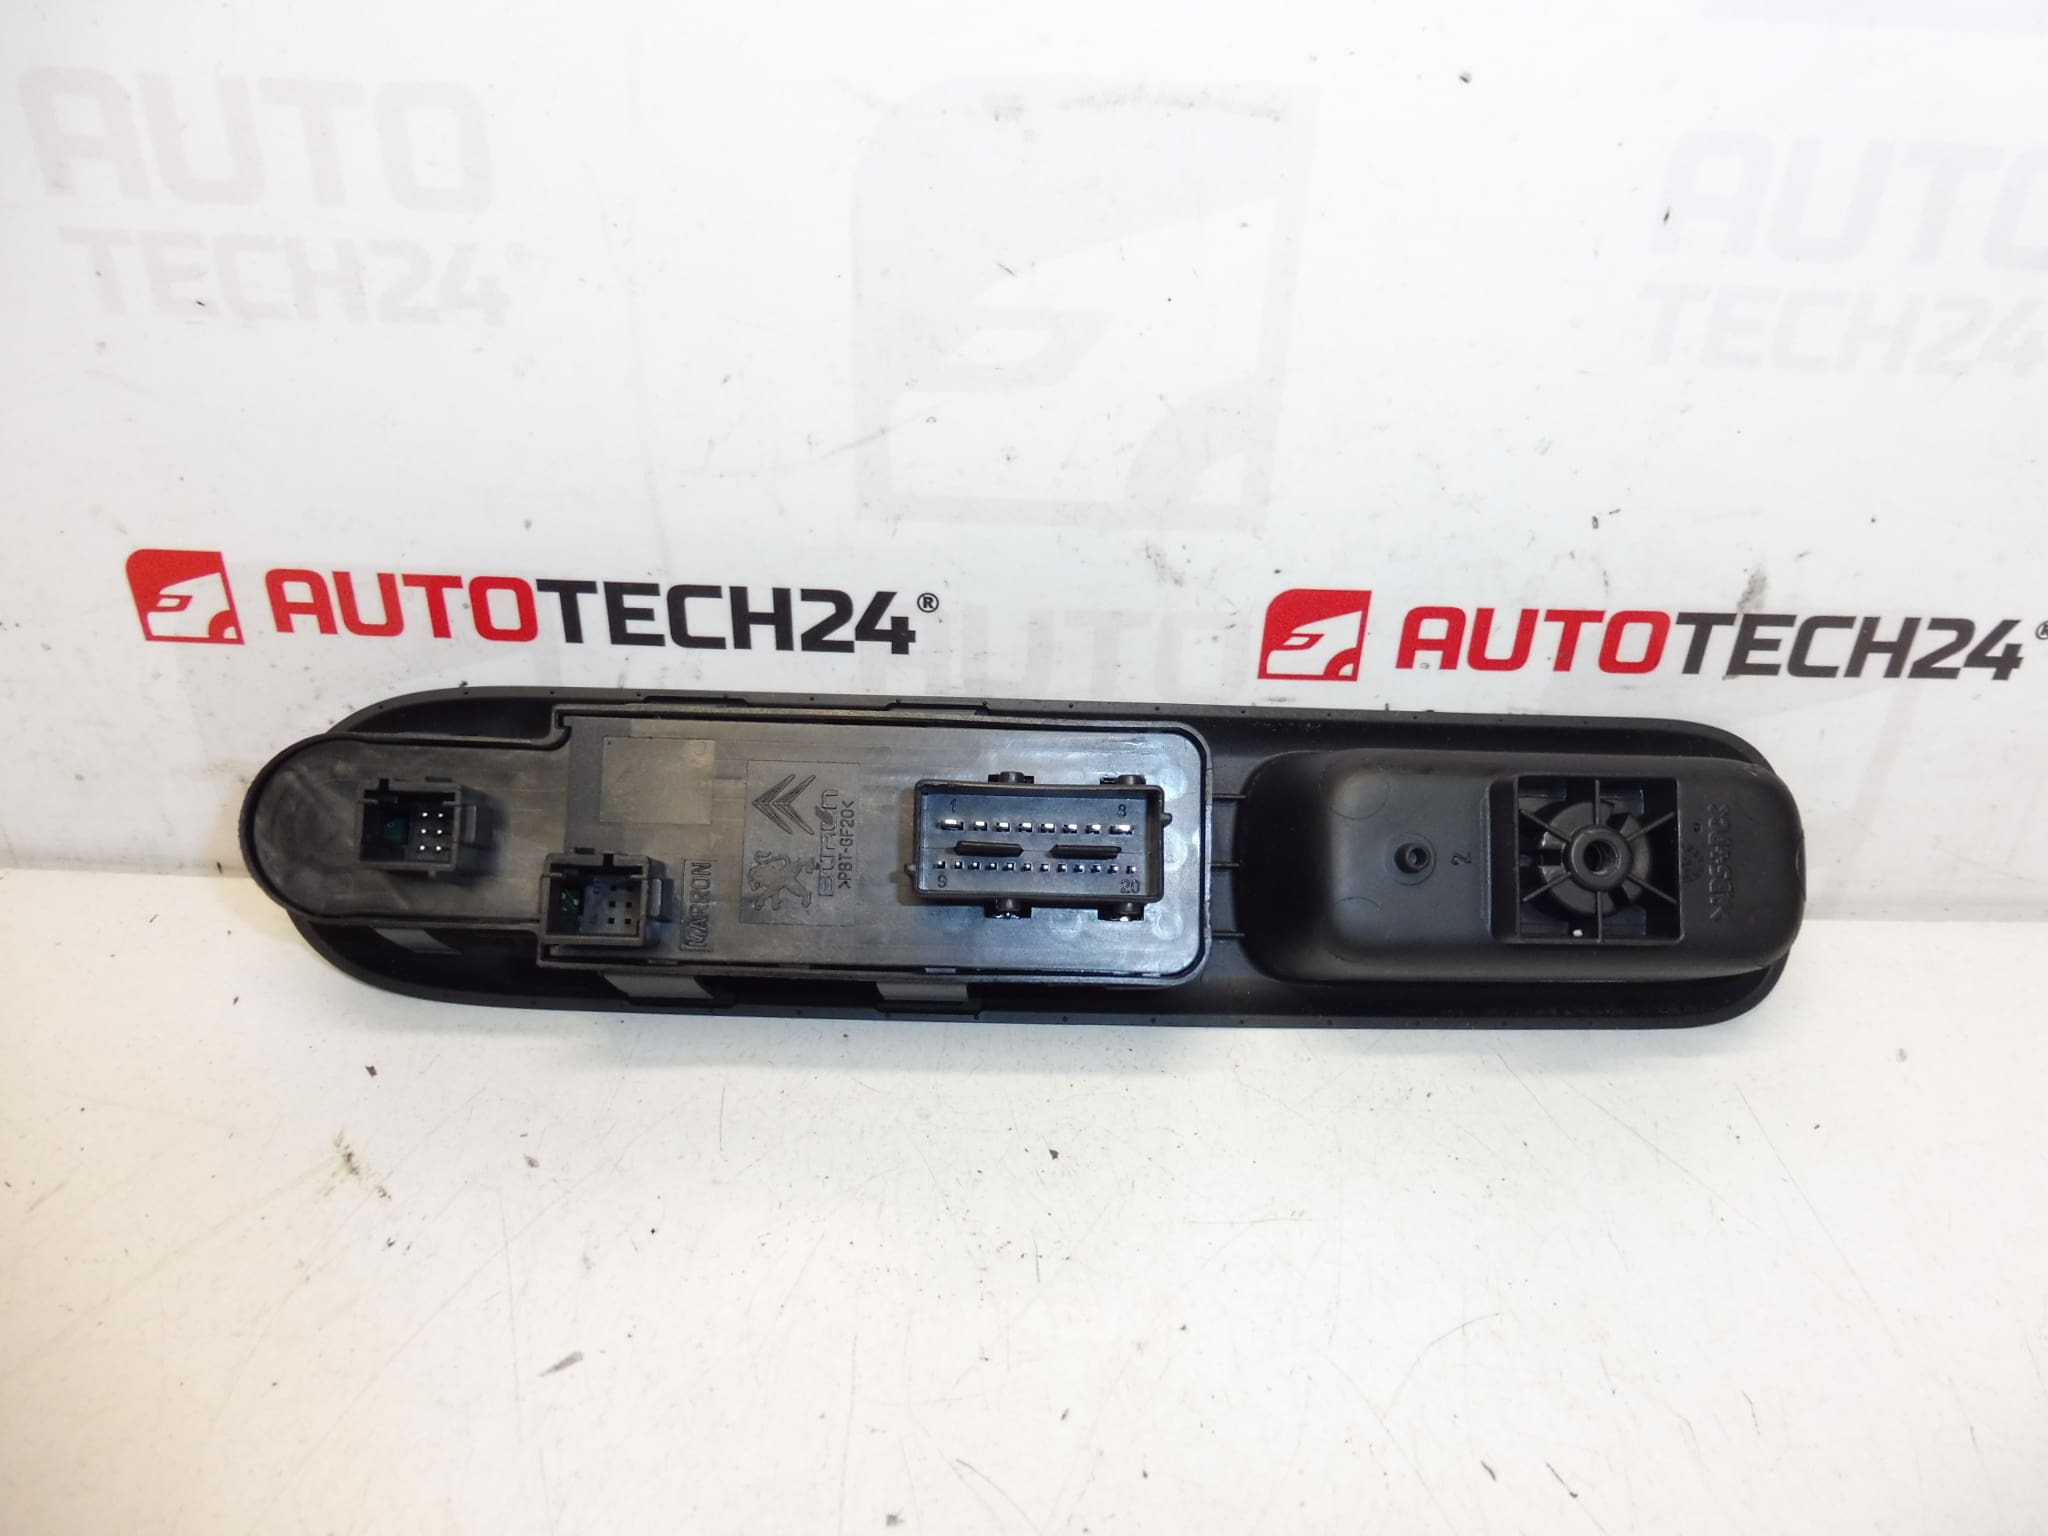
This used window and mirror control is intended for Peugeot 3008 I and Peugeot 5008 I cars. It is a practical electrical part that ensures convenient control of electric windows and mirror adjustment directly from the driver’s seat. When looking for the right spare part, the product numbers 96650620ZD and 6490X5, which can be used to easily identify this part, are often decisive.
Window controls are among the frequently stressed parts of the interior, as they are used daily. If the original switch reacts with a delay, some control directions do not work or the mechanism is mechanically worn, replacing this part is usually an effective solution.
Technical information
- Manufacturer: Stellantis Citroën Peugeot
- Model: Peugeot 3008 I, Peugeot 5008 I, T84
- Other numbers: 96650620ZD, 6490X5
Product codes
- Product codes: 96650620ZD, 6490X5
- Models: PEUGEOT 3008 I, PEUGEOT 5008 I
Installation recommendations
Generally/typically for this type of part, window and mirror control replacement is a common service operation in the vehicle interior. The exact steps may vary depending on the specific design of the car and the mounting of the panel.
1) Before assembly
- Check that product numbers 96650620ZD and 6490X5 match the original part.
- Compare the shape of the controller, the number of buttons, the connector and the latches with the disassembled piece.
- Inspect the used part for cracks, damaged latches, worn button or dirty contacts.
- Before starting work, it is advisable to disconnect the battery, especially if you will be handling electrical connectors in the interior.
2) Necessary tools and materials
- plastic crowbar for dismantling interior parts
- ordinary set of screwdrivers
- clean cloth
- preparation for gentle cleaning of contacts, if needed
- work gloves and enough light
3) Step-by-step assembly procedure
- Switch off the ignition and secure the vehicle against unwanted movement.
- Disconnect the battery if you find it appropriate.
- Use a plastic pry bar to carefully pry open the cover or panel in which the controller is seated.
- Remove the original controller so as not to damage the surrounding trim or mounting tabs.
- Unplug the electrical connector and check its condition. Focus on cleanliness, oxidation and possible mechanical damage.
- Compare the old and new part side-by-side, especially the connector, mounting and layout of the controls.
- If the contacts are dirty, gently clean them in a suitable way.
- Plug the connector into the replacement controller and make sure it clicks into place.
- Sit the controller into the panel or hole and verify that all detents are properly seated.
- Reinstall all the removed covers and interior parts.
- Connect the battery if it was disconnected.
- Turn on the ignition and perform a functional check of all buttons.
-
4) Post-assembly checks and test drive/function verification
- Verify the operation of all controlled windows in available directions.
- Check mirror control response in all positions if this feature is part of the original design.
- Test if the buttons do not skip and return smoothly to the starting position.
- Check that the controller holds firmly and the panel does not come loose when pressed.
- After a short run, verify again that everything is working stably.
5) The most common assembly mistakes + how to avoid them
- Exchanging a part by appearance – always compare the product numbers, not just the shape.
- Damage to plastic latches – use a plastic pry bar and do not use force.
- Incompletely inserted connector – after connecting, lightly check that the connector is seated correctly.
- Hasty composition of the interior – try all functions first before finally clicking the panel.
- Normal wear and tear from frequent daily use of buttons.
- Contamination by dust, moisture or debris entering the controller mechanism.
- Mechanical damage caused by strong pressure, careless handling or disassembly.
- Wear of electrical contacts, which can be manifested by blackouts or irregular function.
- Moisture in the interior which can contribute to corrosion or oxidation of the contacts.