Description
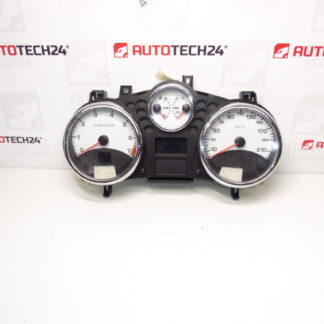
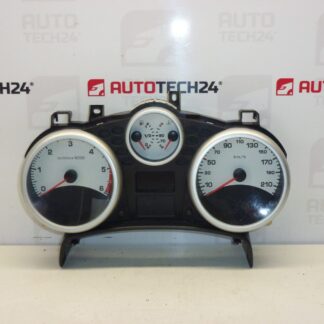
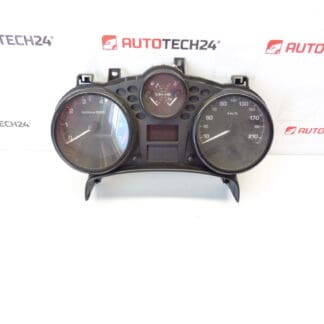
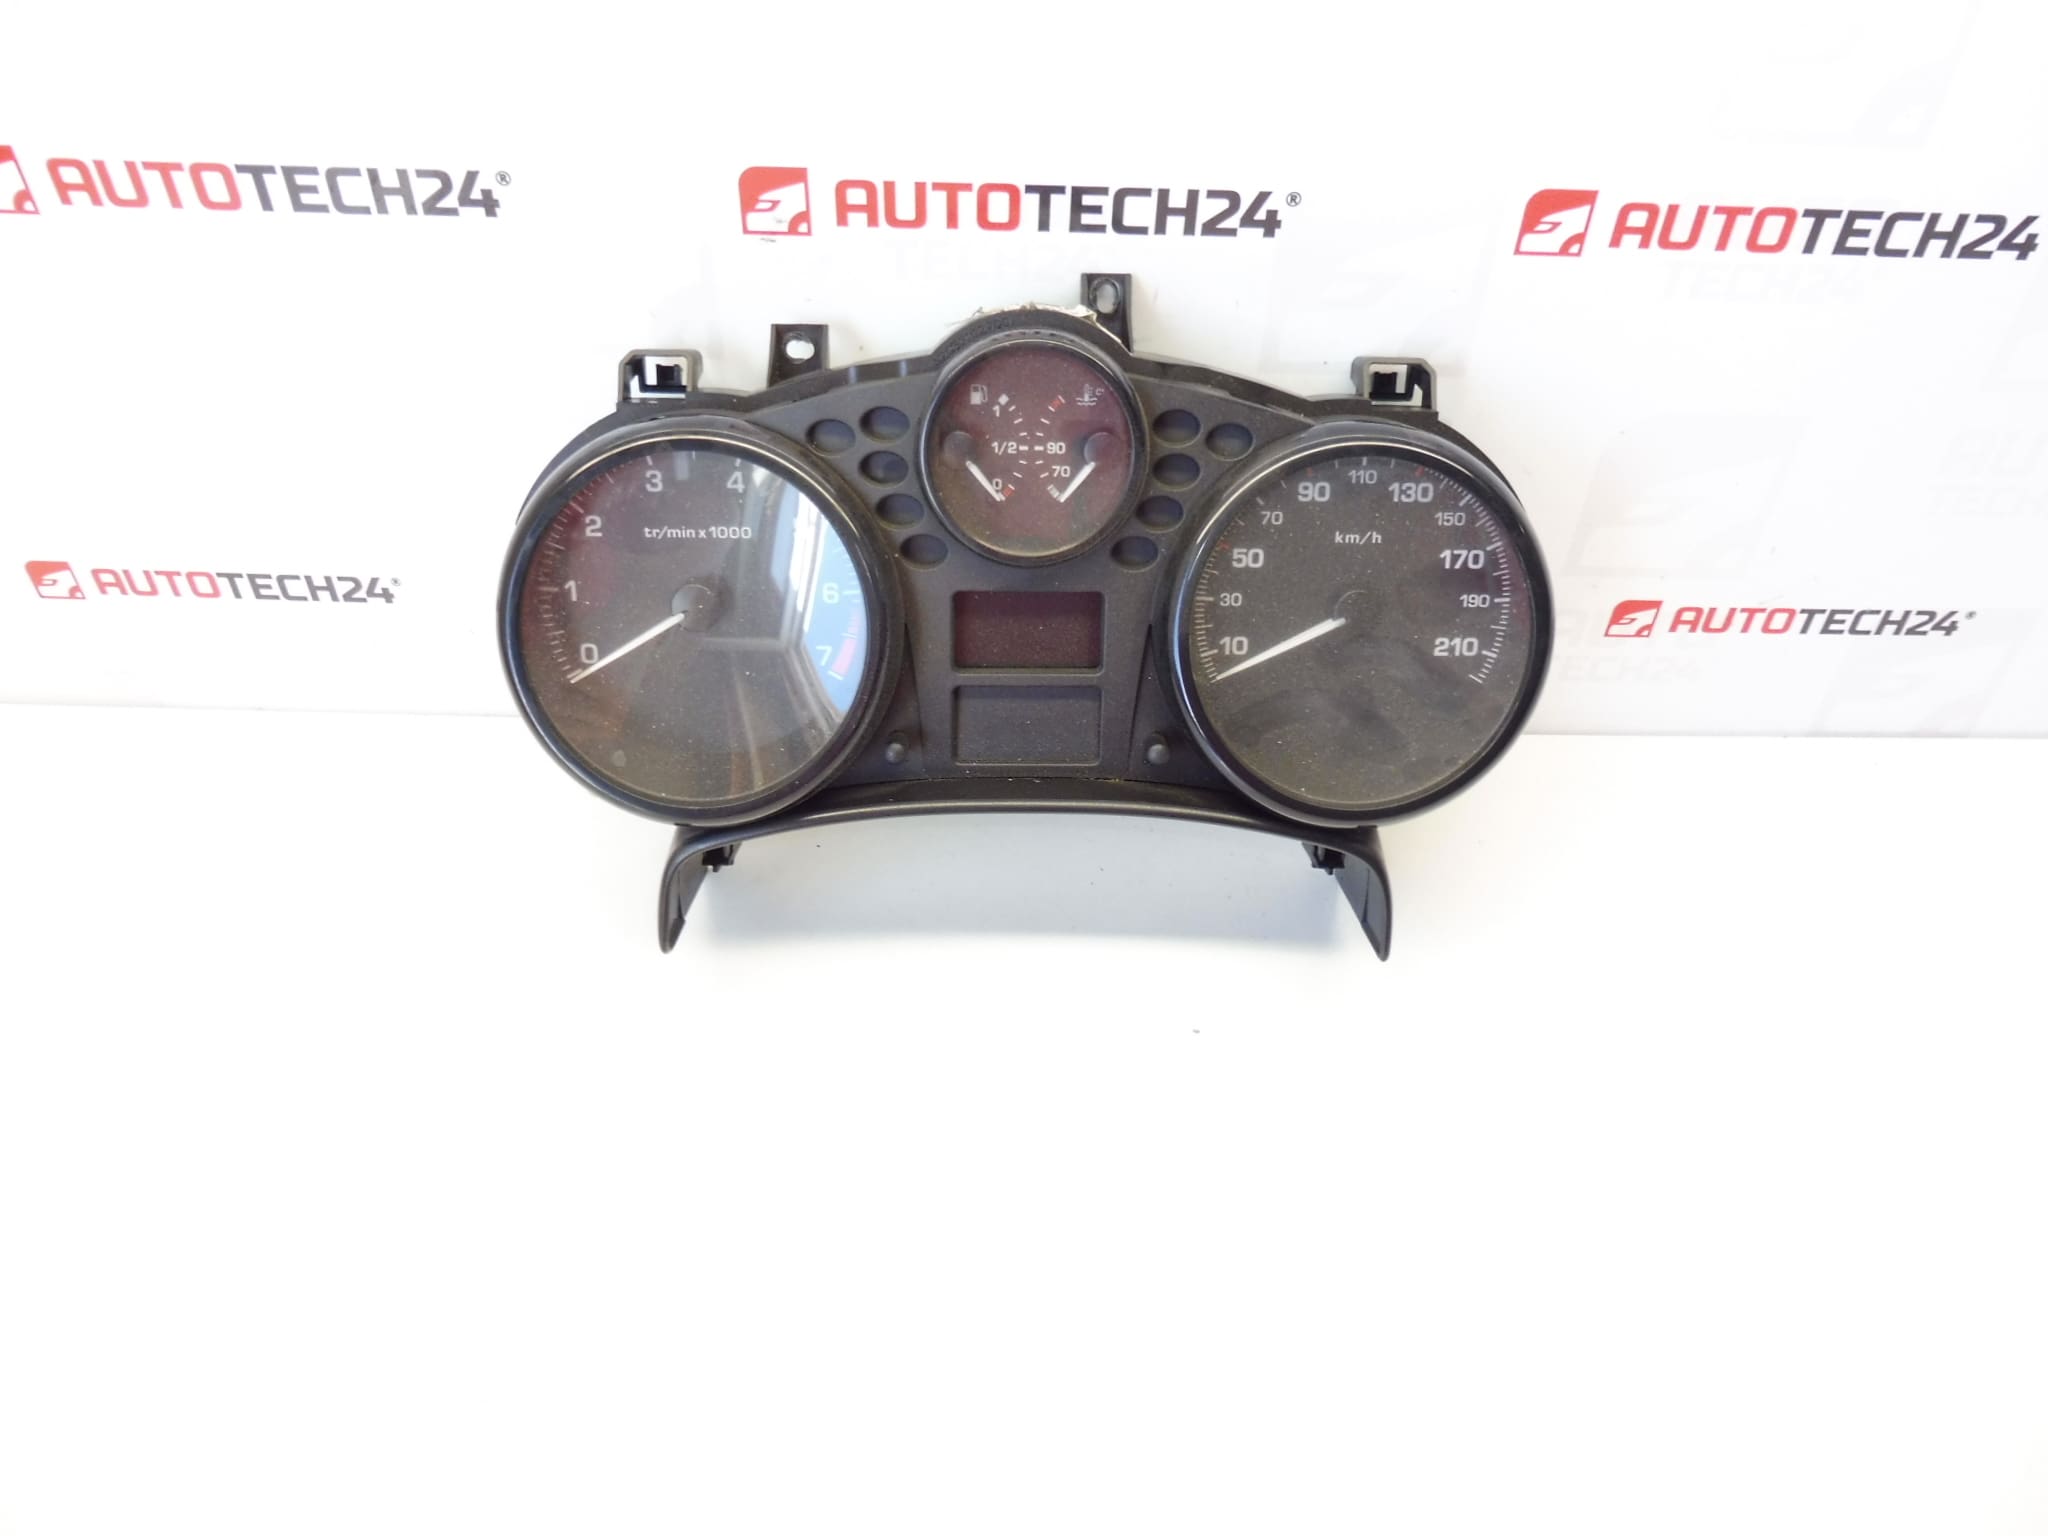
Speedometer, alarms, complete instrument cluster for PEUGEOT 207 cars
Raid unknown
Part description
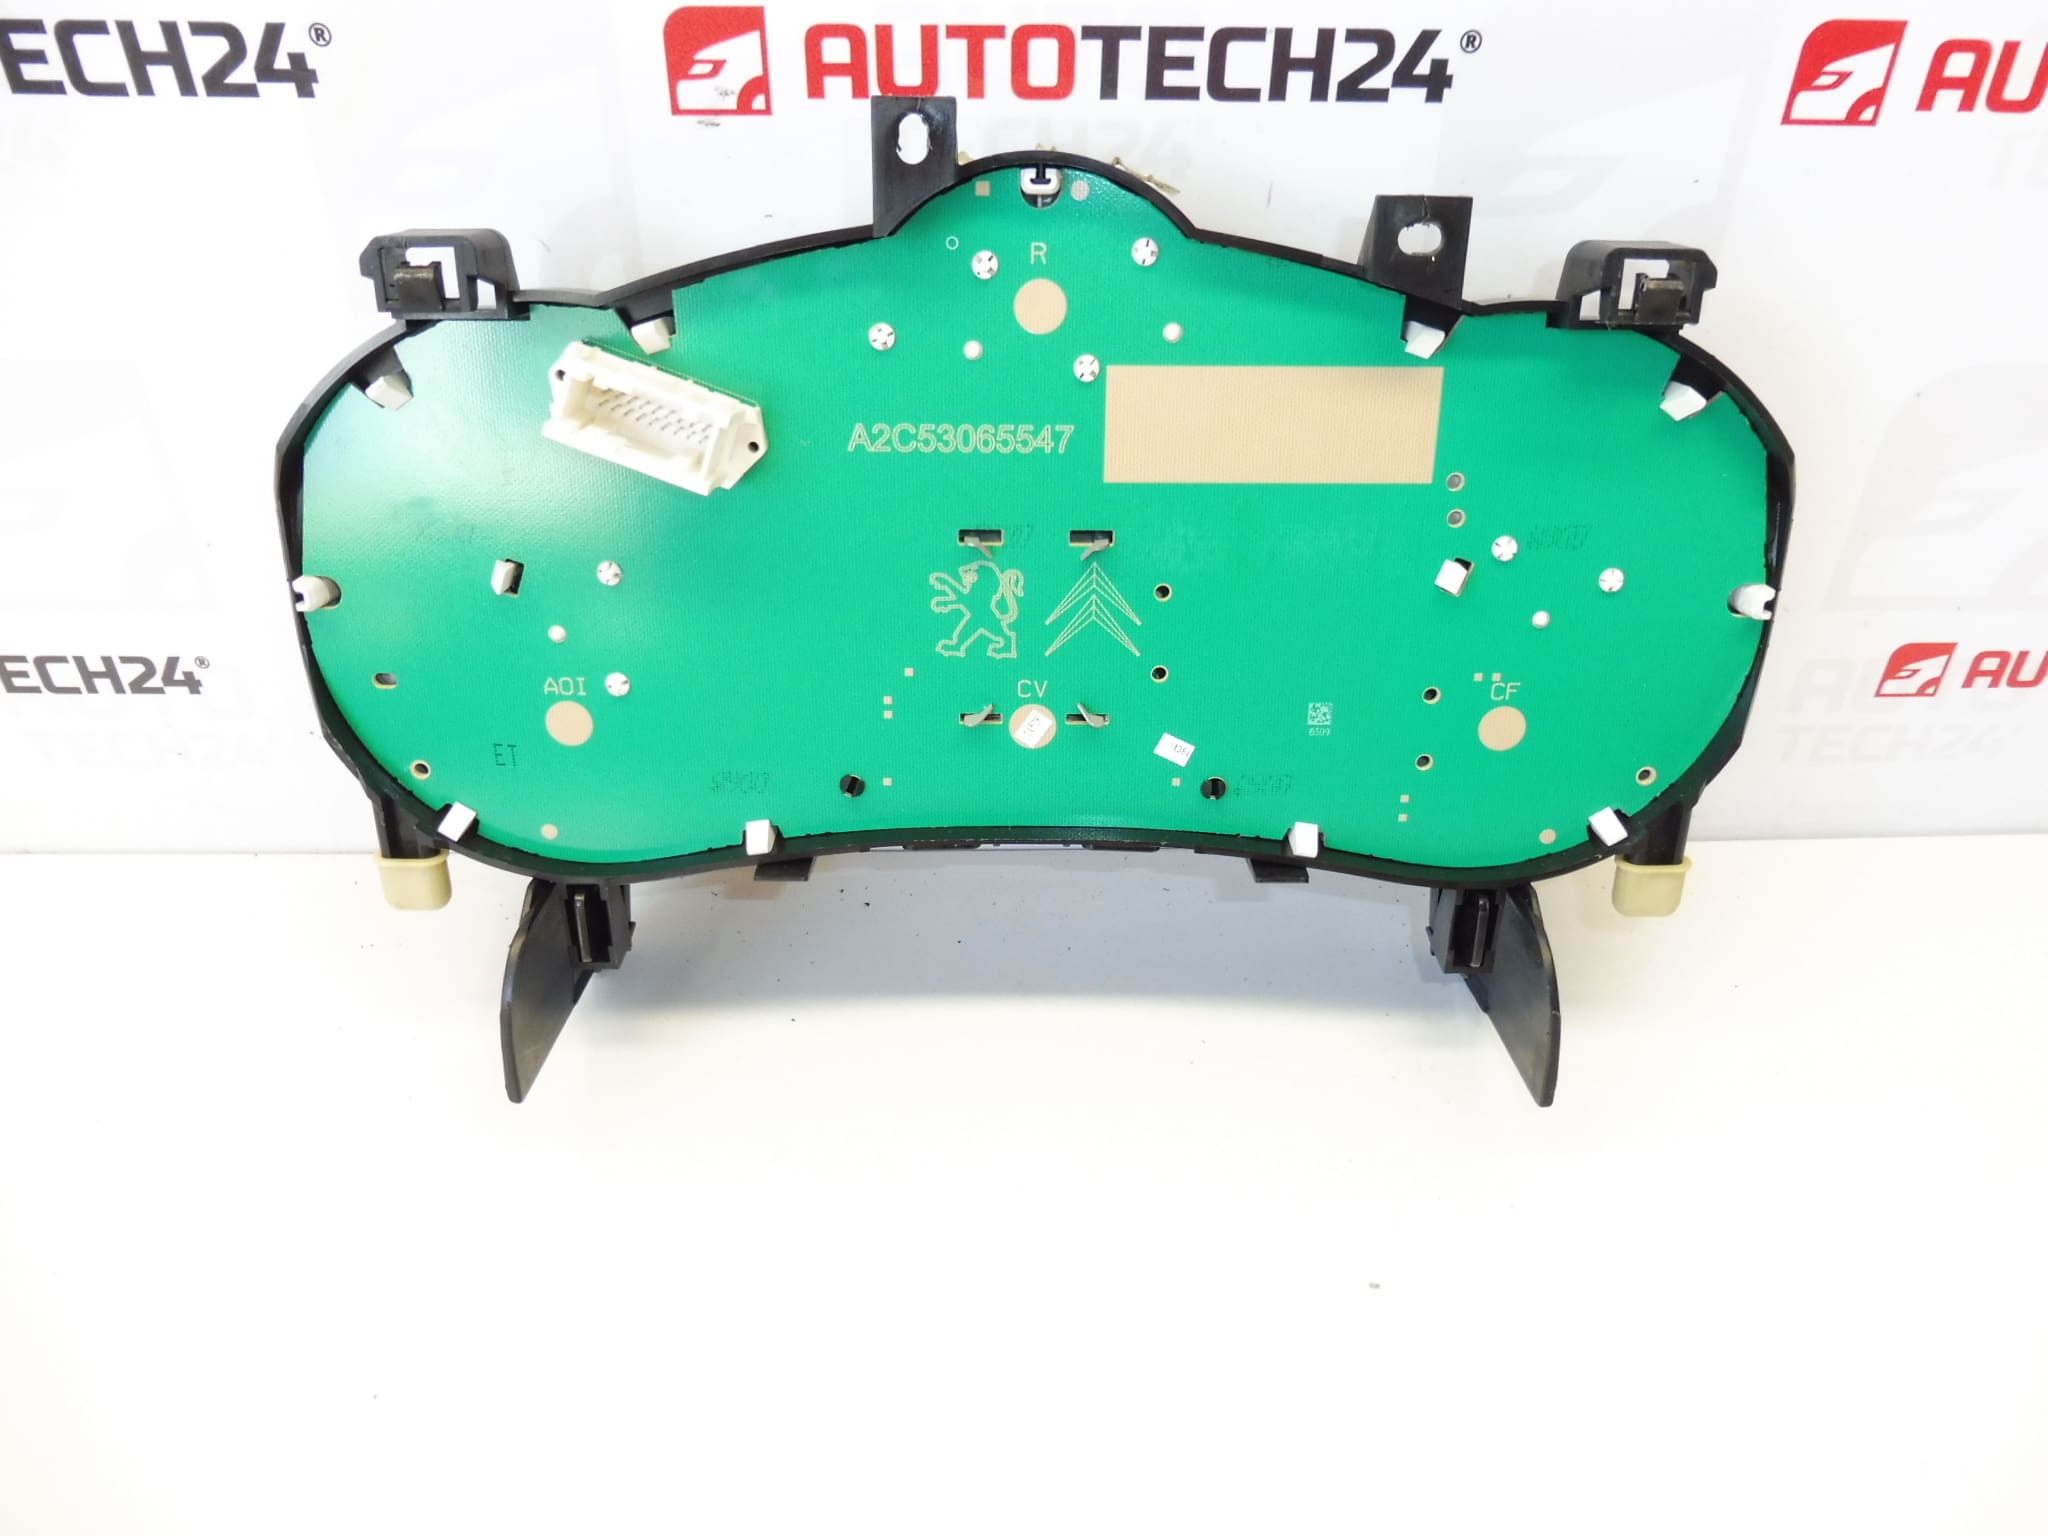
Used combined instrument (speedometer/alarms) designed for Peugeot 207. It is a complete instrument panel that displays basic driving and operating information. If you are dealing with a non-functioning backlight, missing indicators, unreadable display or other instrument panel defects, this part is a suitable replacement for repairs.
To make the right choice, it is crucial to compare the product numbers listed below and match the design with the existing part.
Technical information
- Manufacturer: Stellantis (Citroën / Peugeot)
- Model: Peugeot 207
- Other numbers: 6103EJ, 6103JT
Condition / note: used; raid unknown.
Product codes
- Product codes: 9665661480, 610622
Installation recommendations
Generally/typically applies to replacing the instrument cluster (tachometer), the exact steps may vary according to the specific car design.
1) Before assembly
- Compare the original and the new part: code match (9665661480 / 610622), shape, handles and connectors.
- Check for damaged pins in the connectors, cracked plastic handles or visible traces of leaks.
- Please note that mileage is unknown – for this type of part, the mileage may be dependent on the specific vehicle system.
2) Necessary tools and materials
- ordinary set of screwdrivers / bits (according to the used connecting material)
- plastic pry bar for removing interior moldings
- flashlight
- protective gloves
3) Step-by-step assembly procedure
- Turn off the ignition and secure the vehicle against movement.
- Disconnect the battery (typically the minus pole first) and wait a while for the electronics to sleep.
- Dismantle the cover frame/trimming around the instrument panel (work carefully with the plastic latches).
- Undo the fasteners that hold the instrument cluster.
- Carefully pull out the device to access the connectors.
- Unlock and disconnect the connectors (do not pull on the wiring; always on the body of the connector).
- Connect the connectors to the replacement tachometer and check for proper snap/lock.
- Place the cluster back into position and secure with the original fasteners.
- Refit the cover frame/trim.
- Connect the battery.
- Turn on the ignition and verify that the panel comes to life (backlight, indicators, display).
-
4) Post-assembly checks and test drive/function verification
- Check that the backlight turns on and that the instrument panel responds without dropouts.
- Check that the connectors are tight and nothing is loose/loose in the mount.
- On a short test drive, observe the behavior of the pointers and possible random restarts/display anomalies.
5) The most common assembly mistakes + how to avoid them
- Damage to plastic strips and latches – use a plastic pry bar and do not pull “with force”.
- Not clicked connector – always check for locking after connection; bad contact causes blackouts.
- Manipulation without disconnecting the battery – may lead to errors in the electronics; disconnecting is typically the safest course of action.
Reasons why the part is damaged
- Aging of electronics (cold joints, fatigue of soldered joints, backlight malfunctions).
- Voltage fluctuations in the on-board network or bad contacts in the connectors.
- Moisture/seepage into the dashboard area and subsequent corrosion of the contacts.
- Mechanical damage during unprofessional disassembly (cracked handles, damaged connectors).