Description
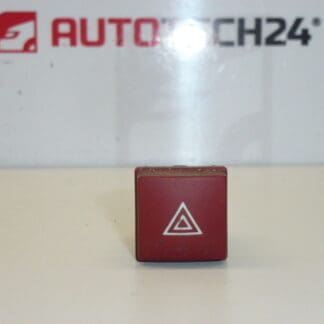
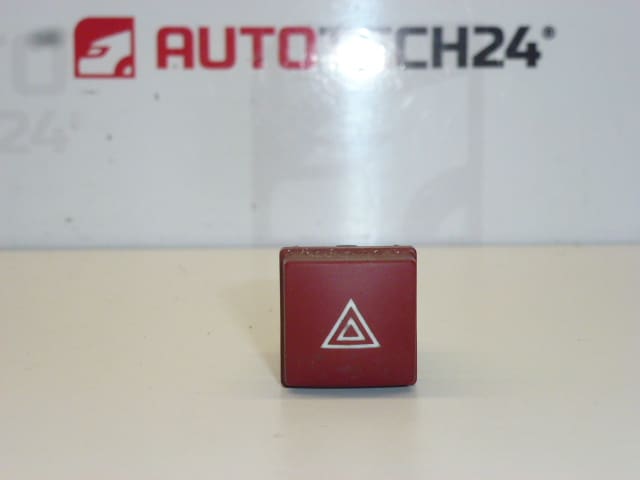
Hazard Warning Light Switch, Hazard Flasher Switch for PEUGEOT 207 206+
Product Overview
This replacement hazard warning light switch is designed for Peugeot 207 and Peugeot 206+ models. It restores reliable operation of the vehicle’s hazard/flasher function and is a direct-fit electrical switch intended to replace a worn or faulty original unit. Ideal for professional workshops and DIY mechanics who search by part number for quick identification.
Features And Function
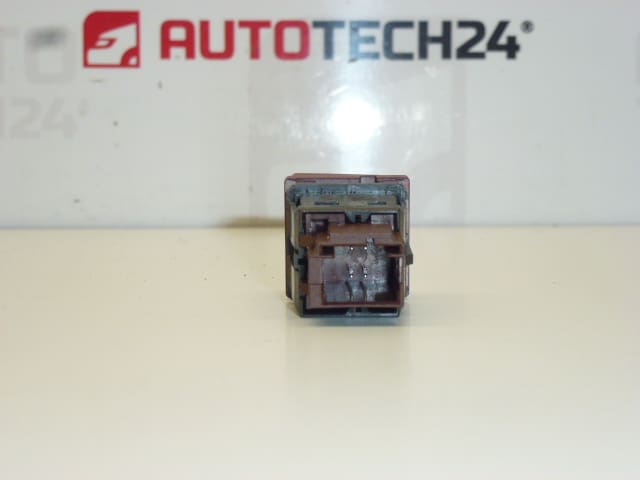
The hazard switch activates all indicator lamps simultaneously to signal an emergency or breakdown. It houses the internal contact mechanism that closes the hazard circuit and often includes a lamp illumination function for the dashboard. A properly functioning switch ensures clear, visible signaling to other road users and integrates with the vehicle’s flasher relay and indicator lamps.
Technical Information
- Manufacturer: Stellantis (Citroën/Peugeot)
- Model: Peugeot 207; Peugeot 206+
- Product Codes: 96472122KR, 96472122XT, 6554RQ
- Other Numbers: Common cross-references include 96472122XT and 6554RQ — consult the vehicle parts catalog for exact production-year fitment
Symptoms Of A Faulty Hazard Switch
- Hazard lamps do not light when the switch is pressed.
- Intermittent operation or only one side flashing.
- No audible click from the flasher relay while hazards are active.
- Illumination on the switch or dashboard backlighting is unlit or flickering.
Common Causes Of Failure
Hazard switches are mechanical-electrical devices that typically fail for one or more of the following reasons: frequent use leading to contact wear, oxidation/corrosion on internal contacts, ingress of moisture or spilled liquids from the cabin, or degraded plastic components and internal springs. Faulty wiring, blown fuses, or problems with the flasher relay can produce similar symptoms, so a methodical diagnosis is recommended.
Replacement And Installation Guide
General replacement steps for Peugeot 206+/207 series (procedure can vary by model year):
- Prepare: Park the vehicle on a level surface, engage the parking brake and remove the ignition key.
- Safety first: Disconnect the negative battery terminal before starting any work on the electrical system to avoid short circuits.
- Access: Carefully remove the surrounding trim panel or central fascia using plastic trim tools to avoid damaging clips. The hazard switch is usually located in the center of the dashboard or integrated into the central control panel.
- Remove: Unscrew or unclip the switch module, then gently pull it out and unplug the electrical connector(s).
- Fitment: Connect the new switch, ensuring connectors are clean and fully seated. Reinstall the switch and trim in reverse order.
- Test: Reconnect the battery and verify operation of the hazard lights, turn signals and switch illumination. Also check relevant fuses and indicator bulbs if issues persist.
Use of plastic trim tools and care with interior panels prevents damage. If dashboard elements, steering column covers or airbag components must be removed to reach the switch, have the job performed by a qualified technician.
Recommendation For Installation
- Always disconnect the battery before removal and follow manufacturer procedures.
- Inspect connectors for corrosion and clean contacts if necessary before fitting the new switch.
- Check fuses and the flasher relay when diagnosing hazard light faults to rule out related causes.
- Keep replacement part numbers handy (96472122KR / 96472122XT / 6554RQ) to ensure correct ordering.
Why Replace This Part
Replacing a failing hazard switch restores essential safety signaling and prevents situations where the vehicle cannot warn other road users in an emergency. Because the part is inexpensive and relatively simple to replace, prompt replacement is recommended when any of the symptoms appear.