Description
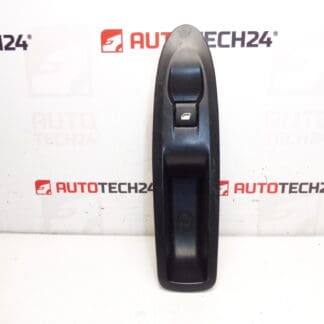
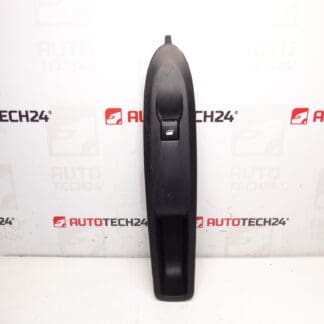
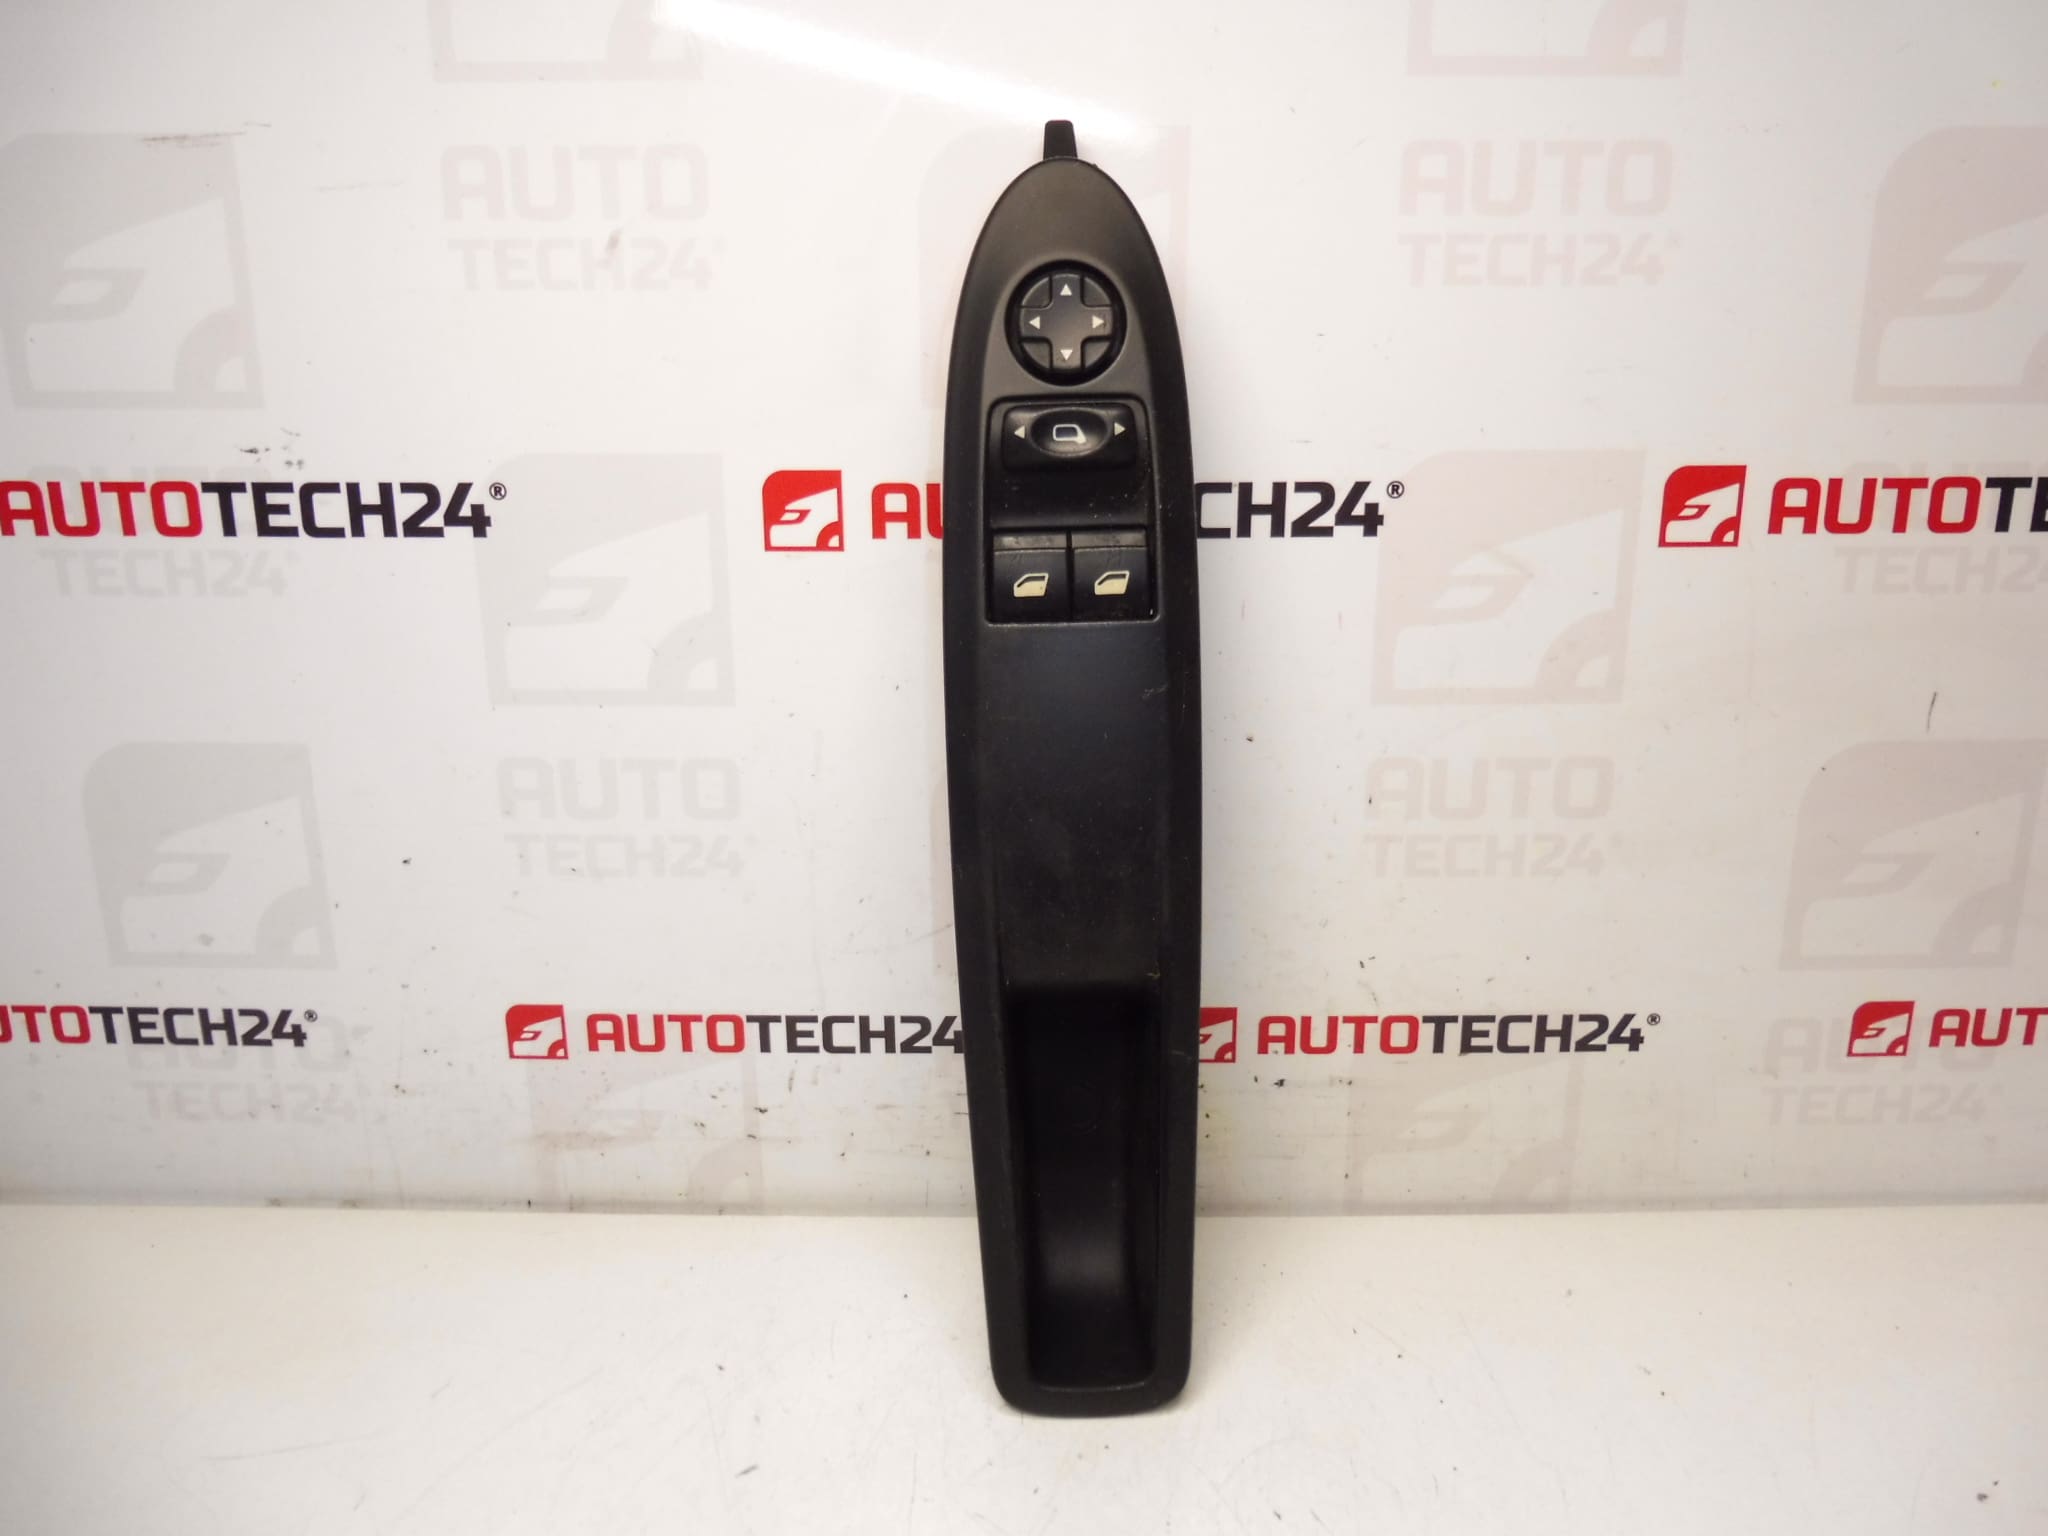
Window And Mirror Switch For Citroën C4 II B7, DS4 – Driver Door. Fully Functional – Shows Signs Of Use. Color HZD – Black Mistral.
Product Overview
This original used driver-door window and mirror control switch is suitable for Citroën C4 II (B7) and DS4 models. It controls the front windows and the exterior mirror adjustments from the driver’s door panel. Ideal for mechanics and competent DIY enthusiasts who need a direct OE-fit replacement using part numbers 96657055ZD or 6490JW.
Why Choose This Switch
Direct-fit OE part for Citroën/Peugeot platform cars (Stellantis). Replacing a faulty driver door switch restores reliable window operation and mirror adjustment without adapting other wiring or modules in most cases. The unit is practical for workshop stock because it is commonly searched by its product codes (96657055ZD, 6490JW).
Technical Information
- Manufacturer: Citroën (Stellantis)
- Model: C4 II (B7), DS4
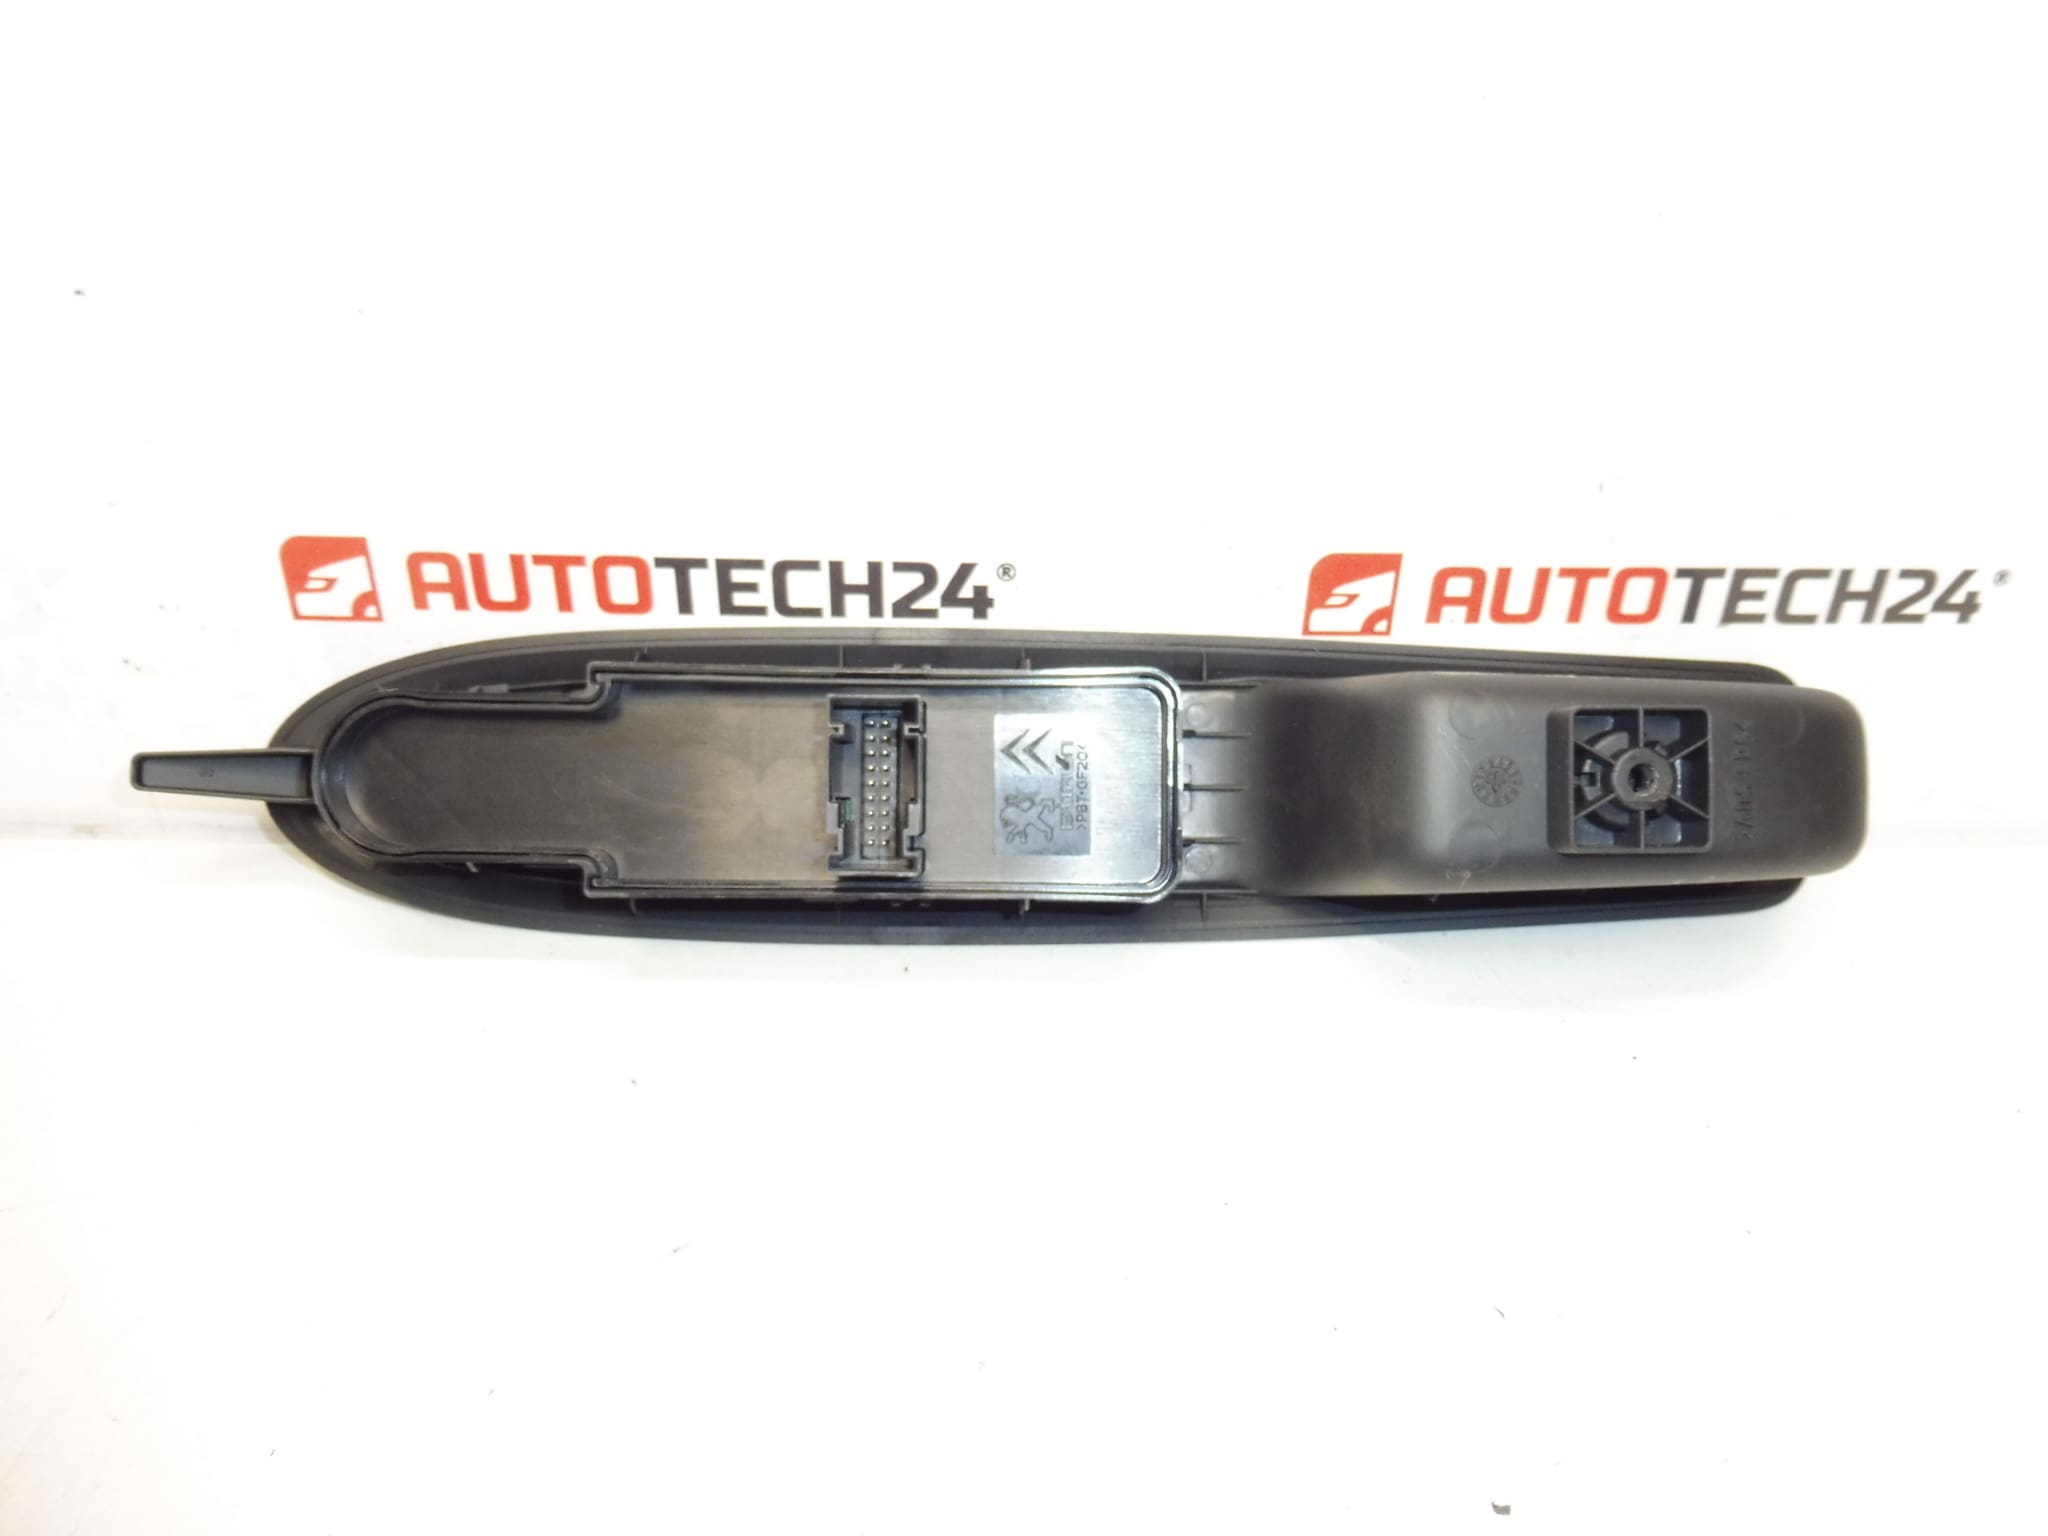
- Product Codes: 96657055ZD, 6490JW
- Other Numbers: N/A
- Location: Driver Door
- Color: Black Mistral (HZD)
- Condition: Used, Fully Functional, Shows Signs Of Use
How It Is Replaced
Replacement is straightforward for a trained mechanic or experienced DIYer: remove the door trim panel, disconnect the electrical connector from the switch, unclip the switch from the trim, and install the replacement by reversing the procedure. Ensure correct seating of retaining clips and that the connector is fully engaged. Test all window and mirror functions before reassembling the door panel.
Installation Recommendations
- Disconnect the negative battery terminal before starting work as a safety precaution.
- Use appropriate trim tools to avoid damaging door cards and plastic clips.
- Compare product codes printed on the original switch with 96657055ZD / 6490JW to confirm match.
- After installation, cycle each window and mirror to verify full function.
- Recommended For: Professional Installation Or Experienced DIYers.
Common Failure Reasons
Driver door switches commonly fail due to electrical contact wear from frequent use, ingress of moisture or dirt causing corrosion, and broken plastic actuators or mounting clips. Wiring harness faults or poor connector contacts can also produce intermittent operation. Regular use over many years (typical lifespan varies by use and environment) is the main cause of failure.
Compatibility And Notes
This switch is primarily referenced by the part numbers 96657055ZD and 6490JW and fits Citroën C4 II (B7) and DS4 driver doors. It is supplied used and shows normal signs of wear. Always verify part numbers listed in the Technical Information before ordering to ensure correct fitment for your vehicle.