Description
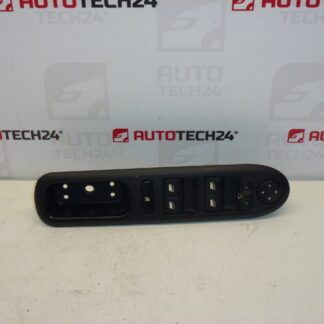
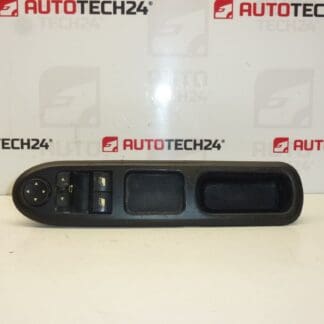
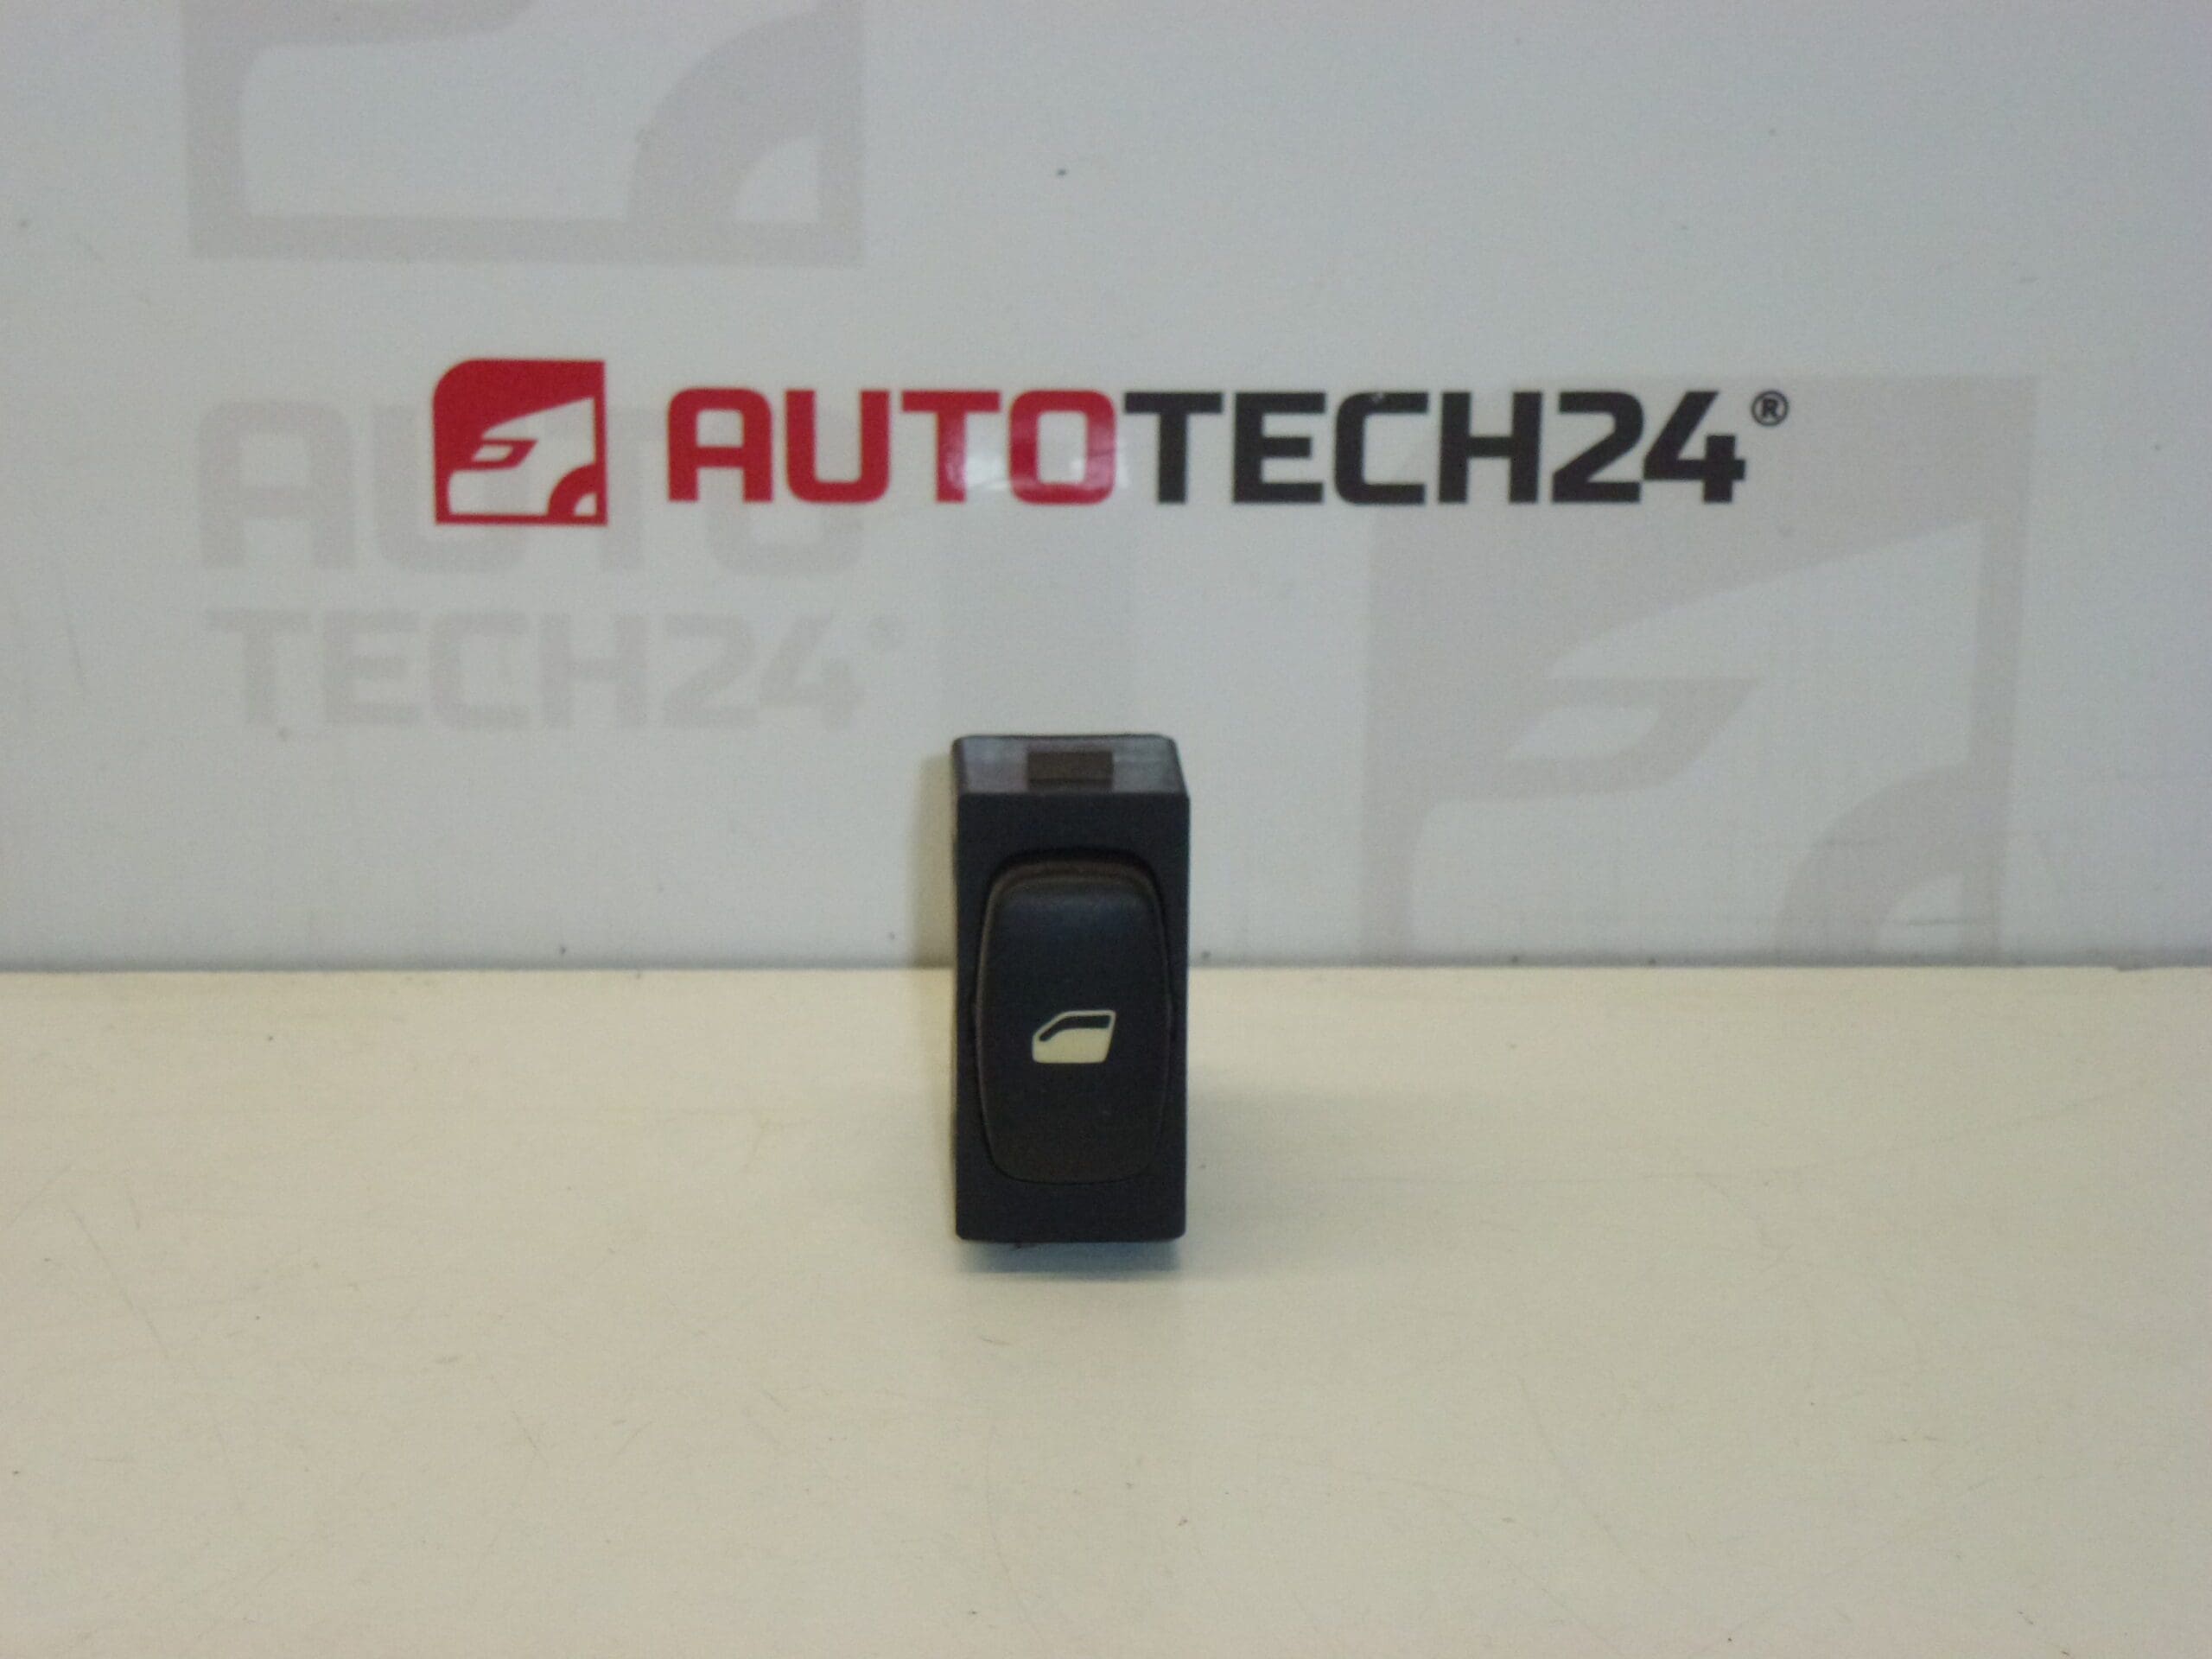
Window switch for Peugeot and Citroën vehicles. From Peugeot 307 and 407.
High-quality replacement window control switch designed for power windows in Peugeot 307 and Peugeot 407/Citroën equivalents. This switch restores reliable up/down operation of the driver or passenger window and is suitable for professional workshops and DIY mechanics who expect a direct-fit unit that matches OE function and mounting. Clear tactile feedback and robust contacts ensure comfortable everyday use, while the compact design fits original door switch housings.
Compatibility
Fits Peugeot 307; Fits Peugeot 407; Compatible With Corresponding Citroën Models Using The Same Switch Assembly.
Technical Information
- Manufacturer: Stellantis (Peugeot / Citroën)
- Model: Peugeot 307, Peugeot 407
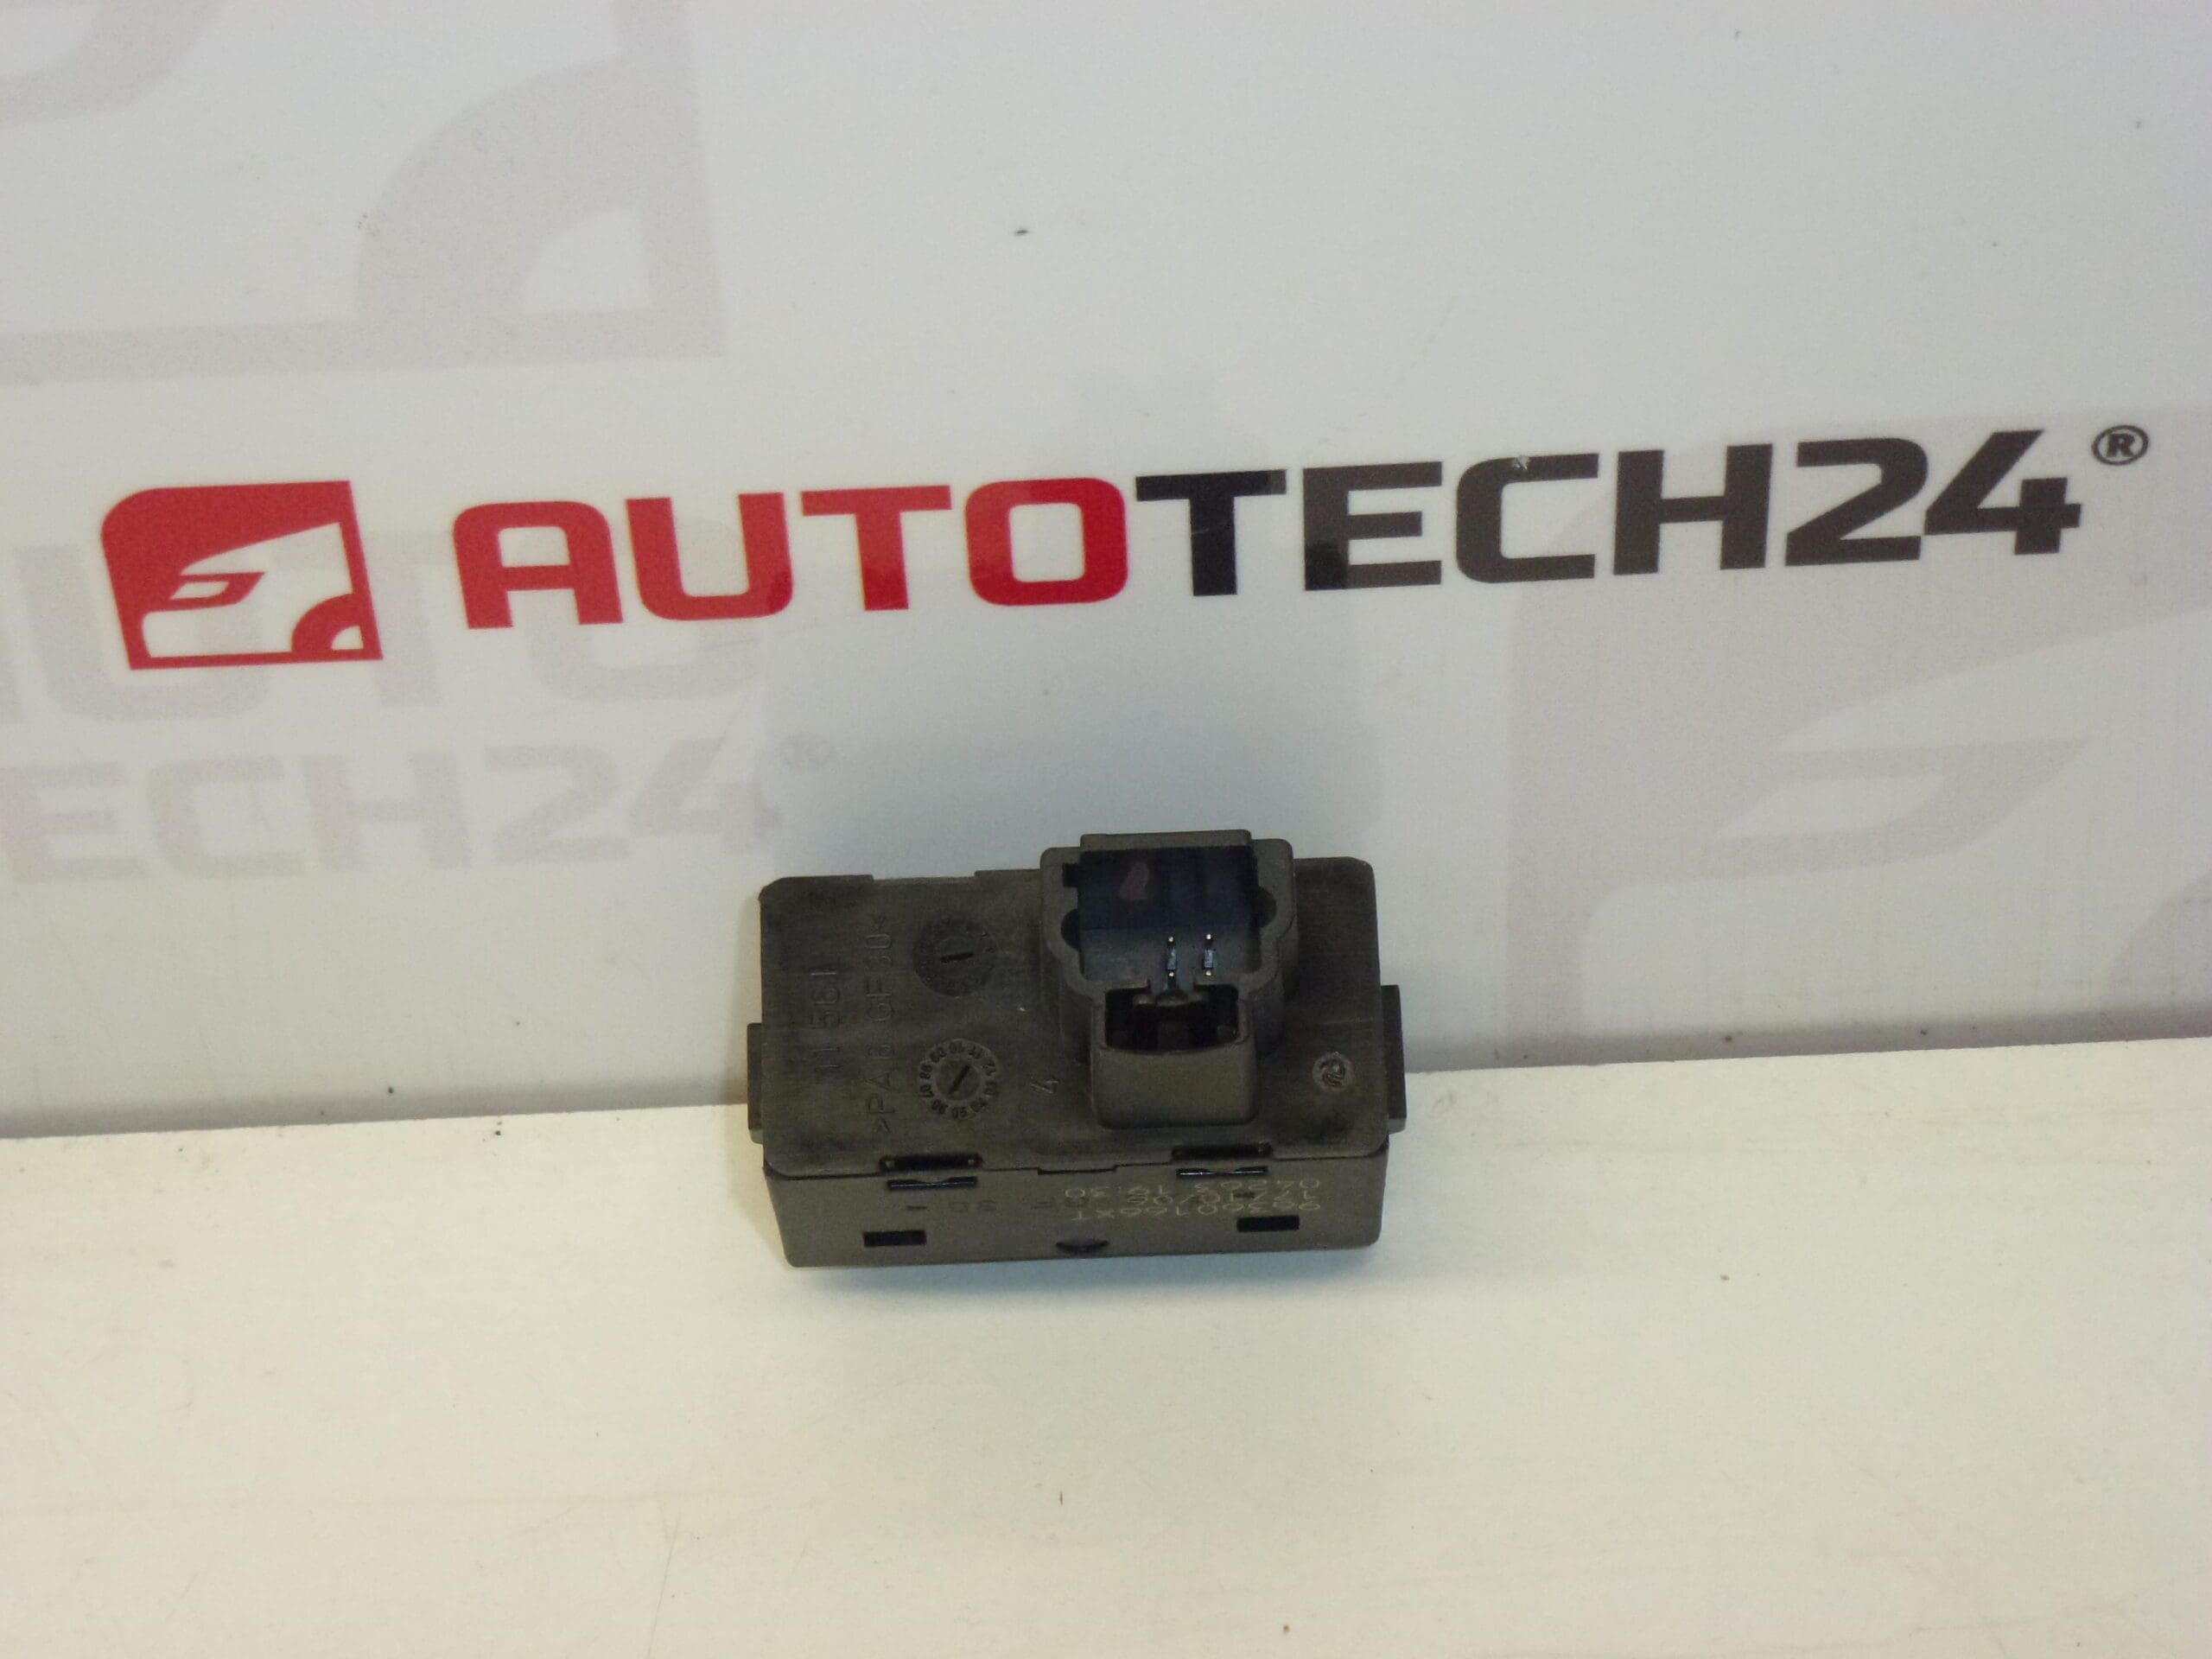
- Product Codes: 96360166XT
- Other Numbers: 6554E8
Function And Typical Symptoms
The switch controls the power window motor circuit allowing the window glass to move up and down. Typical failure symptoms include unresponsive window movement, intermittent operation, windows moving only in one direction, or a switch that feels loose or has poor tactile feedback. Failures may be isolated to one button or affect the entire switch cluster.
Why The Part Fails
Most Common Causes Of Failure: Repeated Mechanical Wear On Contacts From Frequent Use, Moisture Or Dirt Ingress Leading To Corrosion, Plastic Clip Or Button Breakage Due To Aging, And Electrical Issues Such As Shorted Contacts Or Connector Corrosion. High-Mileage Vehicles And Cars Exposed To Humid Environments Are More Prone To These Problems.
Installation Recommendations
Installation Is Straightforward For Experienced Technicians: Remove The Door Trim Or Switch Bezel, Carefully Pry Out The Old Switch, Disconnect The Electrical Connector, And Plug In The Replacement Switch Before Reassembling. Recommended Precautions: Disconnect The Battery Or Ensure Ignition Is Off Before Working On Electrical Components; Inspect The Connector For Corrosion; Clean The Contact Area If Necessary; Do Not Force Plastic Clips When Reinstalling To Avoid Breakage. After Installation, Test All Window Functions To Confirm Correct Operation.
Advice For Purchase
Search By Product Code (96360166XT / 6554E8) For Fast Matching. Suitable For Garages And DIYers Who Need A Direct-Replacement Window Switch For Peugeot 307 And 407 Applications. If The Switch Shows Intermittent Behavior, Check Wiring And Ground Connections In Addition To Replacing The Switch.