Description
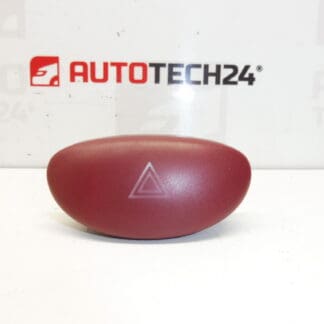
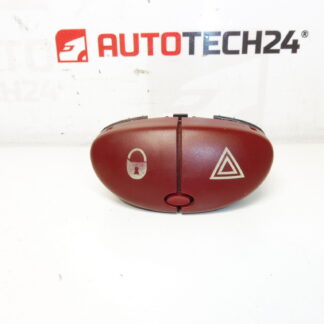
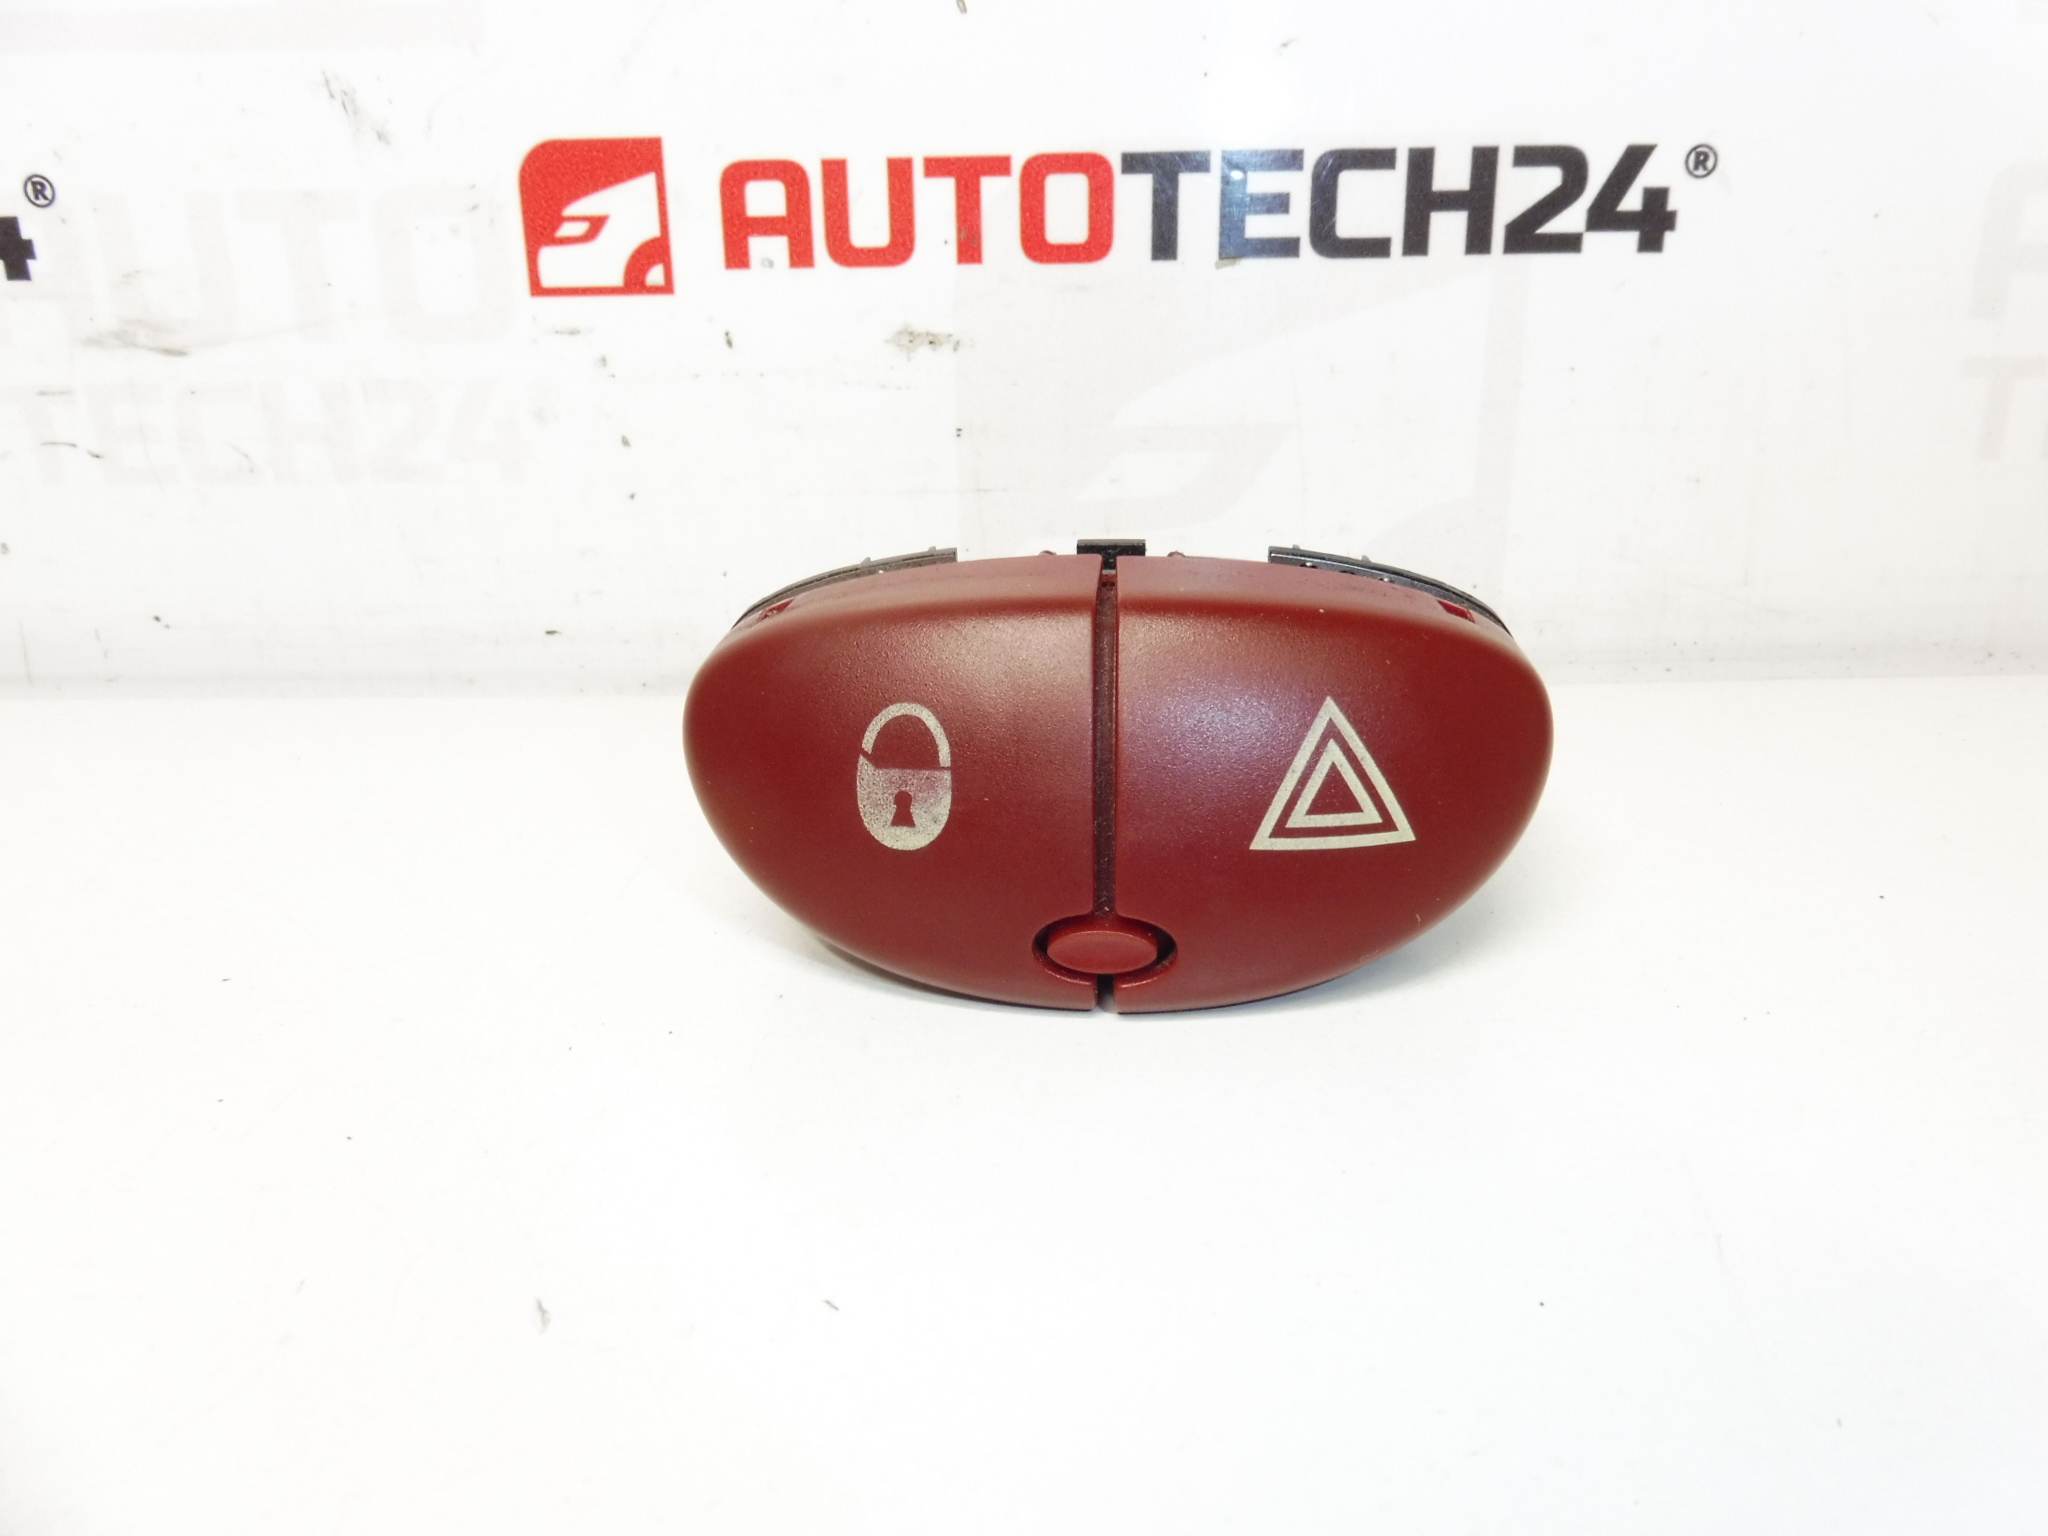
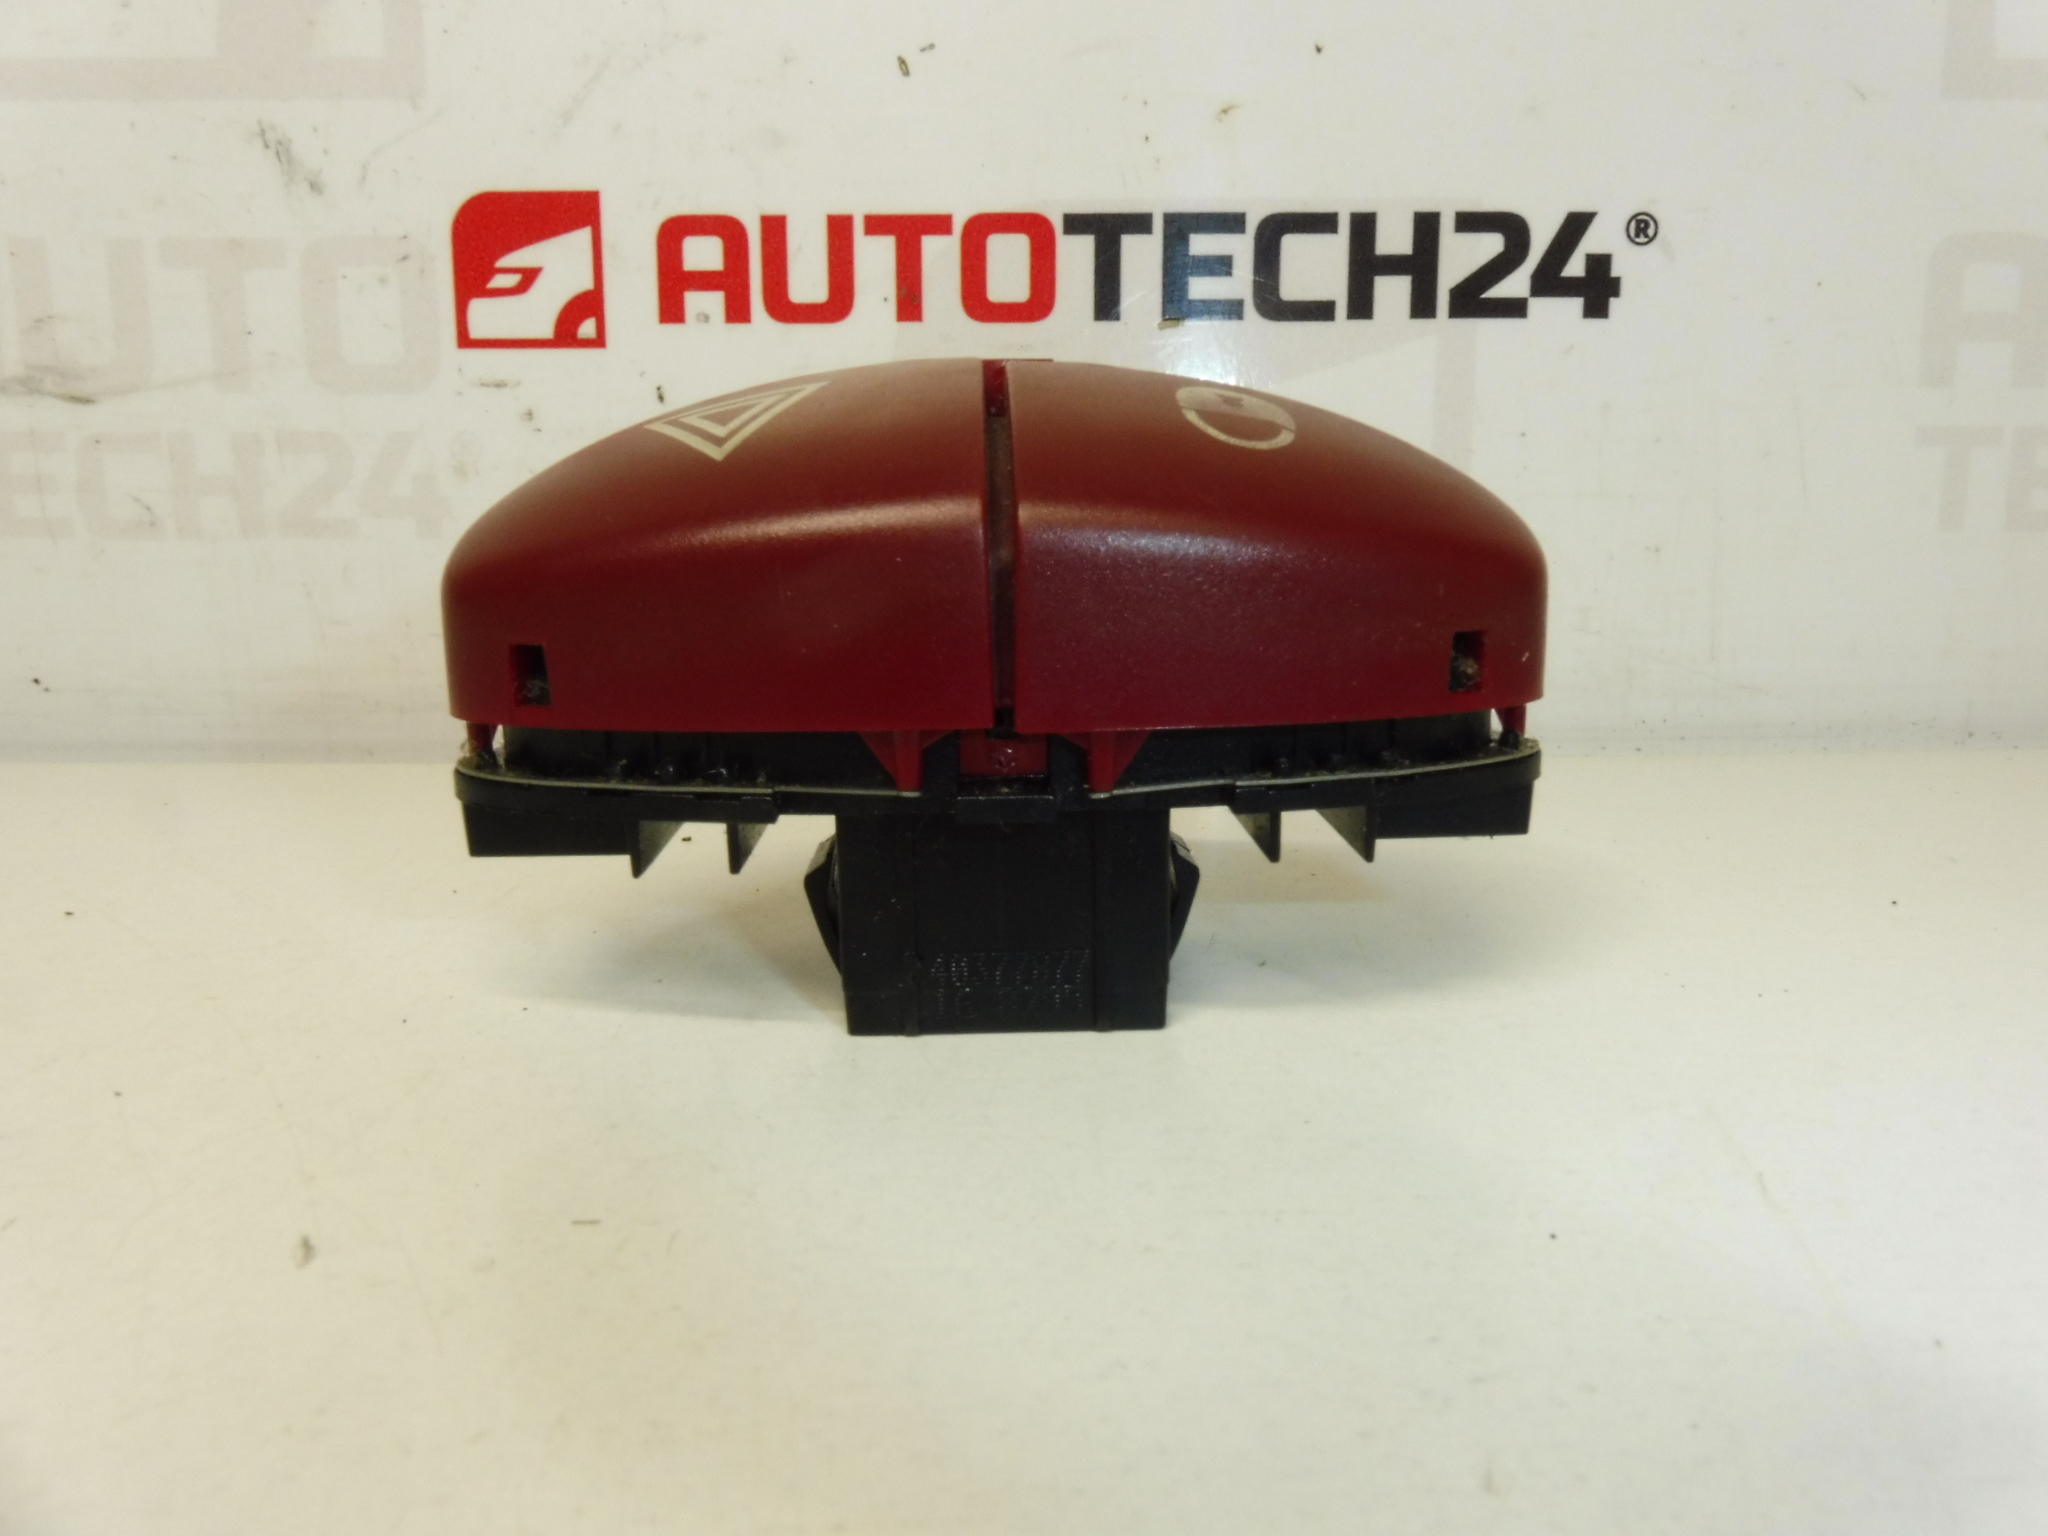
Switch for hazard lights and central locking for Citroën and PEUGEOT vehicles. This is a fully functional used part that may show signs of wear. Version FJK – RUBIS.
This Valeo hazard warning and central locking switch is a direct-fit replacement commonly used on older Citroën and Peugeot models. Ideal for professional workshops and DIY mechanics, the unit is often searched by part numbers 40377877, 6554L0 and 6554W9 — include these codes when looking for exact matches. The switch controls the vehicle’s hazard flashers and central locking command from the dashboard, with a robust mechanical design intended for regular daily use.
Technical Information
- Manufacturer: Valeo
- Model: Citroën Xsara Picasso; Peugeot 206 (example applications)
- Product Codes: 40377877, 6554L0, 6554W9
- Additional Numbers: FJK – RUBIS
Function
The unit operates the hazard warning lights and integrates the central locking switch function. Pressing the hazard button activates all exterior indicators simultaneously for emergency signalling. The integrated locking/unlocking command sends the electrical signal to the car’s locking system to lock or unlock doors.
Common Causes Of Failure
Typical failure modes for dashboard switches of this type include worn internal contacts due to repeated use, mechanical damage to the actuator or housing (broken clips or button), contamination or oxidation on electrical terminals, and failure of internal illumination. Moisture ingress and rough handling during dashboard removal are frequent contributors to malfunction.
How To Replace
- Disconnect the negative battery terminal before any work to prevent short circuits and protect airbags/electronic units.
- Remove surrounding trim panels carefully using appropriate trim tools to avoid breaking clips.
- Unscrew or unclip the switch retaining fasteners and pull the switch assembly forward just enough to access the electrical connector.
- Disconnect the wiring harness connector by releasing the locking tab and gently pulling it free.
- Install the replacement switch by connecting the harness, seating the unit in its bezel and securing the fasteners.
- Reconnect the battery, test hazard lights, switch illumination and central locking functions before reassembling trim.
Installation Recommendations
Use plastic trim tools to avoid damaging the dashboard. Inspect and clean the connector pins before installation; a contact cleaner is recommended for oxidised terminals. Do not force connectors — ensure locking tabs engage. After fitting, verify all related functions (hazards, individual indicators, central locking) and check associated fuses if there is no response. Always follow manufacturer safety procedures when working near airbags.
Why This Part Usually Fails
The switch is a high-use component and is subject to mechanical wear from frequent pressing. Dirt and moisture or corrosion at the connector accelerate electrical contact issues. Accidental damage during interior disassembly is another common cause, especially when trims are removed without the correct tools or techniques.
This listing is useful for anyone searching by part number — enter 40377877, 6554L0 or 6554W9 when checking fitment. Suitable for mechanics and experienced DIYers familiar with dashboard removal and basic electrical checks.