Description
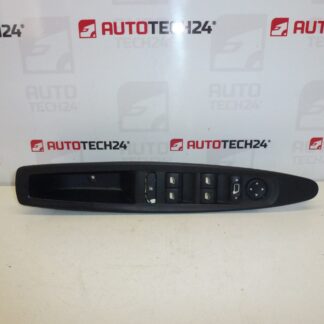
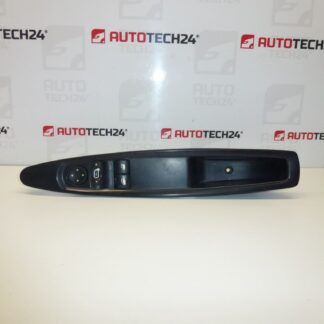
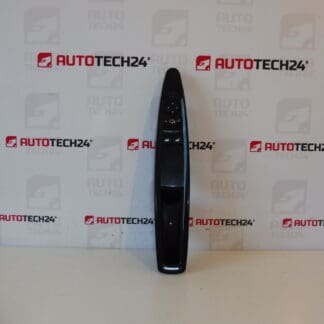
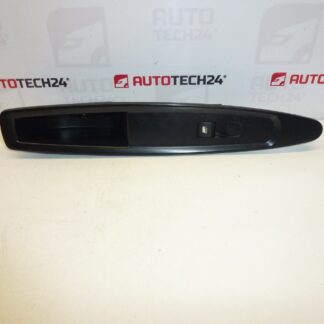
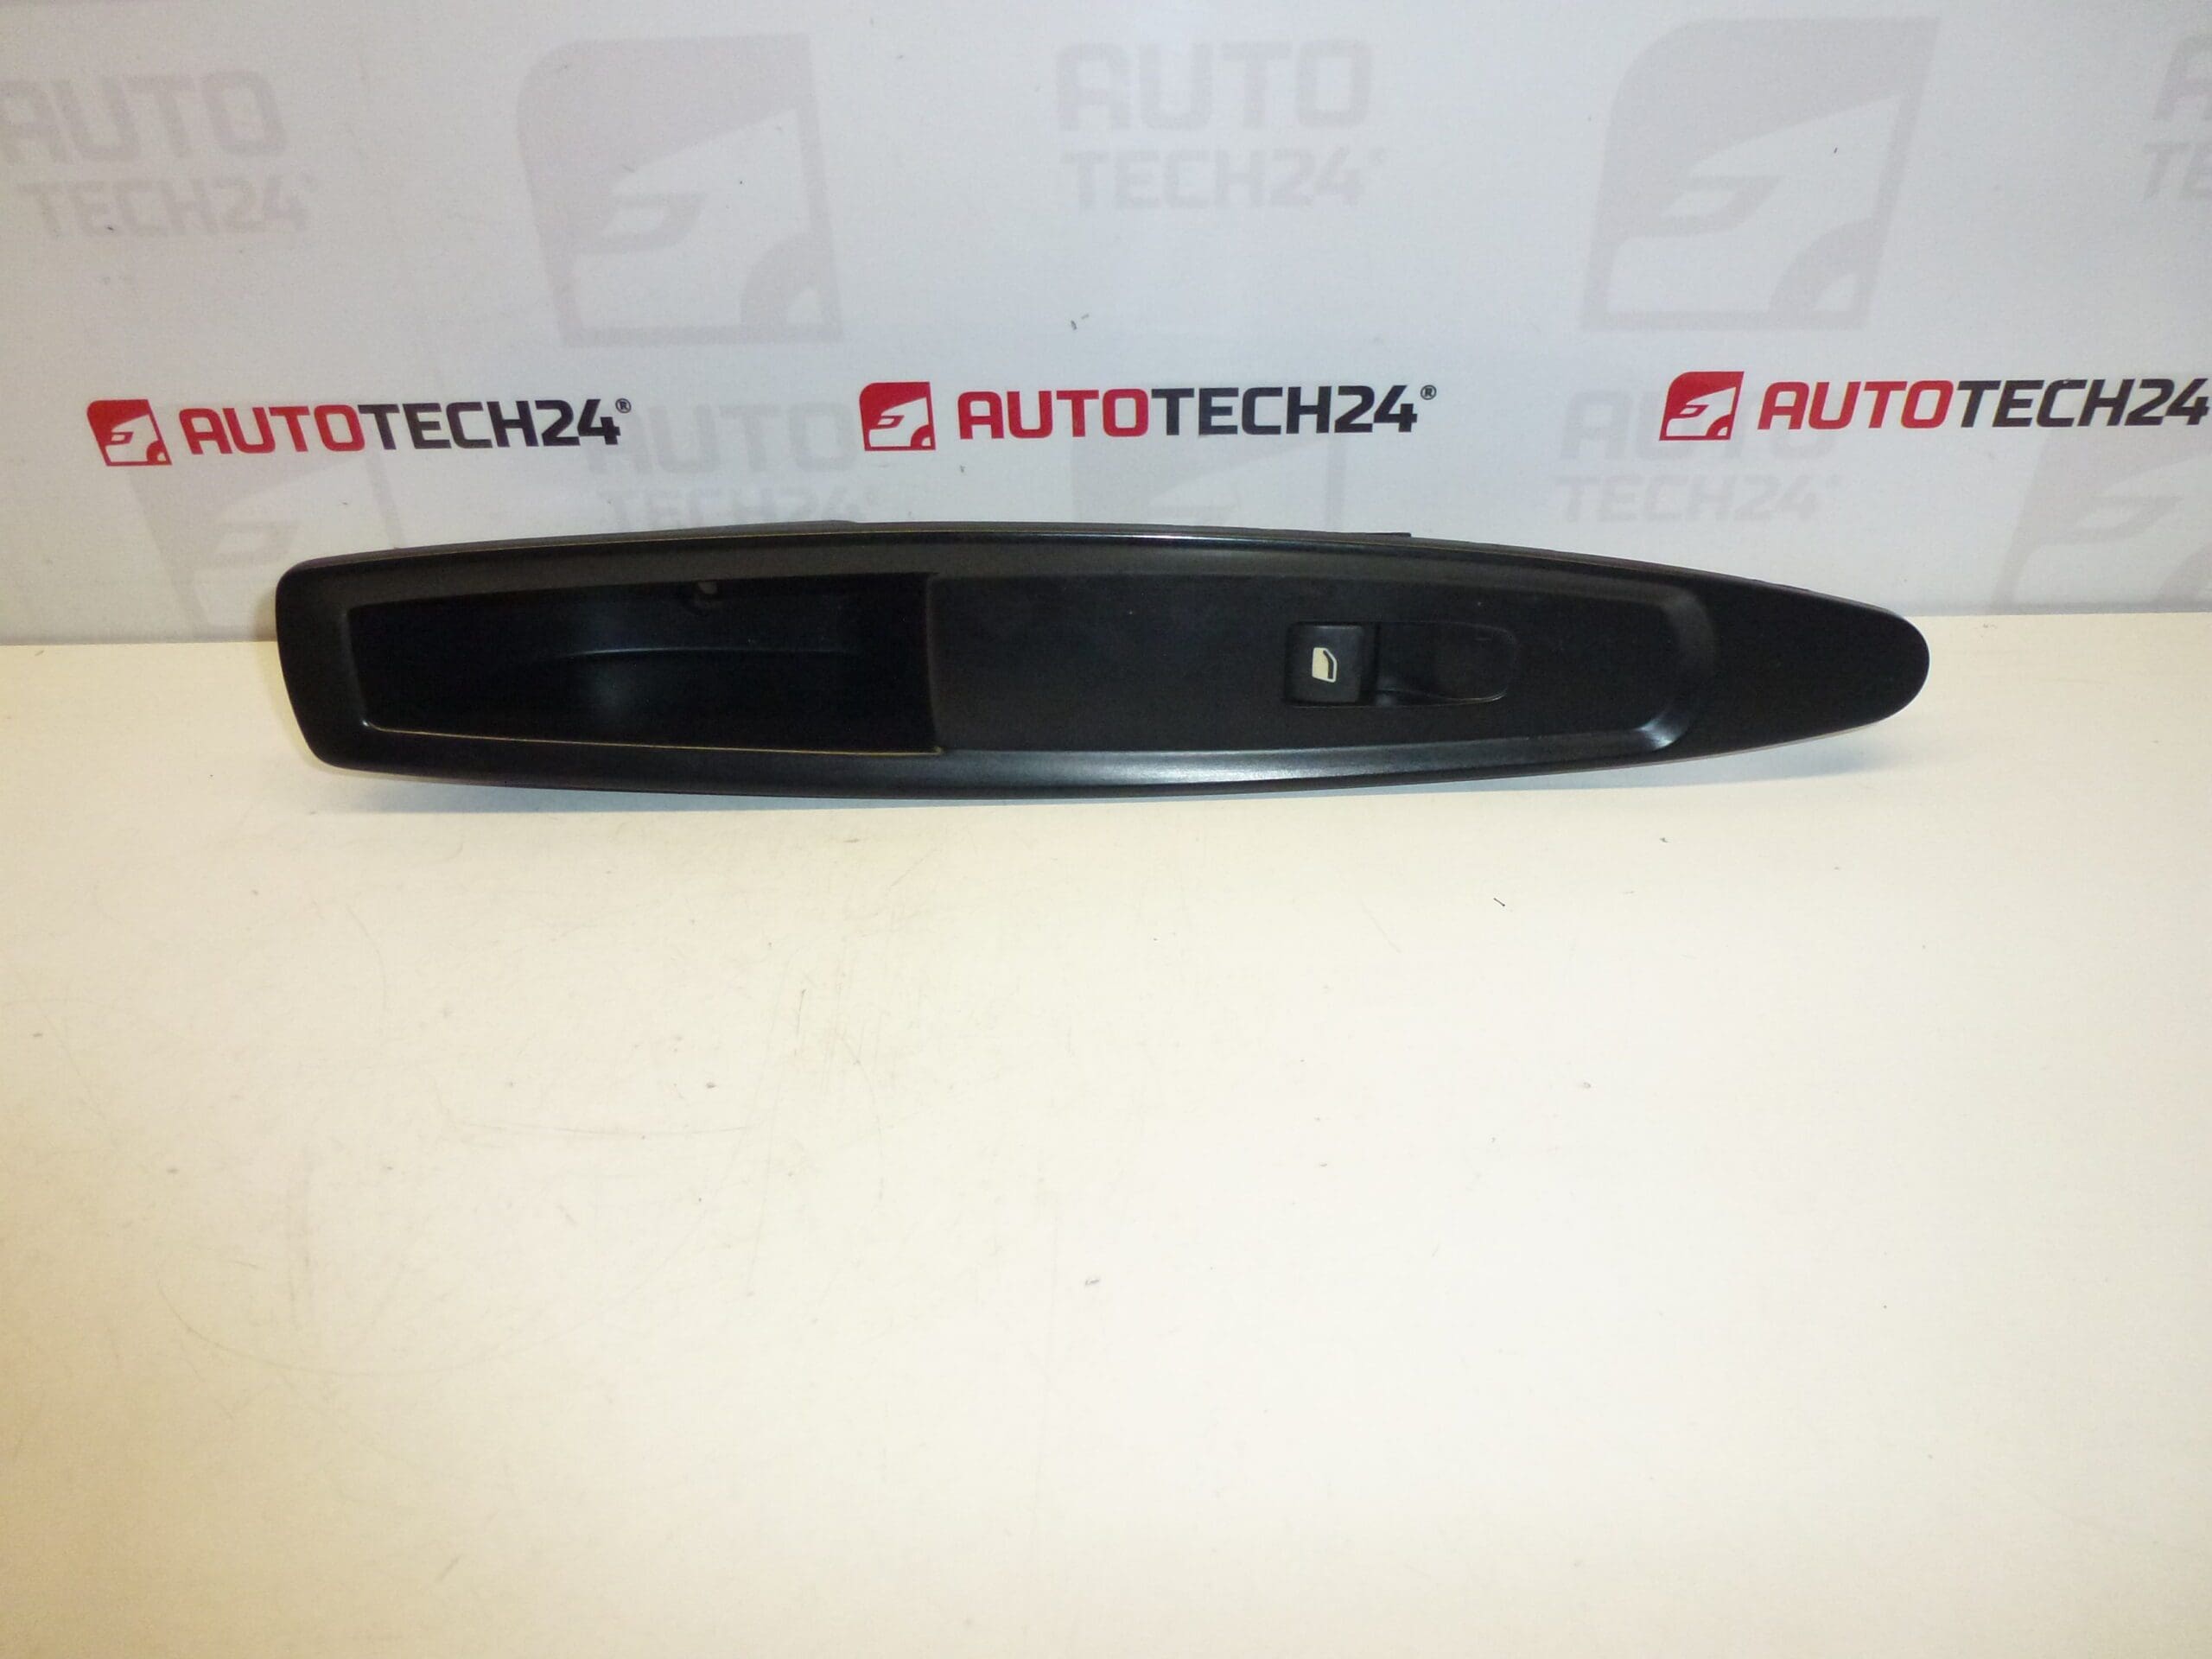
Front Passenger Door Window Switch for Citroën C4 First Generation
Version FXT – Black Cornelie
High-quality replacement front passenger window switch designed for Citroën C4 (first generation). Ideal for professional mechanics and DIY enthusiasts who search by part number (9651465677 / 6554HF). This switch restores reliable electric window control, improves cockpit ergonomics and matches the original interior finish (FXT – Black Cornelie).
Features
- Direct-fit electric window switch for front passenger door.
- OEM-style fitment and connector layout for easy installation.
- Durable plastic housing with OEM color/finish (Black Cornelie).
- Suitable for workshop replacement or quick field repair.
Technical Information
- Manufacturer: Stellantis (Citroën / Peugeot)
- Model: Citroën C4 (First Generation)
- Product Codes: 9651465677, 6554HF
- Additional Numbers: 9651465677 6554HF
Compatibility
Primary fitment: Citroën C4 First Generation (commonly vehicles produced mid-2000s; verify model generation visually and by part number). This switch is typically used where the original part carried code 9651465677 or reference 6554HF.
Function And Common Symptoms
The switch controls the up/down movement of the front passenger electric window. Typical failure symptoms include intermittent or no response from the passenger window, stuck or slow window travel, or physical damage to the switch surround. Electrical faults often present as a working driver’s master switch but non-responsive passenger switch.
Why The Part Fails Most Often
- Wear Of Internal Contacts: Frequent use causes contact erosion and intermittent operation.
- Moisture Ingress: Water or condensation entering the door pocket corrodes connectors and switch internals.
- Mechanical Damage: Broken actuator tab or housing from rough handling or impact when removing door trim.
- Wiring And Connector Issues: Frayed wires or poor connector seating can mimic switch failure.
Replacement Procedure
- Disconnect the negative battery terminal before starting work to avoid short circuits when handling electrical components.
- Carefully remove the door trim using appropriate trim tools to avoid damaging clips and upholstery.
- Unscrew and unclip the switch bezel or assembly from the door card.
- Unplug the electrical connector(s) and remove the old switch.
- Fit the new switch, connect the wiring harness and briefly reconnect the battery to test operation (window up/down and safety/auto functions).
- If operation is correct, disconnect the battery again, secure the switch and reassemble the door trim in reverse order.
Installation Recommendations
- Always disconnect the battery before removing interior panels or electrical parts.
- Use plastic trim tools to prevent scratches and broken clips.
- Inspect connector pins and wiring for corrosion or damage; clean terminals if needed before installation.
- Test the switch and window operation before final reassembly to save time if further adjustments are required.
- If window motor or regulator shows signs of failure (grinding, slow travel, slipping), replace or repair those components in addition to the switch—replacing the switch alone will not cure regulator or motor faults.
Notes For Workshops
This part is supplied as a direct-replacement switch. When troubleshooting electrical faults, check fuses, wiring continuity and door-earths as part of a proper diagnostic routine. For professional fitment, follow manufacturer repair procedures and use appropriate tools.