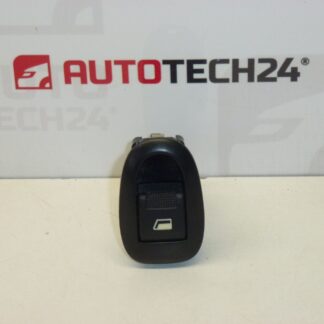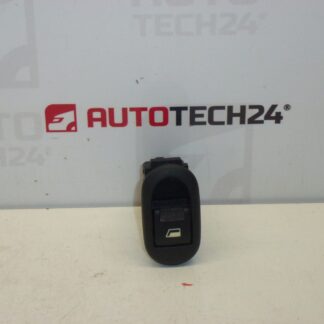
Description
Window switch for CITROËN C2, C3 and Pluriel. With end travel – sequential control.
Designed for professional mechanics and experienced DIYers, this power window switch is a direct-fit replacement for select Citroën models. Commonly searched under part numbers 96401469XT and 6554L7, it restores reliable electric window operation and improves convenience for drivers. Compatible with original wiring harnesses and mounting points, the unit is suitable for workshop repairs and home servicing.
Features and Function
– Sequential control: built-in sequential (one‑touch style) operation that completes window travel after a single press where the vehicle wiring supports this feature.
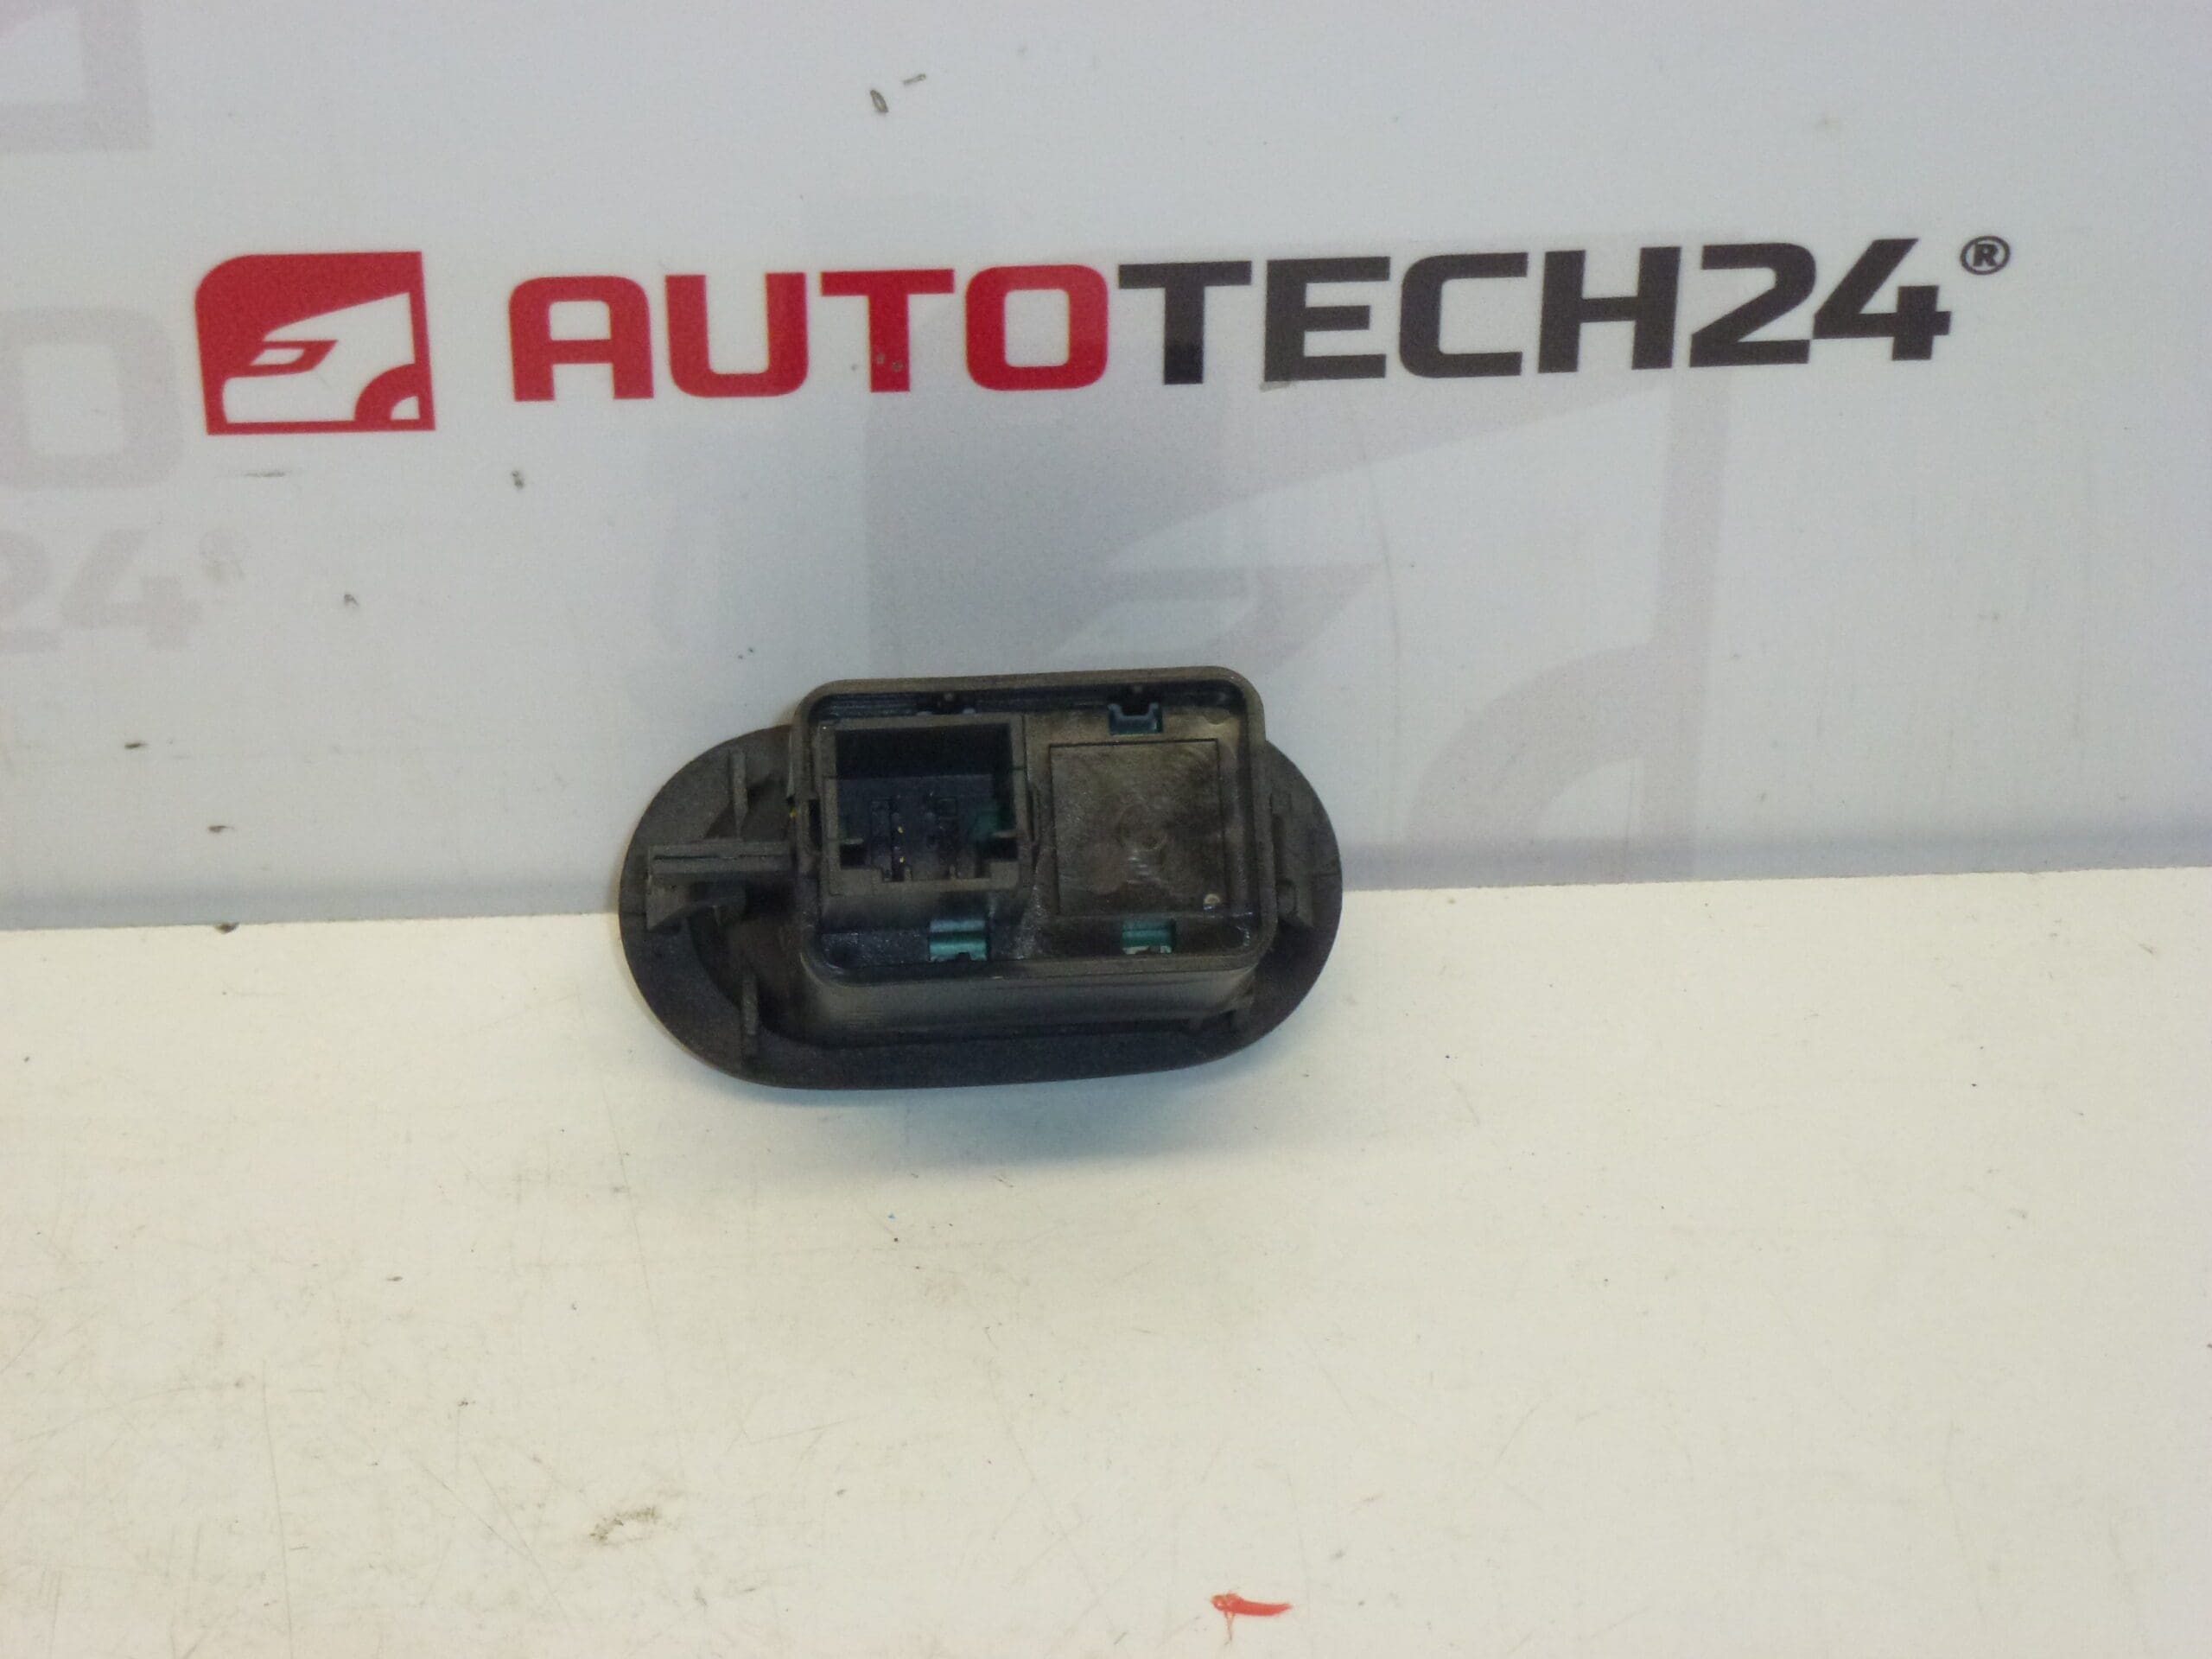
– Robust plastic housing with integrated electrical connector for easy swap‑in replacement.
– Designed to work with the vehicle’s existing window motor and regulator; the switch itself controls the up/down commands and travel end detection.
Installation Recommendation
Before starting, disconnect the negative battery terminal to avoid short circuits. Typical replacement steps:
- Remove the door trim and any retaining screws or clips around the switch bezel.
- Carefully pry out the switch module using trim tools to avoid damaging the panel.
- Unplug the electrical connector and, if applicable, remove any retaining screws or clips securing the module.
- Fit the new switch, reconnect the connector and reconnect the battery. Test window function (including sequential one‑touch) before reassembling the door panel.
Recommended tools: panel trim tools, Phillips or Torx drivers (depending on vehicle), small flat screwdriver and a multimeter for fault tracing if required.
Why This Part Most Commonly Fails
Switches fail primarily due to wear of internal contacts after repeated use, moisture and dirt ingress causing oxidation or short circuits, and mechanical damage to the plastic actuator or housing. Heavy daily use, spilled liquids in the door pocket and intermittent electrical faults in the door loom accelerate failure. Corroded connectors or poor grounding can mimic switch faults, so always check wiring and fuses when diagnosing.
Maintenance Tips
Prevent premature failure by avoiding liquid spills near the switch, keeping the door seals in good condition to reduce moisture entry, and cleaning contacts only with appropriate electrical contact cleaner if accessible. If a switch feels sticky or intermittent, replace promptly to avoid further electrical issues.
Technical Information
- Manufacturer: Stellantis / Citroën
- Model: Citroën C2, Citroën C3, Citroën C3 Pluriel
- Product Codes: 96401469XT
- Other Numbers: 6554L7
This switch is aimed at technicians and competent DIYers who want a reliable replacement part identifiable by the above part numbers. When fitted correctly, it restores normal electric window operation and user convenience on the listed models.