Description
Electric rear door lock for CITROEN and PEUGEOT cars
Part description
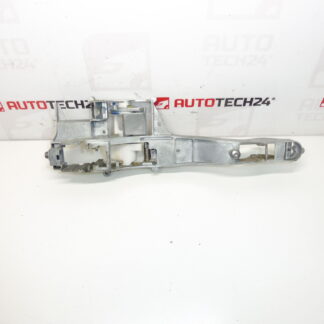
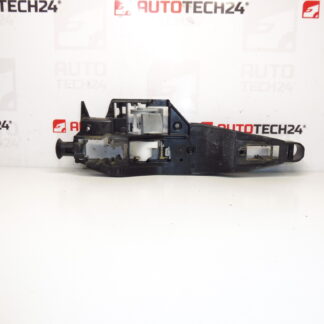
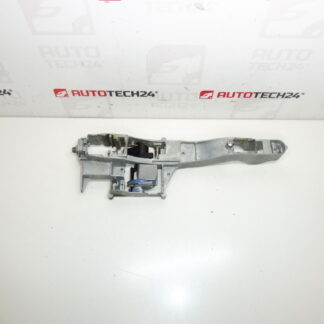
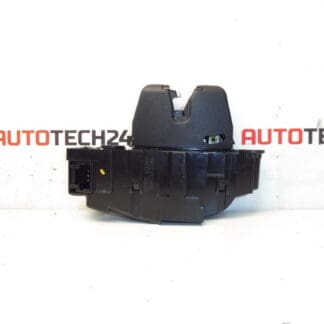
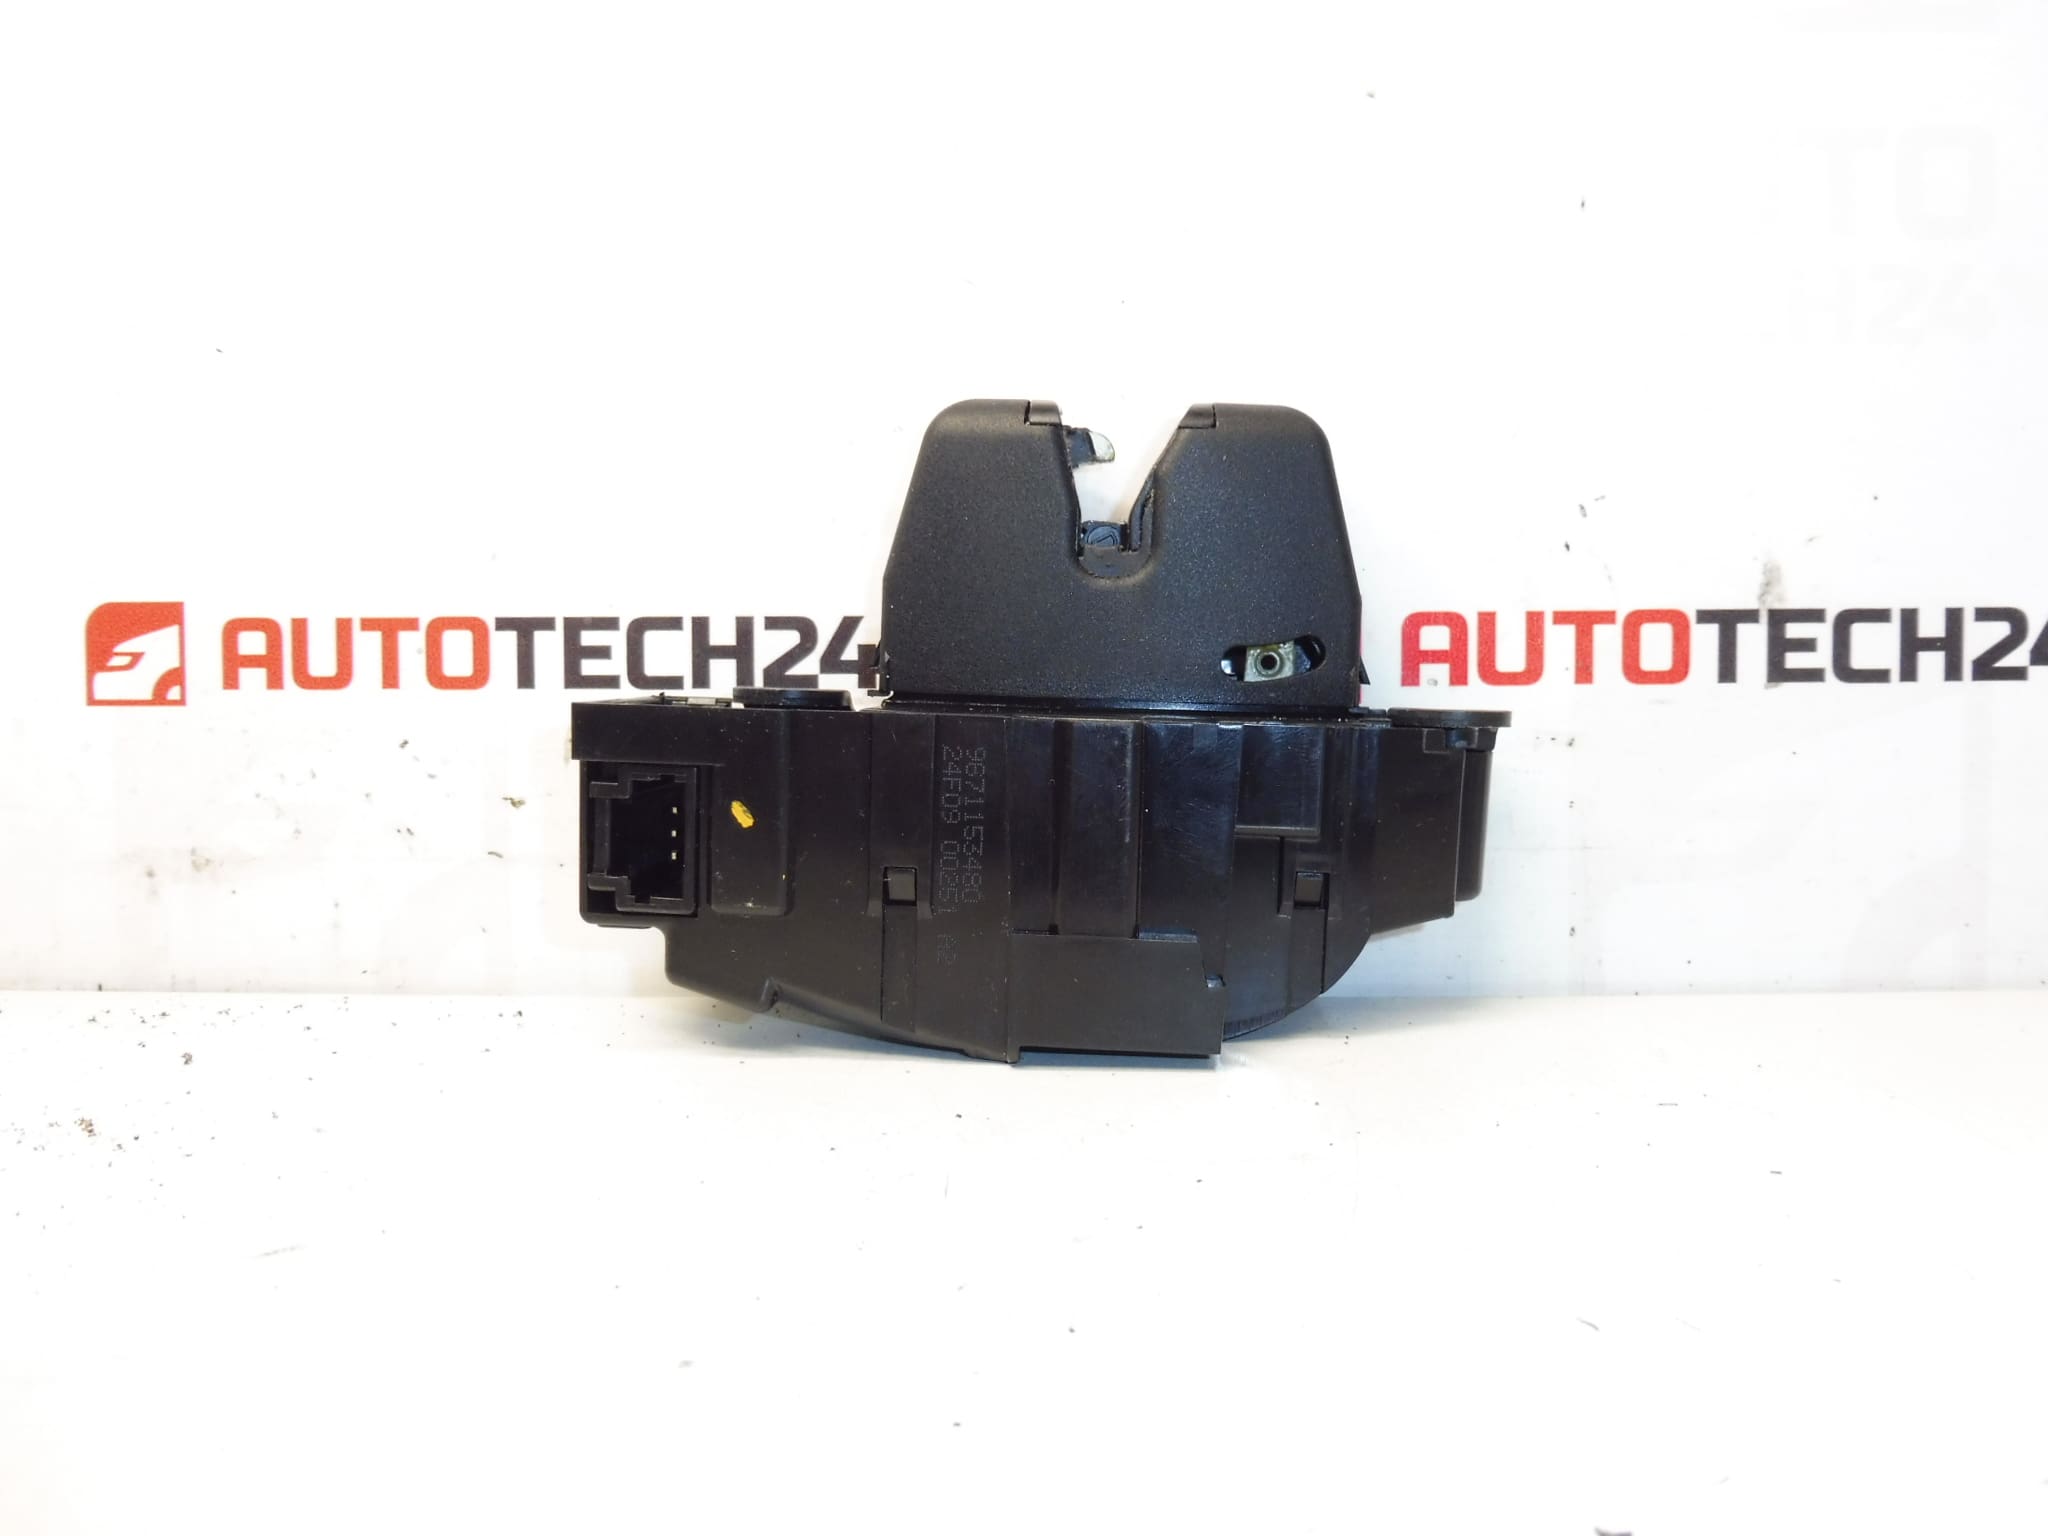
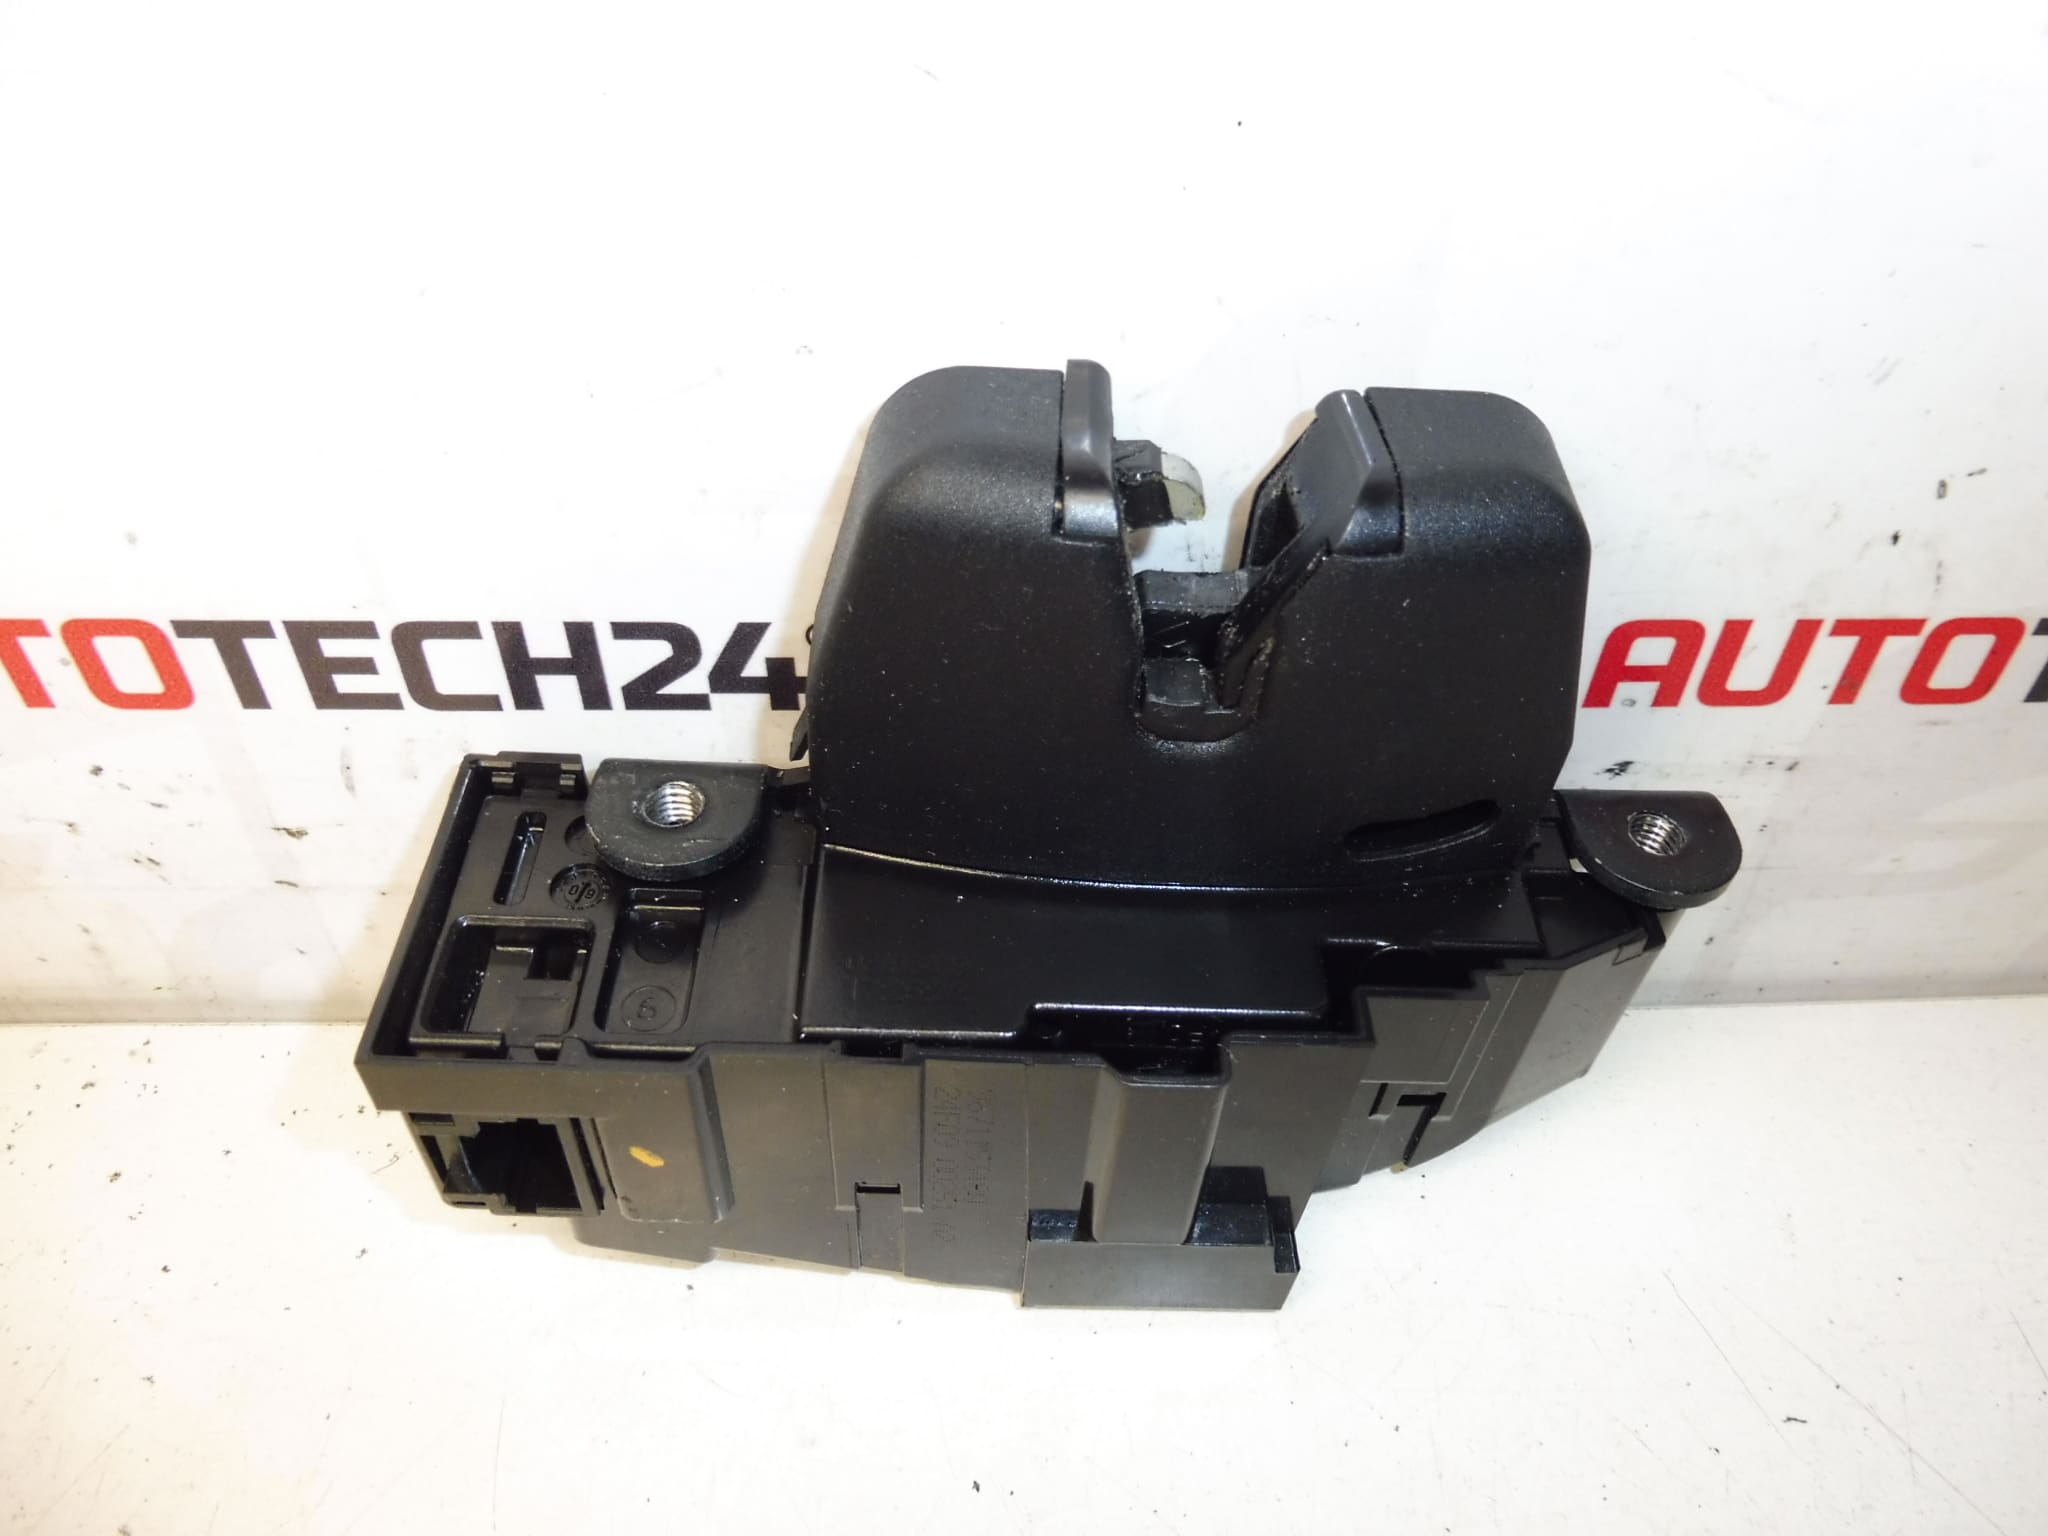
This used electric tailgate / tailgate lock is designed for Citroën and Peugeot cars. It is an important part of the bodywork and central locking, which ensures the correct closing, locking and unlocking of the rear part of the car. Parts of this type are often searched for by the original number, so when choosing, it is advisable to compare the markings on the existing part.
The lock is especially suitable for repairs when the original mechanism has stopped responding, the electric control is acting up or the back cover cannot be opened or closed reliably. It is a practical solution for car mechanics and DIYers when replacing a non-functioning original part with a suitable used one.
Technical information
- Manufacturer: Stellantis Citroën Peugeot
- Model: Citroën C3 Picasso, Citroën C4 PICASSO, Citroen C5 X7, Peugeot 207, Peugeot 308
- Other numbers: 9671153480, 8719G5
Product codes
Product codes: 9671153480, 8719G5
- Citroën C3 Picasso
- Citroën C4 PICASSO
- Citroen C5 X7
- Peugeot 207
- Peugeot 308
Installation recommendations
As the documents do not contain the exact installation procedure for a specific car model, below is a general procedure typically for replacing the tailgate / tailgate electric lock. Exact steps may vary by vehicle model and design.
1) Before assembly
- Check if the product designation of the old part and the new part match.
- Compare the shape of the lock, the attachment, the connector, the position of the latch and the routing of the rods or controls, if included.
- Inspect the used part for mechanical damage, cracks or excessive corrosion.
- Disconnect the battery before starting work, if this is in accordance with normal service practice for the vehicle in question.
2) Necessary tools and materials
- Set of common hand tools
- Screwdrivers and bits for panel removal
- Plastic crowbar for removing upholstery
- Contact cleaner and cloth
- Or a lubricant suitable for moving parts of the lock
3) Step-by-step assembly procedure
- Open the back cover or gain access to the inside of the door where the lock is located.
- Remove the interior trim to access the lock mount and electrical connector.
- Carefully disconnect the electrical connector from the original lock.
- If the mechanism includes pull rods or controls, carefully release them without damaging the handles.
- Unscrew or loosen the fastening of the old lock and remove the part.
- Compare the old and new piece side by side, especially the attachment points, connector position and mechanical parts.
- Clean the surroundings of the installation site, the contact surface and any dirt in the area of the lock.
- Place the new lock in place and tap it lightly to adjust the position.
- Connect the electrical connector and, if necessary, put back the tie rods or mechanical connecting parts.
- Tighten the lock fastening and check that the mechanism is not under tension and works freely.
- Before installing the trim, test the basic opening and locking function.
- After verifying the function, refit the inner lining and all the removed covers.
-
4) Post-assembly checks and test drive / function verification
- Check that the back cover closes correctly and that the lock is securely in place.
- Try unlocking and locking repeatedly, including central locking control if part of the system.
- Check if the mechanism is stuttering or making unusual noises.
- After a short drive, recheck the correct closing and function of the lock.
5) The most common assembly mistakes + how to avoid them
- Part replacement by appearance without code review – always compare part numbers and design.
- Damage to the plastic panel mounts – use a suitable pry bar and proceed with caution.
- Insufficient seating of the connector – after connecting, check that the connector is firmly seated.
- Incorrect position of the lock when tightening – always check the function of the mechanism before final assembly.
- Assembly without cleaning the surroundings – dirt and corrosion can negatively affect the operation of the lock.
Reasons why the part is damaged
- Normal wear and tear on the mechanism from frequent use of the back cover or door.
- Moisture and corrosion which can damage the electrical and mechanical parts of the lock.
- Clogging with dirt and dust, which leads to poorer operation or binding.
- Fault in the electrical control, for example a broken contact or weakened lock drive.
- Mechanical stress when slamming, door deformation or forceful opening.