Description
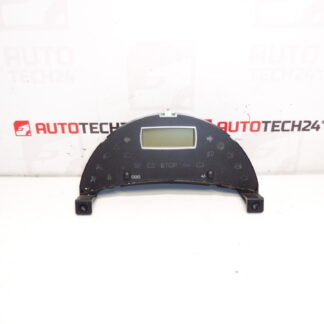
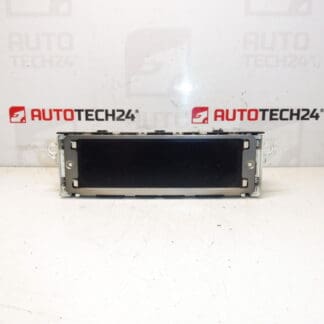
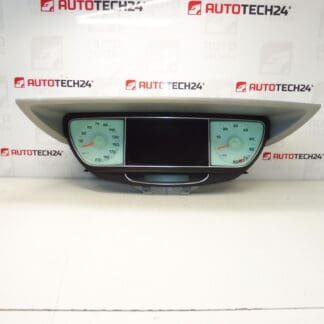
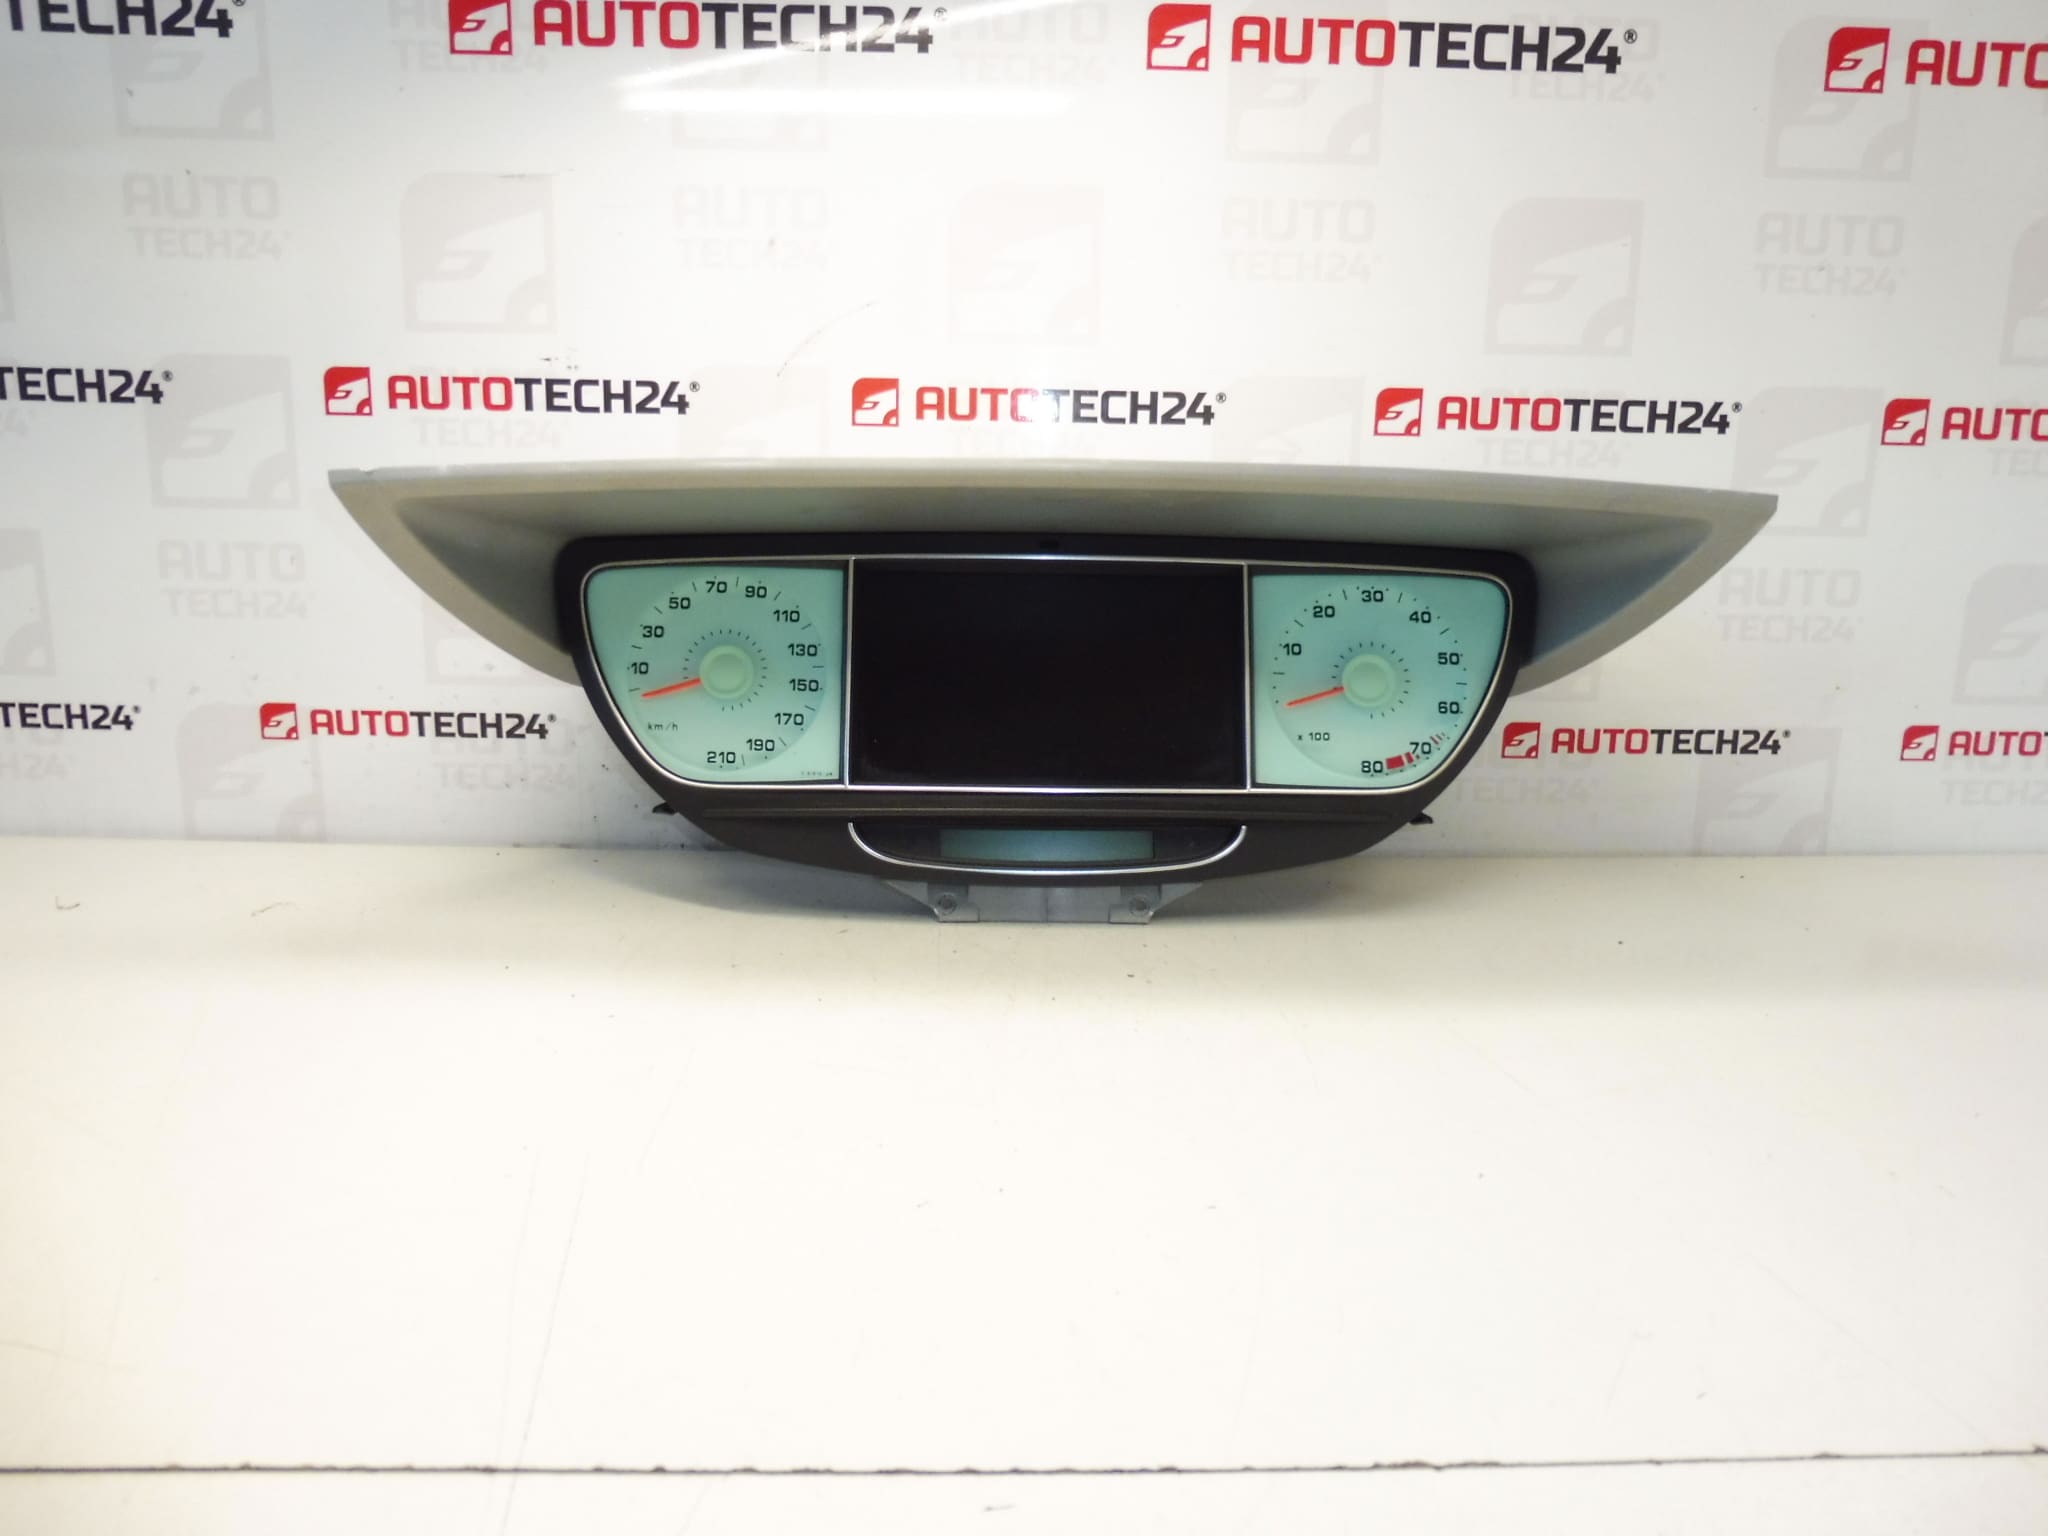
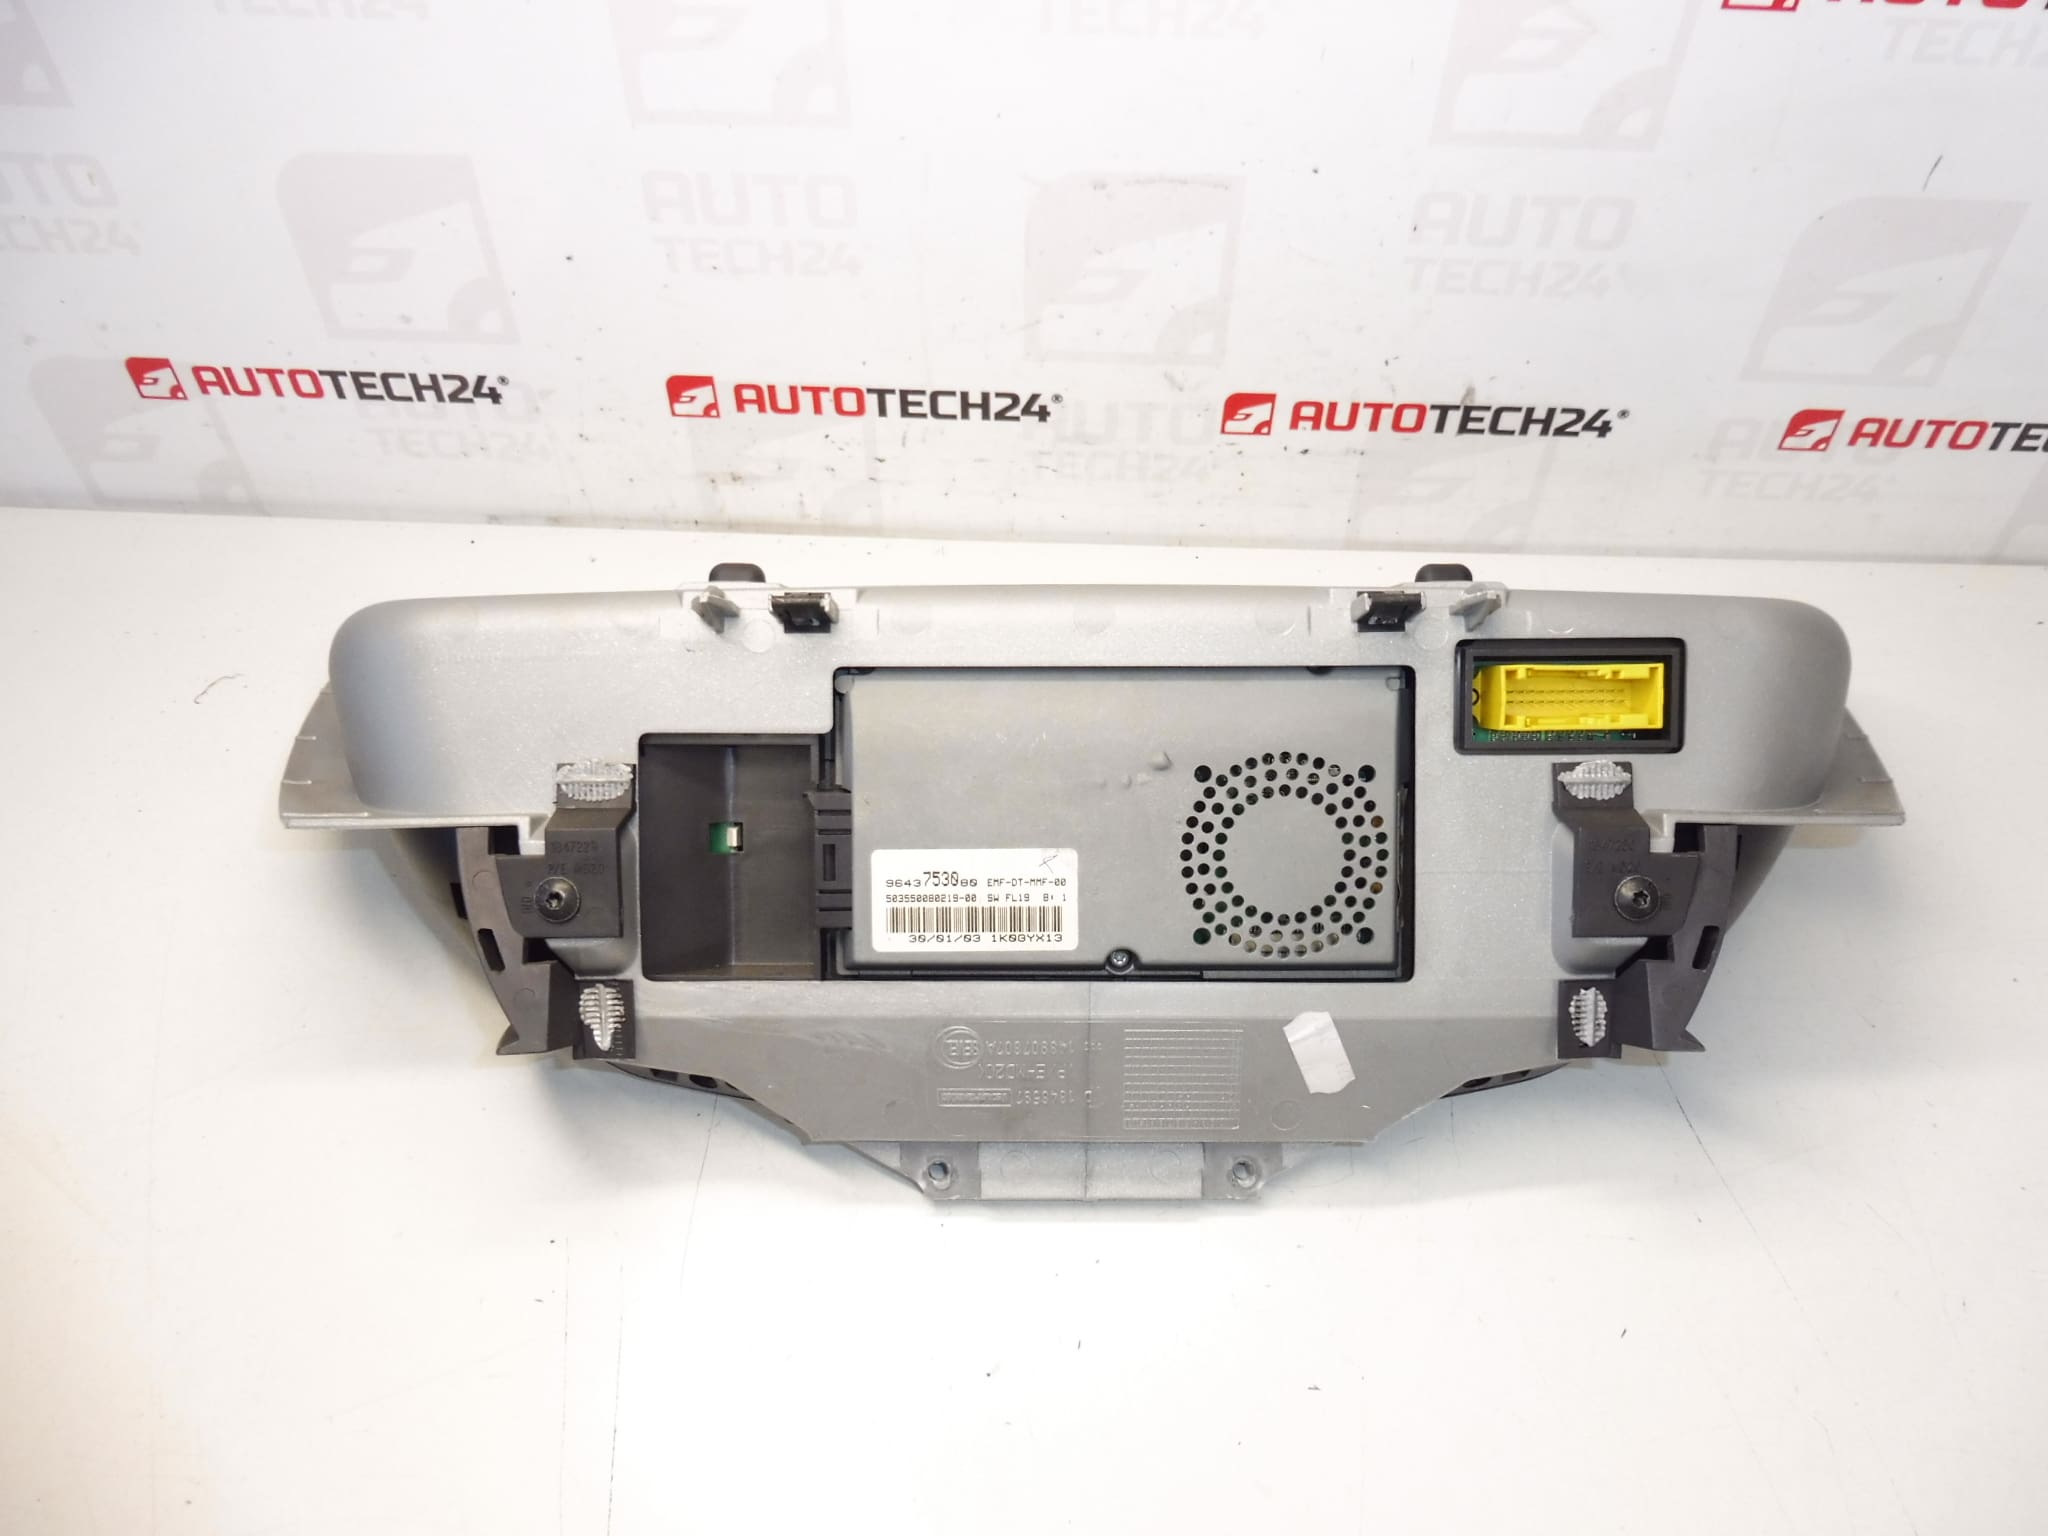
Instrument cluster displaying speedometer, tachometer, navigation, engine temperature and fuel tank level from a 2003 Citroën C8, and may also be used on Peugeot 807.
This used instrument cluster is a direct-fit dashboard module commonly referenced under part numbers 9643753080 and 6105Z0. It provides clear readout for speed, engine RPM, navigation information, coolant temperature and fuel level. Perfect for mechanics and experienced DIYers seeking an OEM replacement for Citroën C8 or compatible Peugeot 807 dashboards.
Technical Information
- Manufacturer: Stellantis (Citroën / Peugeot)
- Model: Citroën C8 (2003), compatible with Peugeot 807
- Product Codes: 9643753080, 6105Z0
- Other Numbers: NFP
Function And Features
The cluster integrates speedometer, tachometer, on-board navigation display interface, engine coolant temperature gauge and fuel tank level indicator in a single unit. It translates sensor signals into visual information for the driver and communicates with vehicle networks to present warnings and status messages. The unit typically contains stepper motors or needle drivers for analog gauges and an LCD/segment display for navigation/status messages.
Compatibility And Fitment
Intended as a replacement for Citroën C8 dashboards (example from 2003) and may be used on Peugeot 807 models that share the same instrument part numbers and connector layout. Fitment is determined by matching the part numbers and connector pinout; identical physical mounting points and electrical connectors are required for a direct swap.
Replacement Procedure
- Always disconnect the vehicle battery before starting work to avoid short circuits and to protect sensitive electronics.
- Remove surrounding trim and fascia panels carefully using appropriate trim tools to avoid damage.
- Unscrew the instrument cluster mounting screws and gently pull the cluster forward.
- Unplug all electrical connectors and remove the unit. Note connector positions or take photos for reassembly.
- Fit the replacement cluster by reconnecting connectors, securing mounting screws and reassembling trim panels.
- Reconnect the battery and verify all functions: gauges, backlighting, navigation readout and warning lamps.
Installation Recommendations
- Use non-marring trim tools to avoid cosmetic damage to the dashboard.
- Avoid touching circuit boards or connector pins directly; observe electrostatic discharge (ESD) precautions when possible.
- Inspect connectors and wiring for corrosion or damaged pins and repair as needed before fitting the new cluster.
- After installation, perform a full functional check. Some vehicles may require adaptation or coding of the cluster to match mileage display or immobilizer state; if coding is necessary, use appropriate PSA diagnostic tools or a qualified technician.
Reasons For Failure
Instrument clusters commonly fail due to age-related issues such as cracked solder joints, failing stepper motors or gauge drivers, degraded LCD/backlight modules, moisture ingress, or electrical surges. Intermittent readings, flickering segments, dead backlight or stuck needles are typical symptoms indicating the cluster needs repair or replacement.
Lifespan And Maintenance
There is no fixed replacement interval. Failures are more likely after many years of service, exposure to heat and vibration, or where vehicles have experienced damp conditions. Regular electrical system checks and ensuring good battery health can reduce the risk of cluster damage caused by voltage spikes.
Why Choose This Unit
OEM part numbers listed make this cluster a high‑value option when matching original equipment. For workshops and experienced DIYers, replacing the instrument cluster restores full dashboard functionality and maintains original vehicle ergonomics and displays.