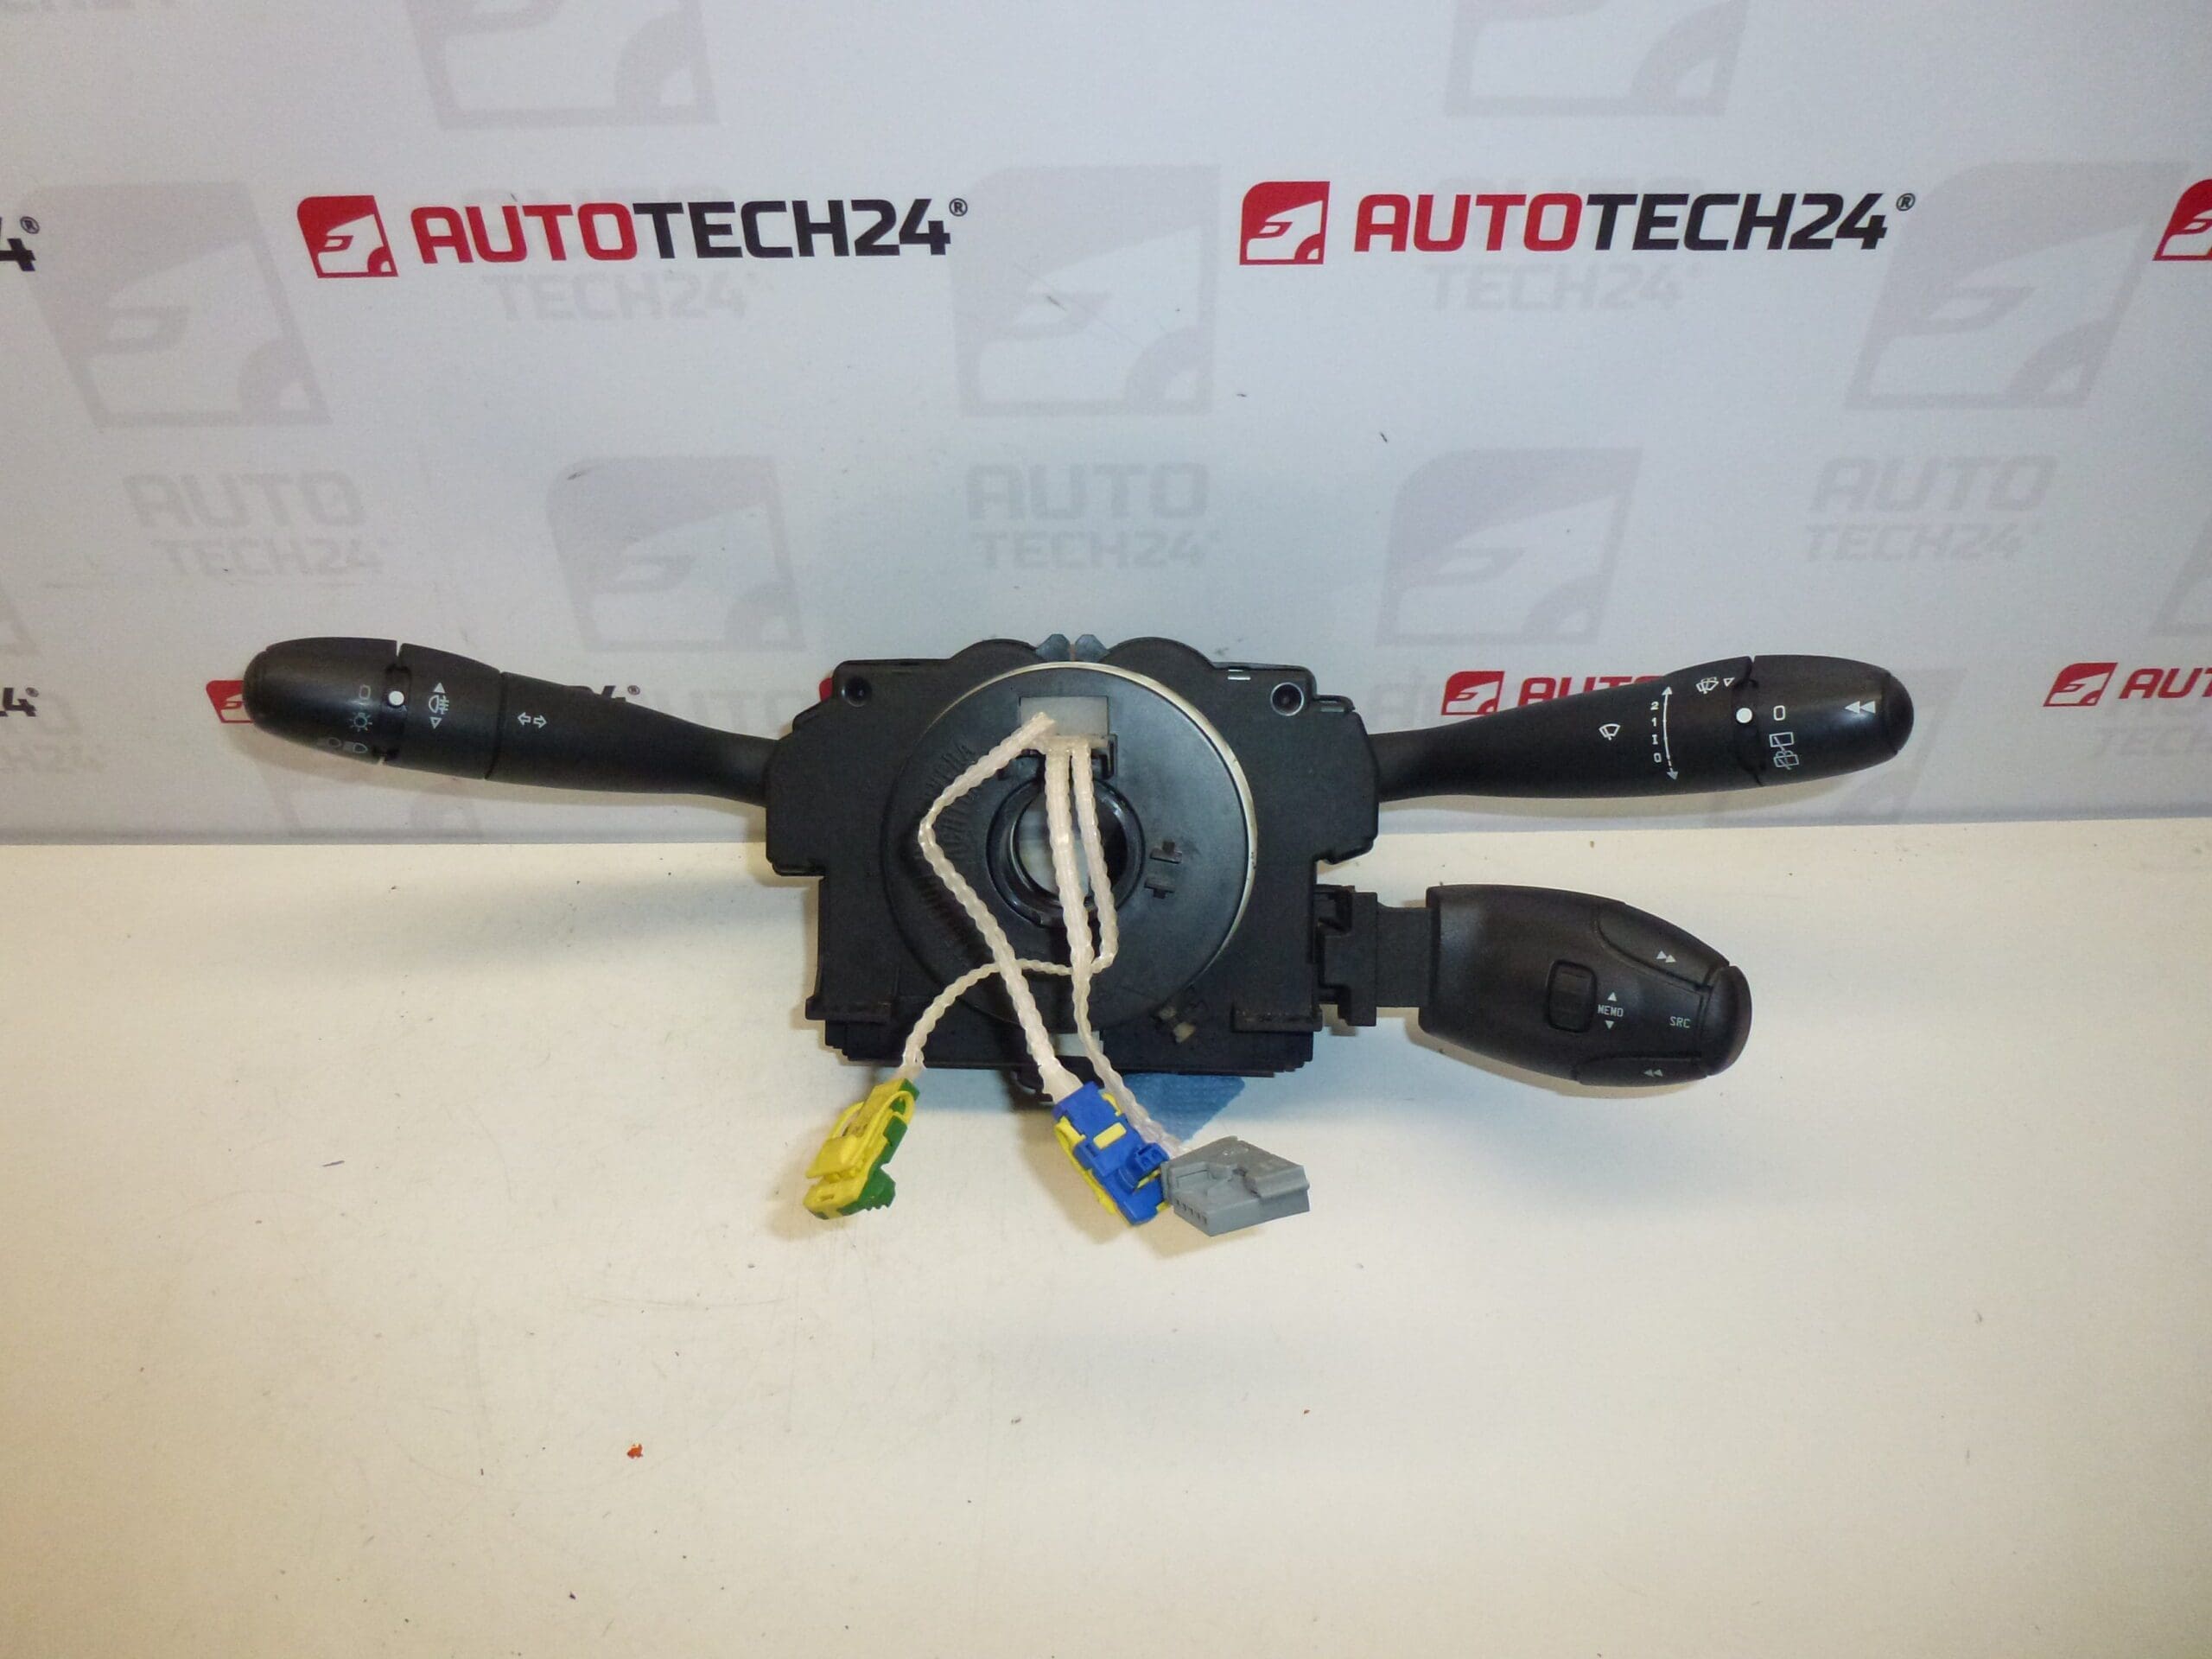
Description
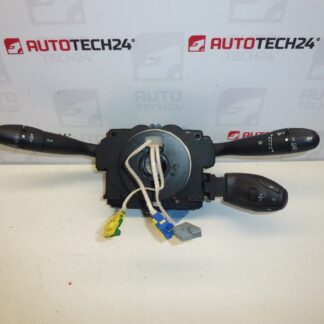
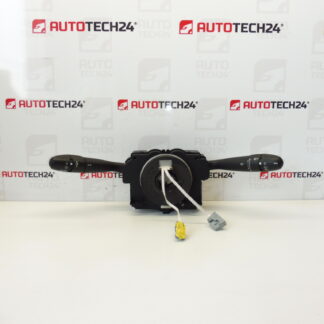
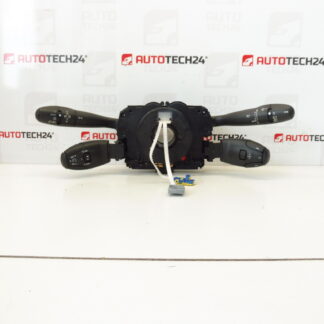
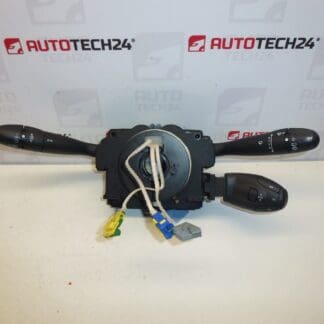
Controllers under the steering wheel DELPHI COM2000 lever for CITROEN and PEUGEOT
They control the fog lights, front and rear wipers, car radio, on-board computer and ESP
The radio and cruise control can be purchased extra
Part description
This used part is intended for Citroën and Peugeot cars and is a DELPHI COM2000 steering wheel control assembly. It is a popular electrical component that customers often search for by serial numbers, especially 96605652XT and 6242C4.
Controllers under the steering wheel ensure convenient and quick control of multiple car functions without having to let go of the steering wheel. According to the supplied documents, this piece is controlled by:
- fog lights,
- front and rear wiper,
- car radio,
- board computer,
- ESP.
The practical advantage is that the radio and cruise control controller can be purchased extra. Thanks to this, this part can be a suitable solution when replacing damaged levers or non-functioning control of individual systems.
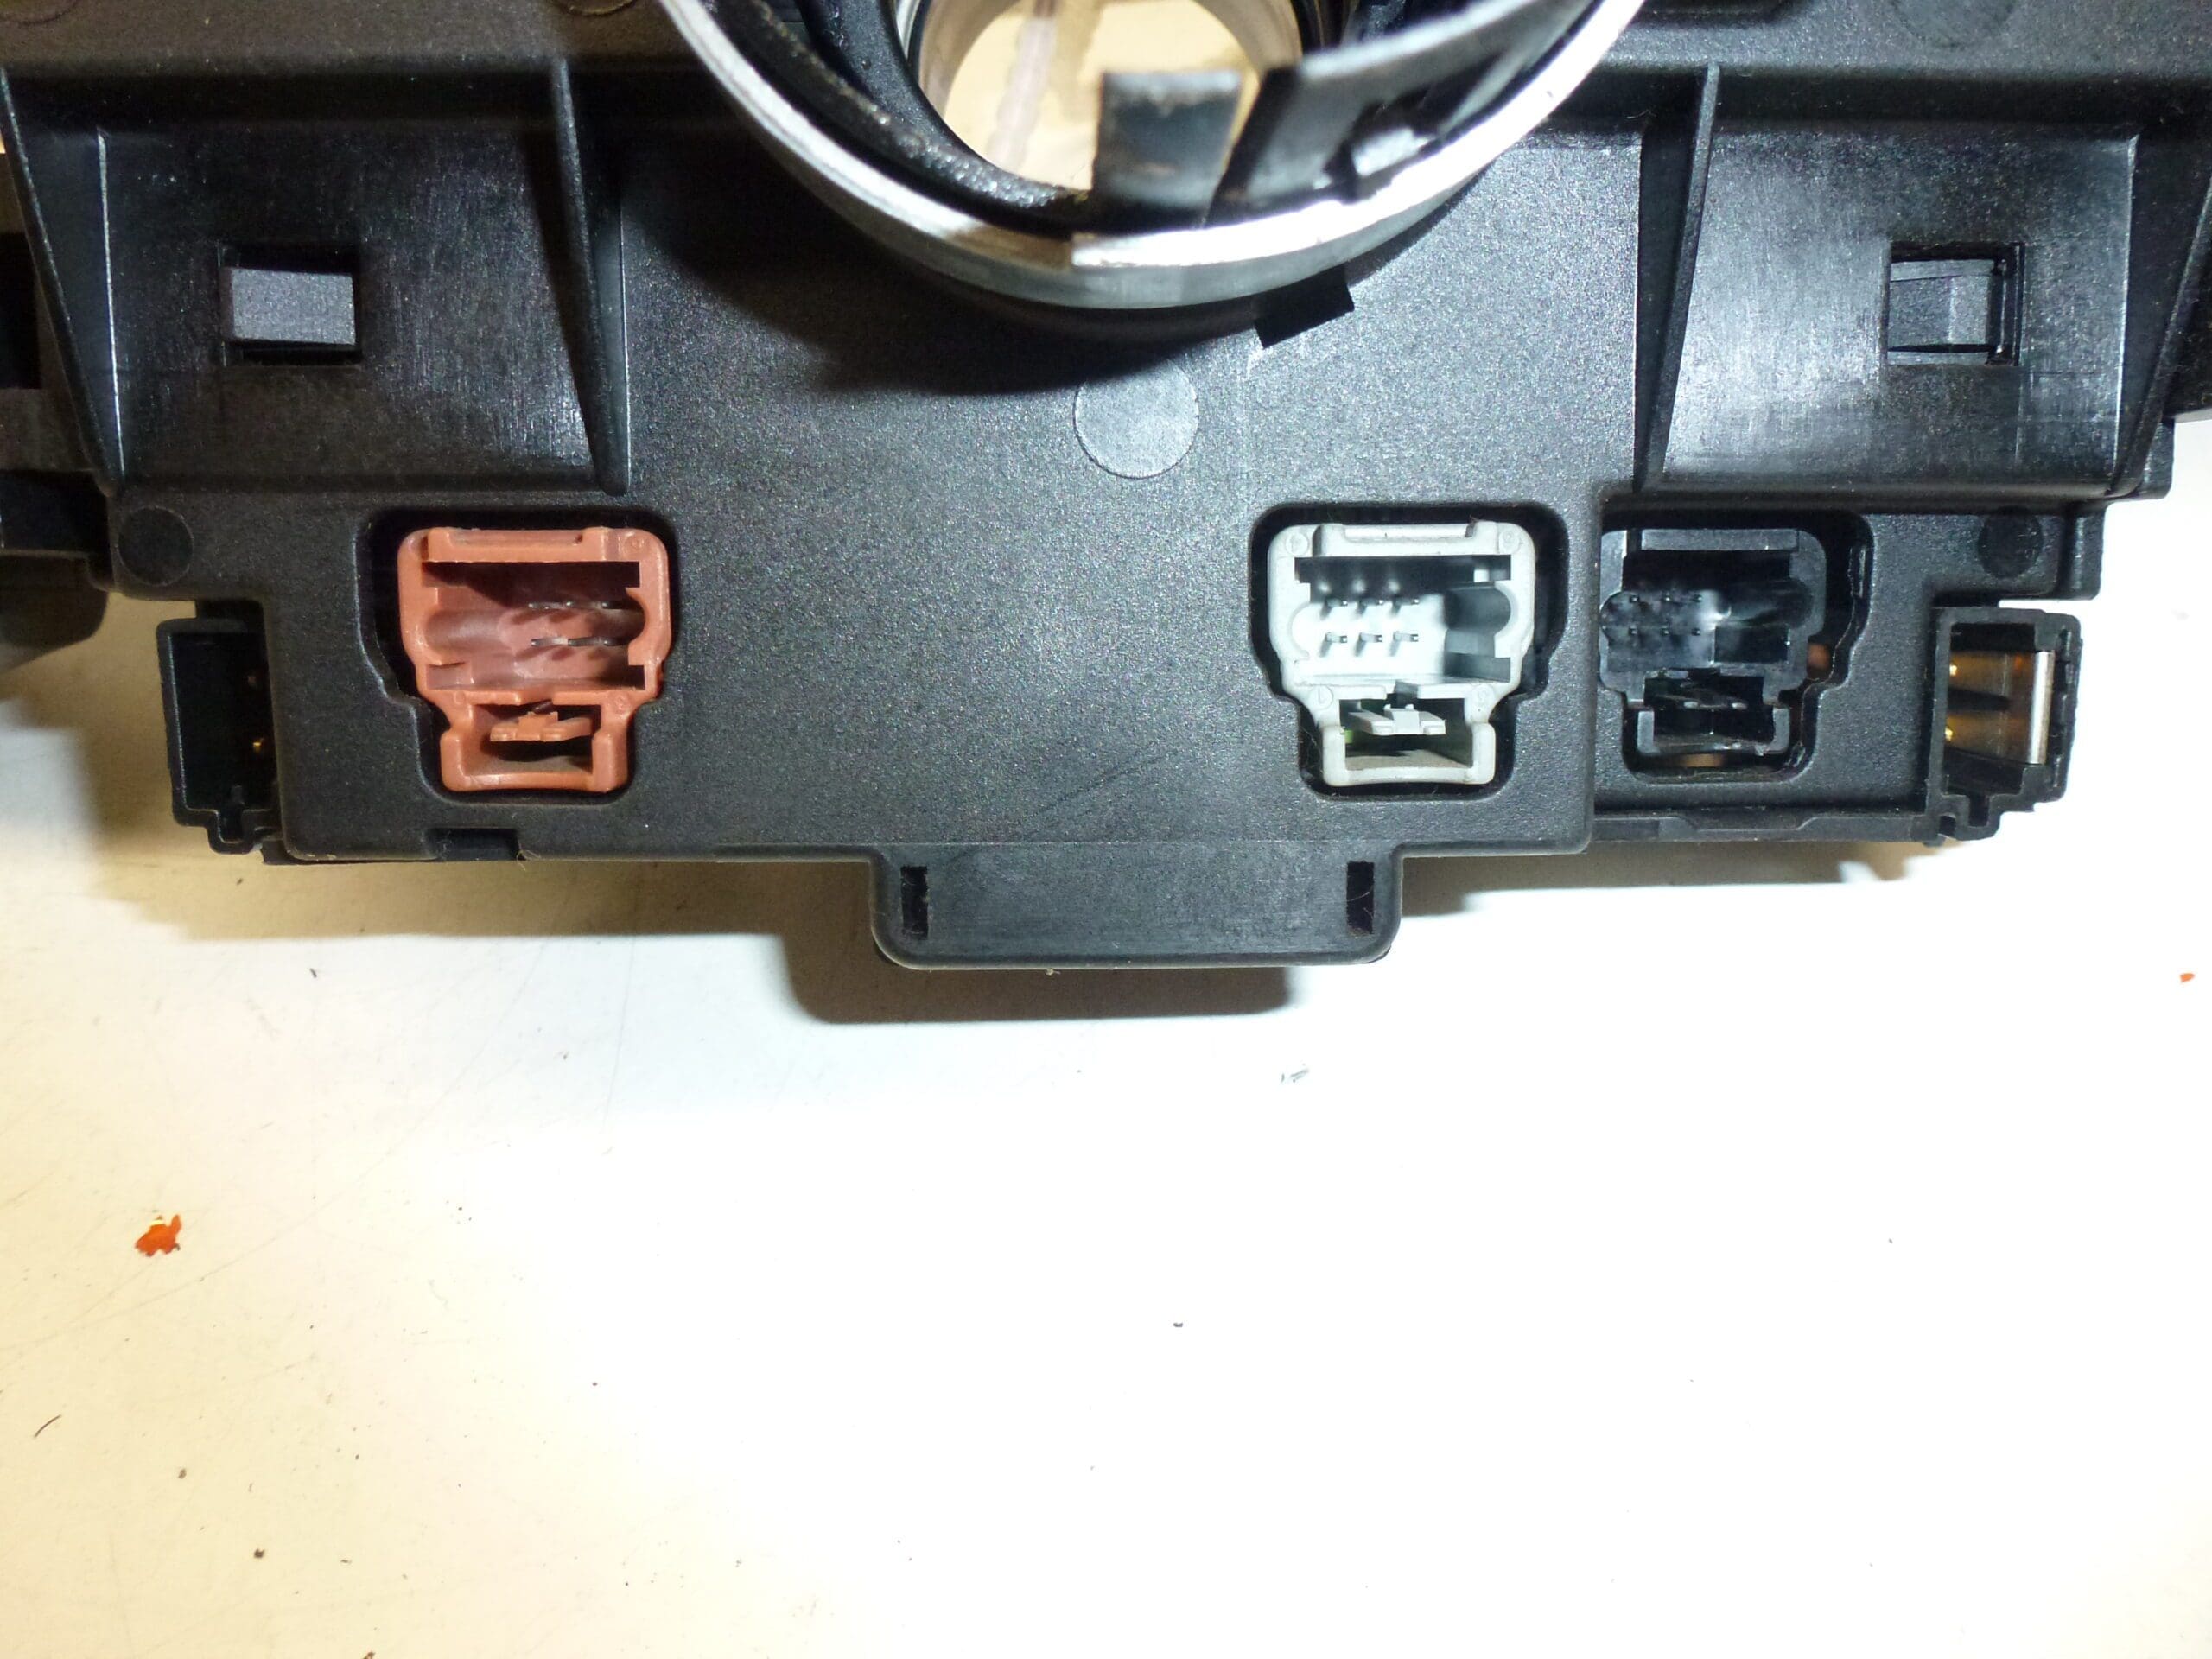
For mechanics and home repairers, it is important that these parts match the product code and the design of the connectors or the equipment of the original piece.
Technical information
- Manufacturer: DELPHI
- Model: COM2000
- Other numbers: 624218, 6242J0, 623939, 6239AK, 6239M2, 6239PW, 6239W2
Classification according to documents: electric components / controls under the steering wheel.
Product codes
- Product codes: 96605652XT, 6242C4, 624218, 6242J0, 623939, 6239AK, 6239M2, 6239PW, 6239W2
- Models from labels: CITROEN XSARA, Citroën Xsara Picasso, Peugeot 307
Installation recommendations
Generally/typically for this type of part, the exact procedure for replacing the controls under the steering wheel depends on the specific model of the car, the design of the steering column and subsequent covers. Below is a safe general procedure for an electrical part of this type.
1) Before assembly
- Check that the new and original part match according to product numbers, body shape, lever location and type of electrical connectors.
- Compare the equipment of the functions that the original piece is supposed to control – for example wipers, fog lights, radio, on-board computer or ESP.
- Inspect the used part for cracked handles, damaged connectors, excessive play in the levers, or signs of leakage.
- Disconnect the battery and wait a reasonable time before working, especially if you will be working around the steering wheel and related electrical parts.
2) Necessary tools and materials
- set of common hand tools,
- screwdrivers and bits of appropriate dimensions,
- plastic crowbar for removing covers,
- clean cloth,
- preparation for gentle cleaning of electrical contacts, if needed.
3) Step-by-step assembly procedure
- Park the vehicle in a safe place, turn off the ignition and disconnect the battery.
- Adjust the steering wheel to a position that allows the best possible access to the steering column covers.
- Remove the upper and lower plastic covers around the steering column to gain access to the controls under the steering wheel.
- Carefully disconnect the electrical connectors from the original controller. Do not force the latches to prevent them from breaking off.
- Unfasten the original driver module according to the way it is attached to the vehicle and remove the part.
- Compare the dismantled piece with the spare part before assembly itself.
- Place the replacement controller in the correct position and check that it fits without tension and fits correctly in the holder.
- Connect all electrical connectors so that they are firmly seated and properly secured.
- Reinstall the steering column covers and check that there is no rubbing anywhere and that the levers move freely.
- Connect the battery and perform a basic function check without starting even with the ignition on.
-
4) Post-assembly checks and test drive/function verification
- Try all available driver functions that are active on the car.
- Check the operation of the front and rear wipers, the fog lights, the response of the car radio, on-board computer and possibly ESP according to the car’s equipment.
- Verify that the levers operate smoothly, do not return with a stutter, and do not show excessive play.
- During a short test drive, observe whether there are any function failures or irregular control responses.
5) The most common assembly mistakes + how to avoid them
- Similar part interchange – always compare part numbers and features.
- Damage to connectors – disconnect and connect connectors gently and without violence.
- Assembly without checking the mechanical condition – before installation, check that the handles are intact and the levers work.
- Incorrect seating of the covers – after assembly, check that the covers do not press on the levers and do not restrict their movement.
- Underestimation of output control – always test all functions served by this controller after assembly.
Reasons why the part is damaged
- Normal wear and tear from everyday use of levers and buttons.
- Mechanical stress or careless operation that leads to play or breakage of controller parts.
- Wearing of internal contacts, which can be manifested by failure of individual functions.
- Damage to connectors or wiring during previous disassembly or repair.
- Moisture and dirt which negatively affect electrical connections and control reliability.