Description
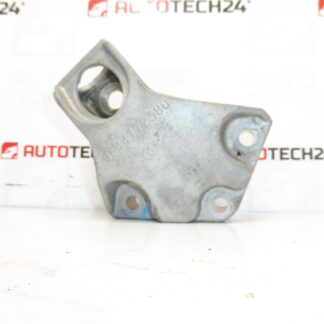
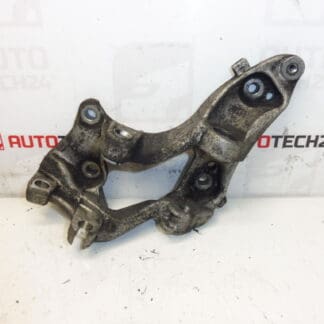
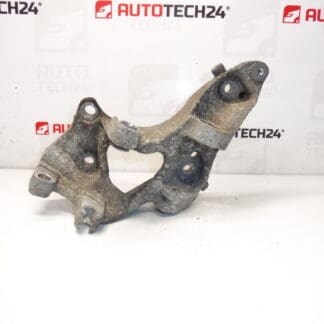
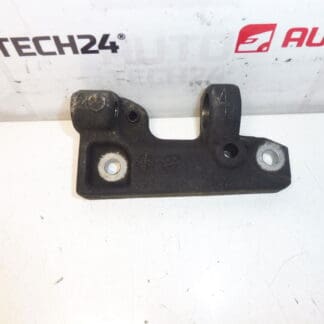
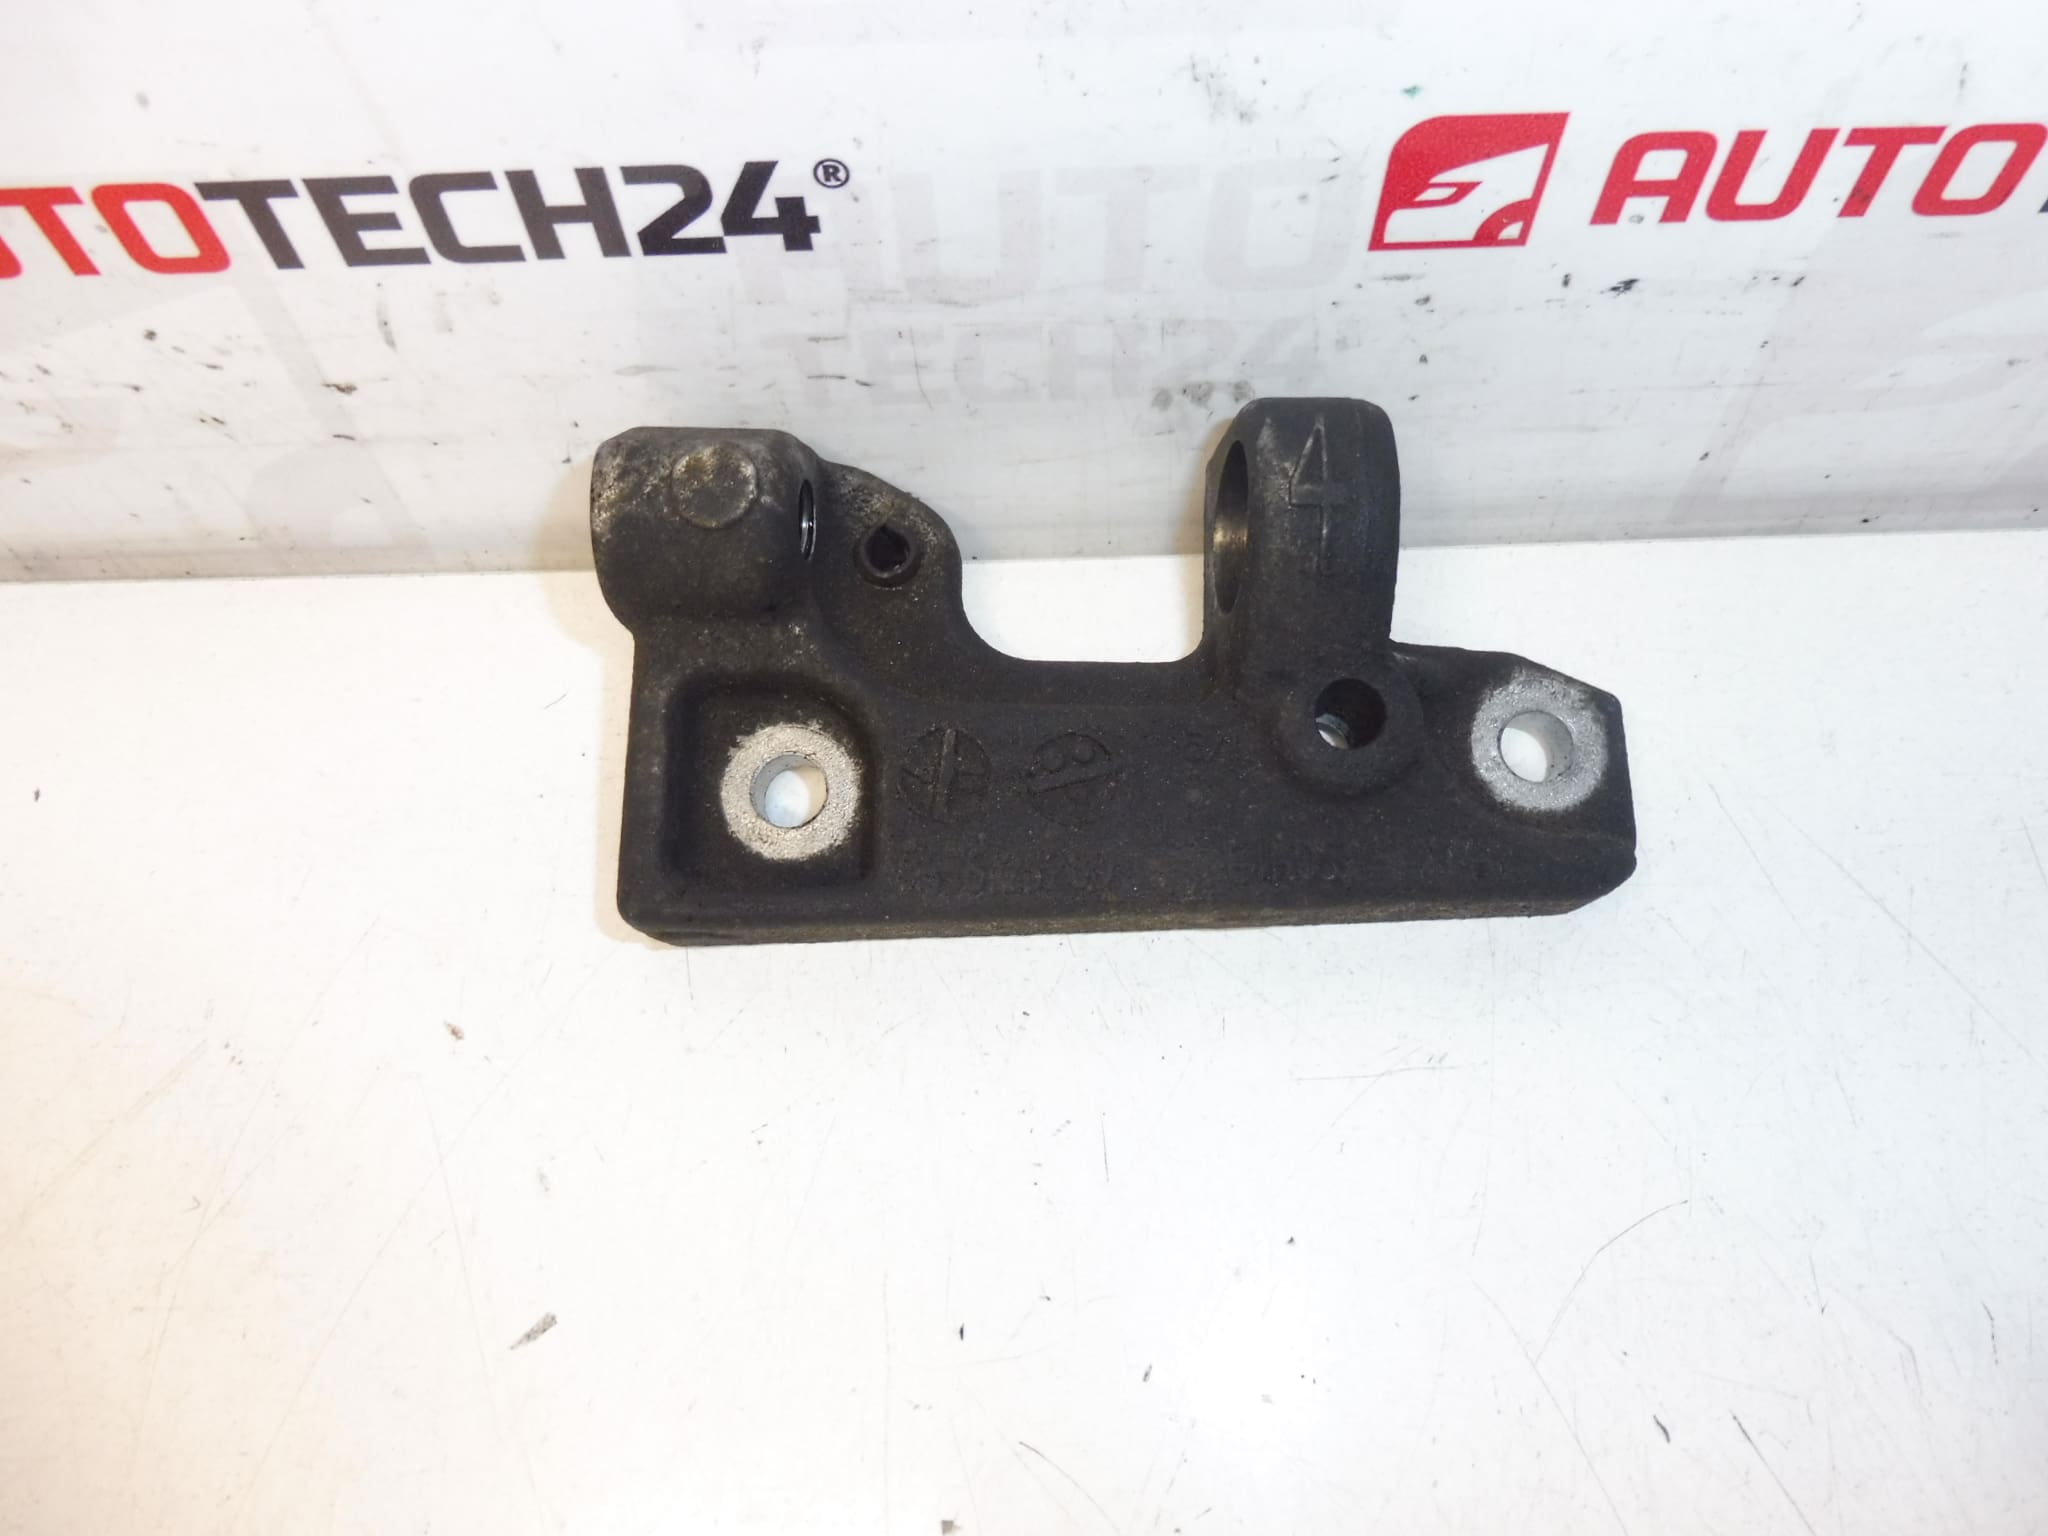
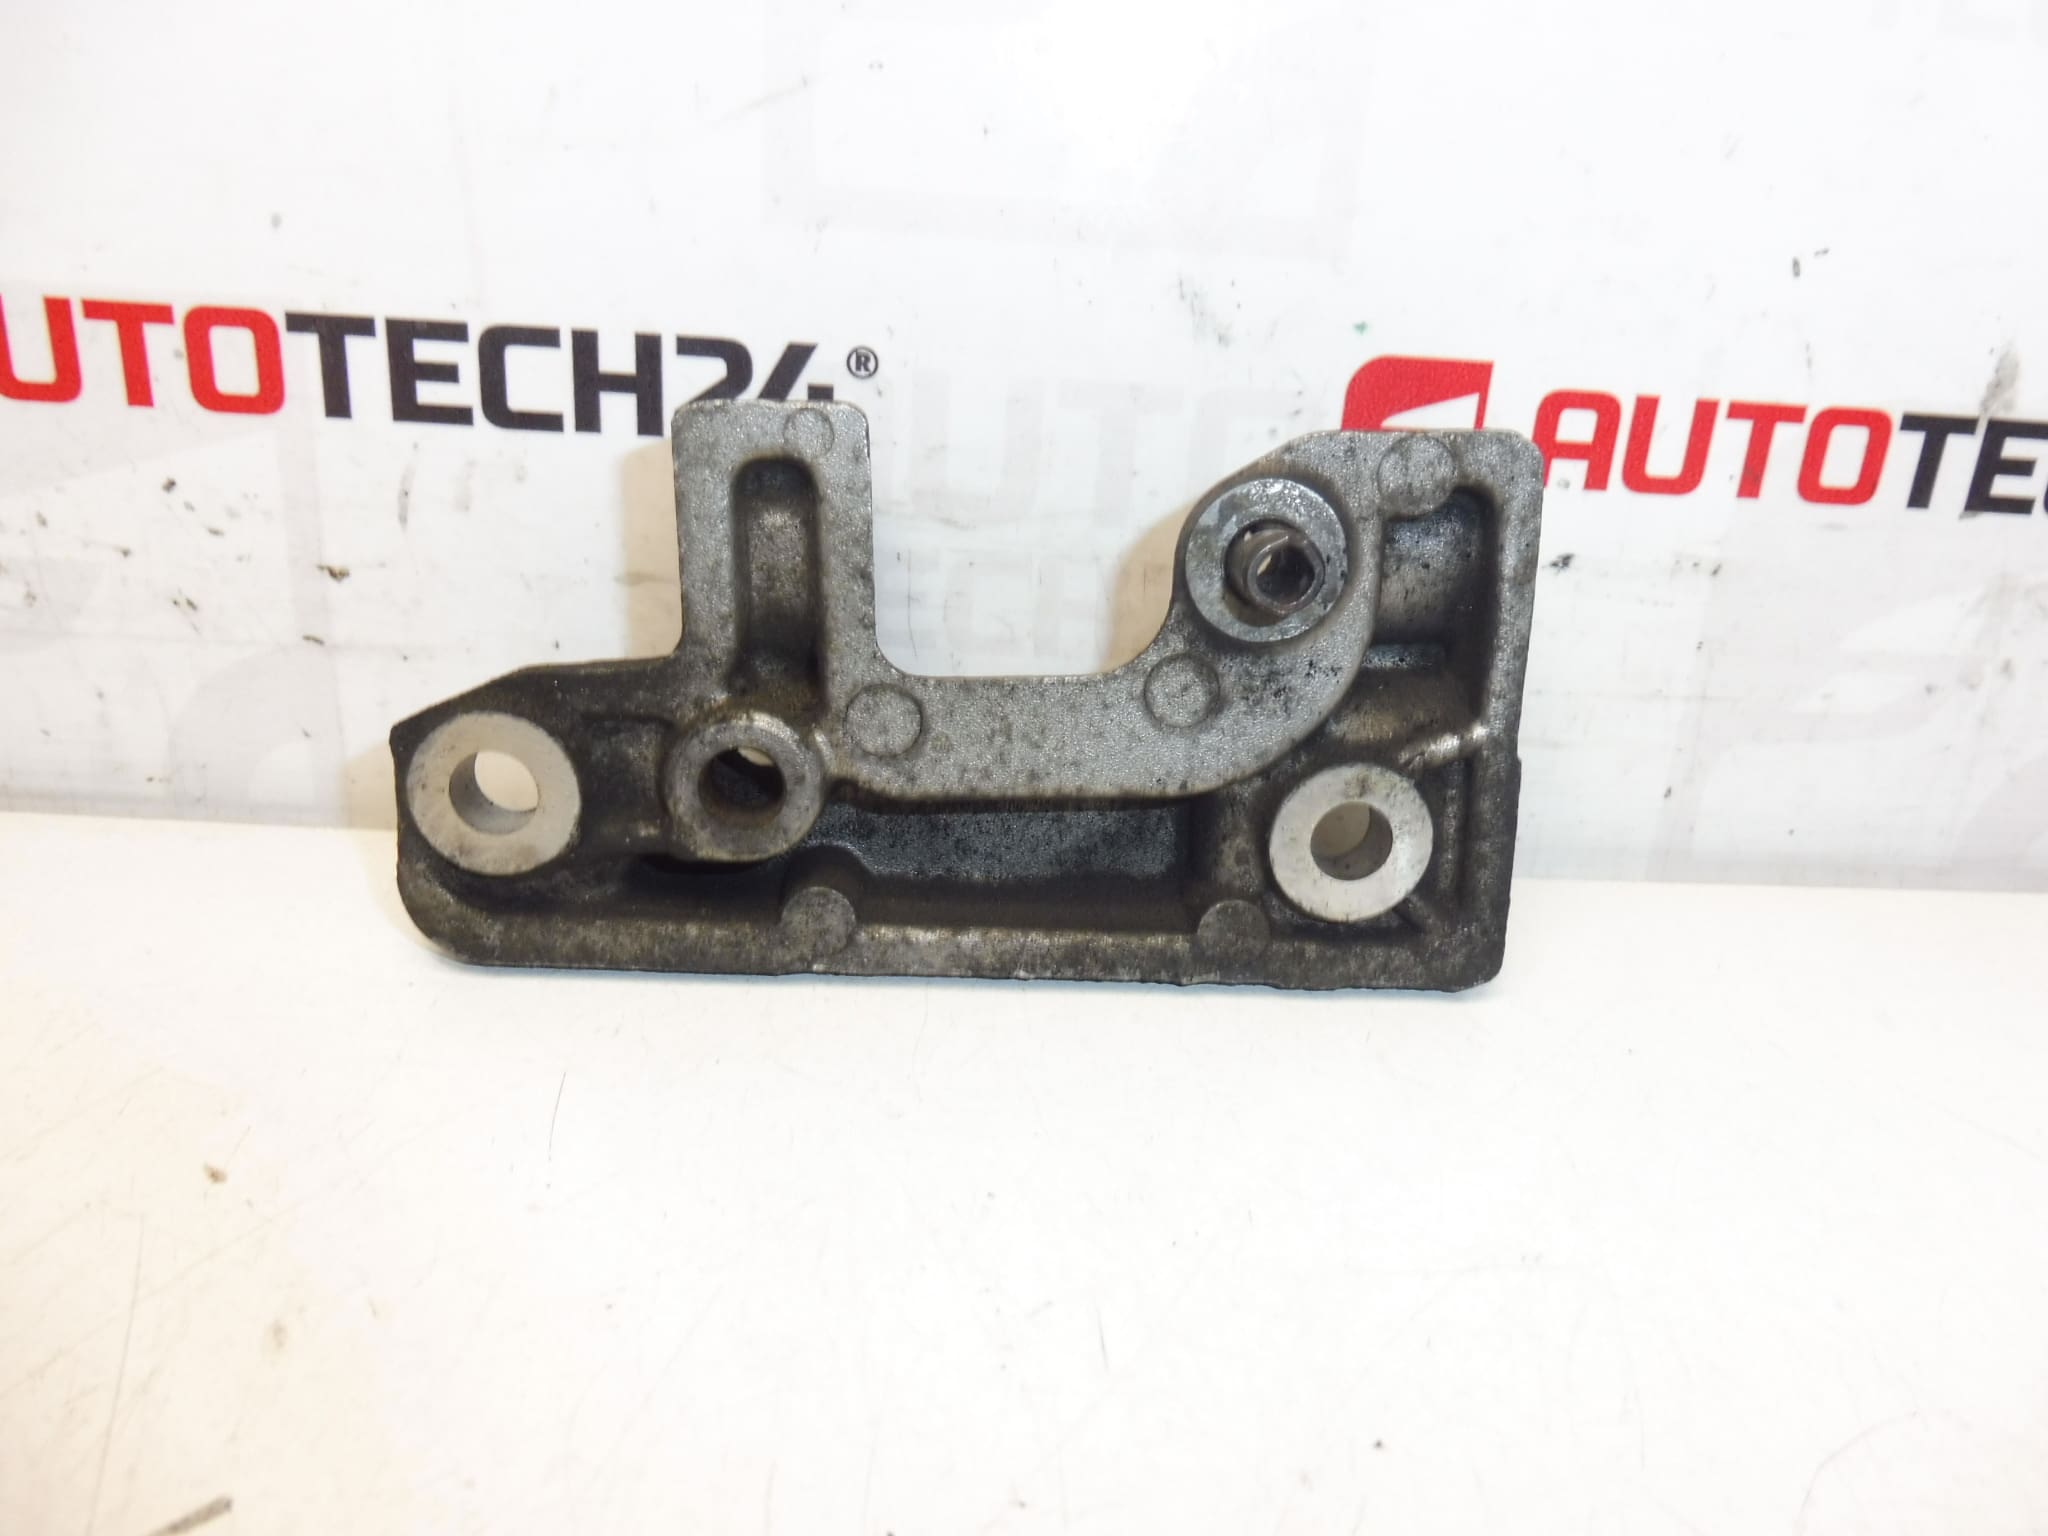
Alternator holder for CITROEN and PEUGEOT cars with 1.6 HDI engine
Part description
This used alternator holder is designed for Citroën and Peugeot cars. It is an important engine part that ensures a firm and correct attachment of the alternator, thus contributing to the correct functioning of the charging system and the stable seating of engine accessories.
The part is often searched by serial number, so we also include the designations 9656125280, 9804120780 and 5706K9. It is especially suitable for repairs when the original holder is damaged, cracked, deformed or has broken attachment points.
- original Stellantis part for Citroën and Peugeot cars
- suitable for replacing a damaged alternator holder
- a practical choice for car mechanics and home repairs
- identification by part code facilitates correct selection
Technical information
Manufacturer: Stellantis Citroën Peugeot
Model: Citroën C2, Citroën C3, Citroën C3 Pluriel, Citroën C4, Peugeot 1007, Peugeot 307
Other numbers: 9656125280, 9804120780, 5706K9
Product codes
Product codes: 9656125280, 9804120780, 5706K9
Installation recommendations
Generally/typically for this type of part, the exact replacement procedure depends on the specific design of the car and the access in the engine compartment. Below is a safe and practical procedure for replacing the alternator bracket.
1) Before assembly
- Compare the new and original part by shape, attachment points and markings.
- Check the holder for cracks, deformations, damaged seating surfaces or torn threads.
- Inspect the condition of the associated fasteners and surrounding parts that connect to the bracket.
- Make sure the engine mounting surfaces are clean and free of dirt or old material.
2) Necessary tools and materials
- regular set of keys and extensions
- ratchet and possibly extension
- cleaning agent for metal surfaces
- brush or cloth for cleaning the contact areas
- flashlight for checking hard-to-reach places
3) Step-by-step assembly procedure
- Turn off the ignition and secure the vehicle against movement.
- Typically, sufficient access to the part is first created by removing obstructing covers or related parts.
- Disconnect or loosen components preventing removal of alternator bracket.
- Dismantle the original bracket and carefully observe the order of the fasteners.
- Check the condition of the surrounding parts, especially the contact surfaces and connection points.
- Clean the mounting surfaces so that the new bracket fits properly without tension.
- Place the used alternator bracket in place and verify that all holes are properly seated.
- At first install the fasteners lightly, without final tightening, so that the bracket can be seated accurately.
- After correctly aligning the bracket, gradually tighten all connections evenly.
- Reassemble all previously removed related parts.
- Check that the alternator and bracket are tight, with no visible crossing or tension.
- Perform a final visual inspection of the entire repaired area.
-
4) Post-assembly checks and test drive/function verification
- Check that the bracket holds firmly and there is no play anywhere.
- After starting, observe any vibrations, unusual sounds or movement of the alternator.
- After a short test drive, visually check the fit of the part again.
- If access was more difficult, it is recommended to double-check the correct seating of all related parts.
5) The most common assembly mistakes + how to avoid them
- Part exchange based on similar appearance – always compare codes and attachment points.
- Mounting on dirty seating surfaces – clean everything thoroughly before seating.
- Uneven mounting of the holder – first fit all connections loosely and only then tighten.
- Observation of cracks in surrounding parts – during disassembly and assembly, check subsequent components.
- Damage to threads – always insert screws carefully and without violence.
Reasons why the part is damaged
- long-term vibrations and stress in the engine compartment
- mechanical cracking due to overload or impact
- deformation caused by improper assembly or uneven tightening
- damage to threads and attachment points during repeated disassembly
- wear due to age and normal vehicle operation