Description
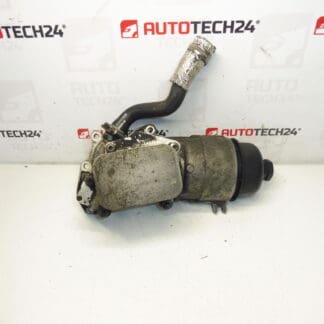
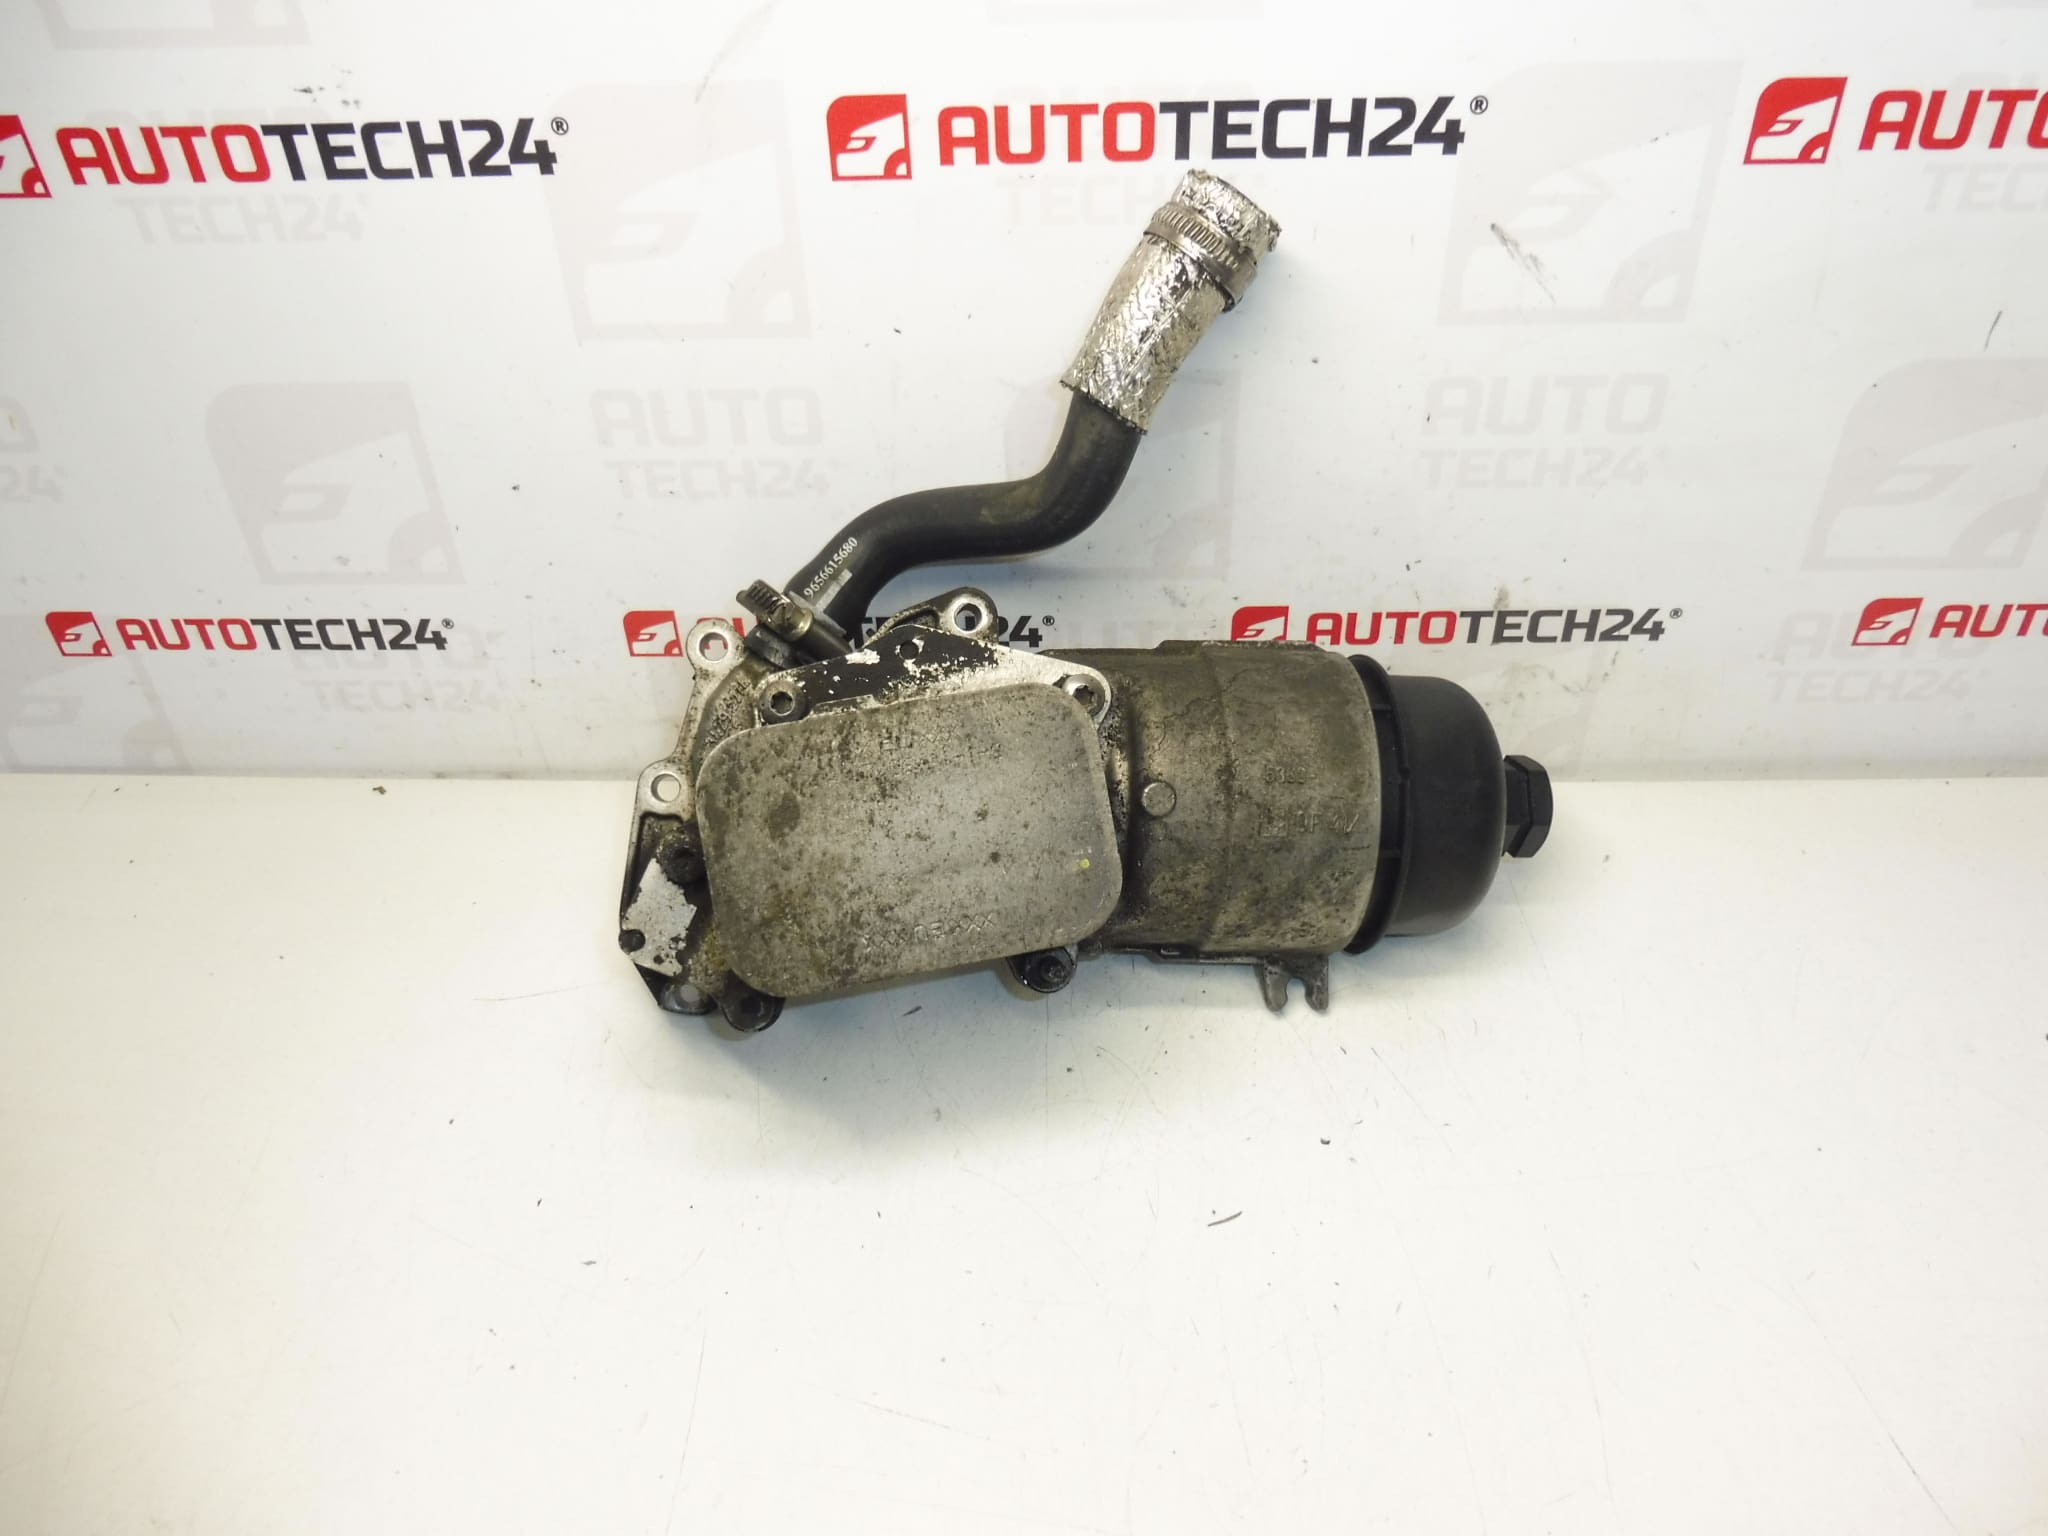
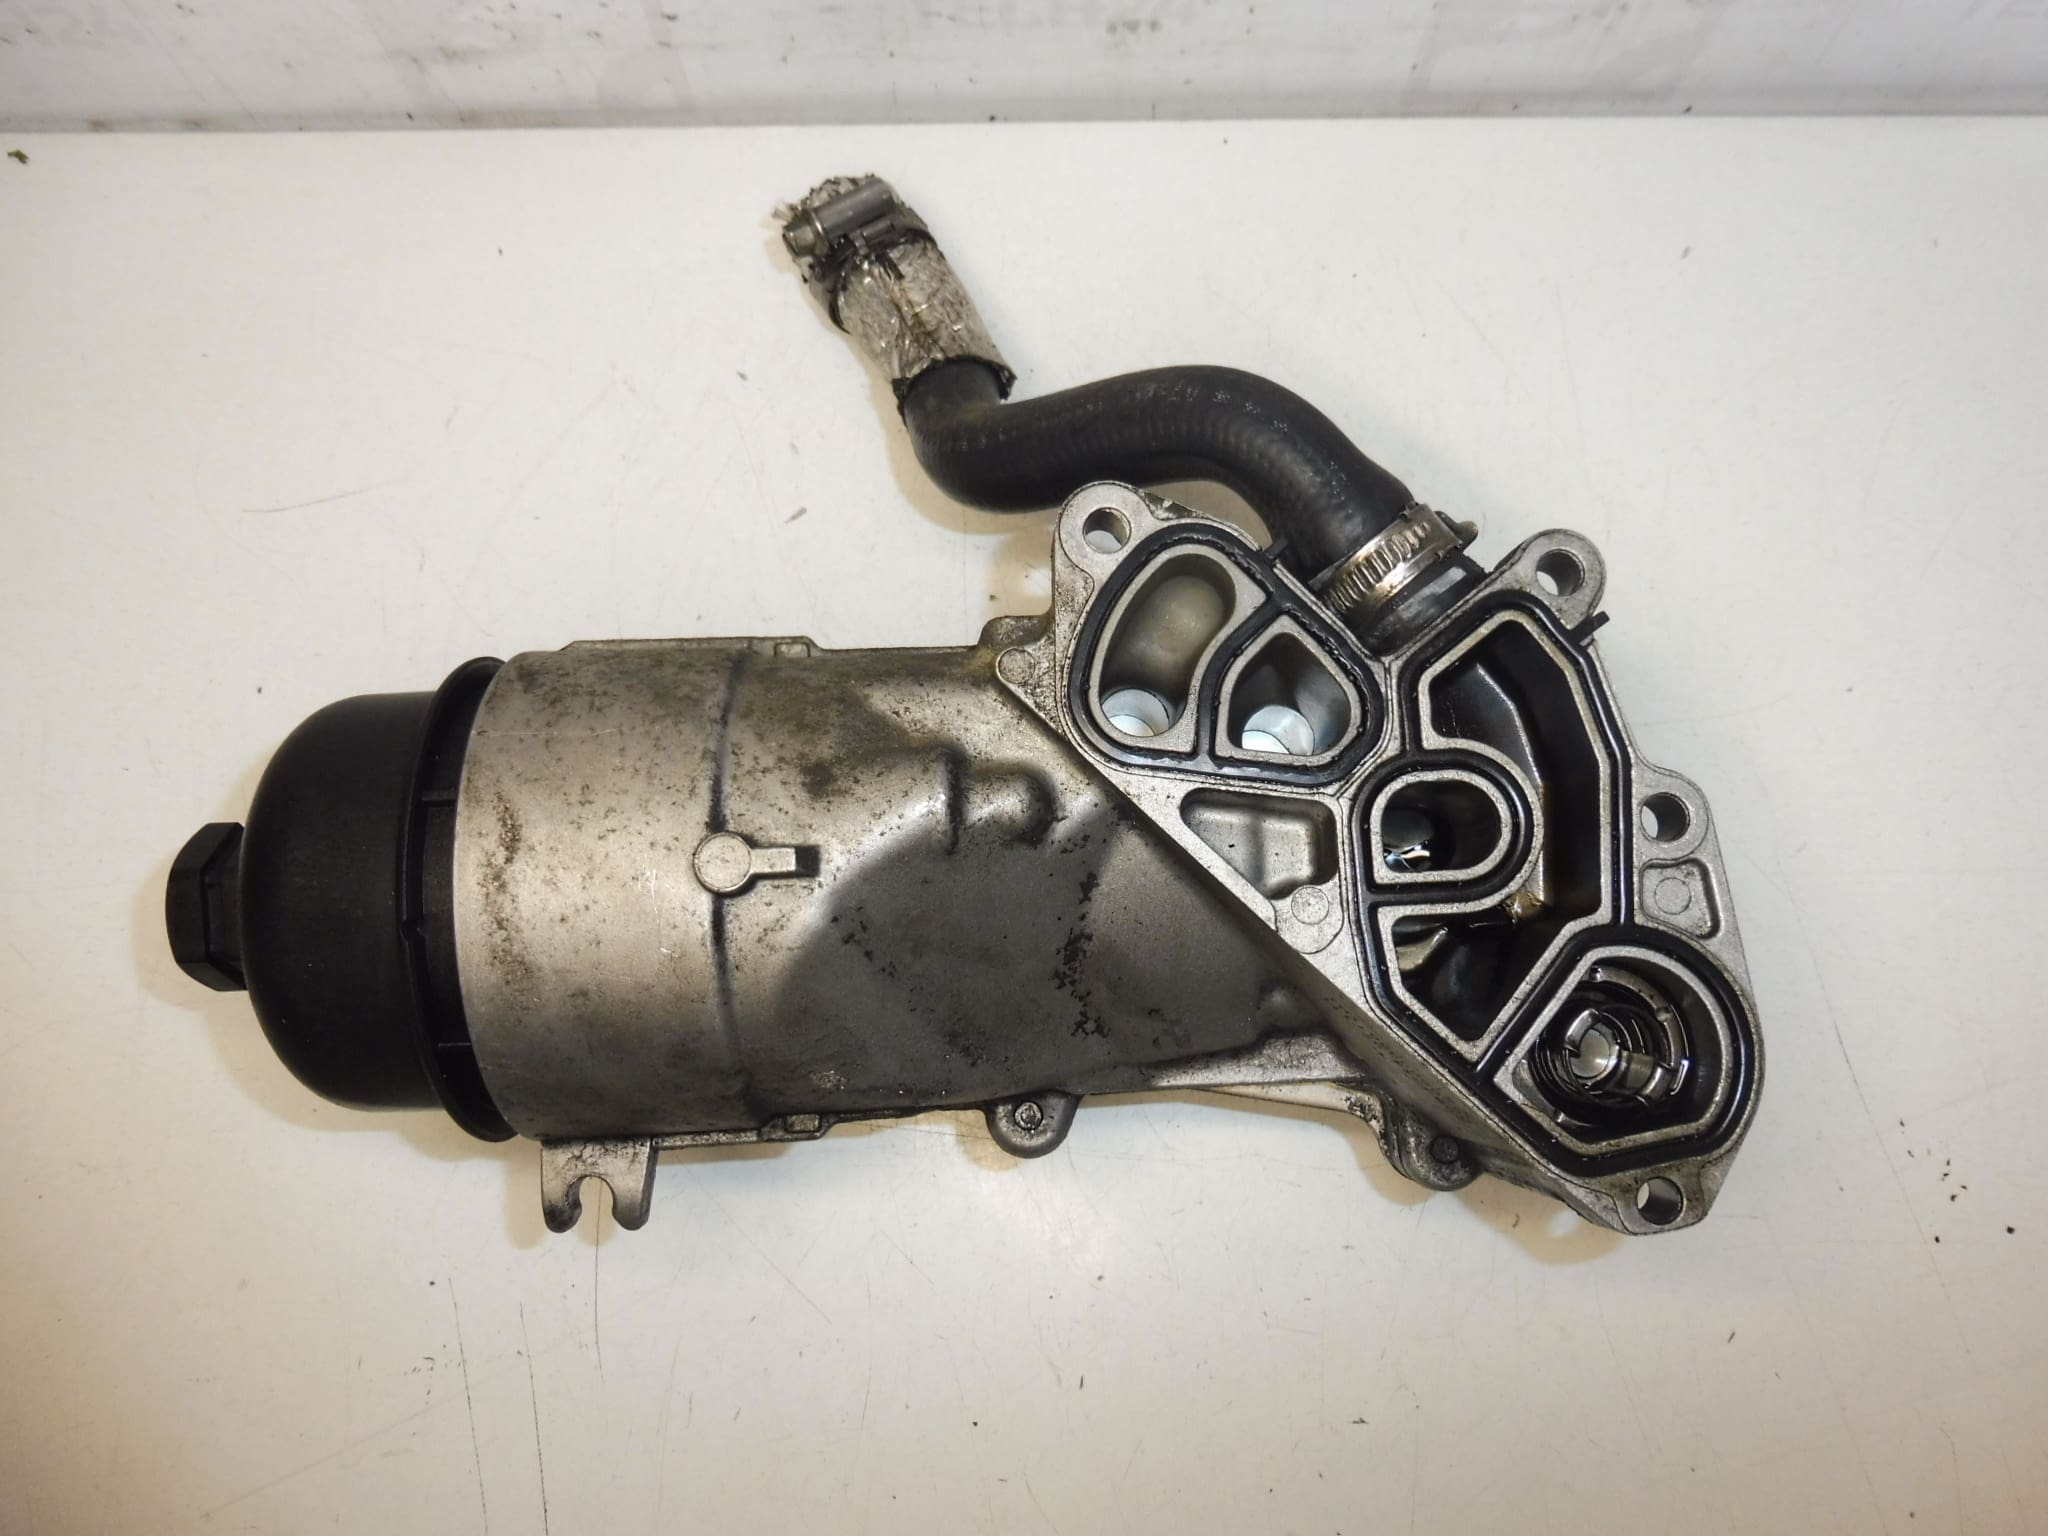
Oil filter holder for 1.6 HDI 16V engines for Citroën and Peugeot cars
With an Oil-Coolant exchanger
Part description
This oil filter holder 1.6 HDI is intended for Citroën and Peugeot cars and is supplied with an oil-coolant exchanger. It is an important part of the engine lubrication system, which ensures the correct seating of the oil filter and at the same time contributes to the operational temperature stability of the engine oil.
The part is mainly searched for under the designation 1103N9, possibly also 1103K2. It is suitable as a replacement solution in case of damage to the original holder, leakage or failure related to the oil and coolant exchanger.
It is used in a number of Citroën and Peugeot models, where the 1.6 HDI 16V engine normally appears. For mechanics and home repairers, it is especially important to compare the shape of the part, connection points and product codes with the existing disassembled piece.
Technical information
- Manufacturer: Stellantis Citroën Peugeot
- Model: 1.6 HDI 16V; tags: Citroën Berlingo, Citroën C2, Citroën C3, Citroën C4, Citroën C4 PICASSO, Citroën C5, Citroën Xsara Picasso, Peugeot 206, Peugeot 307, Peugeot 407, Peugeot Partner
- Other numbers: 1103K2
Product codes
- Product codes: 1103N9, 1103K2
- Model names: Citroën Berlingo, Citroën C2, Citroën C3, Citroën C4, Citroën C4 PICASSO, Citroën C5, Citroën Xsara Picasso, Peugeot 206, Peugeot 307, Peugeot 407, Peugeot Partner
Installation recommendations
In general, the exact replacement procedure may vary depending on the specific design of the car and access to the engine compartment. Below is a typical procedure for replacing an oil filter holder with an oil-to-coolant exchanger.
1) Before assembly
- Check that the new and original part match in terms of shape, connection points and marking 1103N9 or 1103K2.
- Check the condition of the contact surfaces, threads, sealing points and exchanger connections.
- For the used part, check that it is not cracked, deformed or excessively dirty inside the oil passages.
- Compare the location of all holes and connections with the old piece.
2) Necessary tools and materials
- A common set of hand tools
- Container for catching operating fluids
- Cleaning agent for degreasing
- Clean rags or shop towels
- New seals, if they are prescribed for installation in the given version
- Protective gloves
3) Step-by-step assembly procedure
- Secure the vehicle against movement and let the engine cool down.
- Remove access to the oil filter holder area as needed.
- Catch leaking fluids so that the engine area is not polluted.
- Dismantle the original oil filter holder and carefully disconnect the downstream connection.
- Carefully clean the bearing surfaces on the motor and the surrounding mounting points.
- Compare the old and new part before installation, especially the orientation and connection of the exchanger.
- Mount the bracket in place so that it fits properly without tension or crossing.
- Connect all the connecting parts in their original position and check that the sealing surfaces fit correctly.
- Reassemble any parts that had to be removed for access.
- Replenish operating fluids according to the vehicle-specific procedure if they were drained or lost during the exchange.
- After the assembly is complete, check the cleanliness around the part so that any leakage can be easily detected.
-
4) Post-assembly checks and function verification
- After starting, check for oil or coolant leaks.
- Check the tightness of all joints around the holder and exchanger.
- After warming up the engine, visually inspect the entire part area again.
- After a short test drive, check for new traces of fluids.
5) The most common assembly mistakes + how to avoid them
- Insufficient cleaning of the contact surfaces – can lead to leakage; always clean everything thoroughly before assembly.
- Seal replacement or oversight – check that the sealing elements are in the correct position and condition before fitting.
- Inaccurate connection seating – check that everything fits without tension before tightening.
- Omission of the subsequent leak check – after assembly, always carry out a cold check even after the engine has warmed up.
- Leaks and aging of sealing surfaces due to long-term operation and temperature changes.
- Corrosion or fouling in the area of the oil-coolant exchanger.
- Mechanical damage during unprofessional disassembly or assembly of surrounding parts.
- Overheating of the engine compartment which can accelerate material wear.
- Damage of threads and contact surfaces during repeated service interventions.