Description
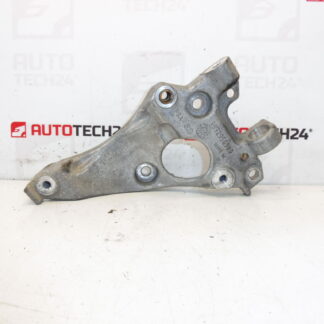
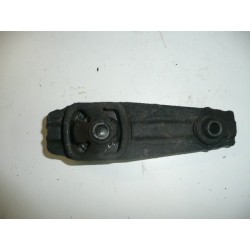
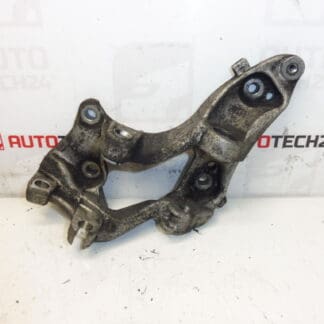
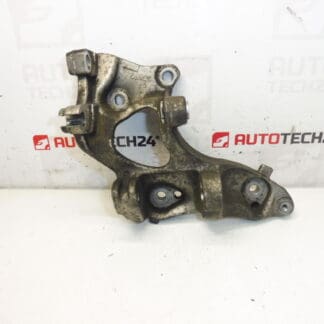
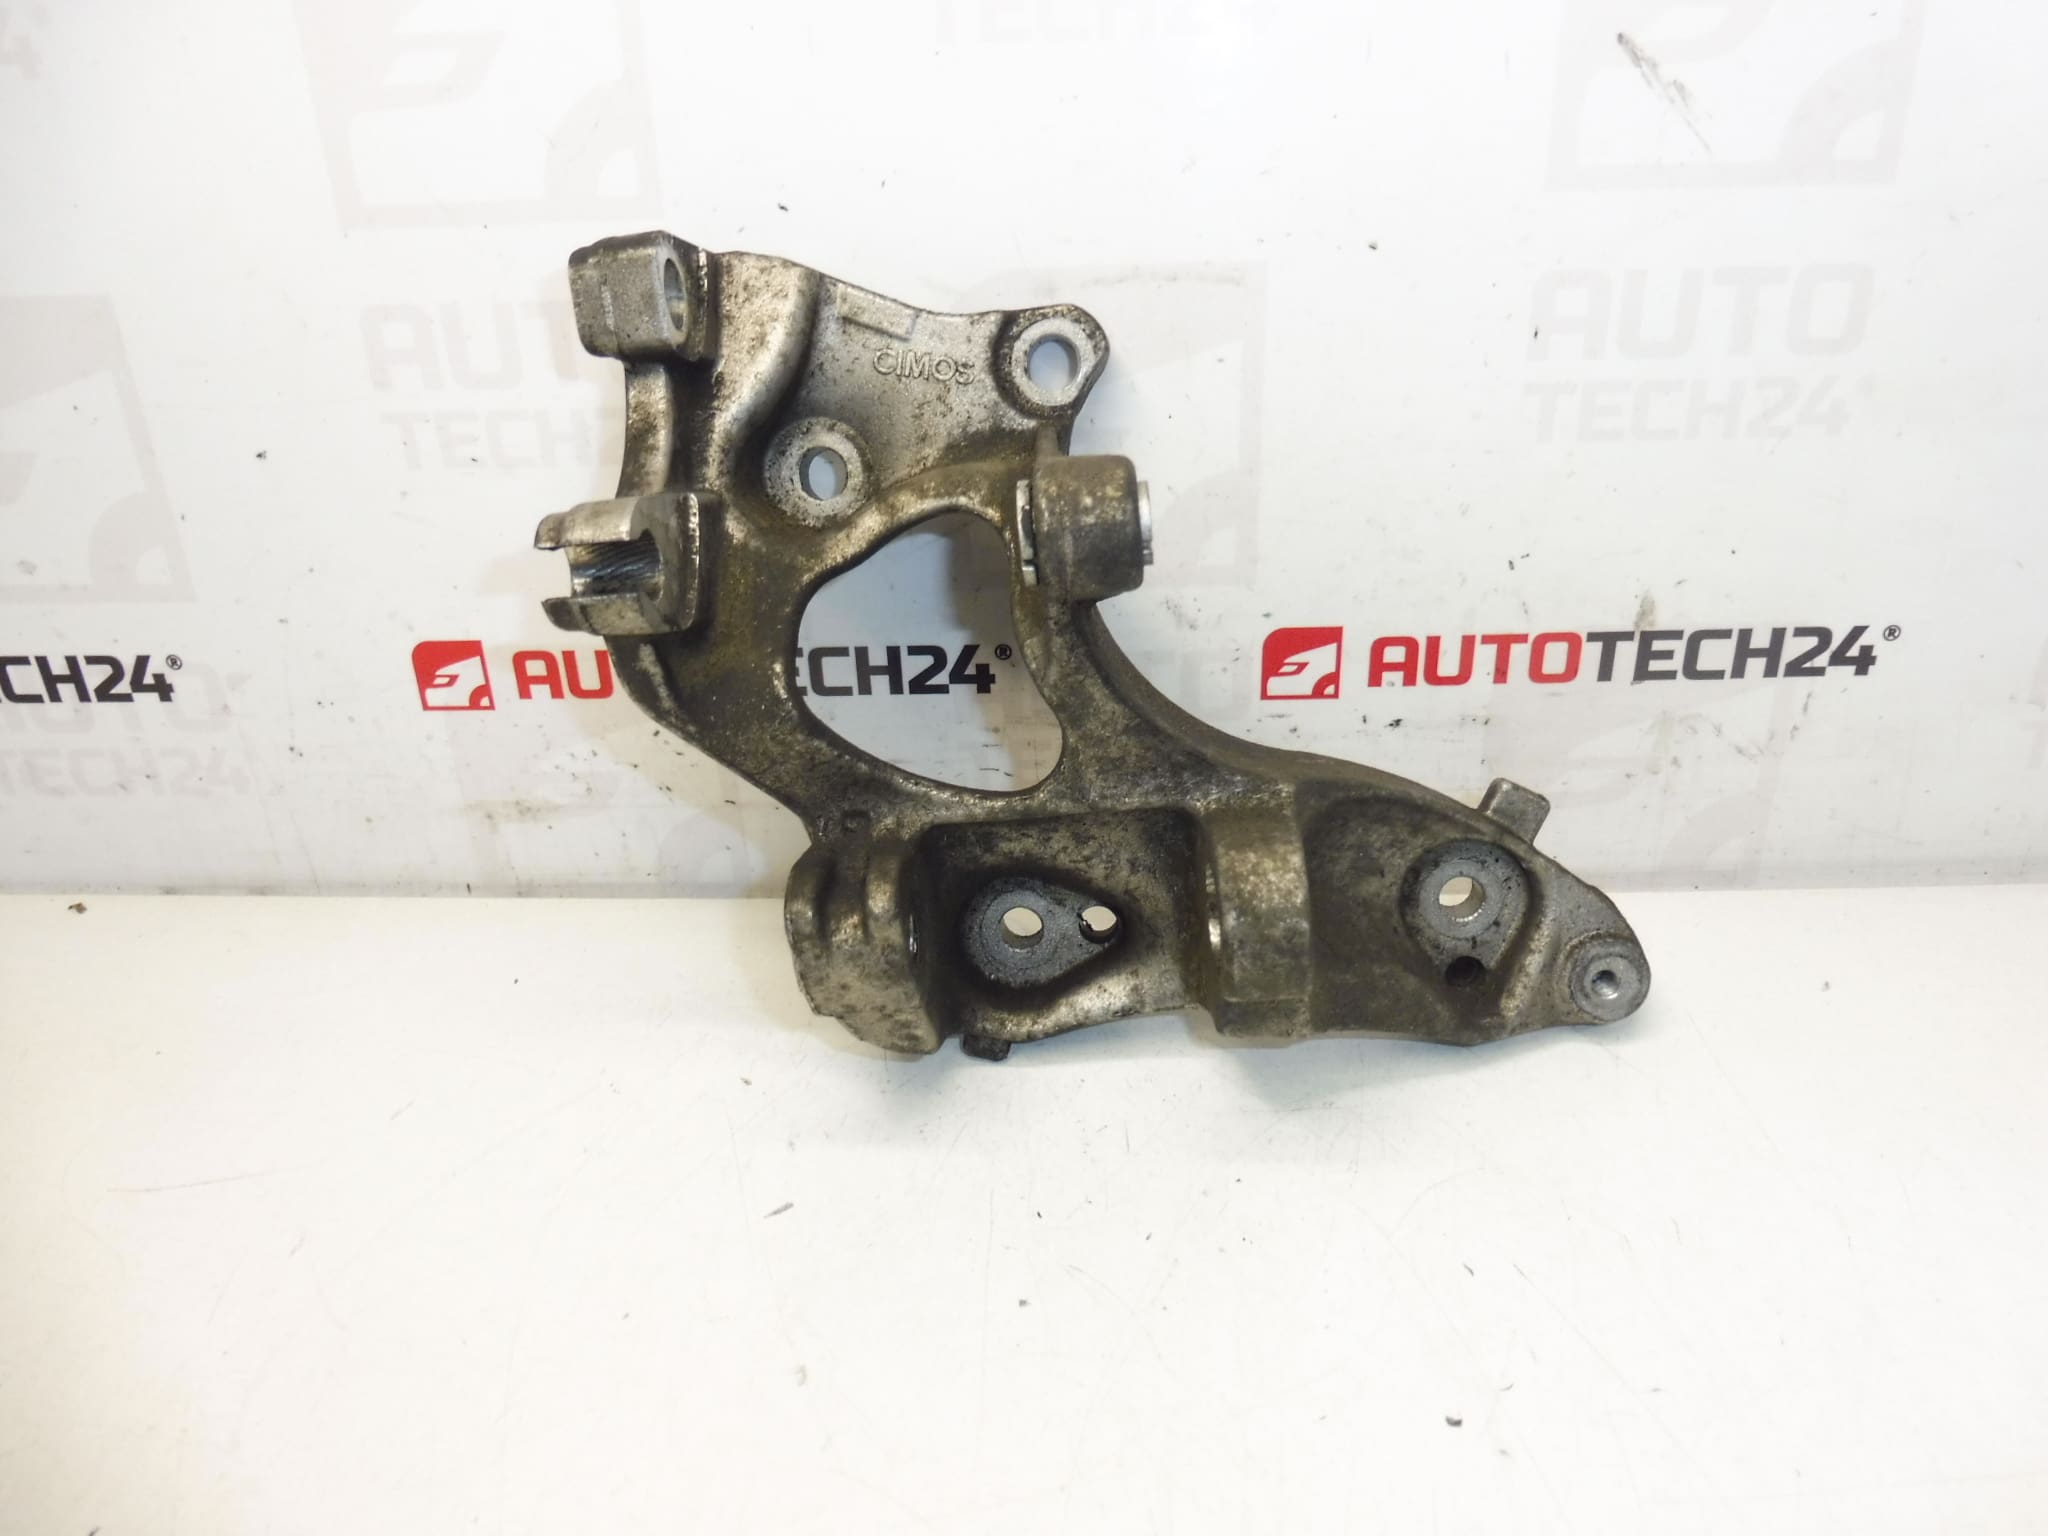
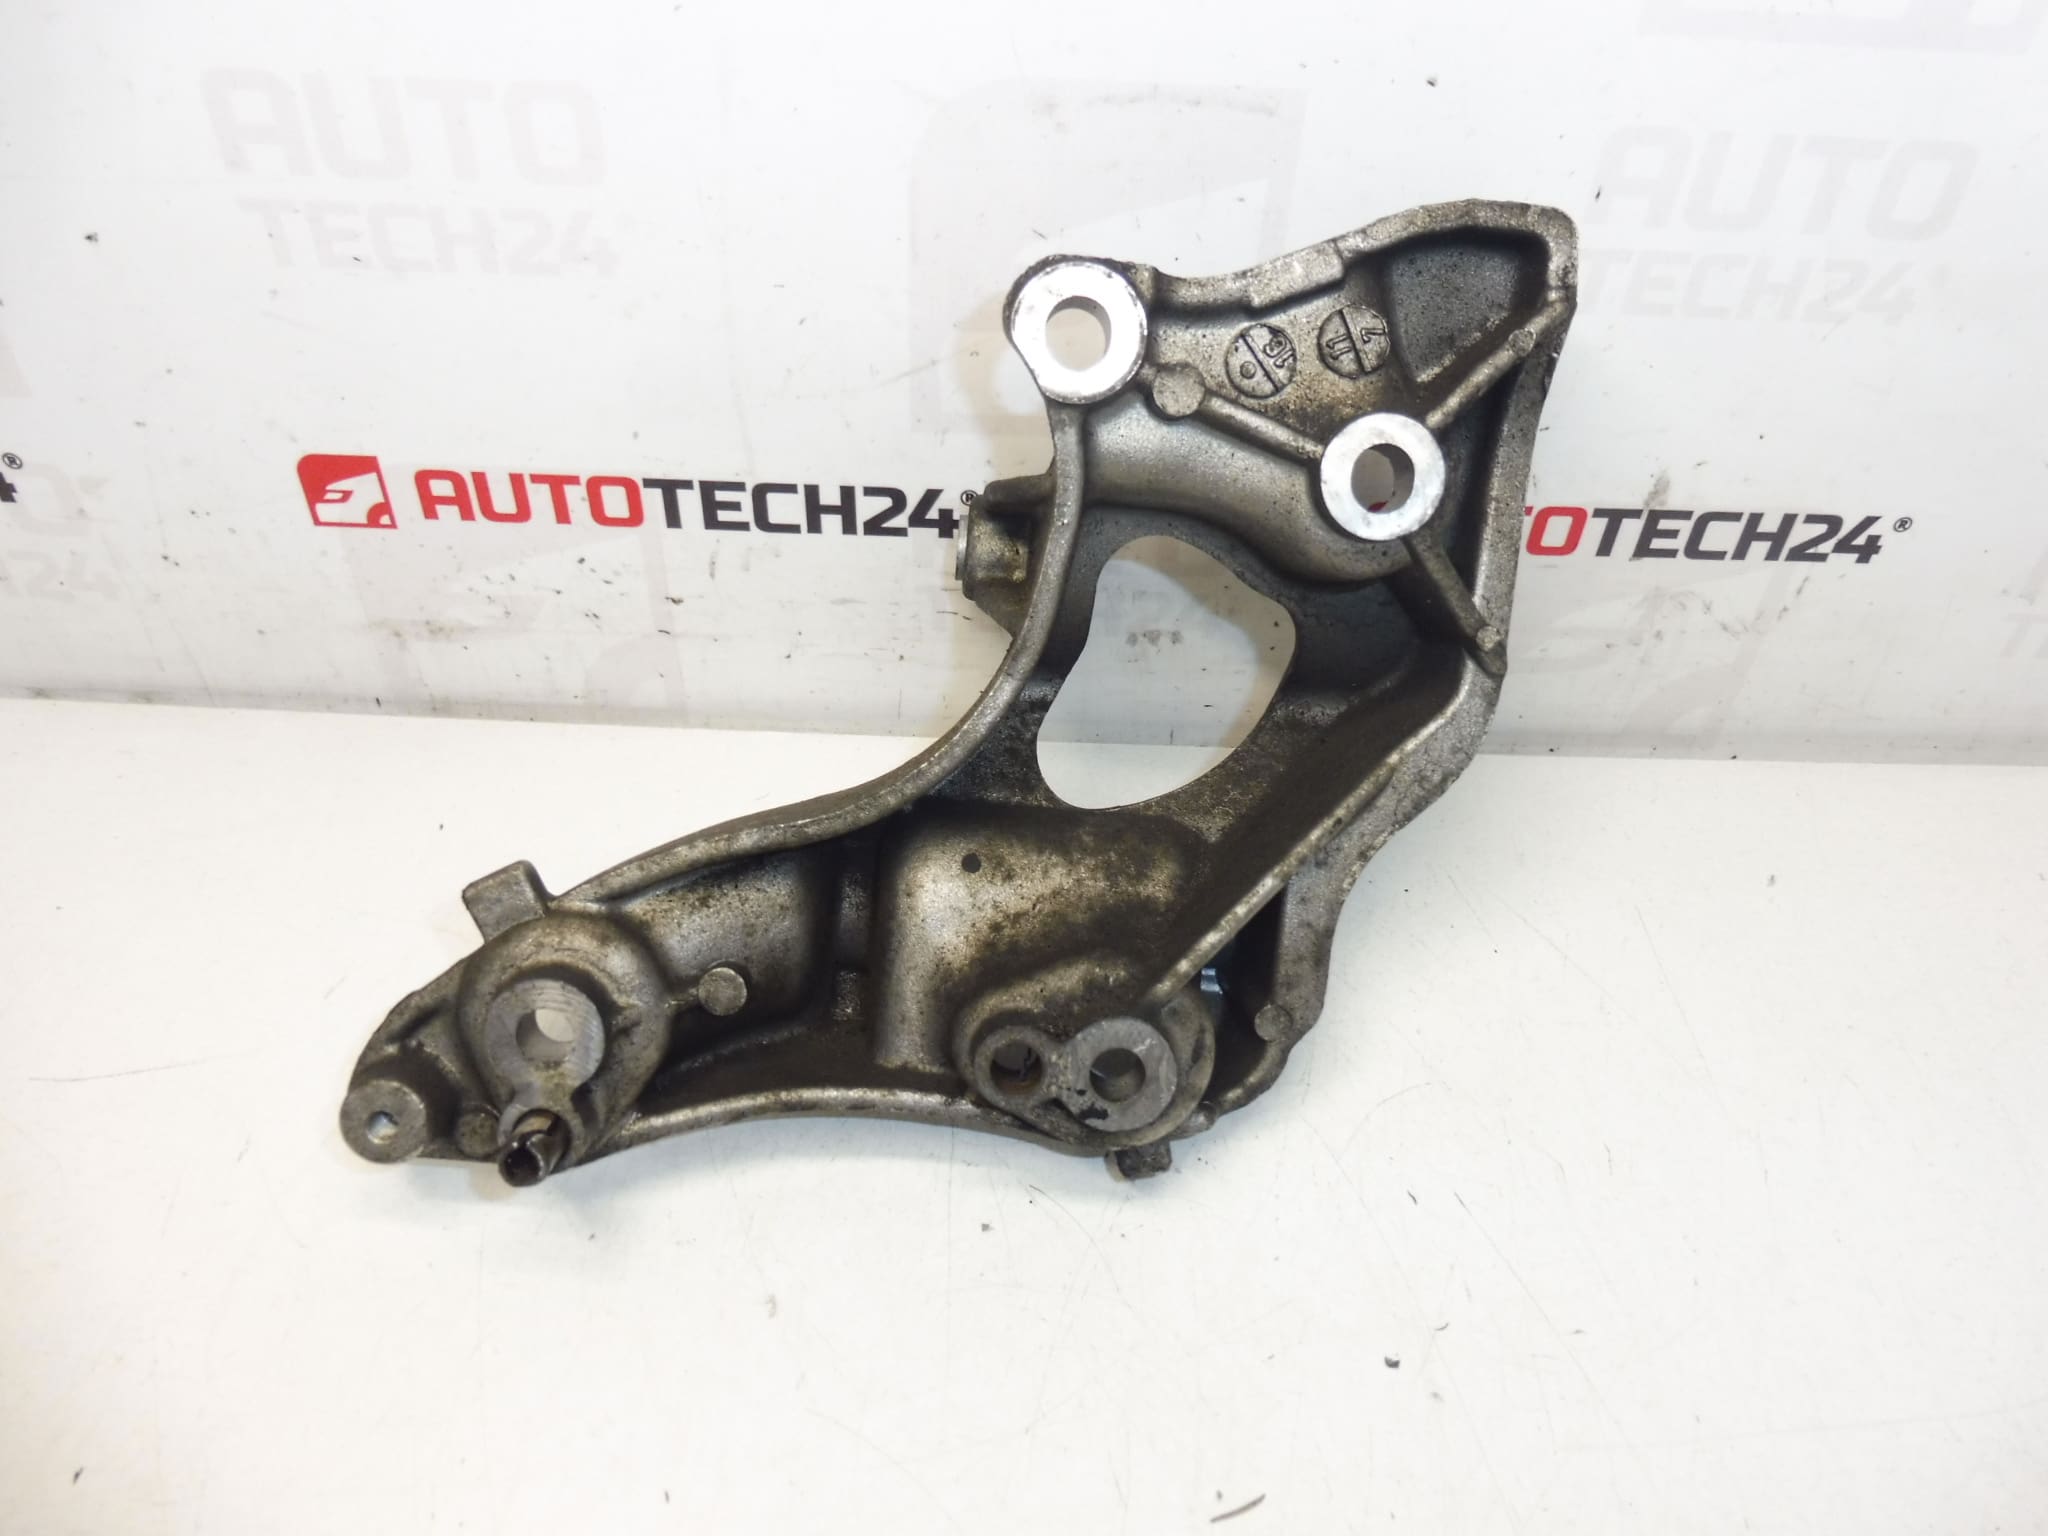
Alternator holder for CITROEN and PEUGEOT cars with 1.6 HDI engine
Part description
This used alternator holder is designed for Citroën and Peugeot cars and is an important part of the alternator mounting in the engine compartment. A properly functioning holder helps to ensure a firm seating of the alternator, stability during operation and limitation of unwanted vibrations that can negatively affect the service life of subsequent components.
The part is searched mainly according to the original designations 9658199380 and 5706L1. It is particularly suitable for repairs when the original holder is damaged, cracked, deformed or has worn attachment points. For mechanics and do-it-yourselfers, it is an advantage to be able to replace a defective original part with a corresponding used piece without unnecessary compromises.
According to the supplied documents, this part relates to cars and markings such as:
- Citroën C2
- Citroën C3
- Citroën C3 Pluriel
- Citroën C4
- Peugeot 1007
- Peugeot 307
Technical information
- Manufacturer: Stellantis Citroën Peugeot
- Model: Citroën C2, Citroën C3, Citroën C3 Pluriel, Citroën C4, Peugeot 1007, Peugeot 307
- Other numbers: 9658199380, 5706L1, NFP
Product codes
- Product codes: 9658199380, 5706L1
- Models according to documents: Citroën C2, Citroën C3, Citroën C3 Pluriel, Citroën C4, Peugeot 1007, Peugeot 307
Installation recommendations
Generally and typically for this type of part, the exact procedure for replacing the alternator bracket may vary depending on the specific car model and engine compartment design. Below is a practical general procedure for a mechanical part of this type.
1) Before assembly
- Check that the new and original bracket match in shape, dimensions, placement and placement of the mounting holes.
- Check the condition of threads, contact surfaces and possible guide points.
- Verify that the part used is not cracked, deformed or excessively corroded.
- Compare the part markings 9658199380 and 5706L1 with the disassembled part if it is legible.
- Before starting work, secure the vehicle against movement and only work on a cold engine.
2) Necessary tools and materials
- regular set of keys and sockets
- ratchet and possible extension
- torque wrench if you normally use it according to the service procedure of the specific car
- cleaner for metal contact surfaces
- brush or rag to remove dirt
- light to the workspace
- protective gloves
3) Step-by-step assembly procedure
- Disconnect the battery if the vehicle design and access to the part require it or if there is a risk of contact with electrical parts of the alternator.
- Ensure sufficient access to the alternator compartment; depending on the specific car, it may be necessary to dismantle the surrounding covers or other obstructing parts.
- Release the associated components that prevent the original mount from being removed.
- Carefully dismantle the original alternator holder and continuously check whether the subsequent attachment points are not damaged.
- Clean the bearing surfaces on the engine and on the connected parts so that the new holder sits without tension and dirt.
- Put the new bracket in place and first seat it loosely without fully tightening it.
- Check the alignment of the holes and the correct seating in relation to the alternator and other mounting parts.
- Install all fasteners one at a time and tighten them evenly to avoid crossing or straining the bracket.
- Reassemble all the removed surrounding parts and check that nothing interferes with the moving parts.
- If the battery was disconnected, reconnect it.
- When completed, visually verify that the bracket is tight, free of play, and free of contact with surrounding components outside of the structural bearing points.
-
4) Post-assembly checks and test drive/function verification
- After starting, check for unusual vibration, knocking or altered noise from the alternator compartment.
- Visually check that the holder stays in the correct position and nothing comes loose.
- After a short test drive, check the fastening and surrounding parts again.
- If the cause of the repair was a crack or misalignment of the original holder, it is recommended to simultaneously check the condition of the subsequent attachments and the loads in the vicinity.
5) The most common assembly mistakes + how to avoid them
- Assembly without comparing the old and new part – always compare the shape, holes and markings.
- Tightening the holder on dirty seating surfaces – clean everything thoroughly before assembly.
- Uneven tightening – install the holder gradually and without tension.
- Working in a confined space without sufficient access – it is better to first create the necessary work space to avoid damage to the part or surrounding components.
- long-term vibrations and mechanical stress during operation
- cracking of the material due to age or fatigue
- damage during previous unprofessional assembly or disassembly
- deformation after impact or overloading of connected parts
- wear of fastening points and threads
- Corrosion and fouling around the attachment