
Description
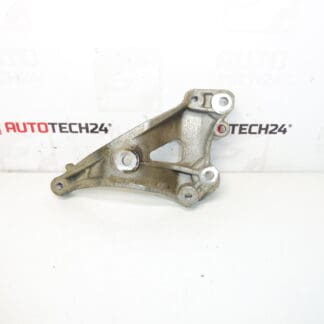
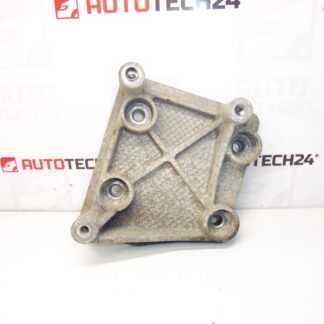
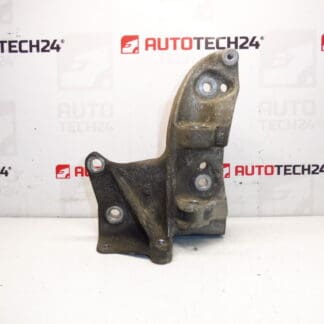
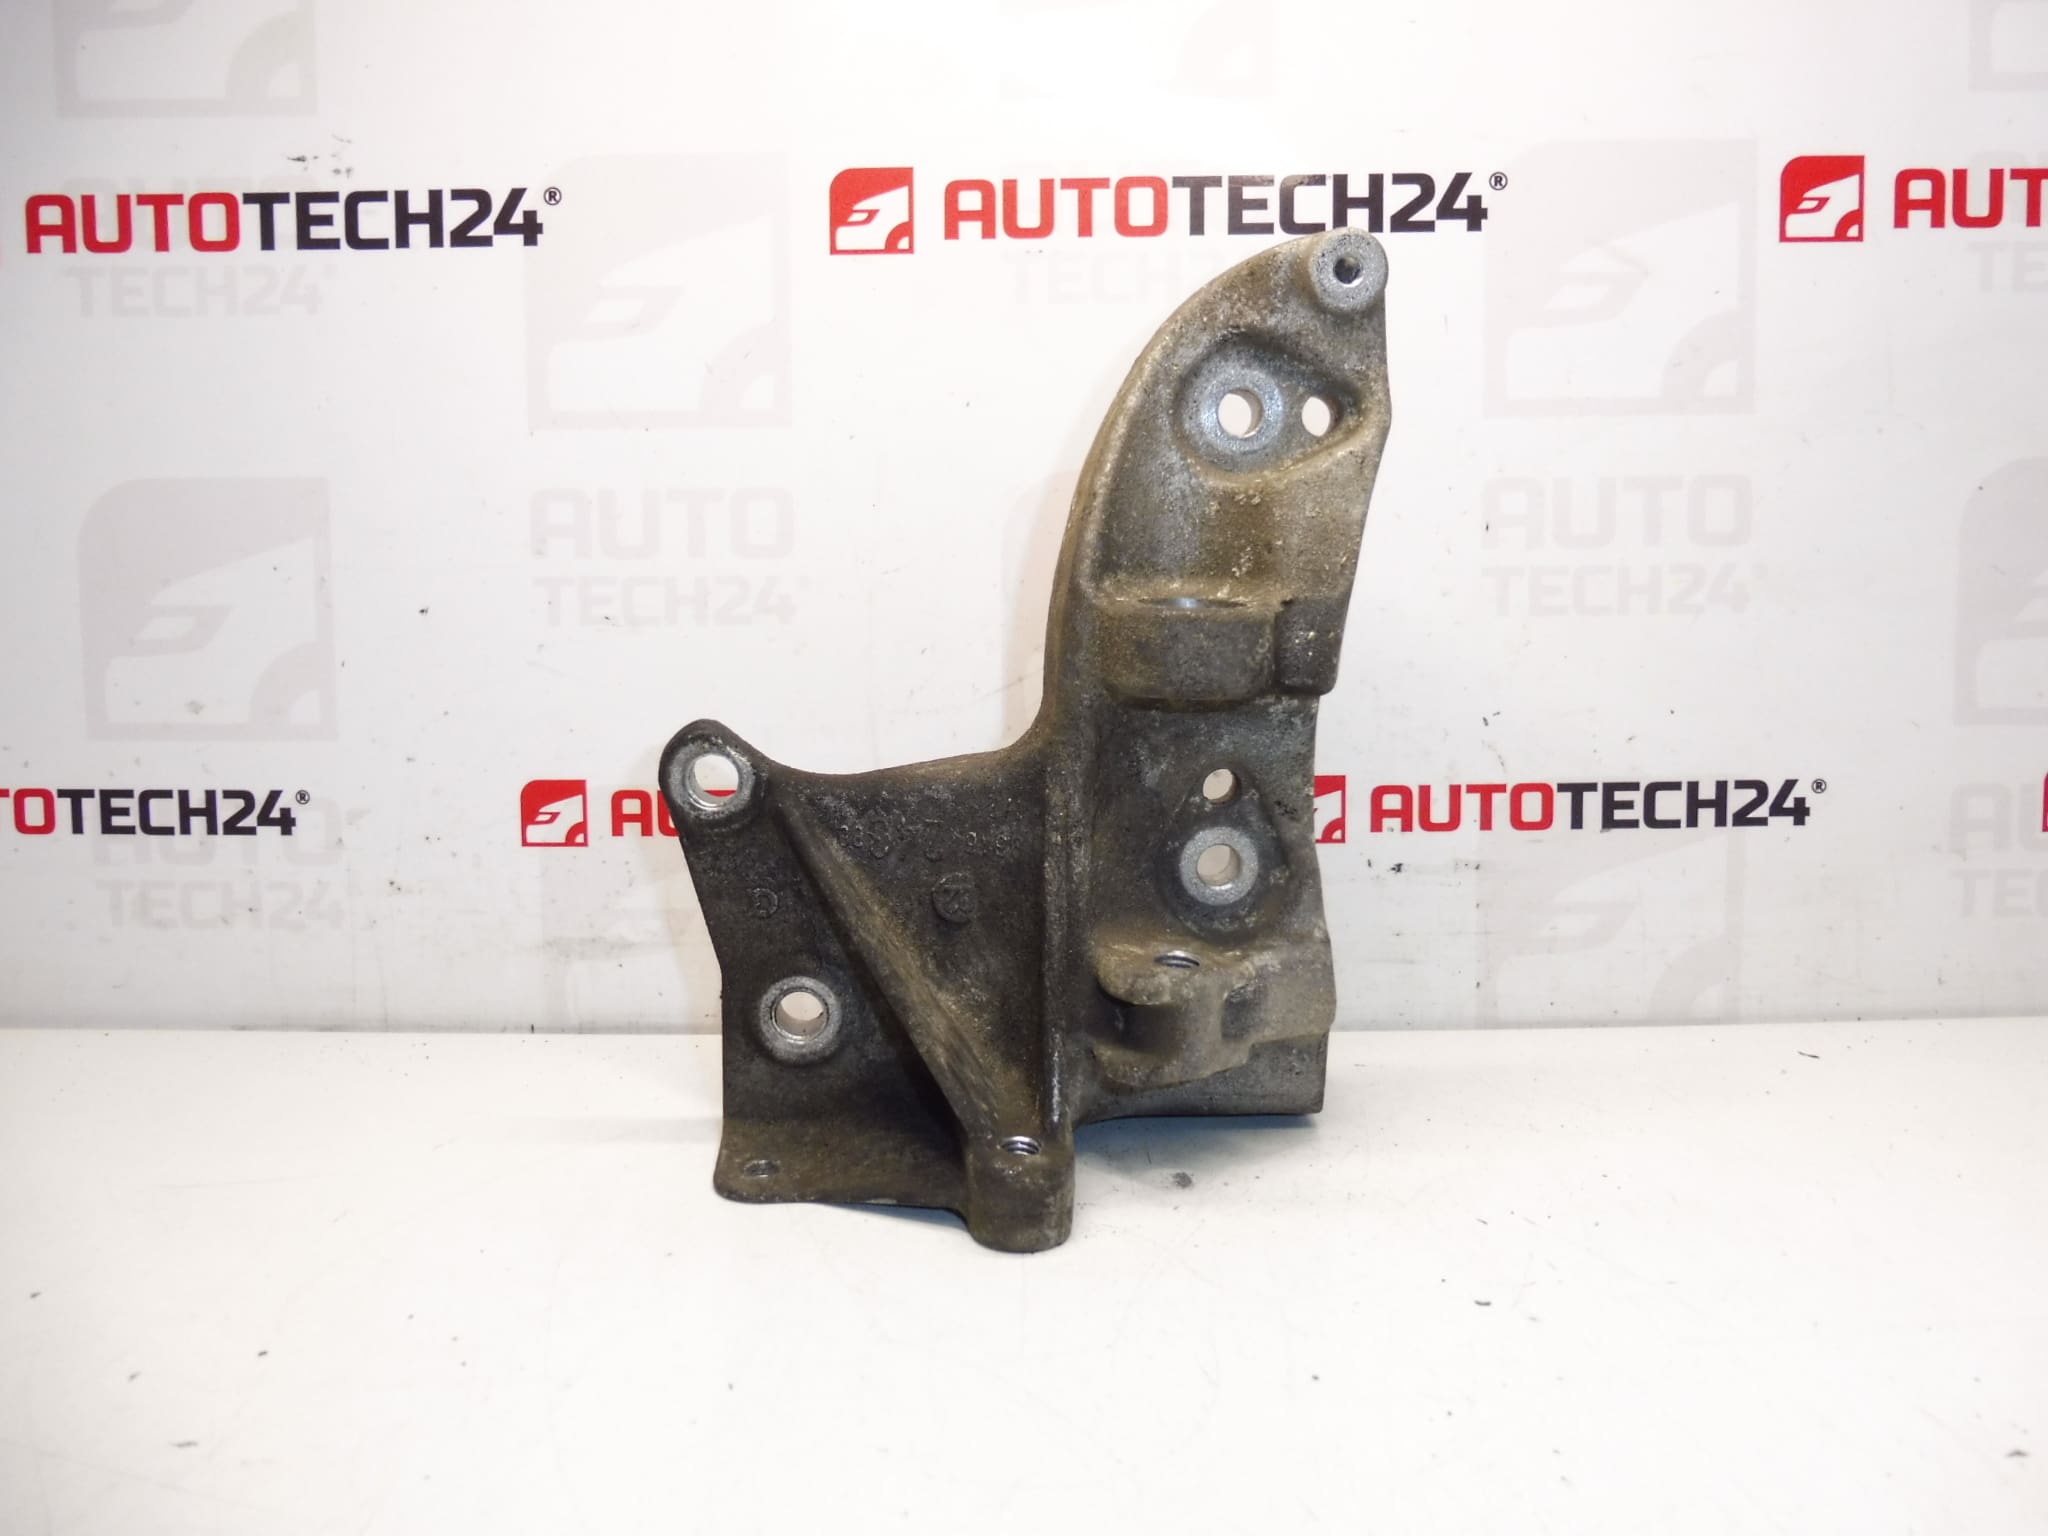
Alternator Mount 1.4 HDi 16V for Citroën and Peugeot vehicles.
This alternator mount is designed for 1.4 HDi 16V engines used in selected Citroën and Peugeot models. It secures the alternator to the engine, maintaining correct belt alignment and absorbing vibration. A robust replacement for worn or damaged brackets, this part is commonly sought by part number (OE 9646424380, 5706G3) and is ideal for professional workshops and experienced DIY mechanics carrying out engine and charging-system repairs.
Key benefits include precise fit to factory mounting points, restoration of correct belt geometry, and reduction of alternator movement that can otherwise accelerate belt and bearing wear. Fitting the correct alternator mount helps ensure reliable charging performance and reduces noise or vibration transmitted to the vehicle body.
Technical Information
- Manufacturer: Stellantis (Citroën / Peugeot)
- Model: Citroën C3; Peugeot 1007 (1.4 HDi 16V applications)
- Product Codes: 9646424380; 5706G3
- Other Numbers: Suitable For 1.4 HDi 16V Engine Mounting Positions
Installation Recommendations
Before starting, disconnect the negative battery terminal to avoid short circuits. Support the engine securely with a jack and a wooden block under the oil pan or an appropriate engine support bar to relieve load from the mount. Remove the accessory drive belt and, if required, the alternator or other nearby components to gain clear access. Unbolt the old mount and compare it to the new part to confirm correct orientation and fitment. Install the new mount, tighten fasteners progressively to the manufacturer’s sequence, and check belt alignment and tension after reassembly. Inspect adjacent components such as the alternator bracket, belt tensioner, and drive belt for wear and replace if necessary. If you are not confident with engine support or belt re-tensioning procedures, have the replacement performed by a qualified technician.
Most Common Failure Causes
The alternator mount typically fails due to rubber deterioration, cracking, or metal fatigue caused by age, heat cycling, and vibration. Oil or coolant leaks that contaminate the mount accelerate rubber breakdown. Mechanical impacts, repeated heavy vibration from a worn alternator bearing, or improper belt tension can also cause premature failure. Symptoms of a failing mount include excessive alternator movement, squealing or chirping belts, abnormal vibration or noise from the engine bay, intermittent charging issues, and visible cracks or separation in the mount material.
Because this part is often searched by part number, use OE code 9646424380 or 5706G3 when looking up compatibility for Citroën and Peugeot 1.4 HDi 16V vehicles. Regular inspection during routine maintenance helps catch early signs of wear and prevents secondary damage to belts, pulleys, and the alternator itself.