Description
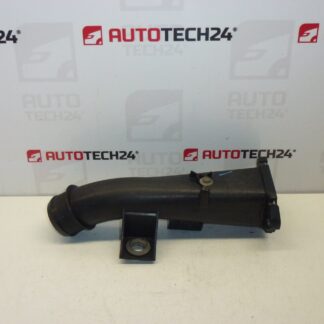
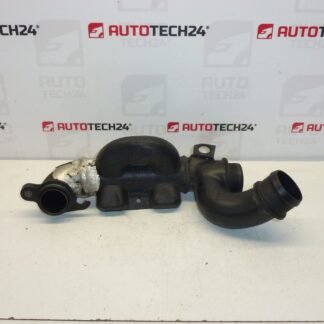
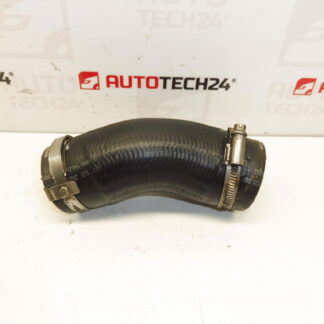
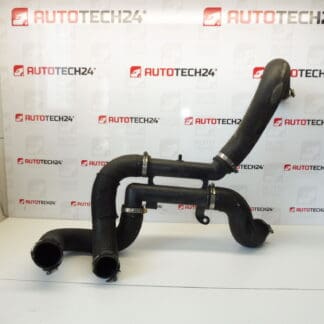
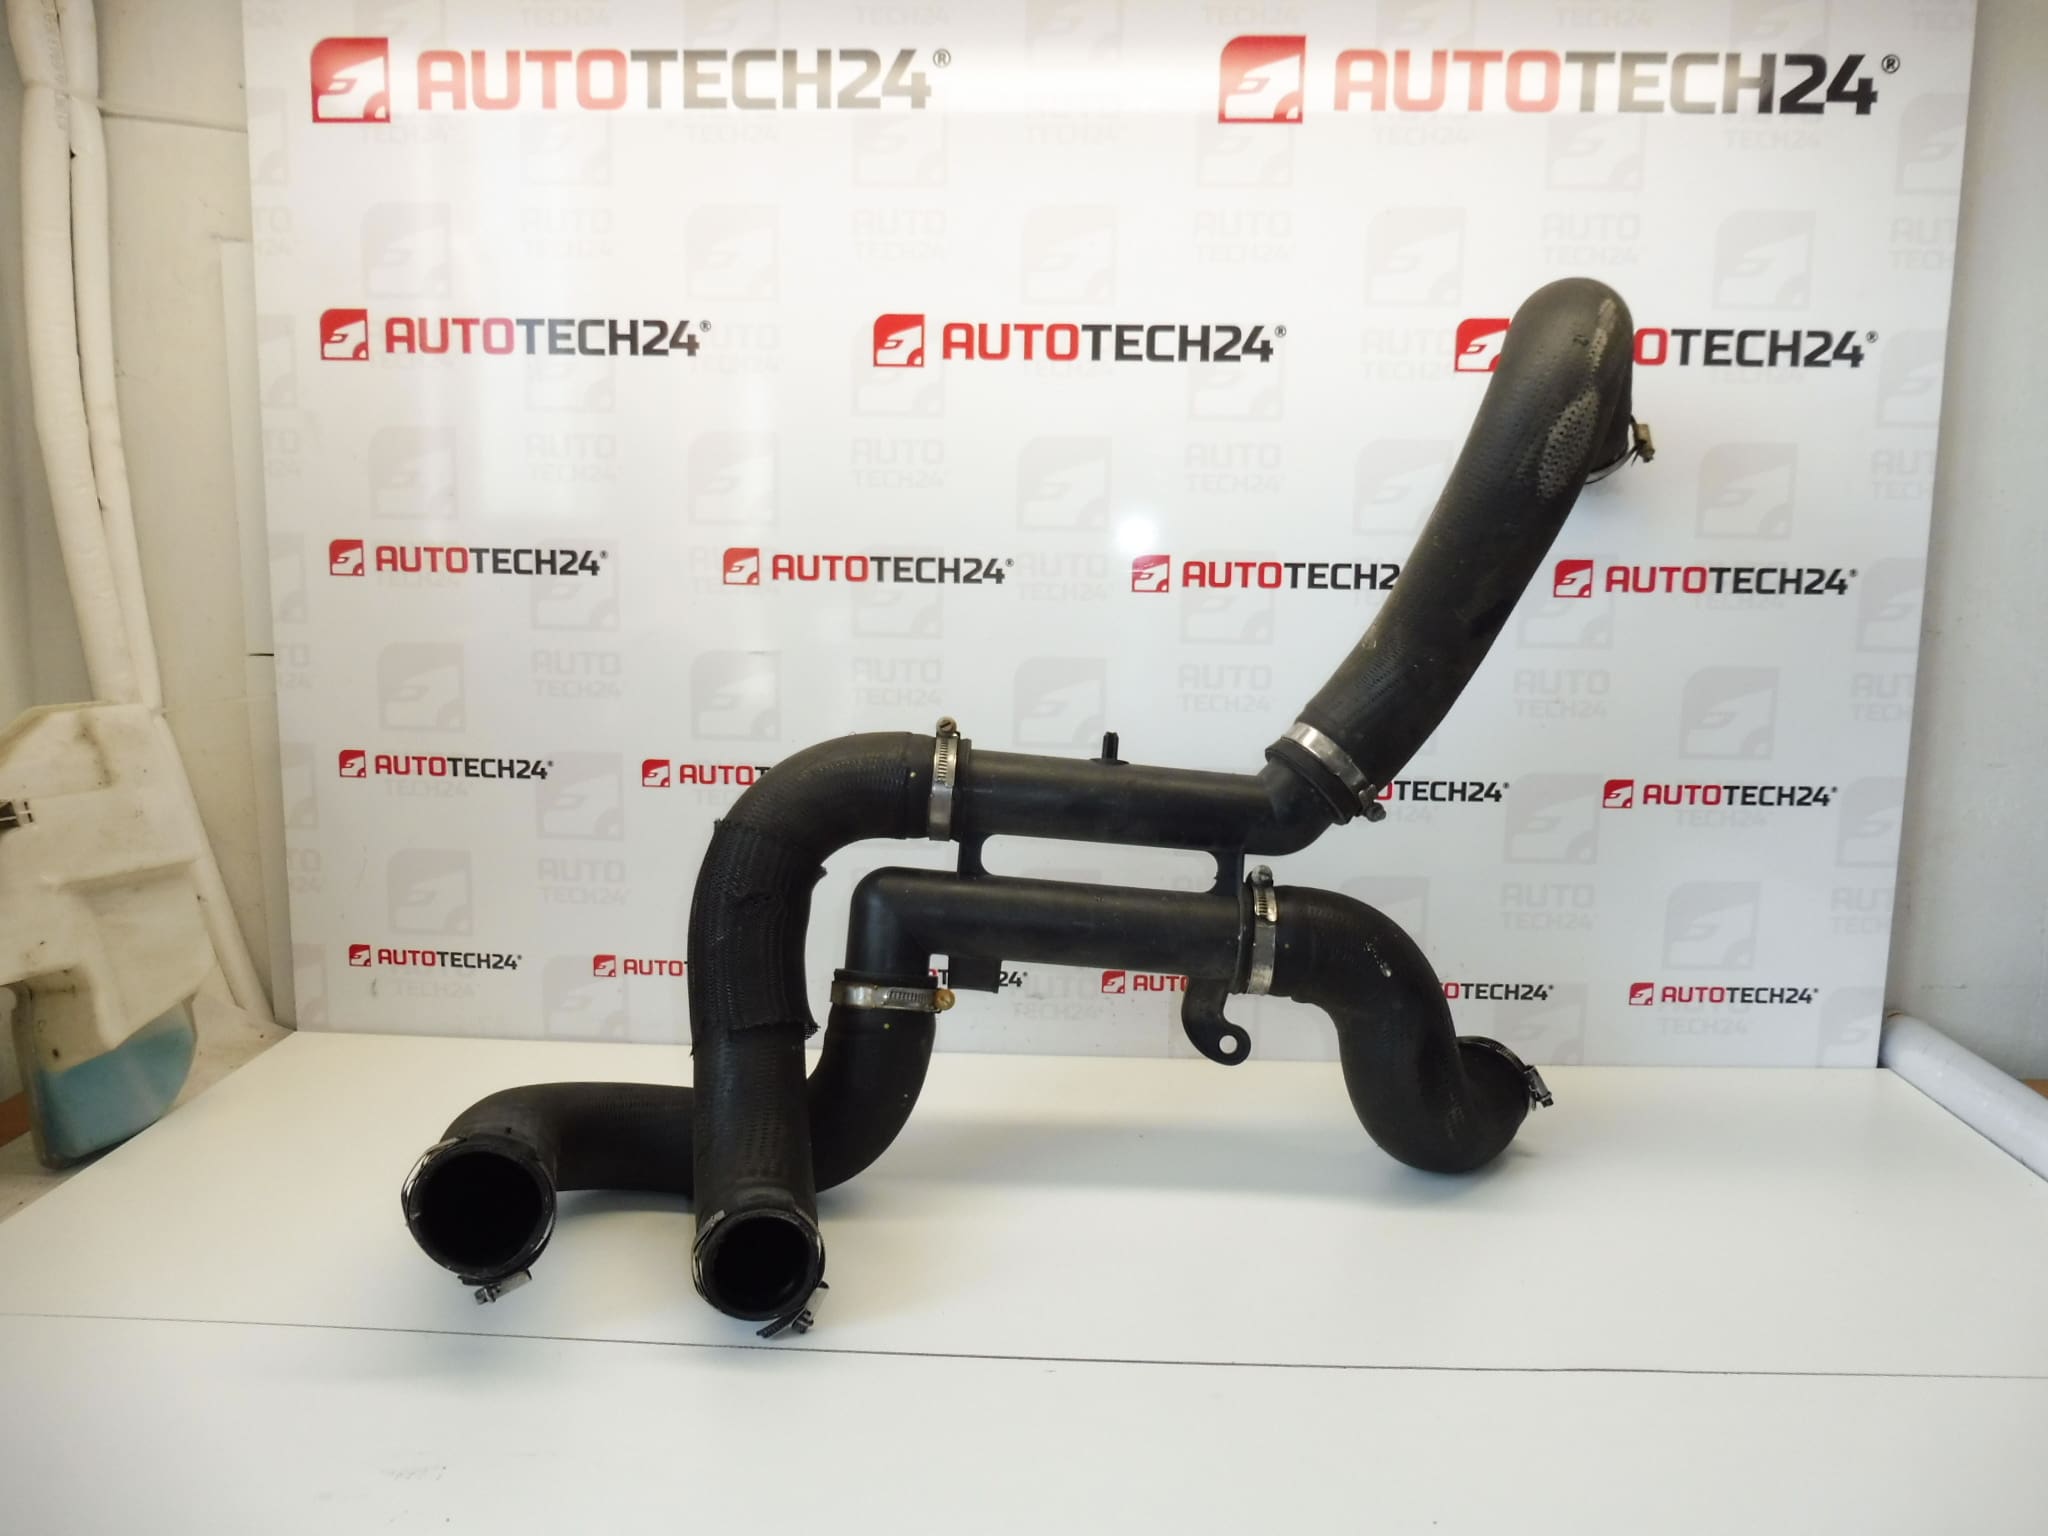
Complete air connection for 1.6 HDi engines for Citroën C5 X7 and Peugeot 407.
This replacement air connection (air intake connector) is designed for 1.6 HDi diesel applications and is an essential part of the intake/boost circuit on Citroën C5 (X7) and Peugeot 407 models. Supplied under code 0382LP, the part ensures secure routing and sealing of intake air between turbocharger, intercooler and intake manifold. Ideal for professional workshops and experienced DIY mechanics, this component restores proper air flow, prevents boost leaks and helps maintain engine performance and fuel efficiency.
Technical Information
- Manufacturer: Stellantis / Citroën / Peugeot
- Model: Citroën C5 X7; Peugeot 407
- Product Codes: 0382LP
- Additional Numbers: Not specified
Function And Application
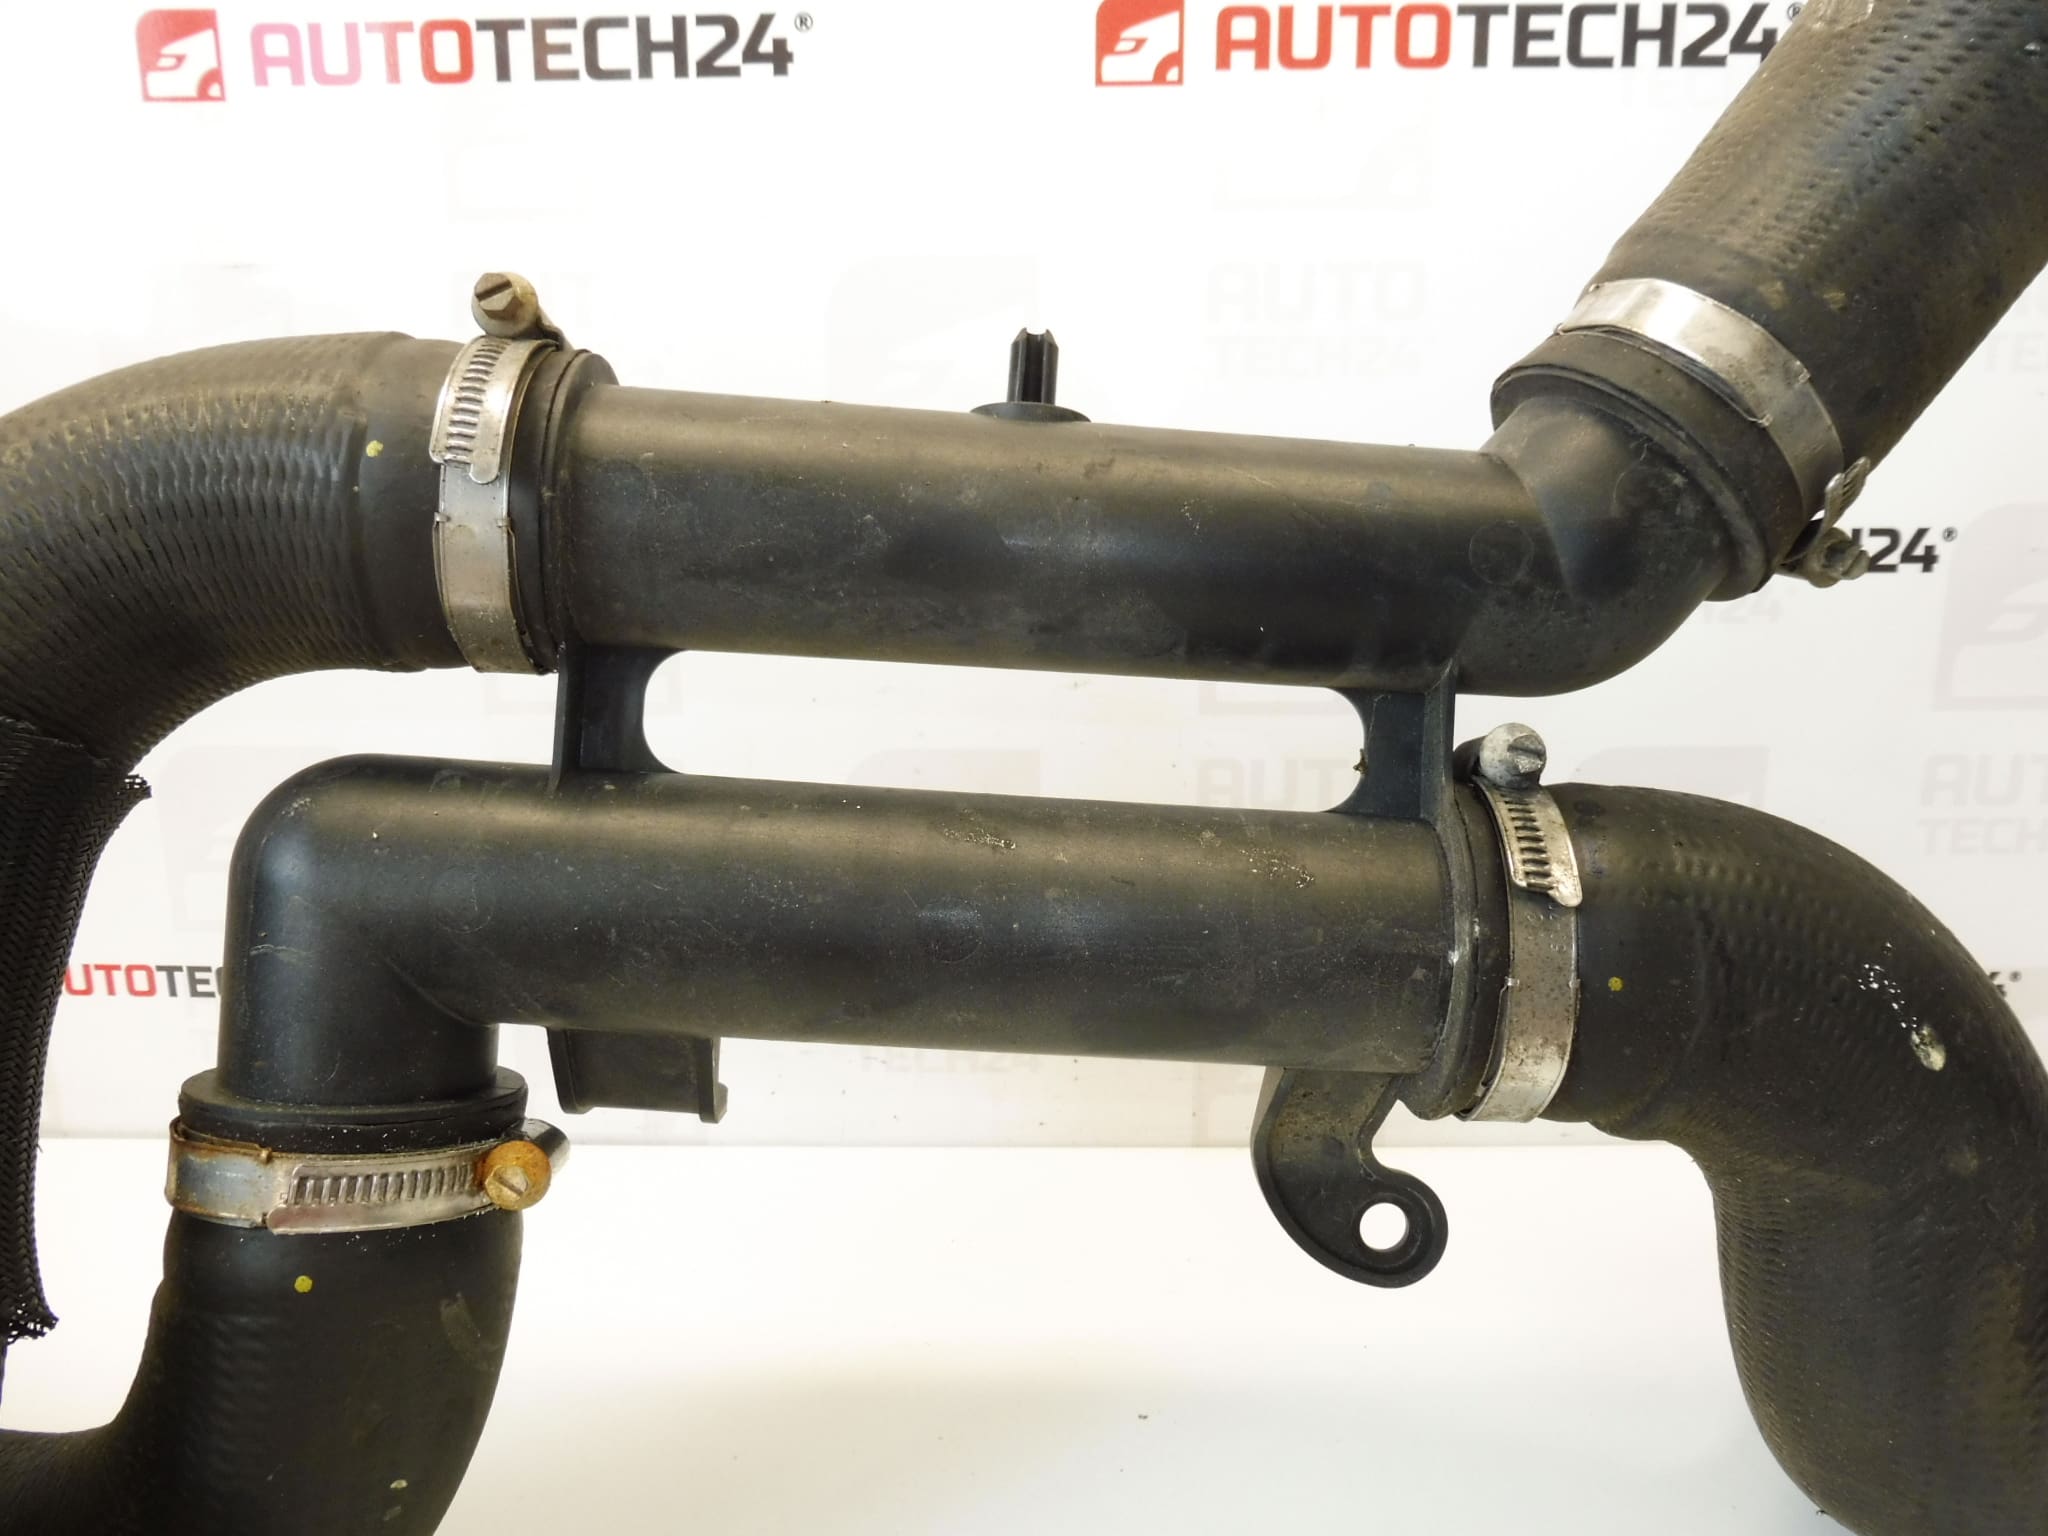
The part connects sections of the intake or turbocharging system, providing an airtight junction under vacuum and boost conditions. Proper sealing prevents loss of boost pressure, maintains turbo response and avoids air metering errors that can trigger fault codes or limp mode on 1.6 HDi engines.
Common Failure Modes
Failures typically result from age-related material degradation, heat and vibration exposure, oil contamination from turbocharger crankcase ventilation, or inadequate clamping. Symptoms of a failing air connection include rough idle, loss of power under acceleration, visible cracks or loose clamps, and diagnostic trouble codes related to boost pressure.
Replacement Frequency And Maintenance
There is no fixed service interval; typical life depends on driving conditions and engine maintenance. Inspect the intake connectors during routine service or when turbo-related symptoms appear. Replace if hardened, torn, or visibly cracked, or when clamps and mating surfaces no longer seal reliably.
Installation Recommendations
- Work on a cool engine. Relieve intake pressure by allowing the engine to stand and, if applicable, disconnecting the battery for safety when required.
- Loosen and remove clamps or fasteners securing the old connector. Note orientation and routing before removal.
- Check mating surfaces, turbo outlet, intercooler pipes and clamps for damage or oil deposits; clean surfaces before fitting the new part.
- Fit the new connector in the correct orientation, seat fully on each mating pipe and secure with good-quality clamps. Replace clamps if deformed or corroded.
- After installation, start the engine and check for leaks under both idle and load (road test) conditions. Recheck clamp tightness after the first heat cycle.
Why Choose This Part
Specifically referenced for Citroën C5 X7 and Peugeot 407 with the 1.6 HDi engine and code 0382LP, this connector is a straightforward, high-impact repair that restores reliable turbocharging operation. It is suitable for professional mechanics and skilled DIYers who want a focused replacement to eliminate boost leaks and associated driveability issues.