Description
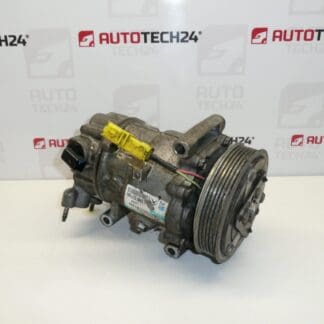
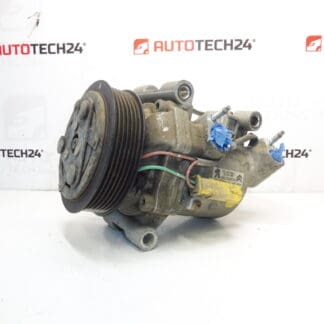
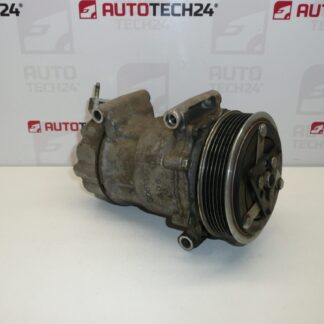
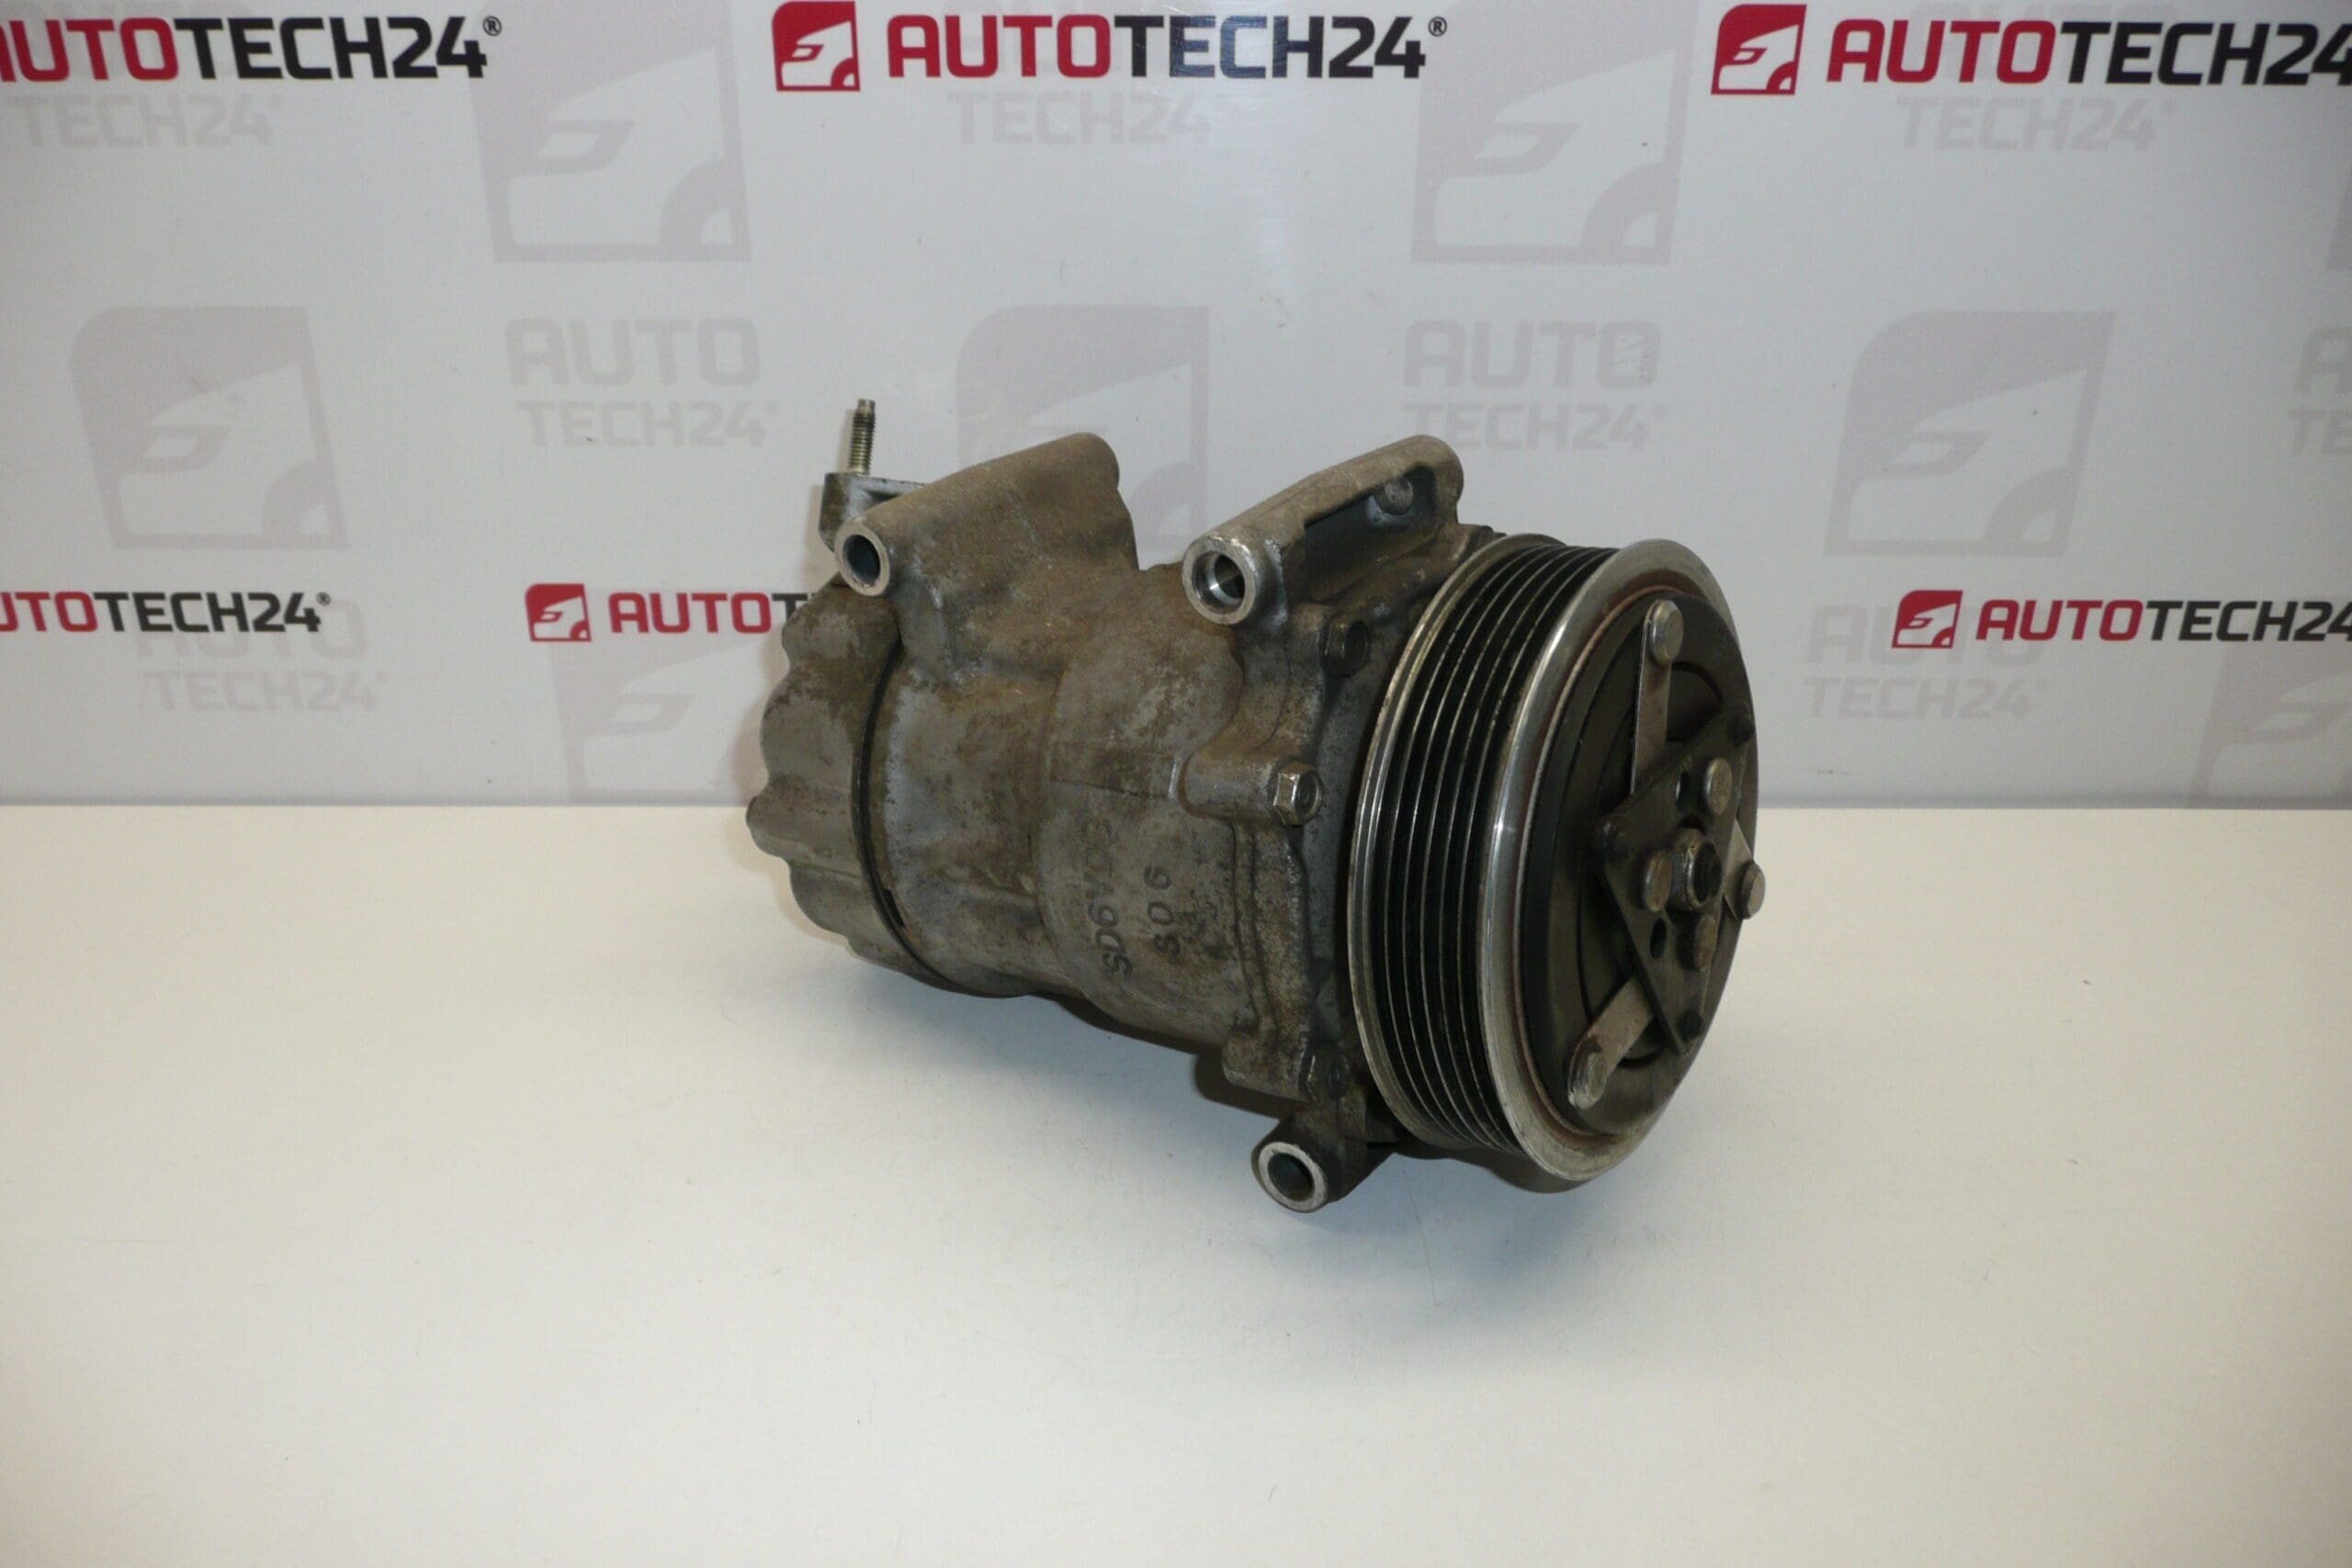
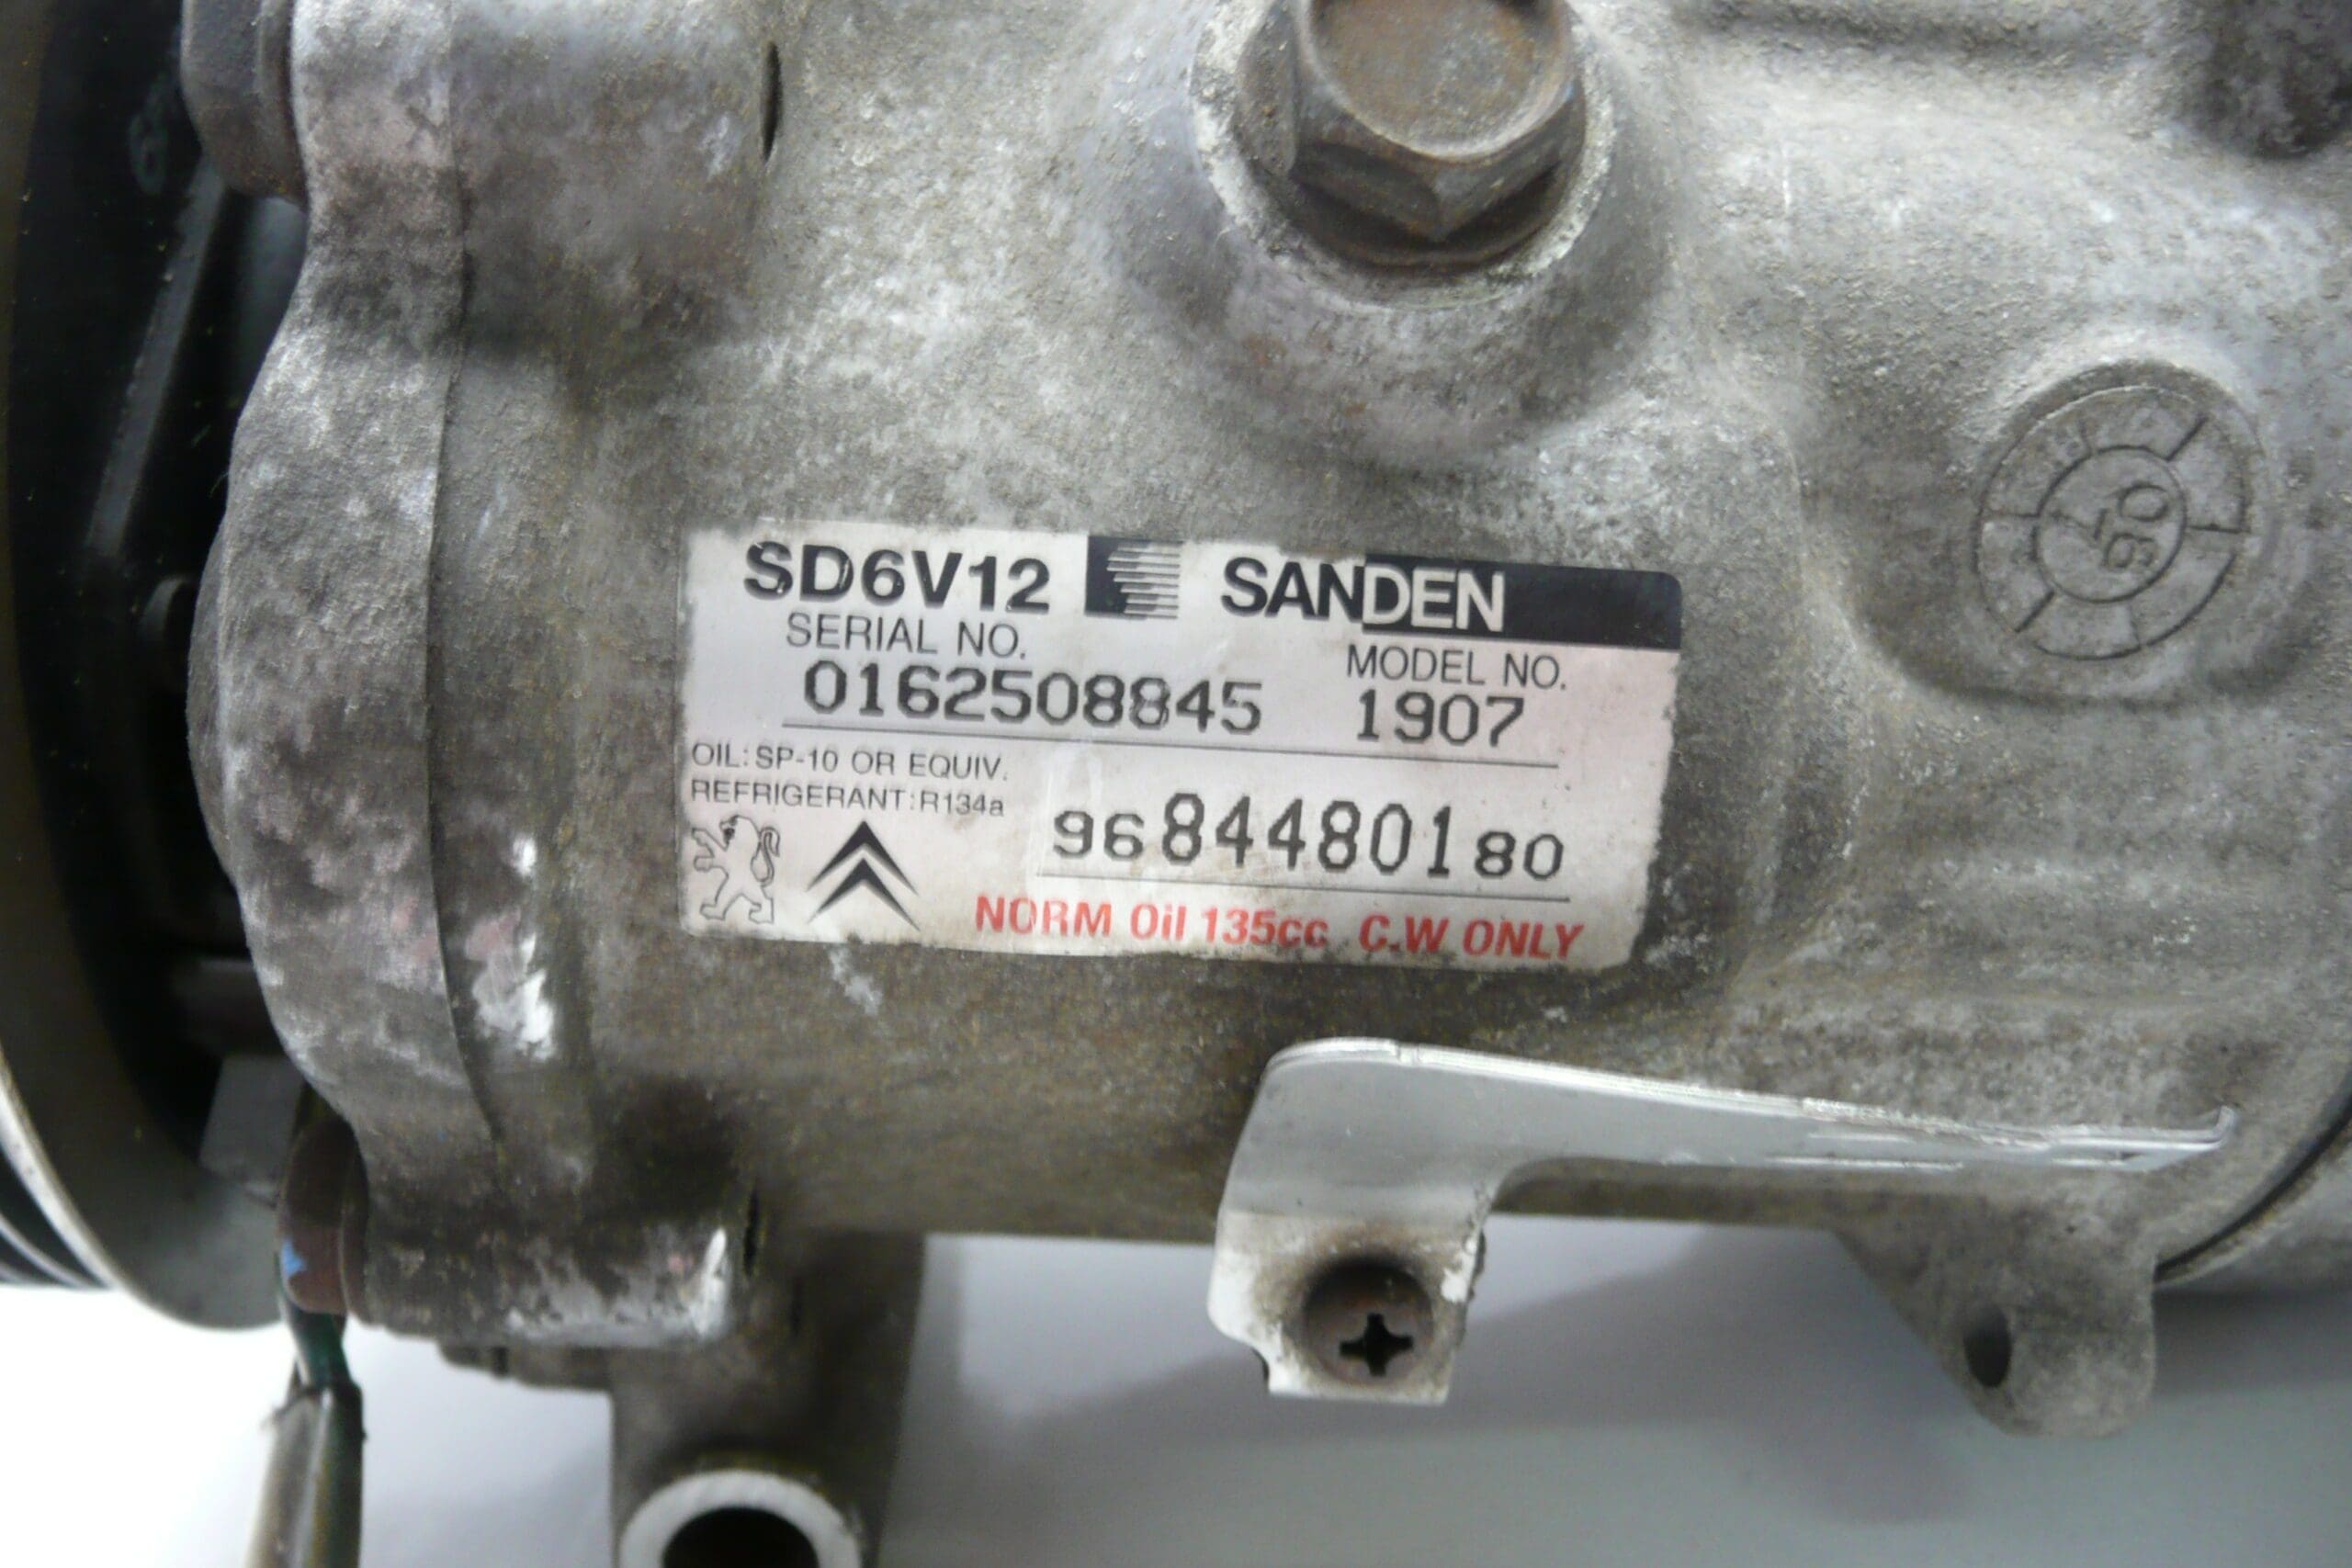
Air conditioner compressor SANDEN SD6V12 CITROEN BERLINGO B9, C3 II, C3 PICASSO, C4, C5 III, DS3, PEUGEOT 207, 307, 308, 508, PARTNER III
It was removed from a CITROEN XSARA PICASSO 2009
From cars with low mileage
Part description
This Sanden SD6V12 air conditioner compressor is intended for cars of the Stellantis group (Citroën/Peugeot) and represents a suitable solution for malfunctioning or noisy air conditioning. It is a used original part that was removed from a car with a low mileage – an ideal choice for mechanics and home repairs when it is necessary to quickly restore the function of the air conditioning without unnecessary compromises.
If you are looking for a part by number, OE/product designations are listed in the menu, according to which the air conditioner compressor can be easily matched with the old part.
Technical information
- Manufacturer: Sanden
- Model: SD6V12 1907
- Other numbers: 9684480180, 9671456680, 9800821980, 9800822280, 6453XP, 6453QG, 6453XJ, 648714, 648715, 648722
Product codes
- Product codes: 9684480180, 9671456680, 9800821980, 9800822280, 6453XP, 6453QG, 6453XJ, 648714, 648715, 648722
Installation recommendations
Generally/typically applies to replacing the air conditioning compressor in Citroën/Peugeot cars (the exact procedure may vary according to the specific model and design):
1) Before assembly
- Compare with the old part: part numbers (OE), type (SD6V12), mounting, connector/electrical connection, dimensional position of connections.
- Check the condition of the used compressor: undamaged body, threads, attachment ears, connector, connections; without cracks and obvious traces of seizing.
- Visually check the sealing surfaces and connection points of the air conditioning line (cleanliness, no grooves).
2) Necessary tools and materials
- Common hand tools (ratchet, extensions, wrenches, screwdrivers).
- Suitable equipment for working with air conditioning (service station/refrigerant extraction and filling).
- Clean rags, protective gloves and goggles.
- New sealing elements for connecting the air conditioning line (typically O-rings) according to the specific application.
3) Step-by-step assembly procedure
- Have the refrigerant expertly extracted from the air conditioning circuit (this is not a normal service operation without equipment).
- Disconnect the battery (recommended for the safety of working in the engine compartment and handling the wiring).
- Ensure access to the compressor according to the layout of the specific car (removal of covers/etc. as required).
- Disconnect the electrical connector of the compressor.
- Carefully disconnect the air conditioning pipe from the compressor; immediately protect the open ends from dirt.
- Dismantle the fixing screws and remove the old compressor.
- Prepare the landing surfaces and check that no dirt has entered the system.
- Install the air conditioning compressor, seat it correctly in the brackets and tighten the fasteners according to the manufacturer’s instructions.
- Install the A/C pipe with the appropriate seal and check for proper seating.
- Connect the electrical connector.
- Evacuate and then fill the air conditioning system at a service station.
- After filling, check the tightness and function of the air conditioner.
-
4) Post-assembly checks and test drive/function verification
- Verify that the air conditioner switches and runs without unusual noises.
- Check the connections for tightness and visually inspect the pipe connections again.
- After a short ride, check again for leaks or loose connections.
5) The most common assembly mistakes + how to avoid them
- Using old/unsuitable seals → always use the correct sealing elements for the particular connection.
- Insufficient check of part compatibility → compare the numbers and design with the old compressor before assembly.
- Filling without vacuuming and leak checking → after assembly, always vacuum, test and fill at a service station.
- Lack of lubrication in the circuit (e.g. after a leak or long-term neglected air conditioning service).
- Impurities in the system after another component has failed, which can cause the compressor to seize.
- Air conditioning circuit leaks leading to incorrect operating conditions.
- Long-term overloading (frequent operation without proper filling and maintenance).
- Mechanical damage (impact, damage to holder/mounting or connections).