Description
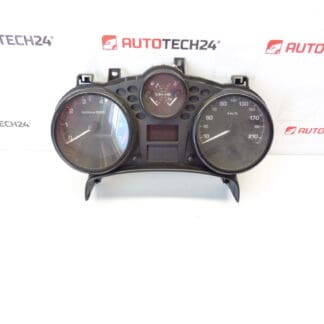
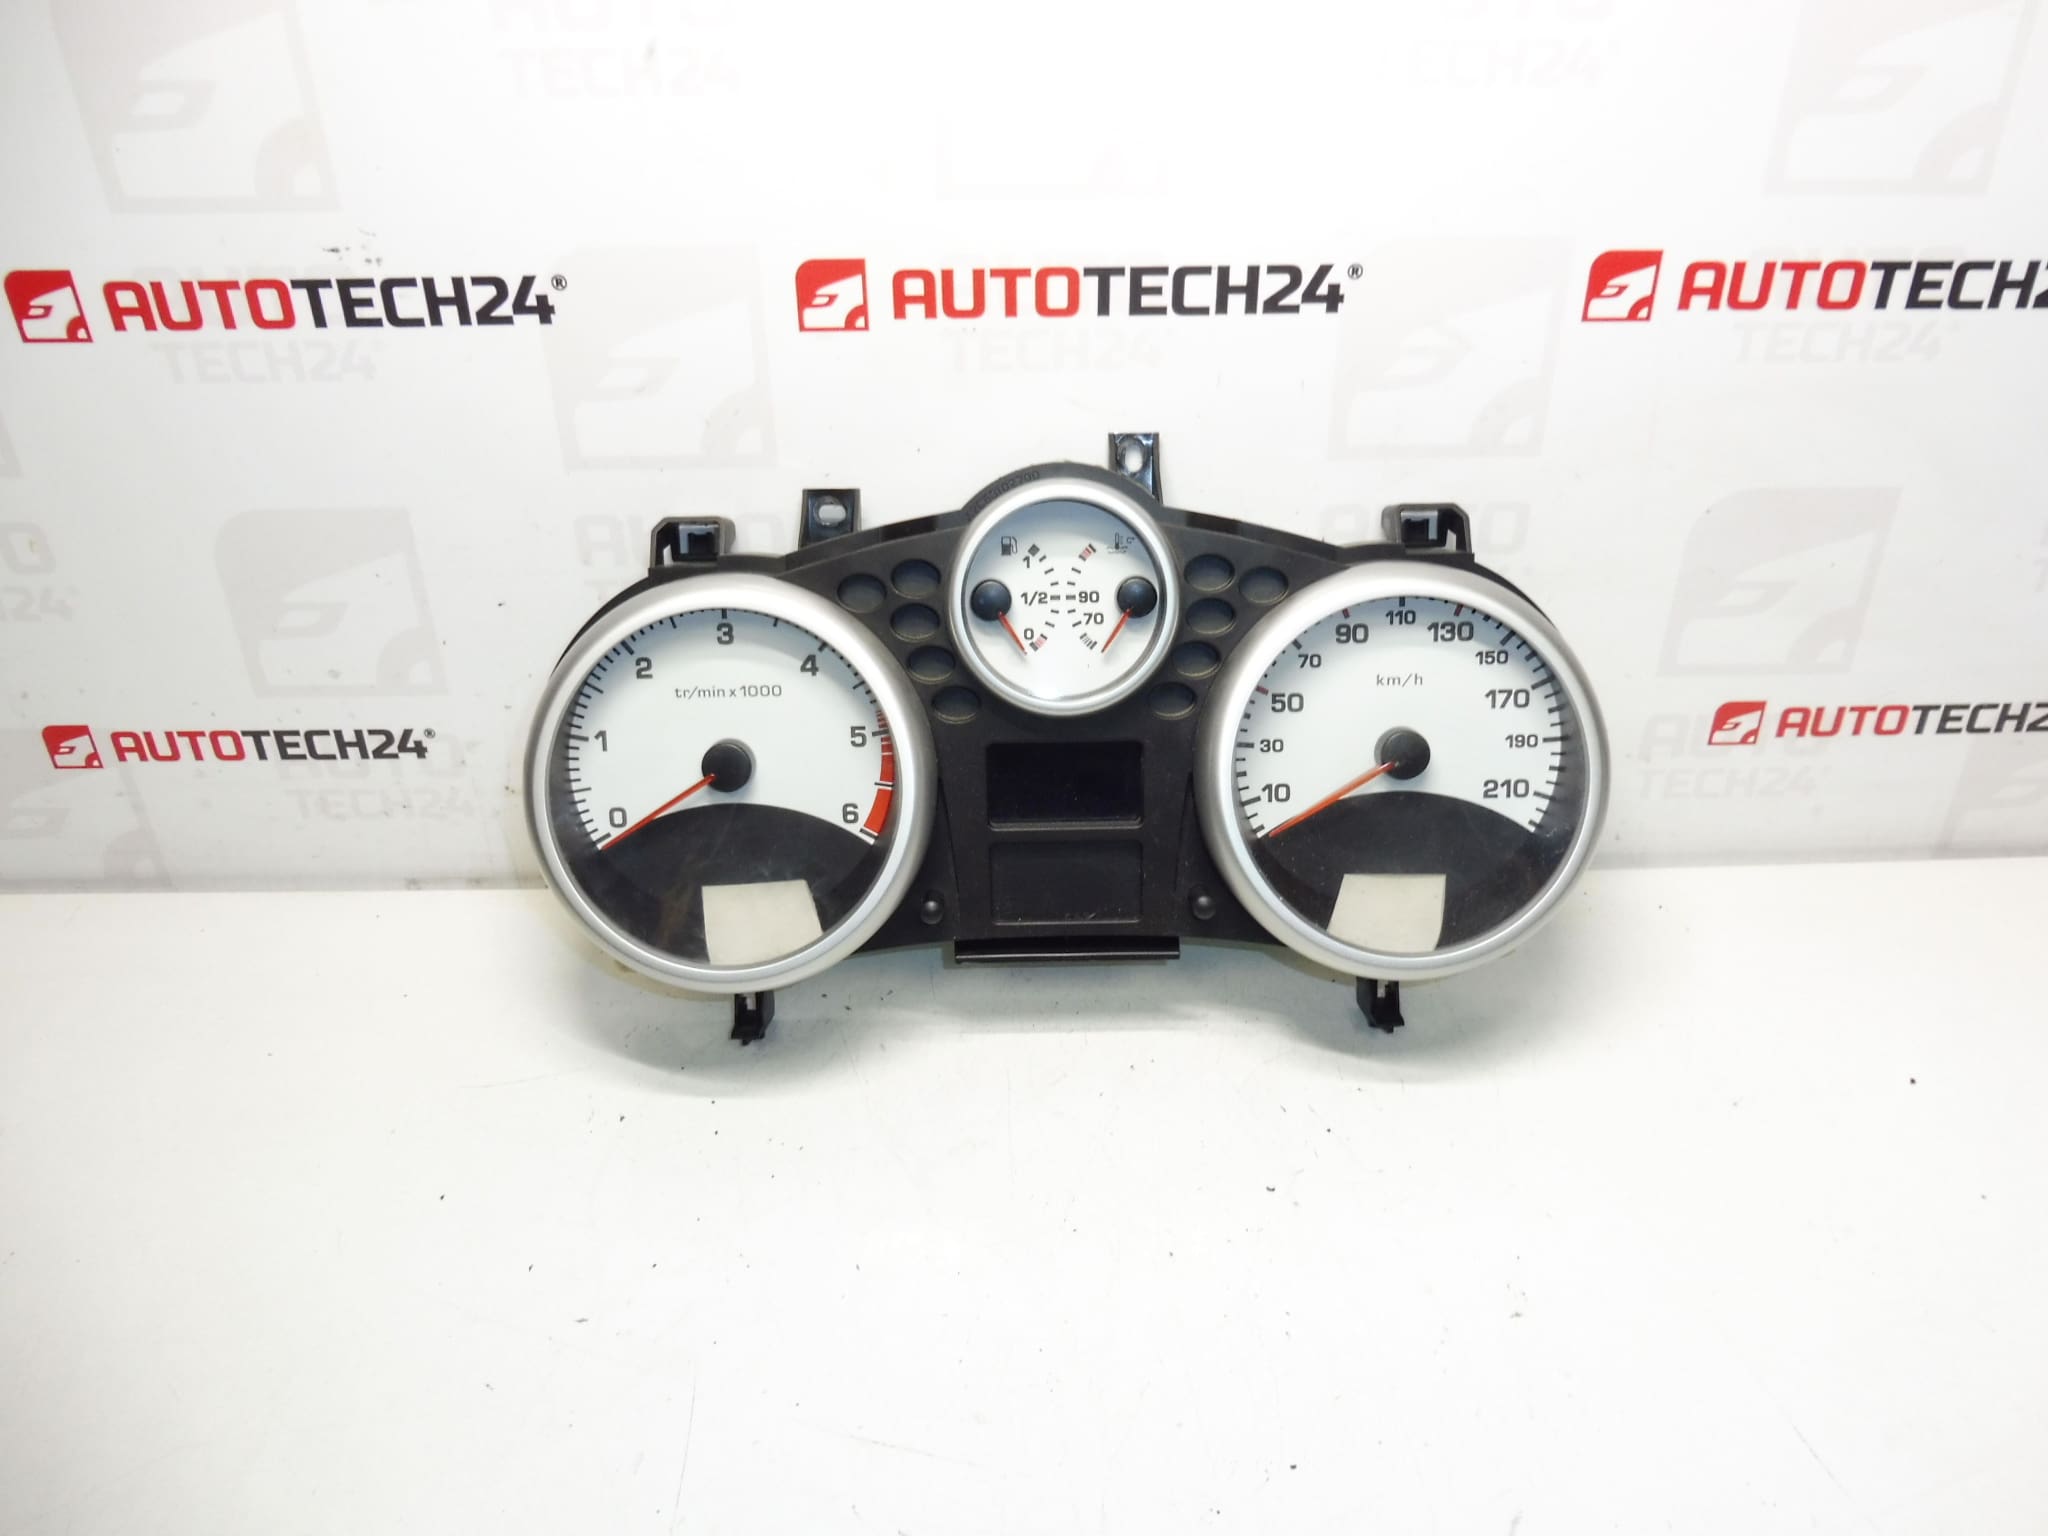
Speedometer, alarms, complete instrument cluster for PEUGEOT 207 cars
Mileage approximately 62,000 km
Part description
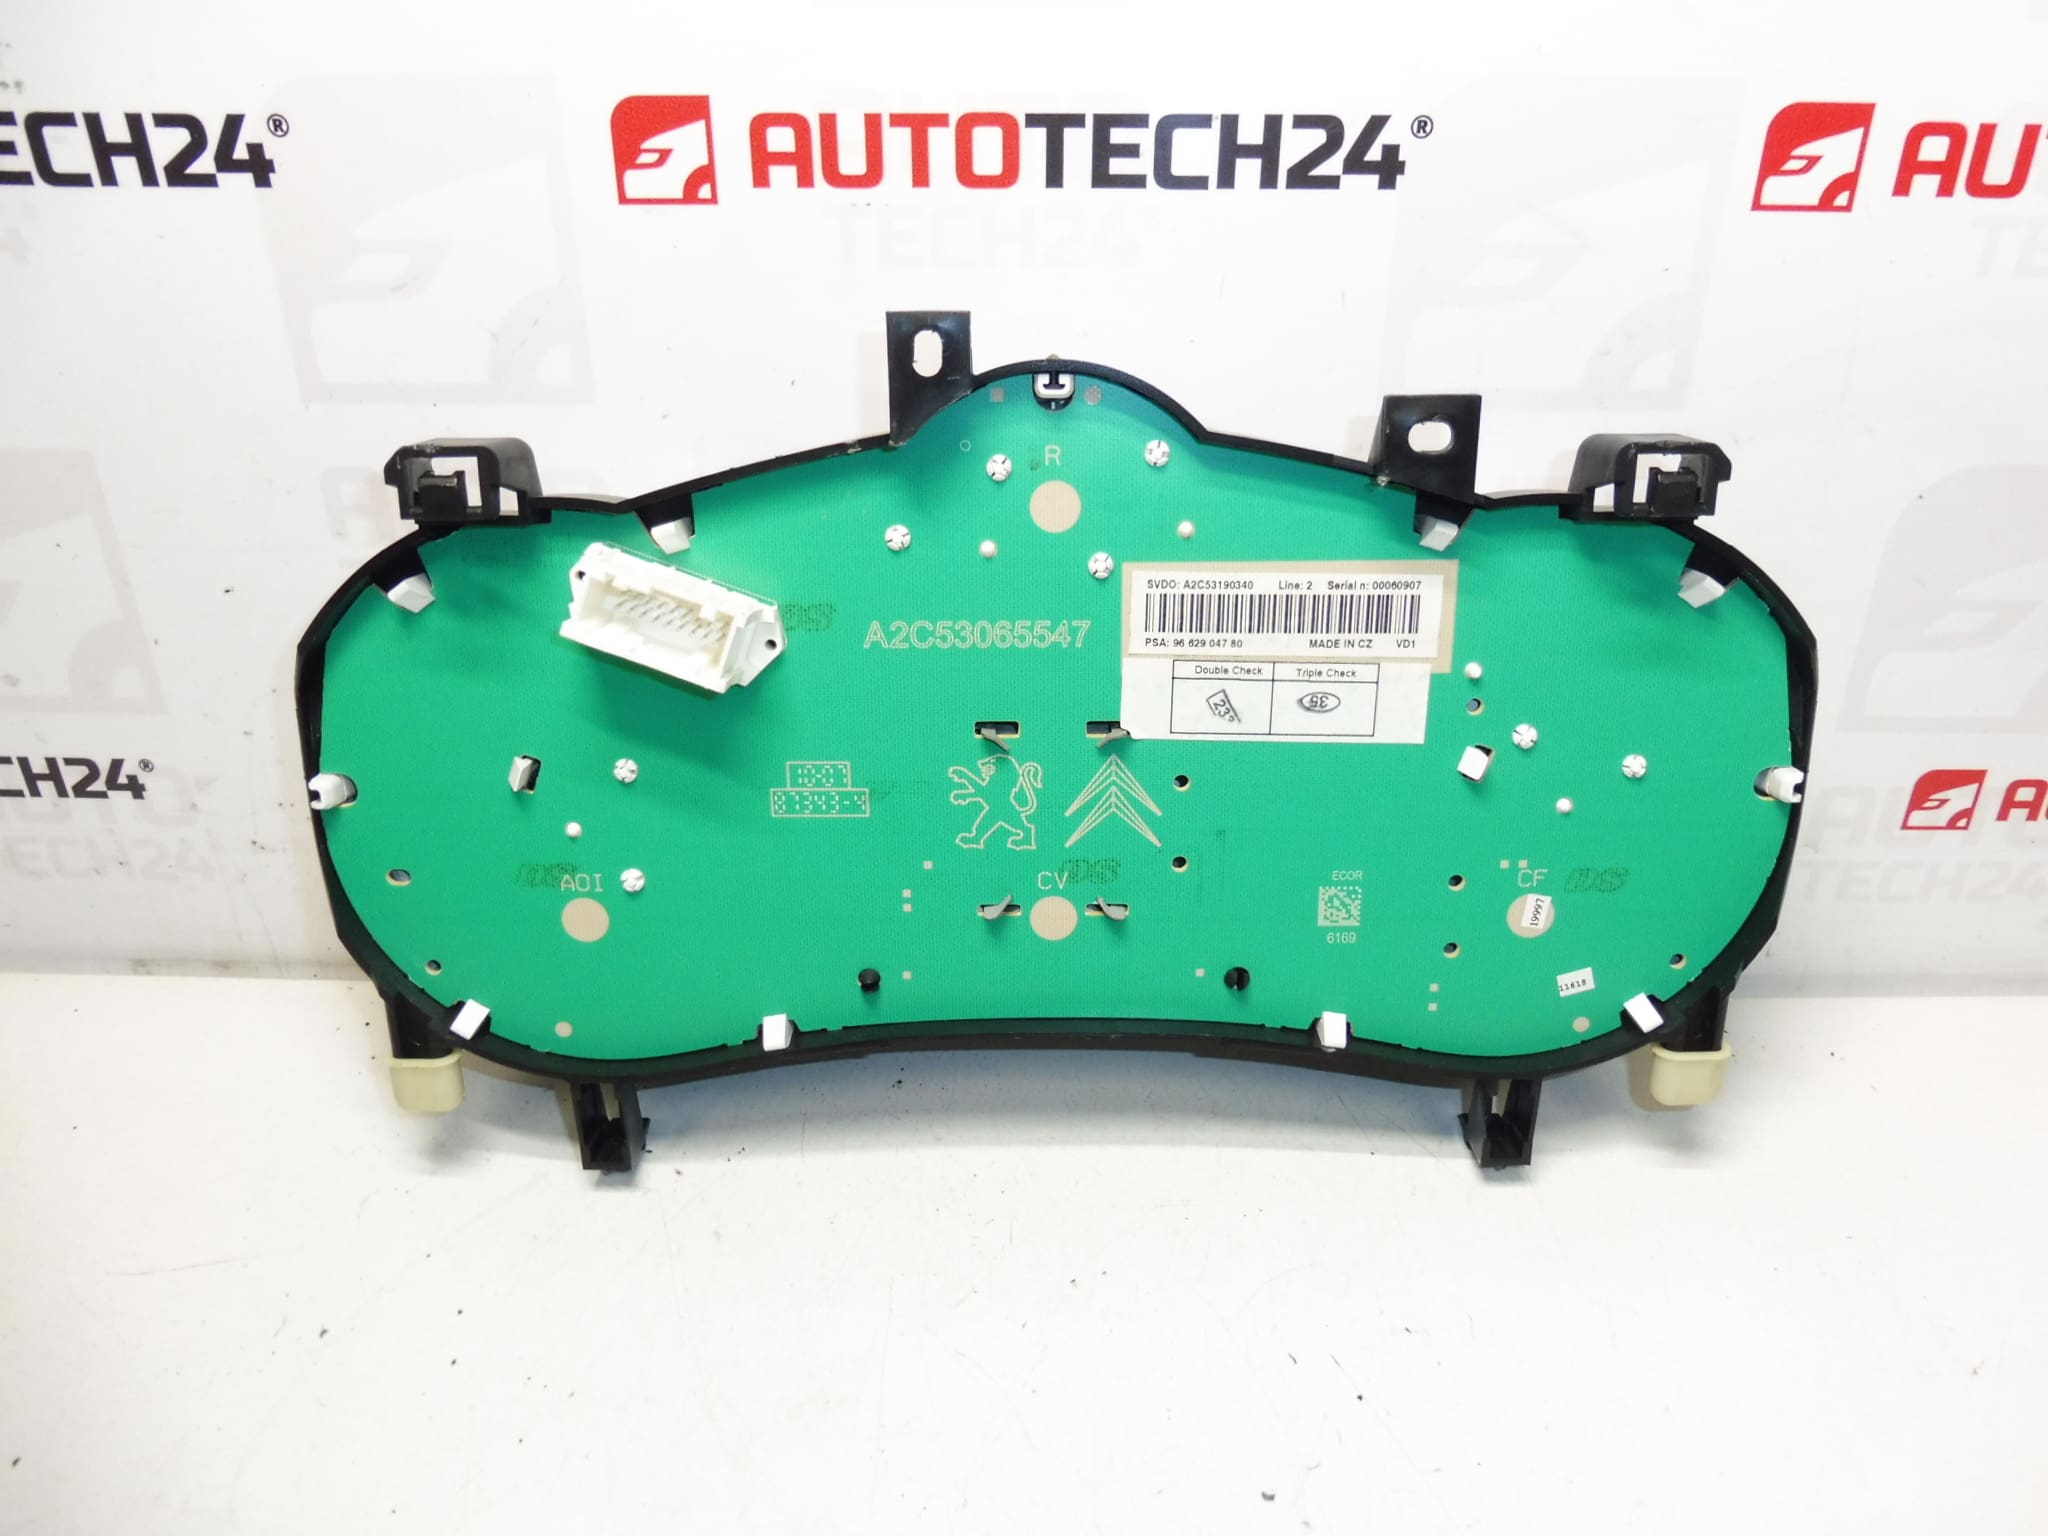
Original instrument cluster (speedometer/alarm clocks) intended for Peugeot 207. The part is suitable as a replacement in the event of instrument panel malfunctions – typically when the backlight fails, non-functioning hands, unreadable display or fluctuating displayed values. The mileage of the used piece is approx. 62,000 km.
For correct installation and function, the key is to compare the part according to the product codes and match the connectors/mounting with the existing device in the car.
Technical information
- Manufacturer: Stellantis Citroën Peugeot
- Model: Peugeot 207
- Other numbers: 610640, 6103EC
Condition/km: mileage approx. 62,000 km (according to documents).
Product codes
- Product codes: 9662904780
Installation recommendations
Generally/typically for changing the instrument cluster (speedometer/alarms) the exact steps may vary depending on the specific car design and equipment.
1) Before assembly
- Compare the codes (eg 9662904780, 610640, 6103EC) with the old part.
- Check compatibility of connectors, locking elements and mounting.
- Visually check that the cover is undamaged, the readability of the display, the condition of the pins in the connectors (no bending/oxidation).
2) Necessary tools and materials
- Normal set of screwdrivers / bits (according to the used screws in the car)
- Plastic pry bar for removing interior moldings
- Clean cloth or contact cleaner (for connectors, if needed)
- Protective gloves
3) Step-by-step assembly procedure
- Turn off the ignition and remove the key.
- For work safety, disconnect the battery (typically minus pole) and wait a short time for the units to sleep.
- Dismantle the cover frame/rails around the instrument panel (use a plastic pry bar to avoid damaging the plastic).
- Undo the fixing screws of the instrument cluster.
- Carefully slide the device out to access the connectors.
- Unlock and disconnect the connectors (do not pull on the wiring; always on the body of the connector).
- Connect the connectors to the new/replacement piece and check that they are fully seated and secure.
- Place the instrument cluster back into position and screw it in place.
- Reinstall all covers/frames.
- Connect the battery.
- Turn on the ignition and check that the device starts up without display dropouts.
-
4) Post-assembly checks and test drive/function verification
- Verify the function of the backlight, display and indicator lights.
- While driving, check the stable display of speed and other data that the device normally displays.
- If there are dropouts, recheck the seating of the connectors and the condition of the pins.
5) The most common assembly mistakes + how to avoid them
- Not tightened/poorly secured connectors → always check the locking of the connector after connection.
- Plastic damage during disassembly → use a plastic pry bar and work gradually.
- Manipulation without disconnecting the battery → can lead to electrical errors; follow safe procedure.
- Exchanging a part without checking codes → always compare product numbers and connector design.
Reasons why the part is damaged
- Aging of electronics and soldered connections (manifested by blackouts of the display, backlight or hands).
- Voltage fluctuations in the on-board network (weak battery, bad charging, overvoltage).
- Moisture in the interior and subsequent oxidation of contacts/connectors.
- Mechanical stress during dismantling of the interior or unprofessional intervention.