Description
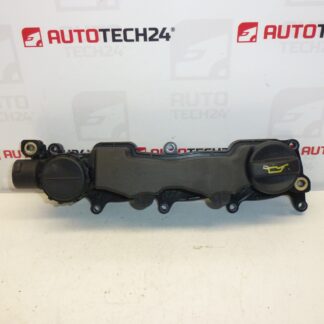
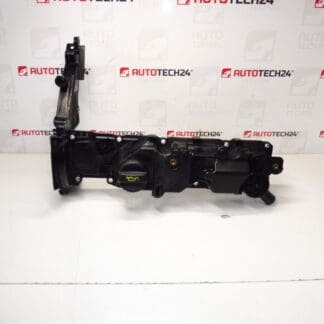
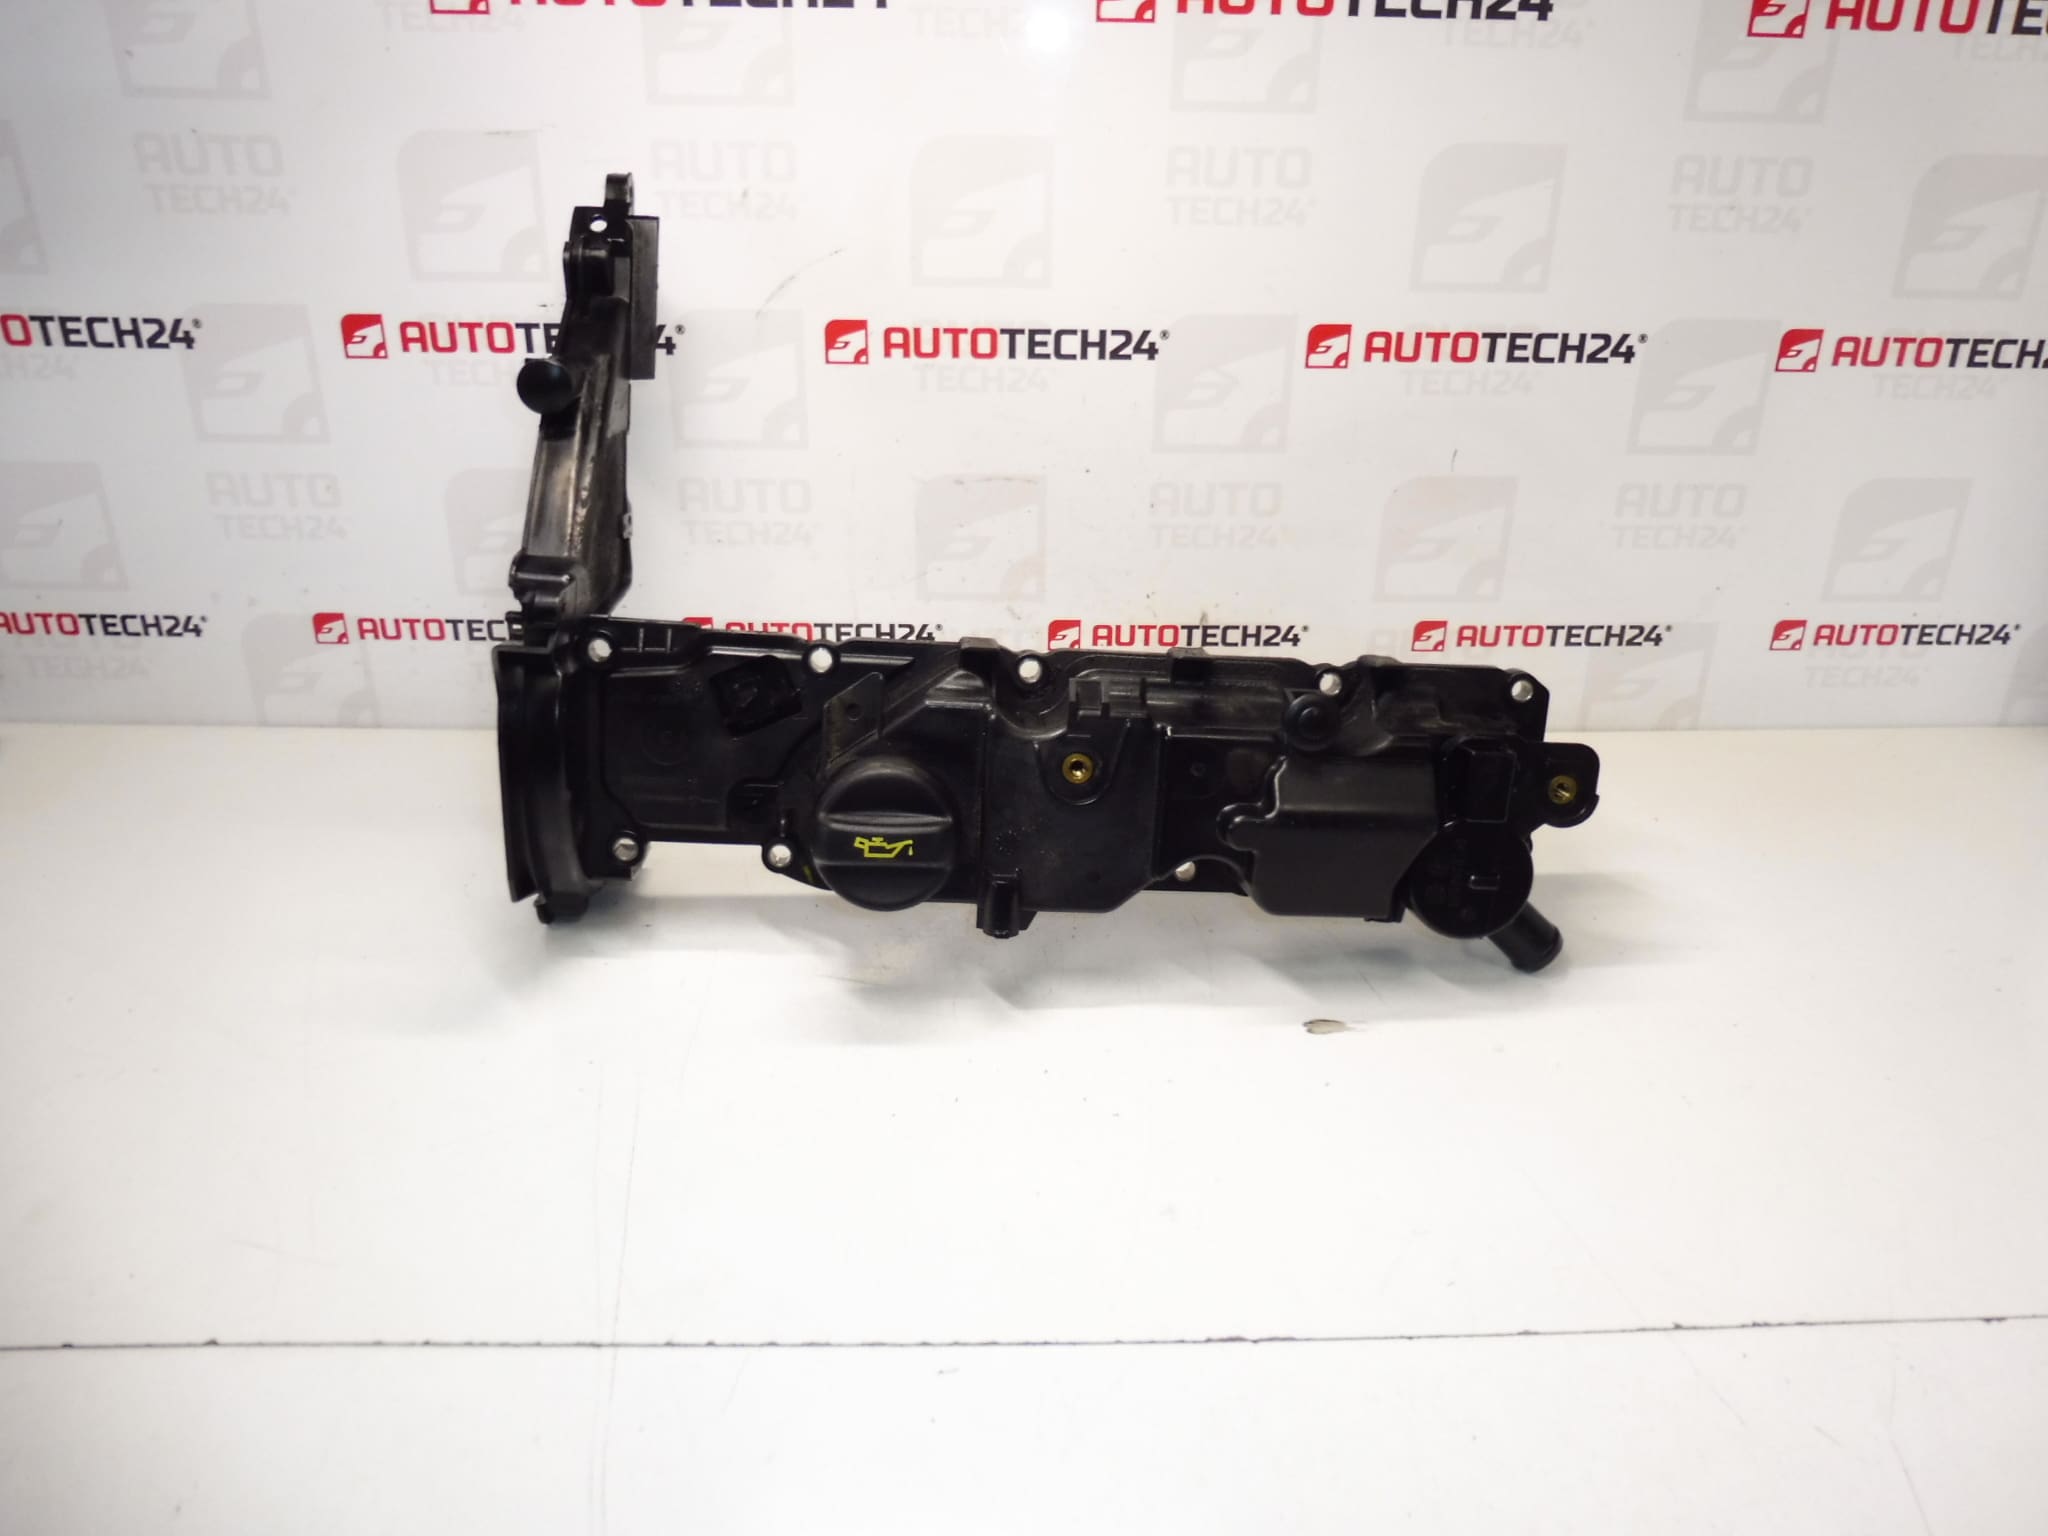
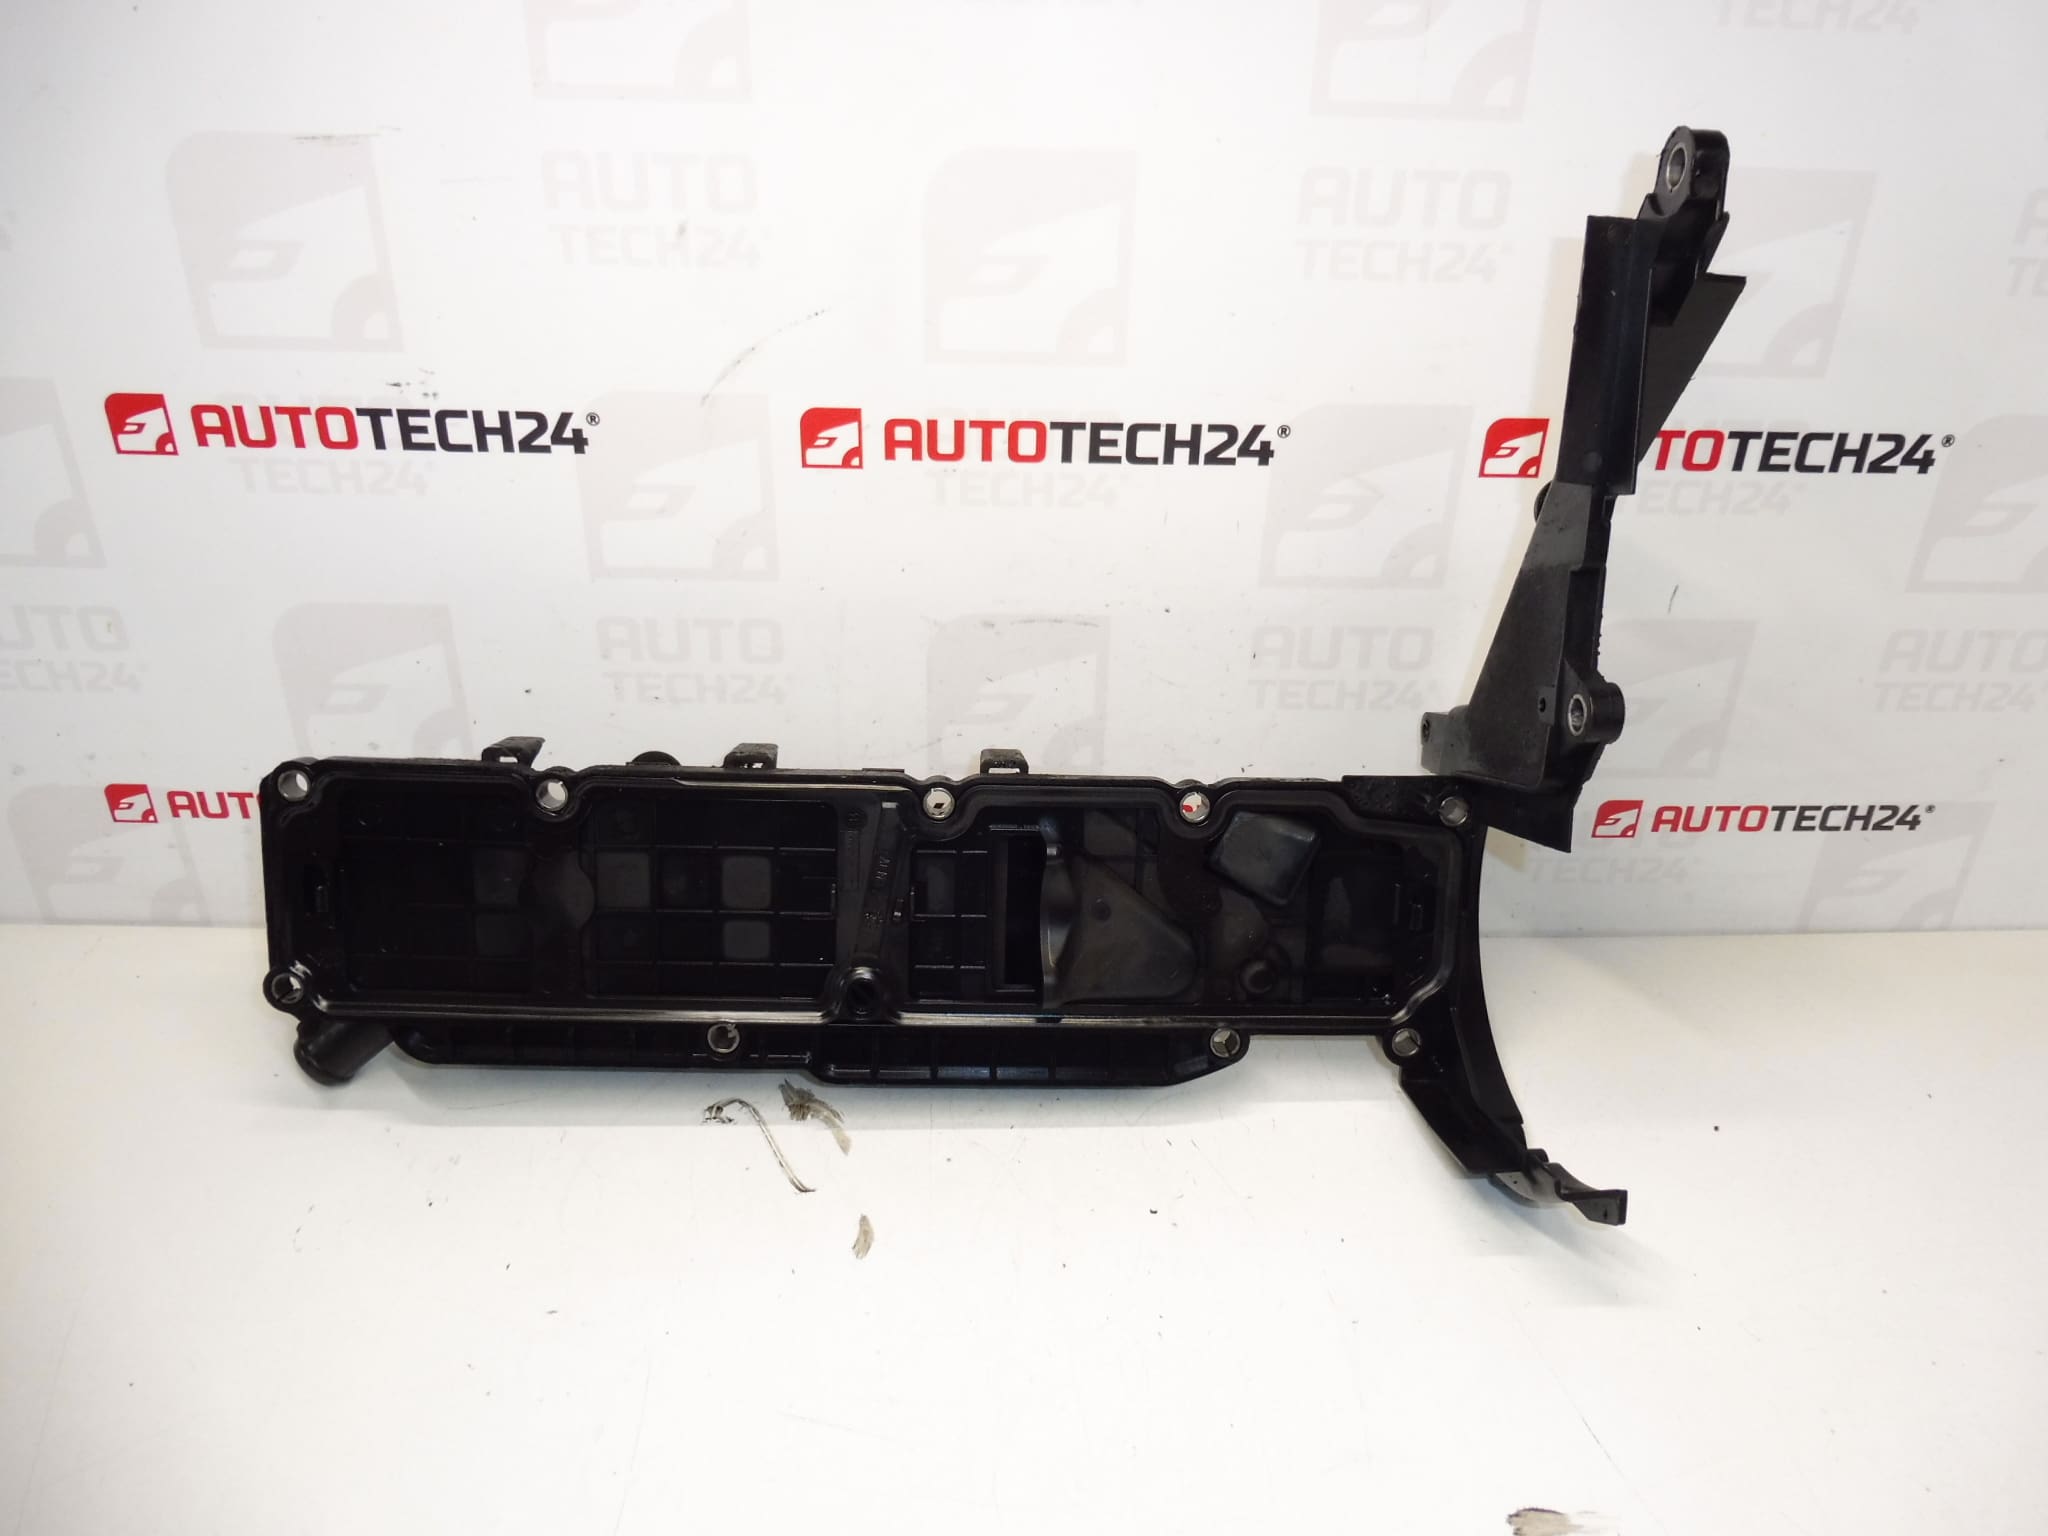
Cylinder Head Cover, Valve Cover 1.6 8V HDi for Citroën and Peugeot vehicles.
Used Cylinder Head Cover for 1.6 8V HDi engines. Ideal replacement part for professional workshops and DIY mechanics who need a direct-fit solution. This valve cover is often searched by part numbers and fits a range of Citroën and Peugeot models equipped with the 1.6 8V HDi engine. It helps stop oil leaks, protect the valve train and accommodate the crankcase ventilation components.
Technical Information
- Manufacturer: Stellantis / Citroën / Peugeot
- Model: Cylinder Head Cover / Valve Cover for 1.6 8V HDi
- Product Codes: 9688939180
- Additional Numbers: 9689112980, 0248S0
Fitment And Application
Compatible with a range of Citroën and Peugeot models equipped with the 1.6 8V HDi engine. Typical applications include:
- Citroën Berlingo III
- Citroën C4 II
- Citroën C4 Picasso
- Peugeot 3008 I
- Peugeot 308
- Peugeot 5008 I
- Peugeot Partner Tepee
Installation Recommendations
- Work Preparation: Park the vehicle on a level surface, allow the engine to cool and disconnect the negative battery terminal before starting work.
- Removal: Remove engine cosmetic covers if present. Carefully disconnect any breather hoses, vacuum lines or sensors attached to the valve cover. Loosen the cover bolts in a cross pattern to avoid warping.
- Gasket Replacement: Always replace the valve cover gasket when fitting a used cover. Clean the mating surfaces thoroughly—remove old gasket material and oil residues to ensure a flat, oil-free sealing surface.
- Breather/PCV Components: Inspect the oil separator/PCV valve and replace if degraded; these parts commonly sit in or on the cover and can cause pressurization and leaks if blocked.
- Installation: Place the new gasket and position the cover. Tighten bolts evenly in stages to manufacturer sequence (hand-tight first, then final torque). Avoid overtightening.
- Final Checks: Reconnect hoses and sensors, refill/replace oil filler cap, reconnect battery, start the engine and check for oil leaks around the cover after warm-up.
Why This Part Fails Most Often
- Gasket Deterioration: Rubber gaskets harden and shrink with age and heat, causing external oil leaks.
- Clogged Breather/PCV: Blocked crankcase ventilation raises internal pressure and forces oil past the gasket or through seals.
- Overtightening Or Incorrect Installation: Uneven torque or overtightening can warp the cover or damage bolt threads, compromising the seal.
- Physical Damage Or Cracks: Heat cycles and mechanical impact can crack plastic or alloy covers.
- Oil Contamination: Sludge or excessive oil can accelerate gasket wear and cause leaks.
Often searched by part numbers: 9688939180, 9689112980, 0248S0 — check these codes against your service data to confirm compatibility with the vehicle application.