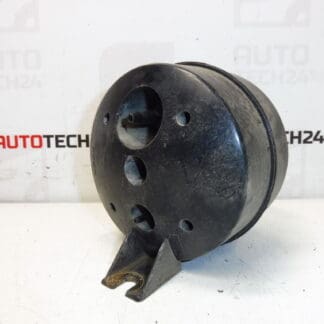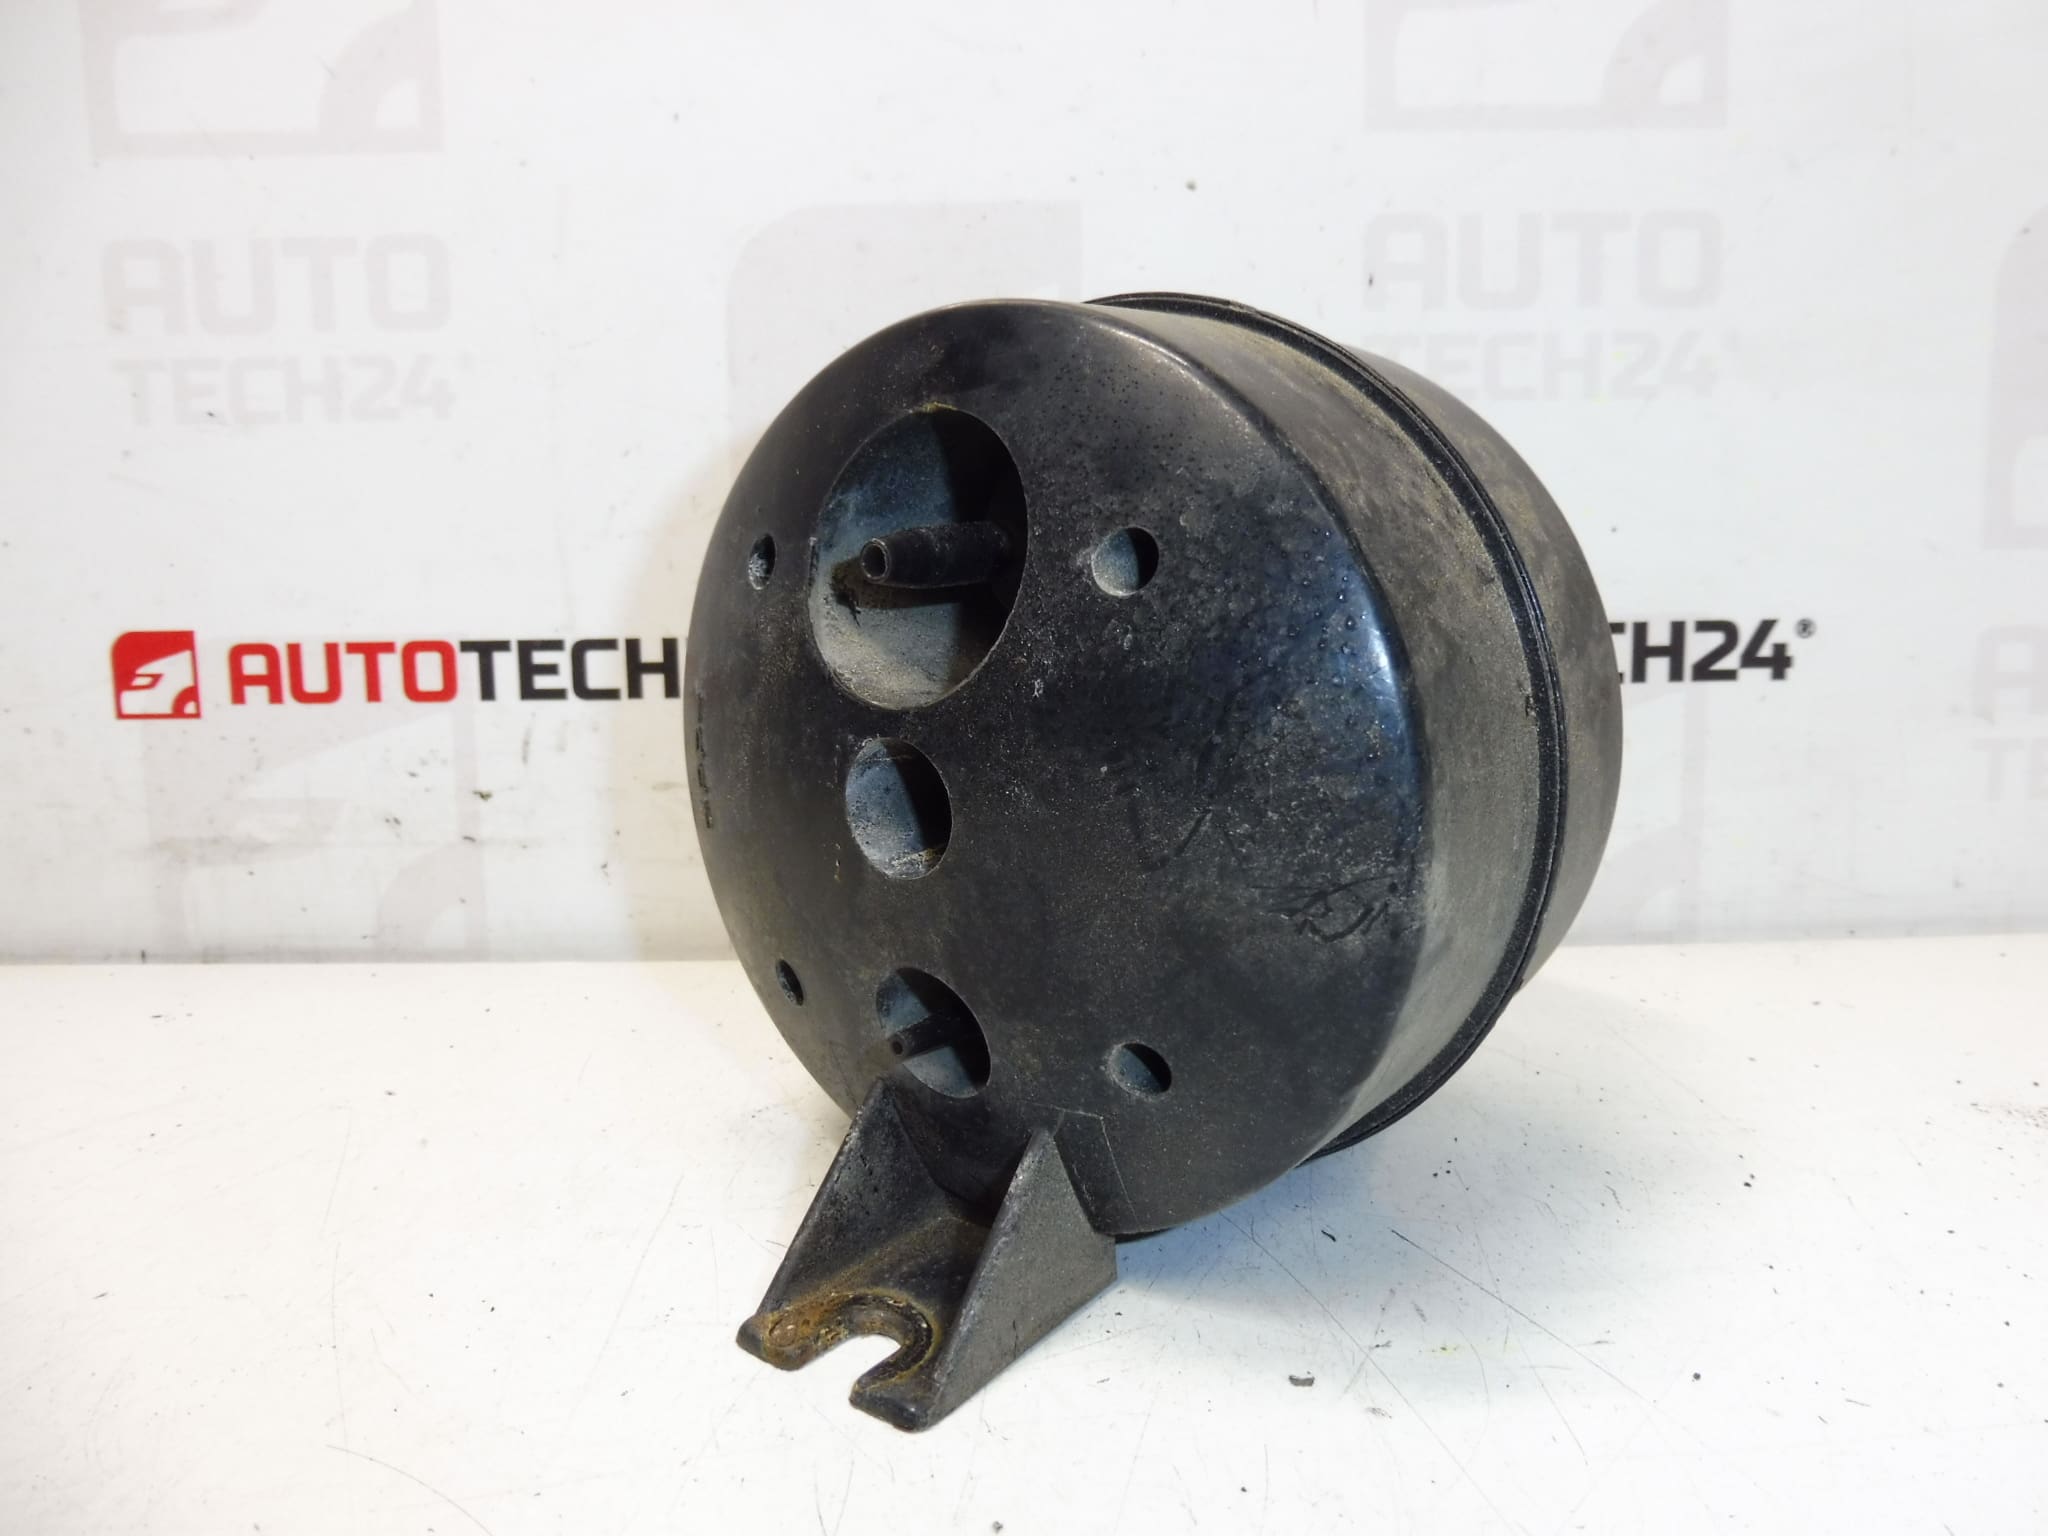
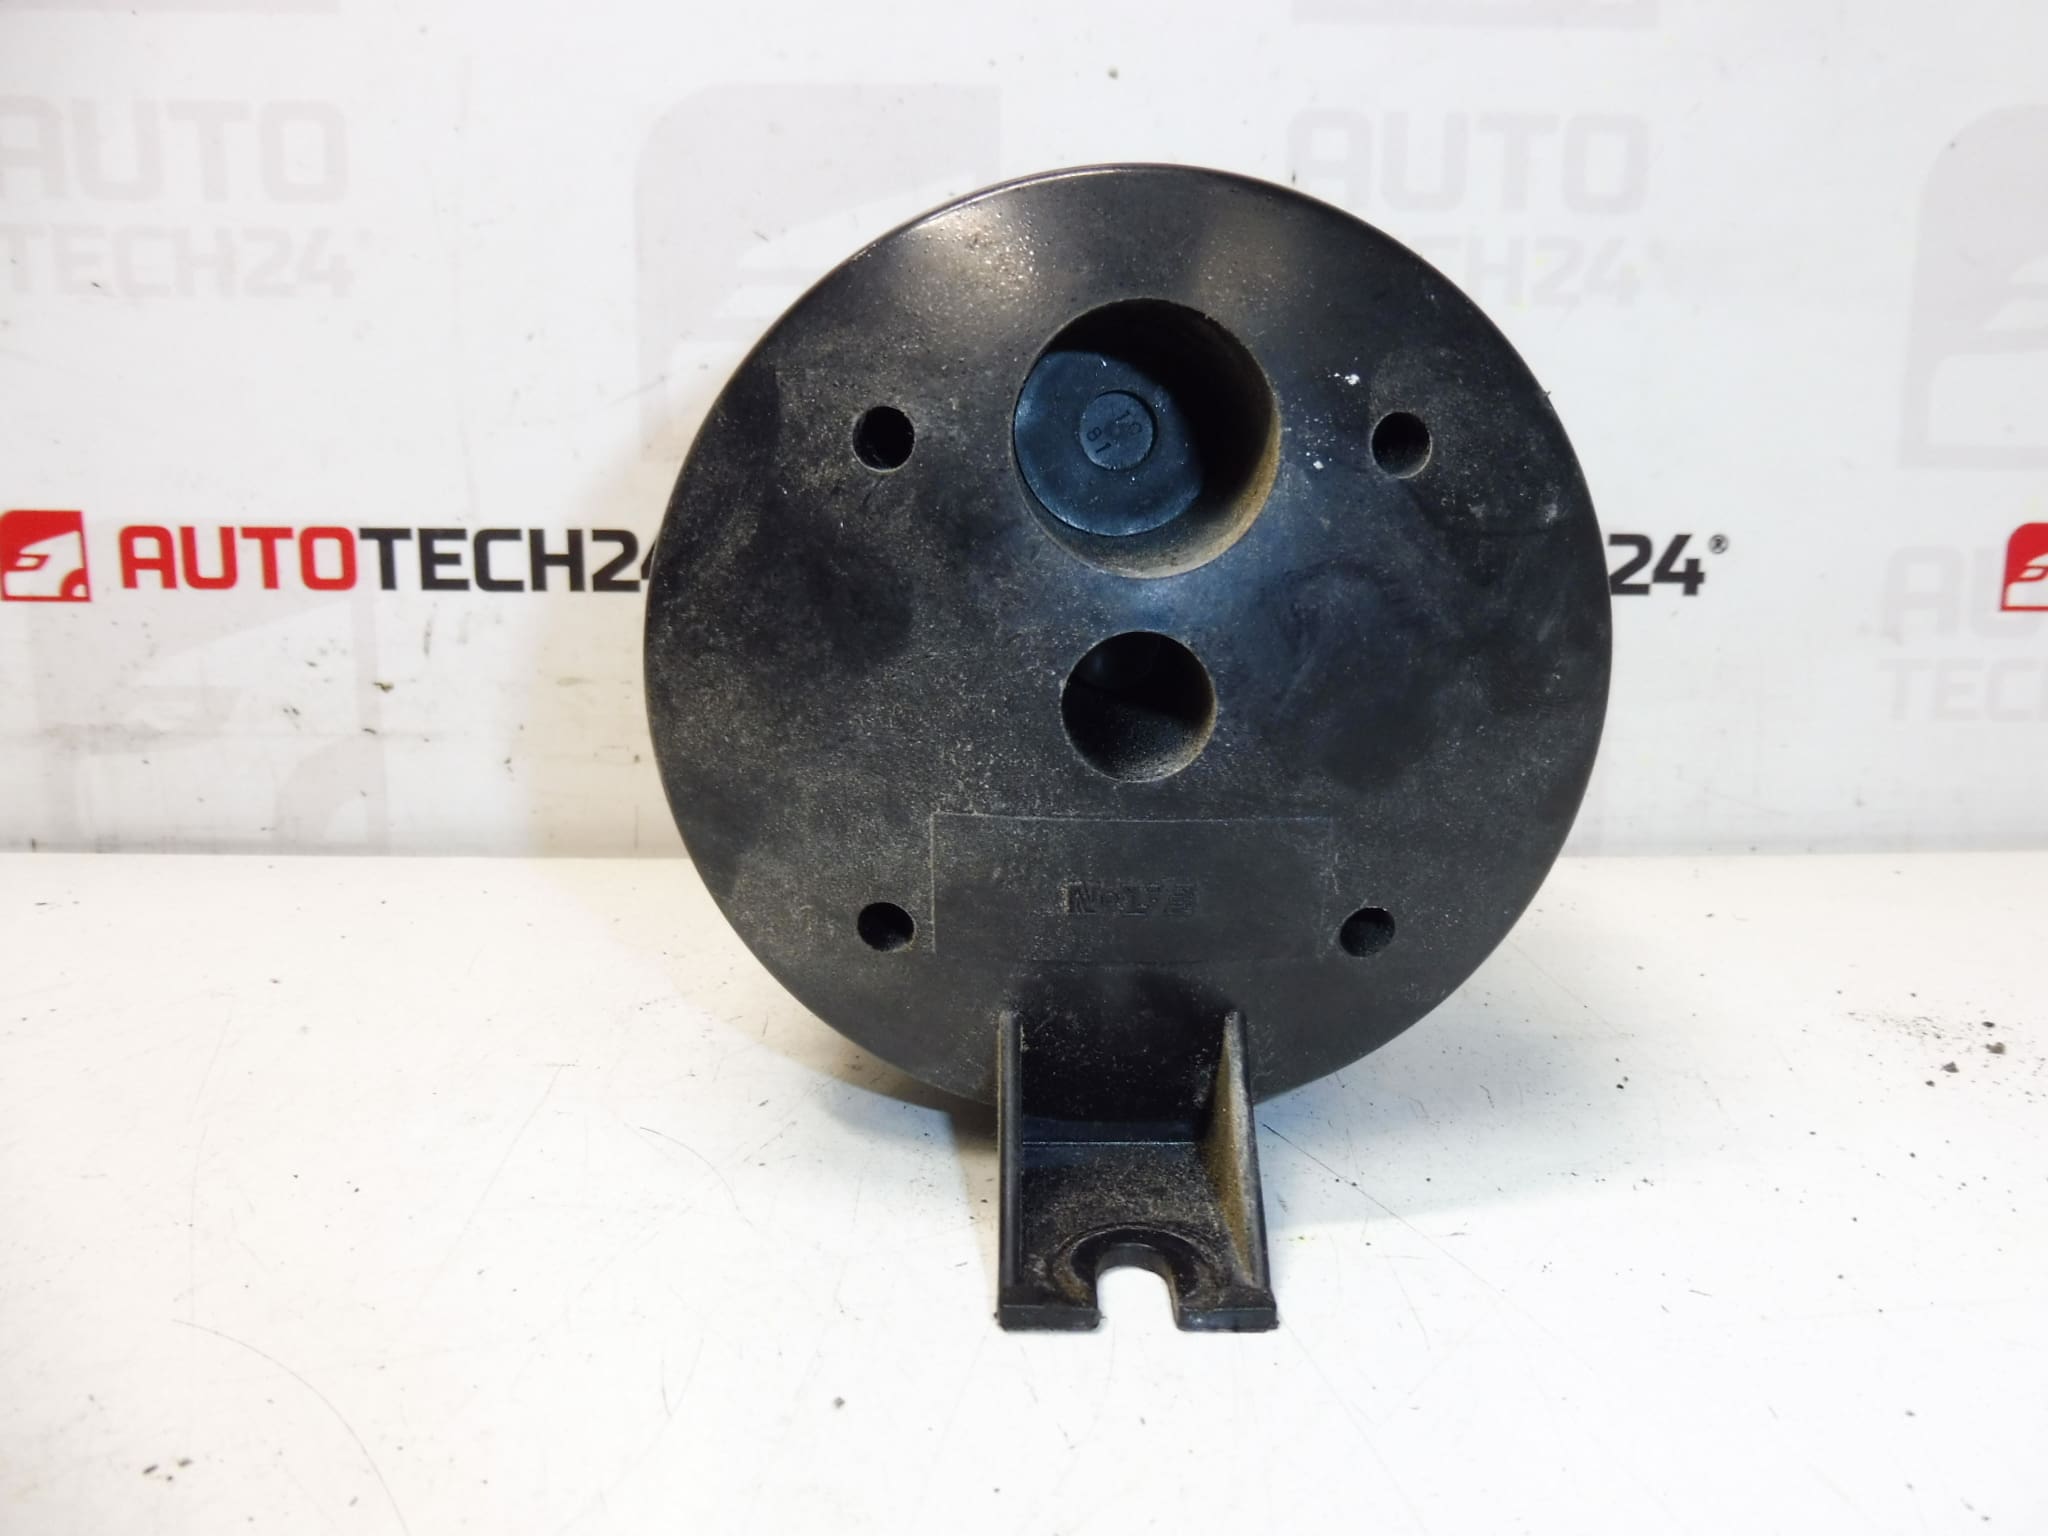
Description
Vacuum Reservoir For Peugeot 2.0i 16V 130 kW Vehicles
This vacuum reservoir is designed to ensure a stable supply of vacuum to brake assistance and other vacuum-operated actuators on Peugeot vehicles equipped with the 2.0i 16V 130 kW engine. Supplied under the OE-related reference 1622T0, the unit is suitable for professional workshops and competent DIY mechanics looking to restore reliable vacuum performance and braking feel.
Technical Information
- Manufacturer: Stellantis (Citroën/Peugeot)
- Model: Peugeot 307; Vehicles With 2.0i 16V 130 kW Engine
- Product Codes: 1622T0
- Other Numbers: Not Specified
Function And Benefits
The vacuum reservoir (vacuum tank) stores negative pressure to guarantee immediate and stable vacuum supply for the brake servo and other vacuum-controlled components when engine vacuum is low (for example during full-throttle acceleration or turbo-related conditions). A healthy reservoir prevents a hard brake pedal, improves brake response, and stabilizes vacuum-operated valves and actuators.
Symptoms Indicating Replacement
- Hard Or Heavy Brake Pedal With Reduced Brake Assistance.
- Intermittent Loss Of Brake Assist Especially Under Load Or During Acceleration.
- Hissing Noise From Engine Bay Or Noticeable Vacuum Leak.
- Erratic Operation Of Vacuum-Operated Systems Or Idle Instability Caused By Vacuum Loss.
Most Common Failure Reasons
- Aging And Heat-Induced Cracking Of The Plastic Housing Leading To Leaks.
- Failure Or Blockage Of The One-Way Check Valve Causing Loss Of Stored Vacuum.
- Degraded Or Perished Vacuum Hoses And Connections Causing External Leaks.
- Contamination From Oil Or Debris Leading To Restricted Flow Or Valve Sticking.
Installation Recommendations
Before Starting, Work On A Cold Engine Where Practical And Use Appropriate Safety Measures. Replacement Is Straightforward For Experienced Technicians: locate The Reservoir In The Engine Bay Near The Brake Booster Or Firewall, Label And Disconnect Vacuum Hoses And Any Electrical Connectors, Remove Retaining Bolts Or Clips, Replace The Unit With The Correct Orientation Of The Check Valve, Reconnect Hoses Securely Using Correct Clamps, Start The Engine And Confirm Vacuum Build-Up And Proper Brake Assist Function. Inspect Associated Hoses And Check Valve During Installation And Replace Any Brittle Or Cracked Lines To Prevent Recurrence. After Fitting, Test Brake Pedal Travel And Ensure No Hissing Or Vacuum Leaks Remain.
Fitment Advice
Primary Fitment Includes Peugeot 307 Models Equipped With The 2.0i 16V 130 kW Engine. The Part Number 1622T0 Is Frequently Used When Searching For This Component, So Including That Code In Your Search Will Help Locate Compatible Units Fast. The Reservoir May Also Fit Other Stellantis Vehicles That Share The Same Engine And Vacuum System Architecture.
Designed For Both Professional Garages And Competent DIY Mechanics, This Vacuum Reservoir Helps Restore Reliable Brake Assistance And Vacuum System Performance. Use The OE-Referenced Code 1622T0 For Accurate Sourcing And Replace Any Aged Vacuum Lines Or Check Valves At The Same Time To Maximize Service Life.