Description
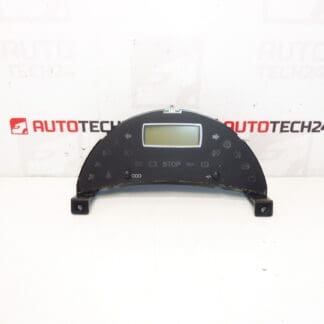
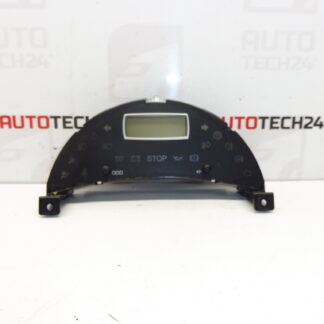
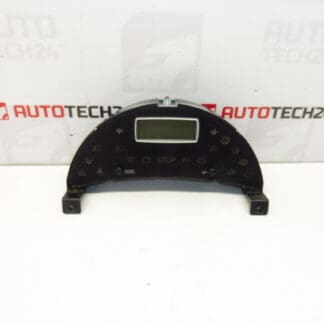
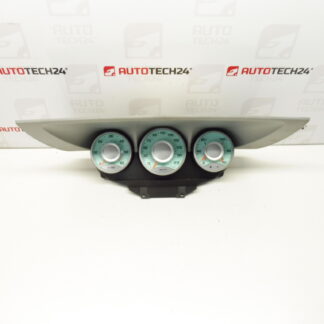
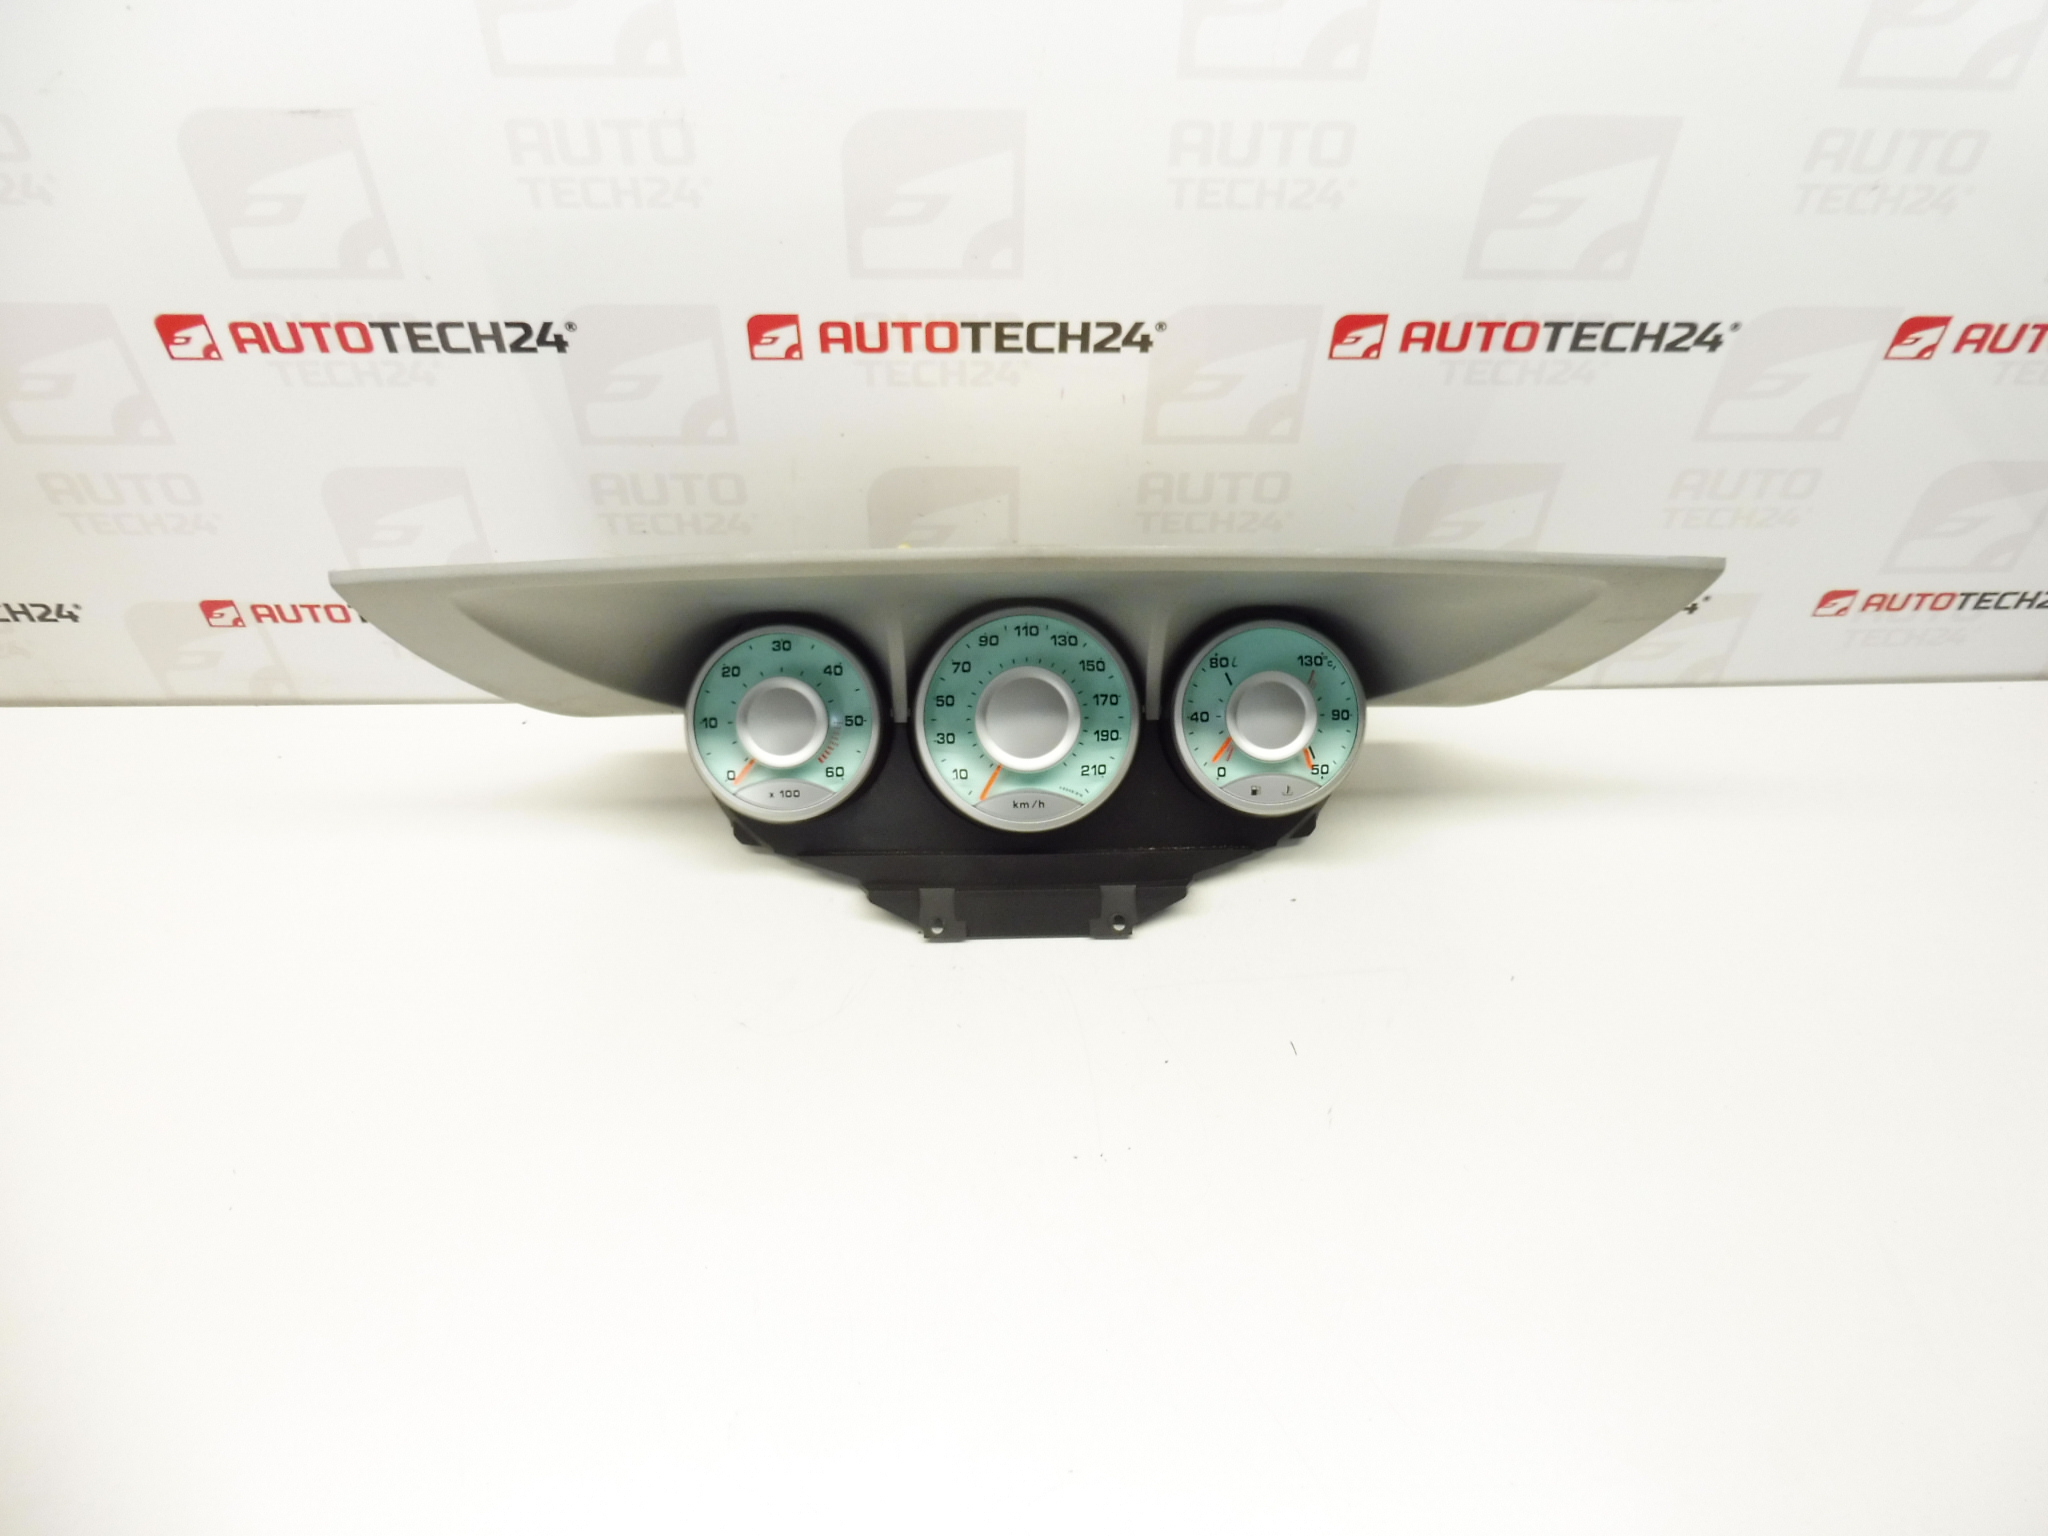
Instrument cluster indicating speedometer, tachometer, engine temperature and fuel tank level for Citroën C8 and Peugeot 807
Overview
This replacement instrument cluster is designed for mechanics and experienced DIY enthusiasts who maintain Citroën C8 and Peugeot 807 vehicles. The unit displays vehicle speed, engine RPM, coolant temperature and fuel level on the dashboard. Frequently searched by part numbers, the cluster is a direct-fit dashboard component intended to restore correct gauge reading and dashboard functionality.
Technical Information
- Manufacturer: Stellantis (Citroën / Peugeot)
- Model: Citroën C8; Peugeot 807
- Product Codes: 1496274080, 610583, 610595
- Other Numbers: NFP
- Main Functions: Speedometer, Tachometer (RPM), Engine Coolant Temperature Gauge, Fuel Gauge
Fitment And Identification
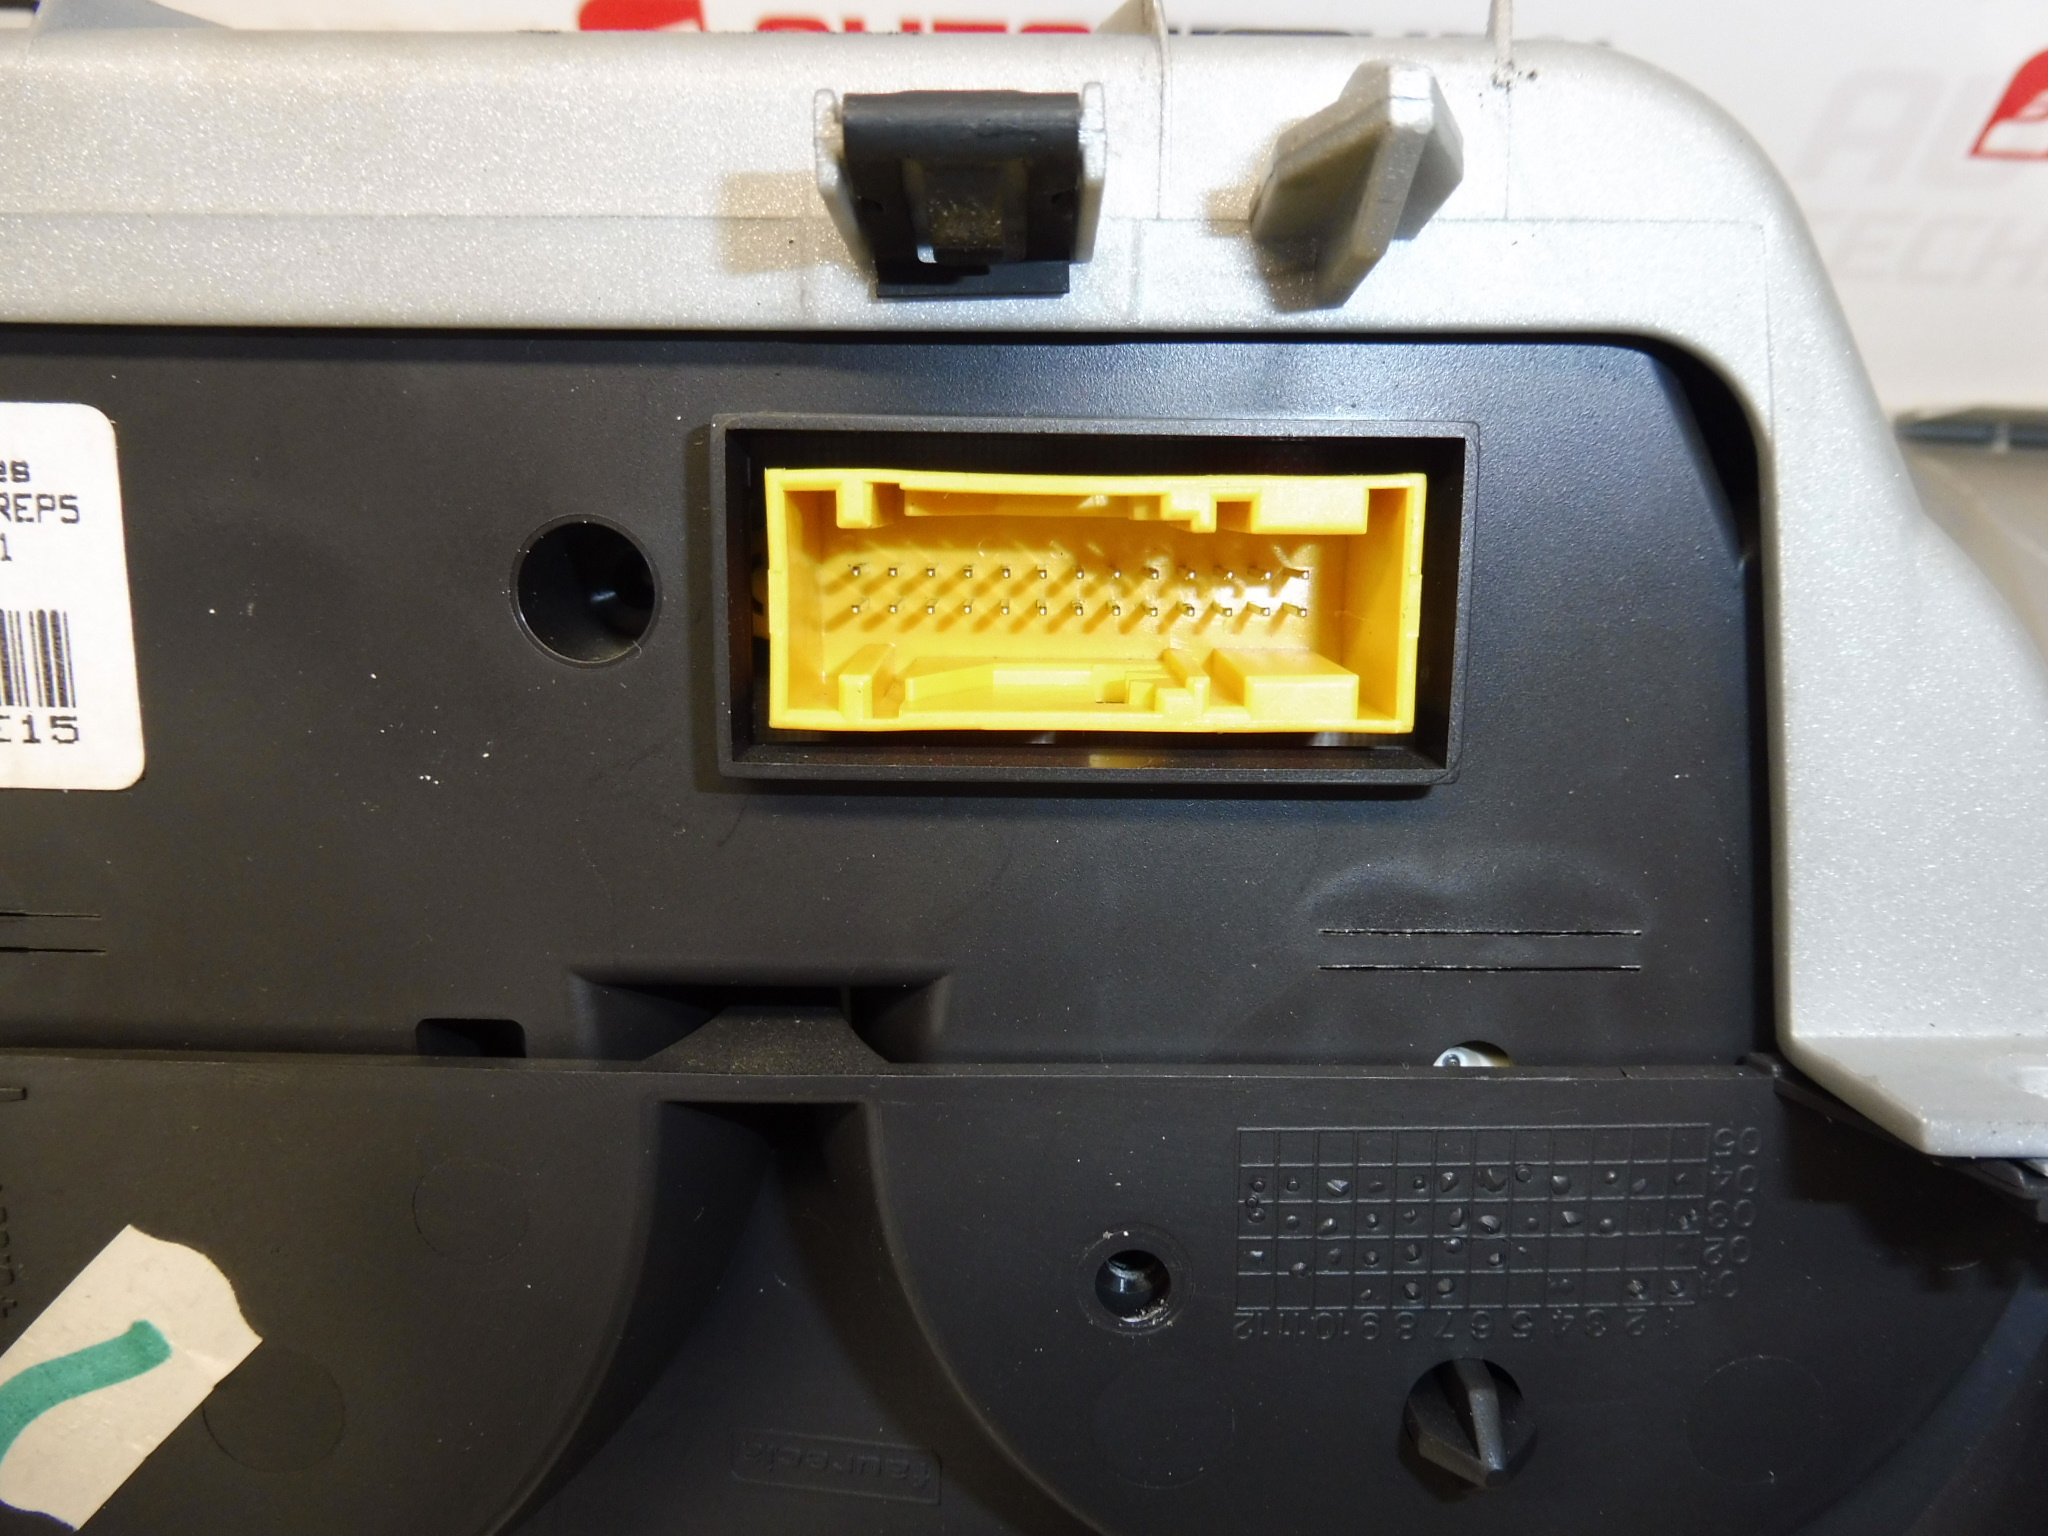
This cluster is intended for vehicles that originally used the same gauge cluster type for Citroën C8 and Peugeot 807. Many customers search by the listed product codes to confirm fitment. Always compare the physical connector arrangement and mounting points before installation.
Function And Common Failure Modes
The instrument cluster collects input from vehicle sensors and displays real-time information for the driver. Common symptoms of a failing cluster include flickering or dim backlighting, inaccurate or stuck needles, intermittent gauge operation, dead display segments or complete loss of power to the cluster. Typical causes are faulty stepper motors or gauge drivers, degraded LEDs/backlight, PCB solder joint failures, water ingress, poor ground connections or voltage spikes from the vehicle electrical system.
Replacement Procedure
- Park the vehicle on a level surface and switch off ignition.
- Disconnect the negative battery terminal before any work to avoid electrical damage.
- Remove surrounding trim panels and the steering column shroud as required to access the cluster mounting screws.
- Unscrew the cluster fasteners and carefully pull the unit forward to access electrical connectors.
- Release the connector clips and unplug the main harness. Inspect connectors for corrosion or bent pins.
- Swap the old cluster with the replacement, reconnect the harness, refit mounting screws and trim panels.
- Reconnect the battery and verify all gauges, warning lights and illumination operate correctly before returning the vehicle to service.
Installation Recommendations
Always disconnect the battery before removal and follow manufacturer procedures to avoid damaging the unit. Handle the cluster carefully to prevent scratching or damaging the instrument face. Inspect and, if needed, clean connector pins and ensure a solid ground connection to avoid intermittent faults. After installation, check gauge calibration visually and verify warning lights. If instrumentation behaves erratically after fitting, re-check wiring and fuses.
Reason For Most Common Failure
Instrument clusters most commonly fail due to electrical stress and environmental exposure. Repeated voltage spikes, poor grounding, moisture ingress and aging components (stepper motors, solder joints, LEDs) lead to degraded performance. Physical impact or improper removal/installation can also cause faults. Regular inspection of the vehicle electrical system and good battery/charging system health reduce the risk of cluster failure.
Who Should Fit This Part
Recommended for professional technicians or experienced DIYers familiar with dashboard disassembly and vehicle electrical systems. If uncertain about the repair steps, seek assistance from a qualified auto electrician or authorized workshop.