Description
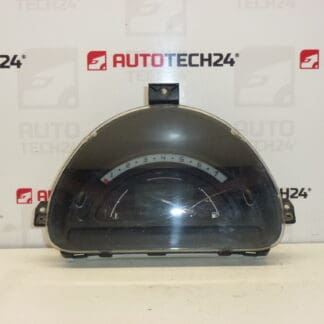
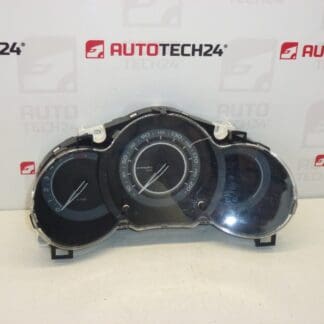
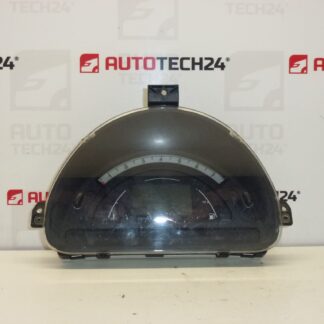
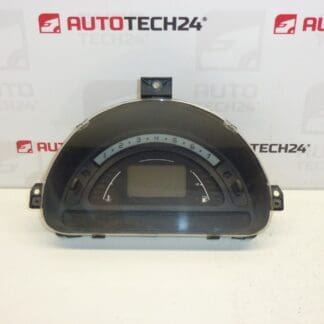
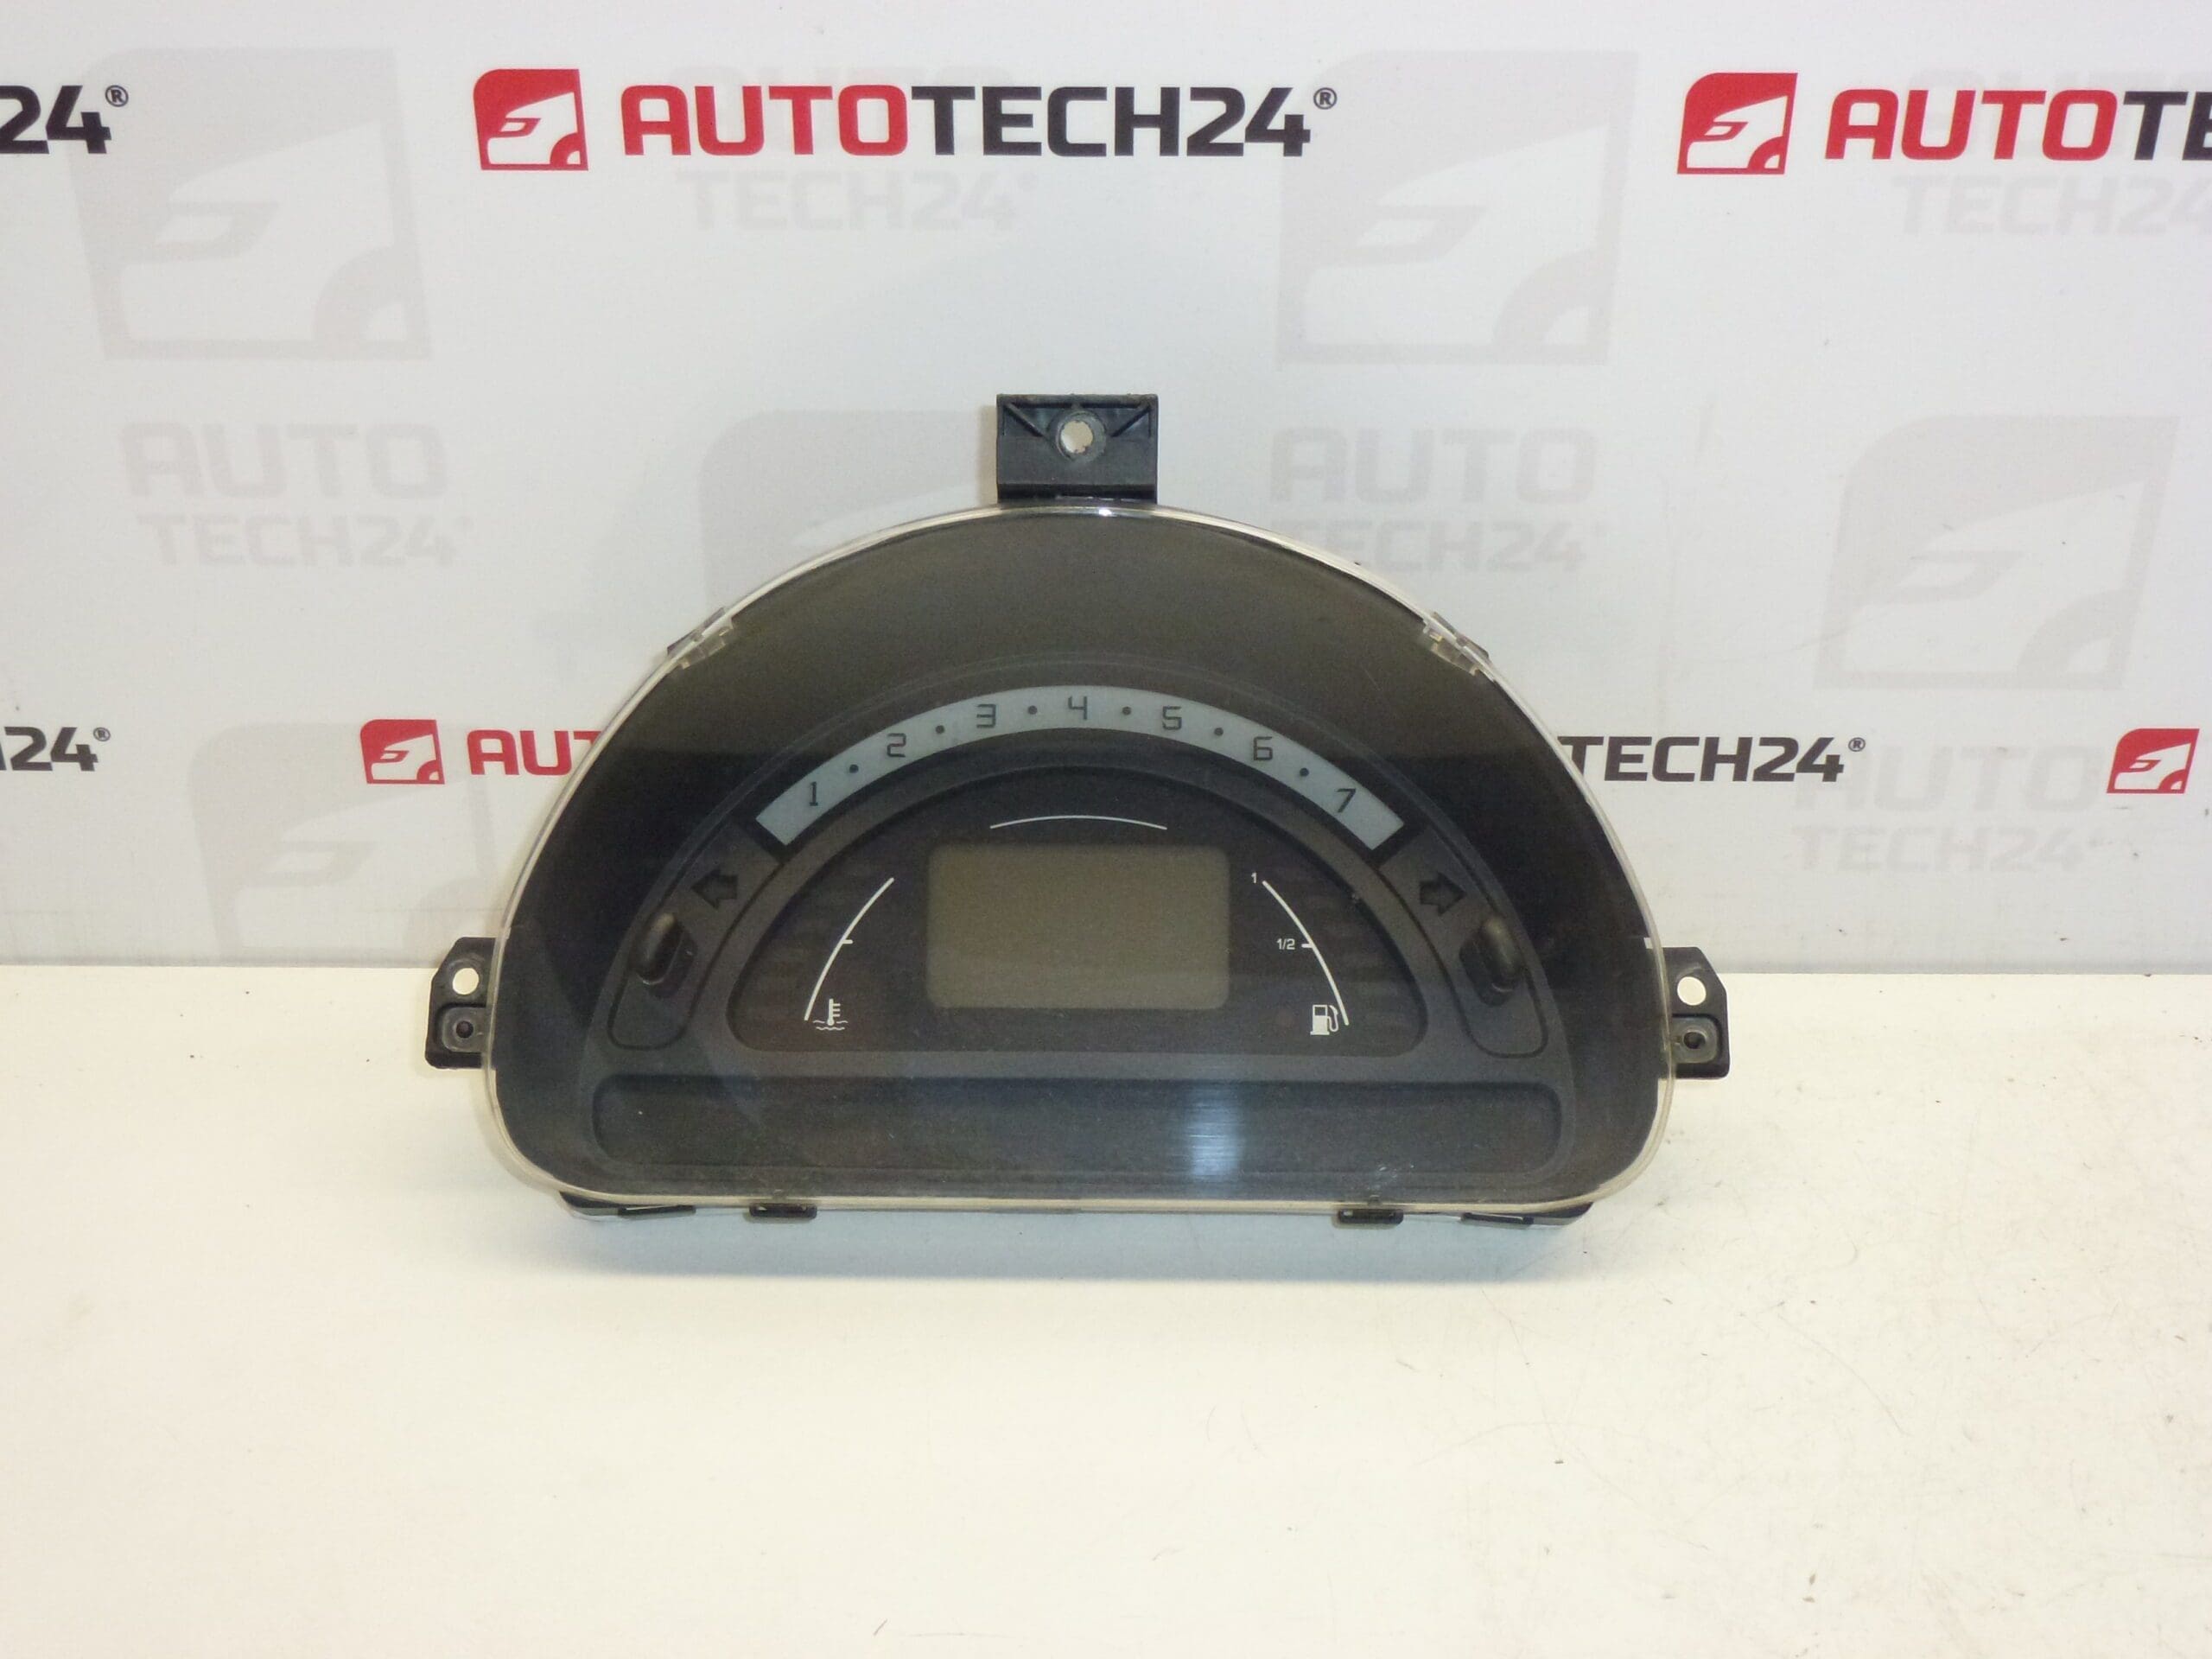
Complete SAGEM combined instrument cluster for Citroën C2, C3 1.4 HDi. Removed from a vehicle with 242,000 km.
This original-style instrument cluster is a practical replacement for workshops and DIY mechanics who need a proven unit to restore instrument functionality quickly. The cluster displays speed, odometer, fuel level, warning lights and other driver information required for safe operation. It is often searched by part number, so having the correct codes (listed below) speeds up selection and ordering.
Technical Information
- Manufacturer: SAGEM (used by Stellantis / Citroën / Peugeot)
- Model: Citroën C2, Citroën C3 (including C3 Pluriel) – 1.4 HDi compatible clusters
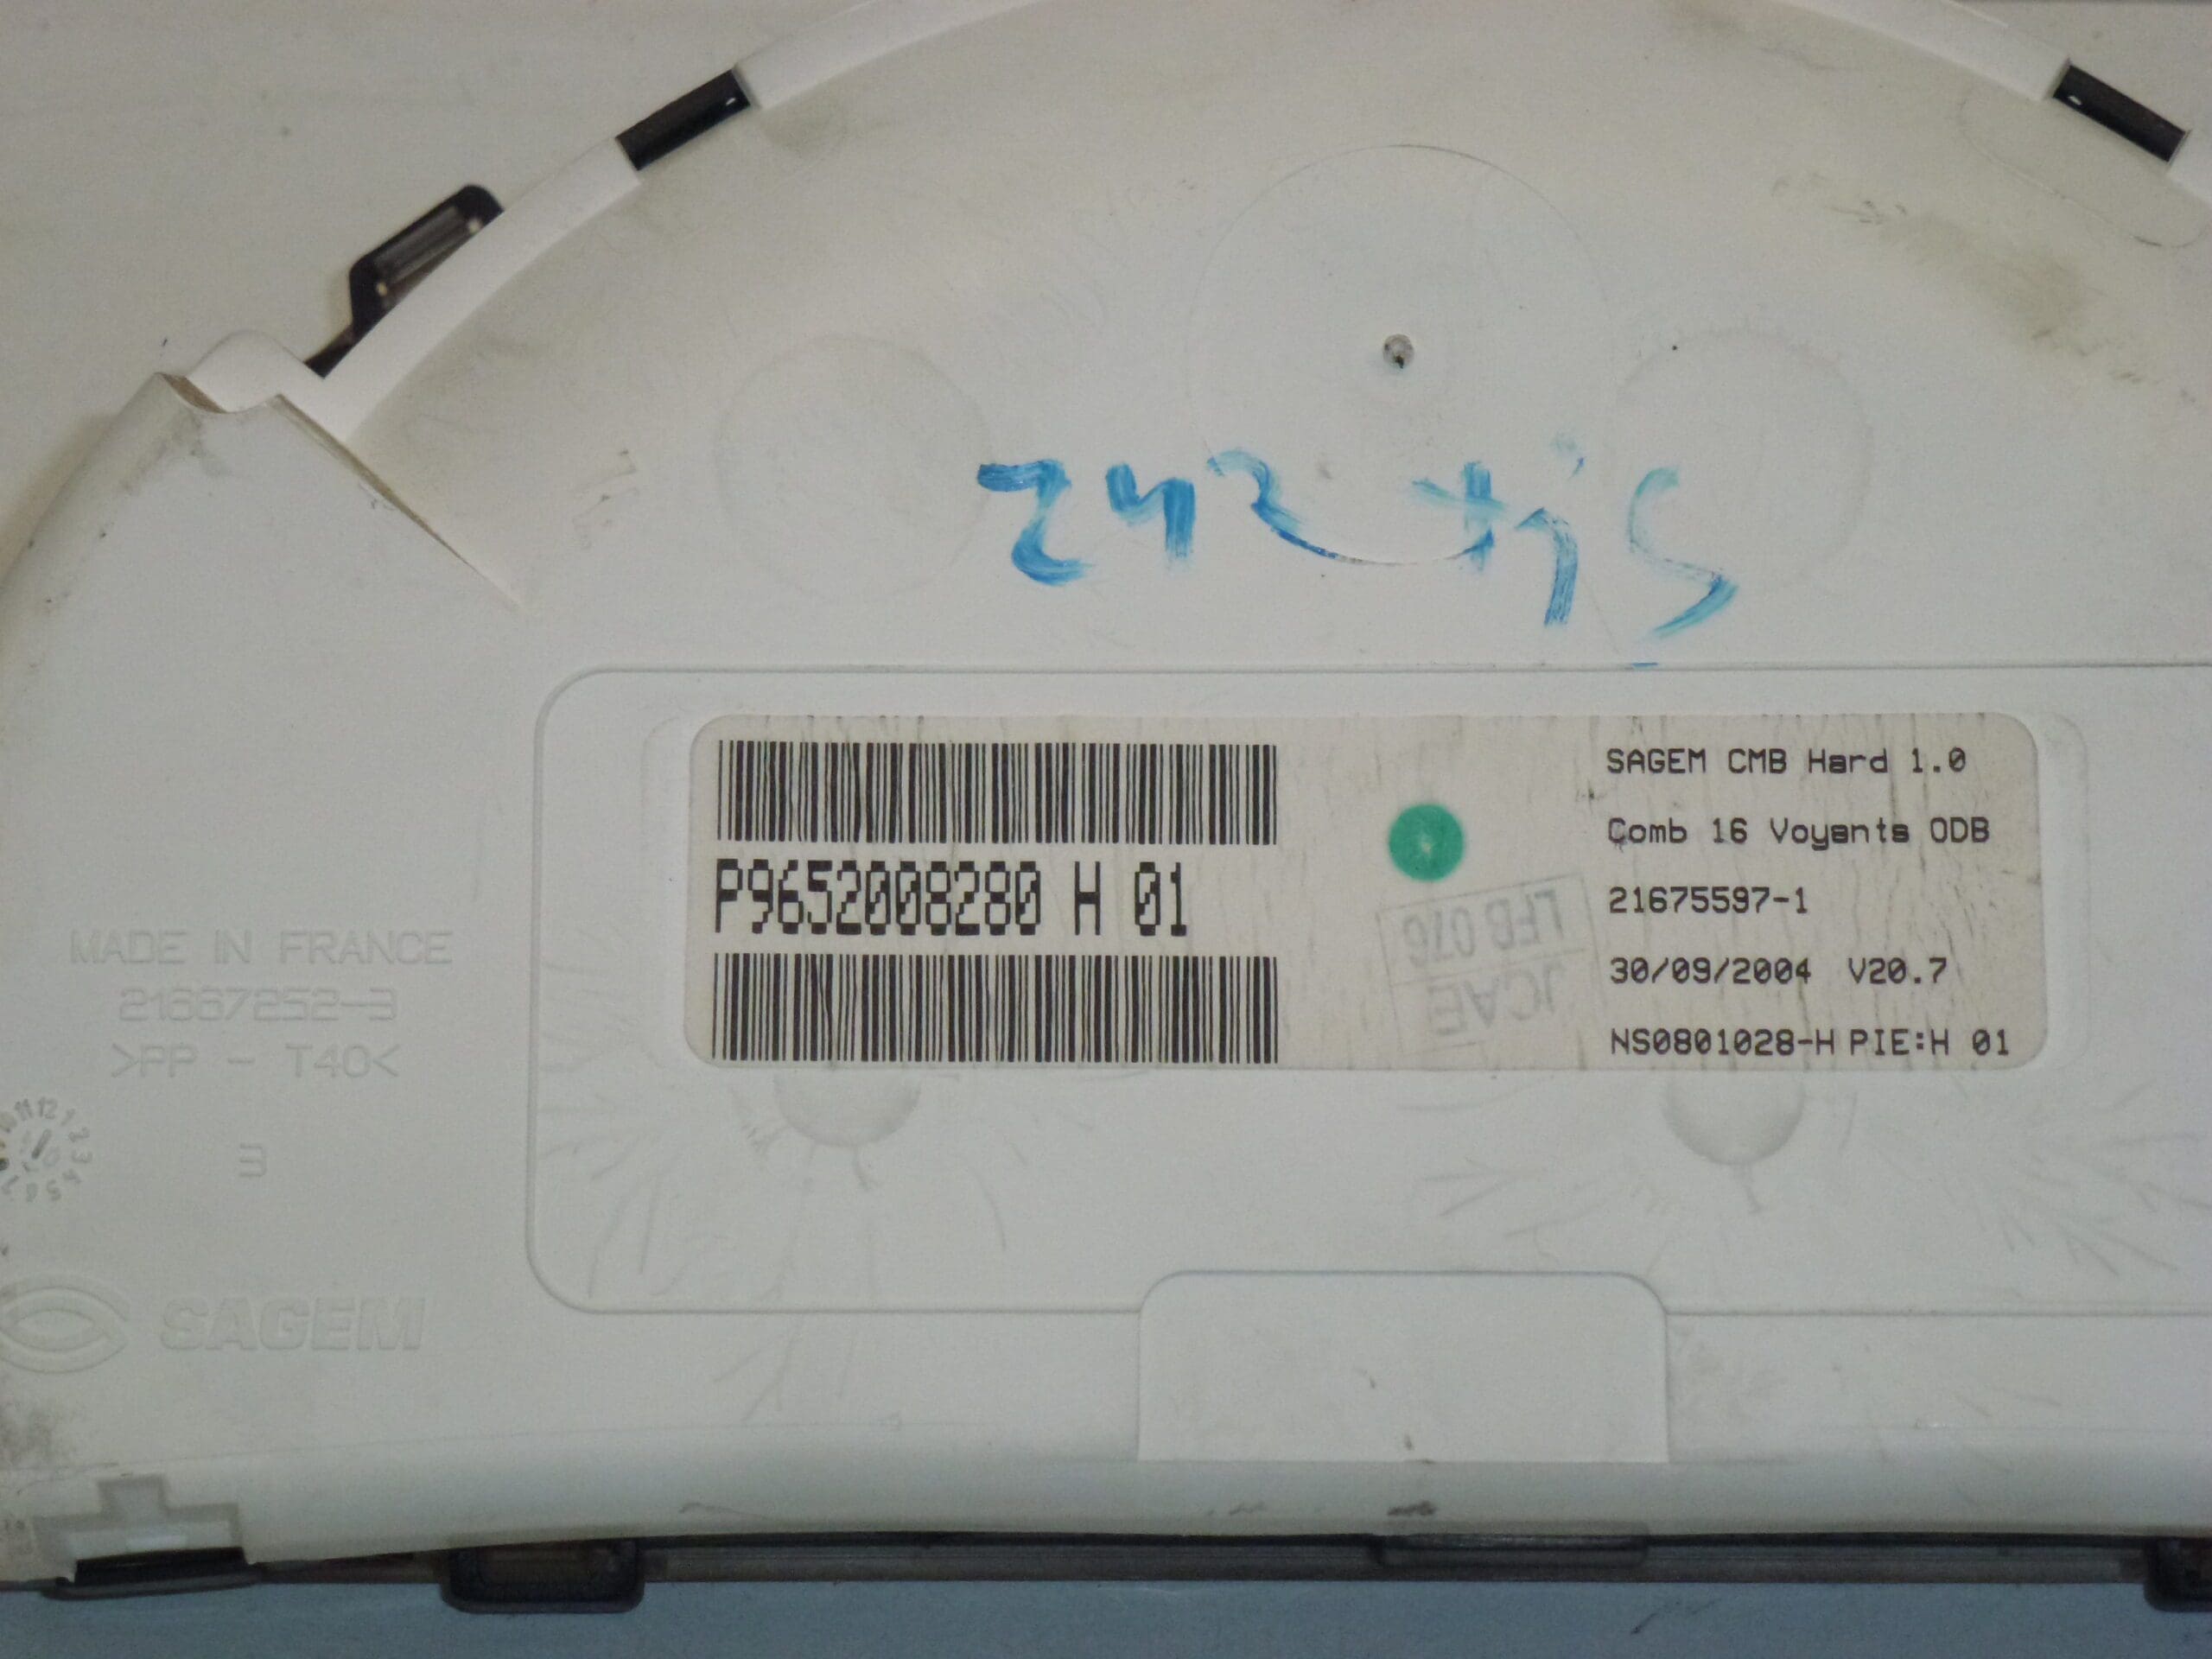
- Product Codes: 9652008280, P9652008280, 6105EV
- Other Numbers: Stellantis Reference P9652008280 H 01; donor mileage: 242,000 km
Compatibility And Function
Fits Citroën C2 and C3 models equipped with the relevant SAGEM instrument cluster for the 1.4 HDi powertrain and matching part numbers. The cluster provides speedometer, odometer, fuel gauge, warning lamps (engine, ABS, airbag, etc.) and trip information. Please check the part numbers listed above when selecting the unit; many customers search by those codes directly.
Recommendation For Installation
- Disconnect the negative battery terminal before starting work to avoid electrical damage or airbag warnings.
- Remove trim panels and the steering column shrouds to access the instrument cluster; typical fasteners are Torx or Phillips screws.
- Unscrew the cluster retaining screws, pull the cluster forward carefully and disconnect the multi-pin electrical connectors by releasing their locking tabs.
- Handle the connectors and ribbon cables gently. Avoid touching circuit boards or connector pins directly to prevent static or contamination damage.
- After installation, reconnect the battery and verify that all warning lights behave correctly. Some vehicles may require diagnostic coding or synchronization with the immobilizer/ECU—have a suitable diagnostic tool ready if necessary.
- Record and note the odometer reading before replacement if mileage tracking is important for the vehicle.
Most Common Reasons For Failure
- Age-Related Component Wear: Failing capacitors, degraded solder joints or worn stepper motors can cause needles to stick or displays to fail.
- Backlight Or LCD Degradation: Dim or missing segments are often caused by failing backlight or LCD elements.
- Moisture Ingress And Corrosion: Water or condensation causes connector corrosion and electrical faults.
- Electrical Spikes And Poor Grounding: Voltage transients or bad grounding can damage electronic components on the cluster PCB.
- Mechanical Damage: Impact or improper removal/installation can break connectors or internal components.
This unit is an effective option for restoring full instrument functionality on eligible Citroën C2/C3 vehicles. Searching by the part numbers above (9652008280 / P9652008280 / 6105EV) will help you locate the correct replacement quickly.