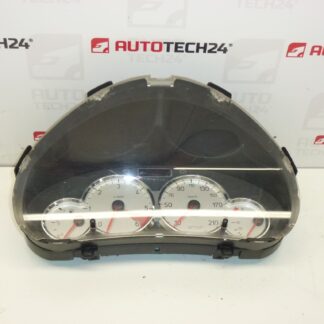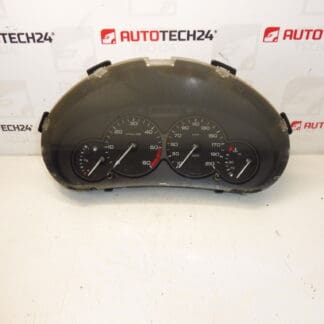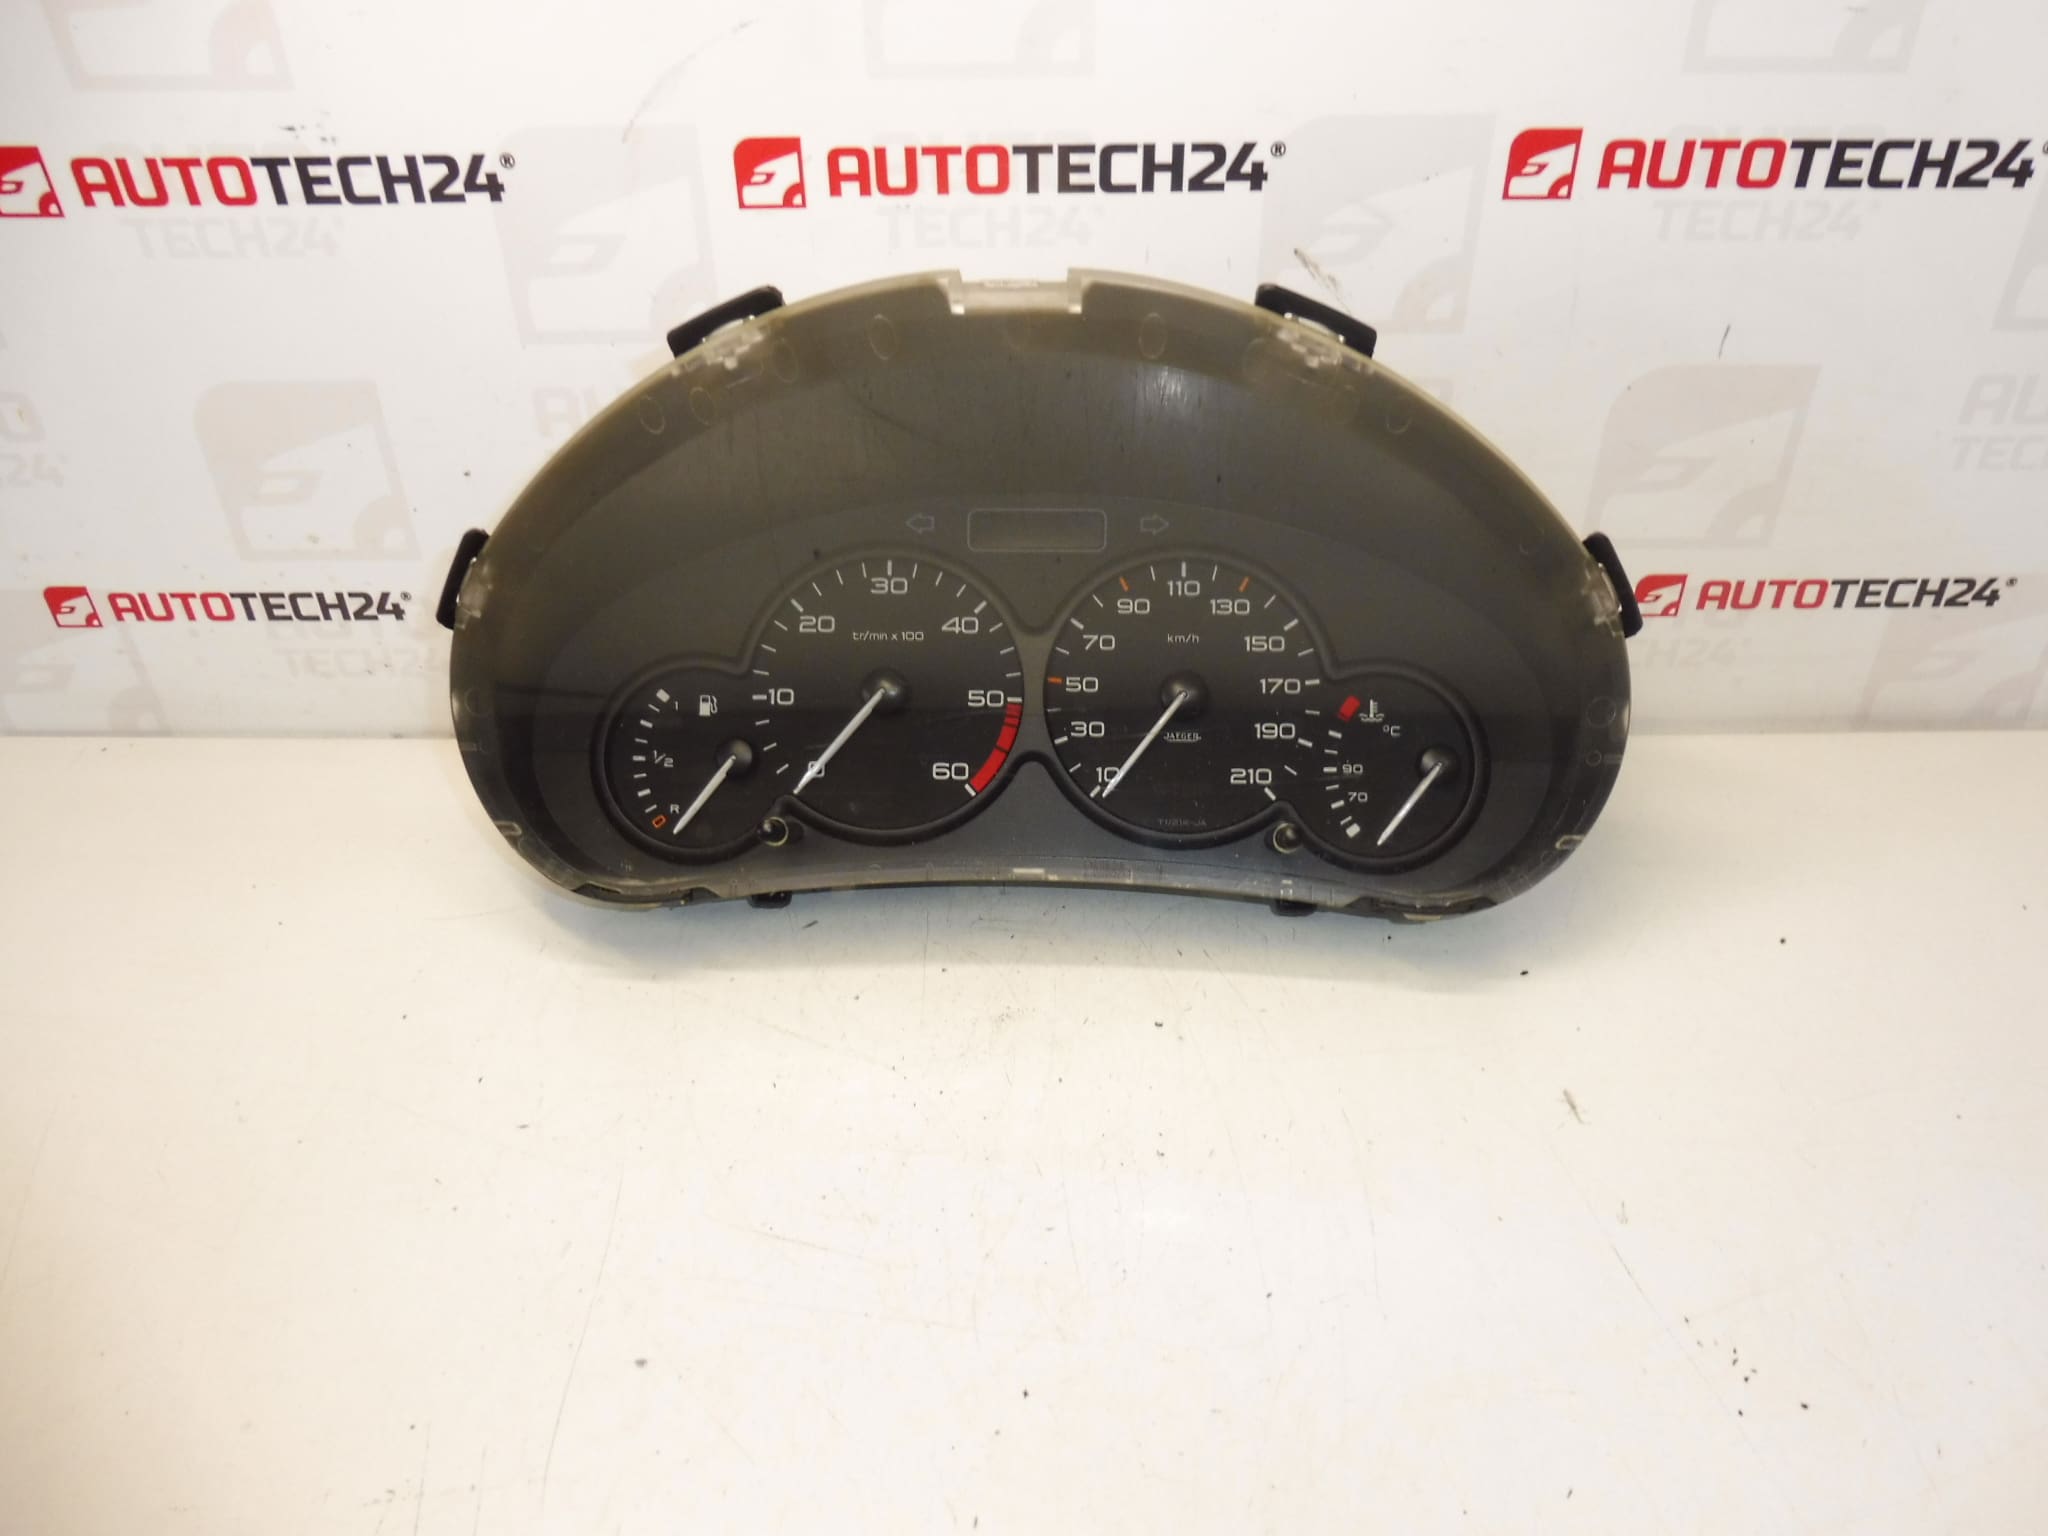
Description
Speedometer alarms for PEUGEOT 206 1.4 HDI cars
Mileage 176000 km
Part description
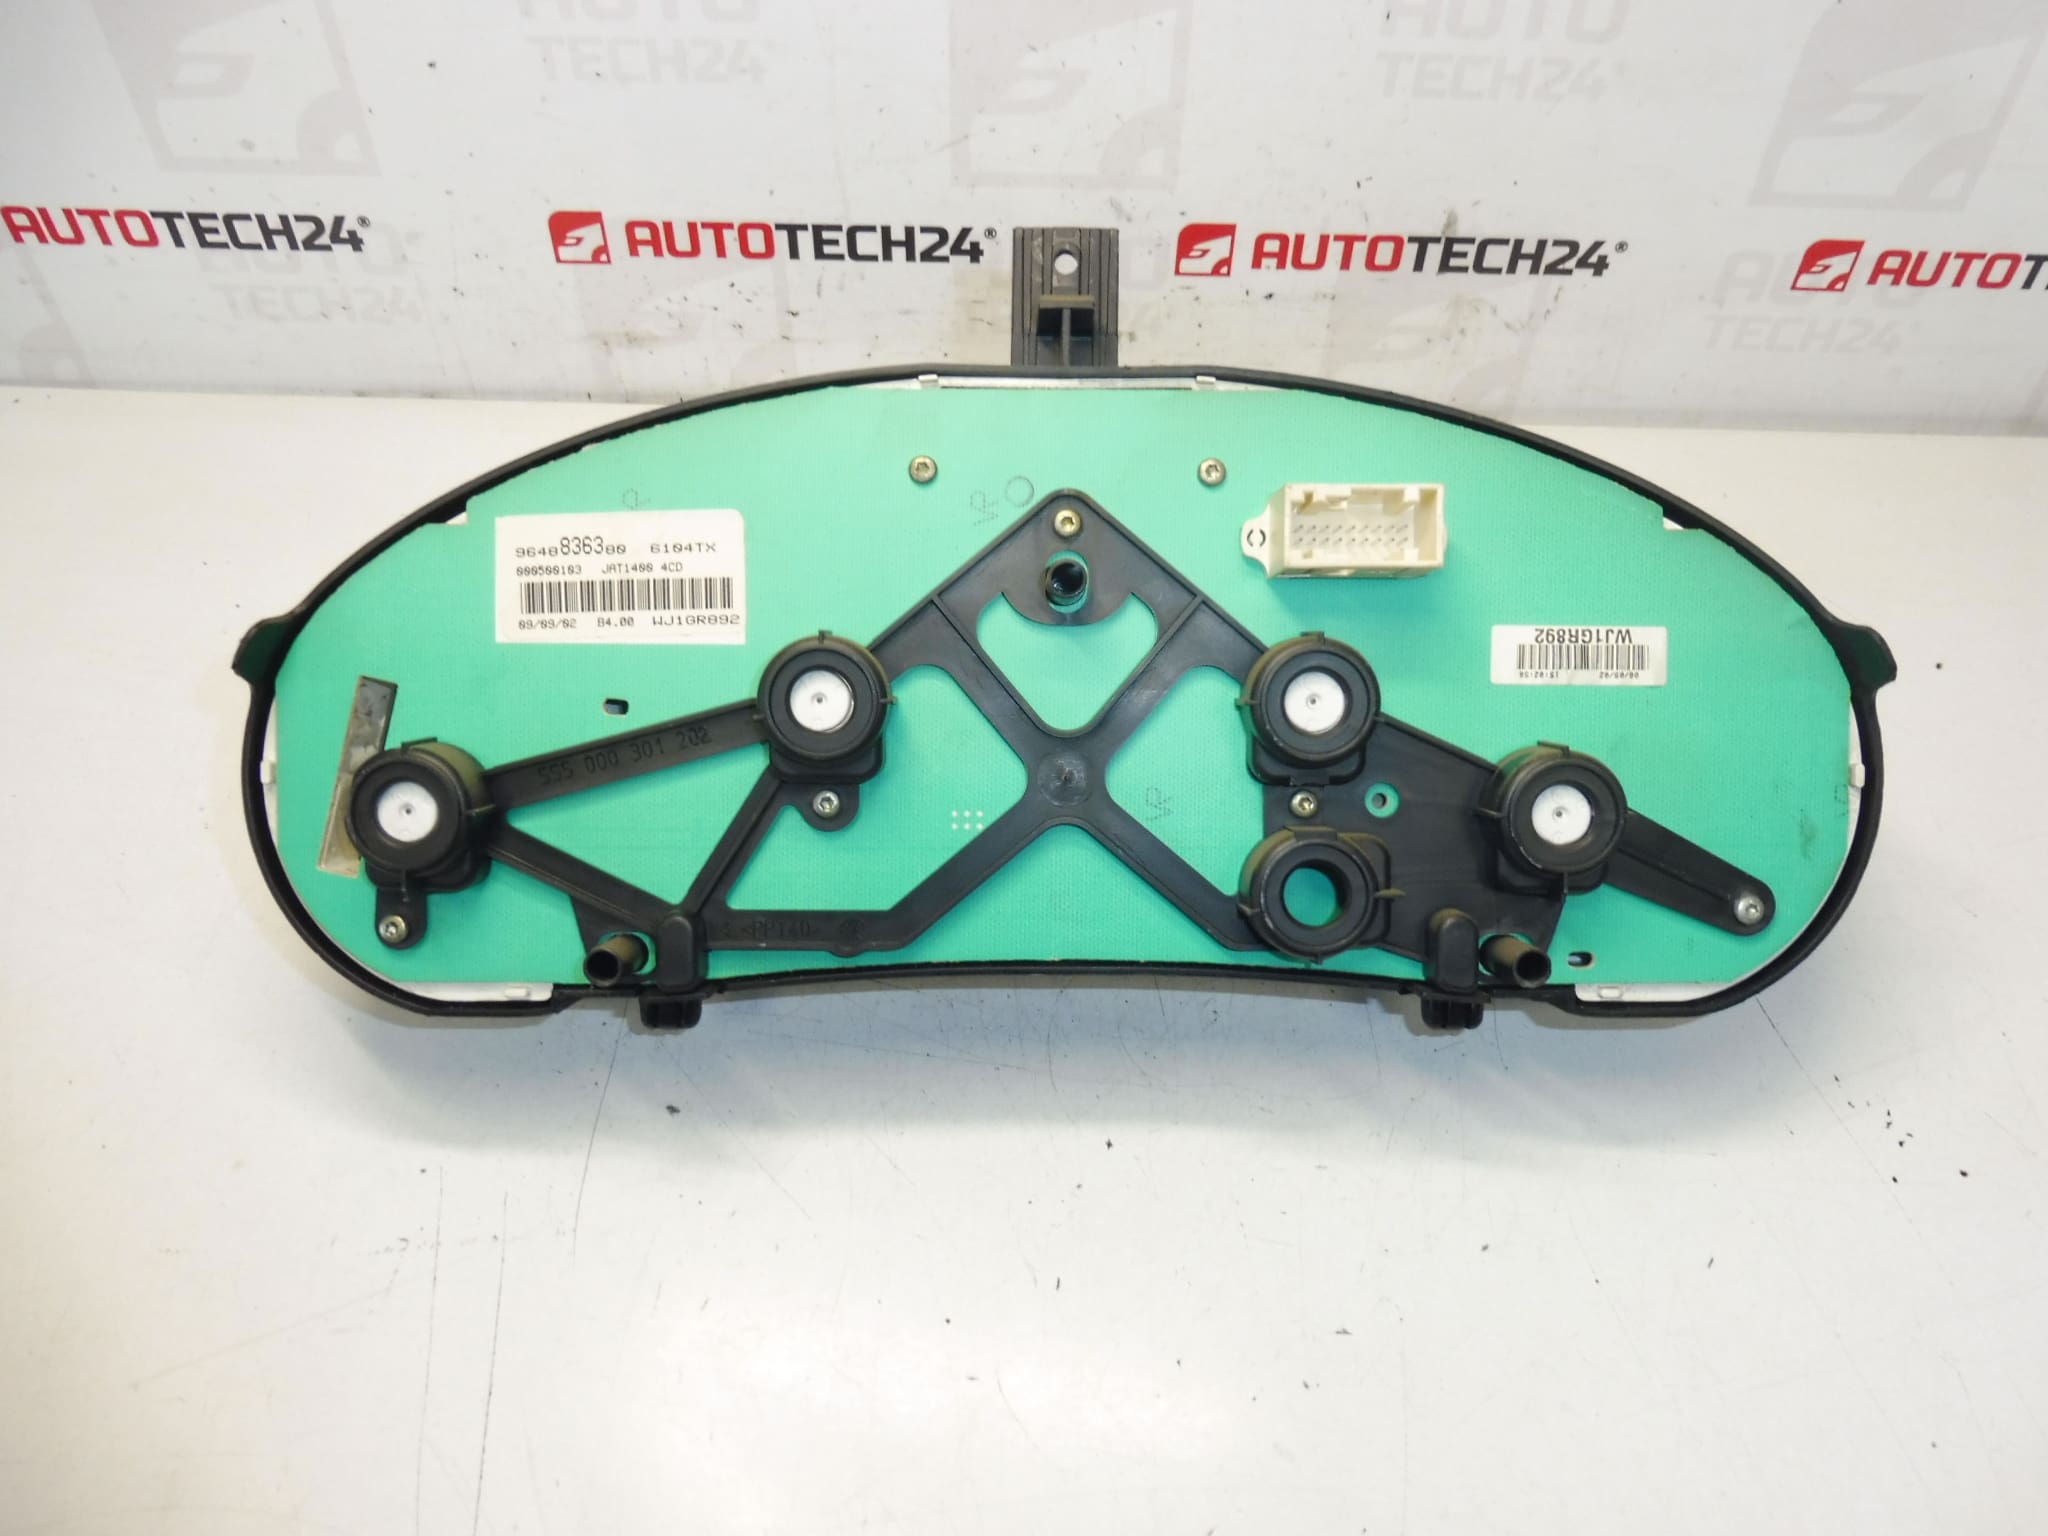
Used speedometer / instrument panel designed for Peugeot 206 cars. The part is suitable for replacing a damaged, non-functional or illegible original instrument panel. The advantage is the preserved original design and production marking, which makes it easier to find the right part by number.
This car part is often searched for 9648836380 and 6104TX. For car mechanics and home repairs, it is particularly important to compare product codes, connectors and the overall design with the existing part in the car.
Technical information
- Manufacturer: Stellantis Citroën Peugeot
- Model: Peugeot 206 1.4 HDI
- Other numbers: 9648836380, 6104TX, NFP
- Mileage status: 176000 km
- Category: Electrical components, tachometers
Product codes
- Product codes: 9648836380, 6104TX
- Model names: Peugeot 206
- Other designation: NFP
Installation recommendations
Generally/typically for this type of part, the exact replacement procedure may vary depending on the specific car design and equipment. With the instrument panel, it is always important to carefully compare the old and new piece, especially the part numbers, panel shape and connector design.
1) Before assembly
- Check if the markings 9648836380 and 6104TX match the original part.
- Compare the appearance of the instrument panel, attachment points and connectors.
- Inspect the cover, front sight and back of the part for cracks or other damage.
- Verify that the mileage 176000 km corresponds to your exchange intention.
2) Necessary tools and materials
- Basic set of hand tools
- Screwdrivers or bits corresponding to the fasteners used
- Plastic pry bar for panel removal
- Clean cloth for wiping the surrounding surfaces and the cover of the part
3) Step-by-step assembly procedure
- Turn off the ignition and disconnect the battery before starting work.
- Prepare access to the instrument panel by removing the relevant covers and trim.
- Carefully loosen the fasteners of the original speedometer.
- Slide out the old instrument panel to access the connectors.
- Disconnect the electrical connectors without excessive prying or pulling on the wiring.
- Compare the original and new part side by side, especially the numbers, connectors and overall design.
- Connect the connectors to the replacement tachometer and check for proper seating.
- Sit the part in place and lightly secure it with the fasteners.
- Before completely assembling the surrounding plastics, connect the battery and verify the basic function.
- If everything works correctly, fix the part for good.
- Reinstall all removed covers and trim.
- Perform a final check of the seating, readability and function of the pointers.
-
4) Post-assembly checks and test drive/function verification
- Check that the alarms light up and are legible after turning on the ignition.
- Verify the basic functions of the displayed data and lights.
- On a short test drive, observe the stability of the display and the correct response of the indicators.
- After driving, double check that the panel is firmly seated and does not vibrate.
5) The most common assembly mistakes + how to avoid them
- Part replacement by appearance instead of by code – always compare product numbers as well.
- Plastic damage during disassembly – use a suitable pry bar and work without brute force.
- Insufficiently inserted connectors – after connecting, check their correct seating.
- Premature assembly of deck covers – perform a functional check first, then assembly.
- Working without the battery disconnected – with electrical parts, this is an unnecessary risk of damage or malfunction.
Reasons why the part is damaged
- Normal wear and tear of electronics and internal components over years of operation
- Voltage fluctuations in the vehicle’s electrical system
- Damage to connectors or wiring during previous repairs
- Moisture, dust or long-term thermal stress on interior electronic parts
- Mechanical damage during careless disassembly or assembly
- Failure of backlight, display or individual indicators due to age