Description
Airbag unit RBG-T5-V-8-CEM00 for Peugeot 307 CC cars up to 2004
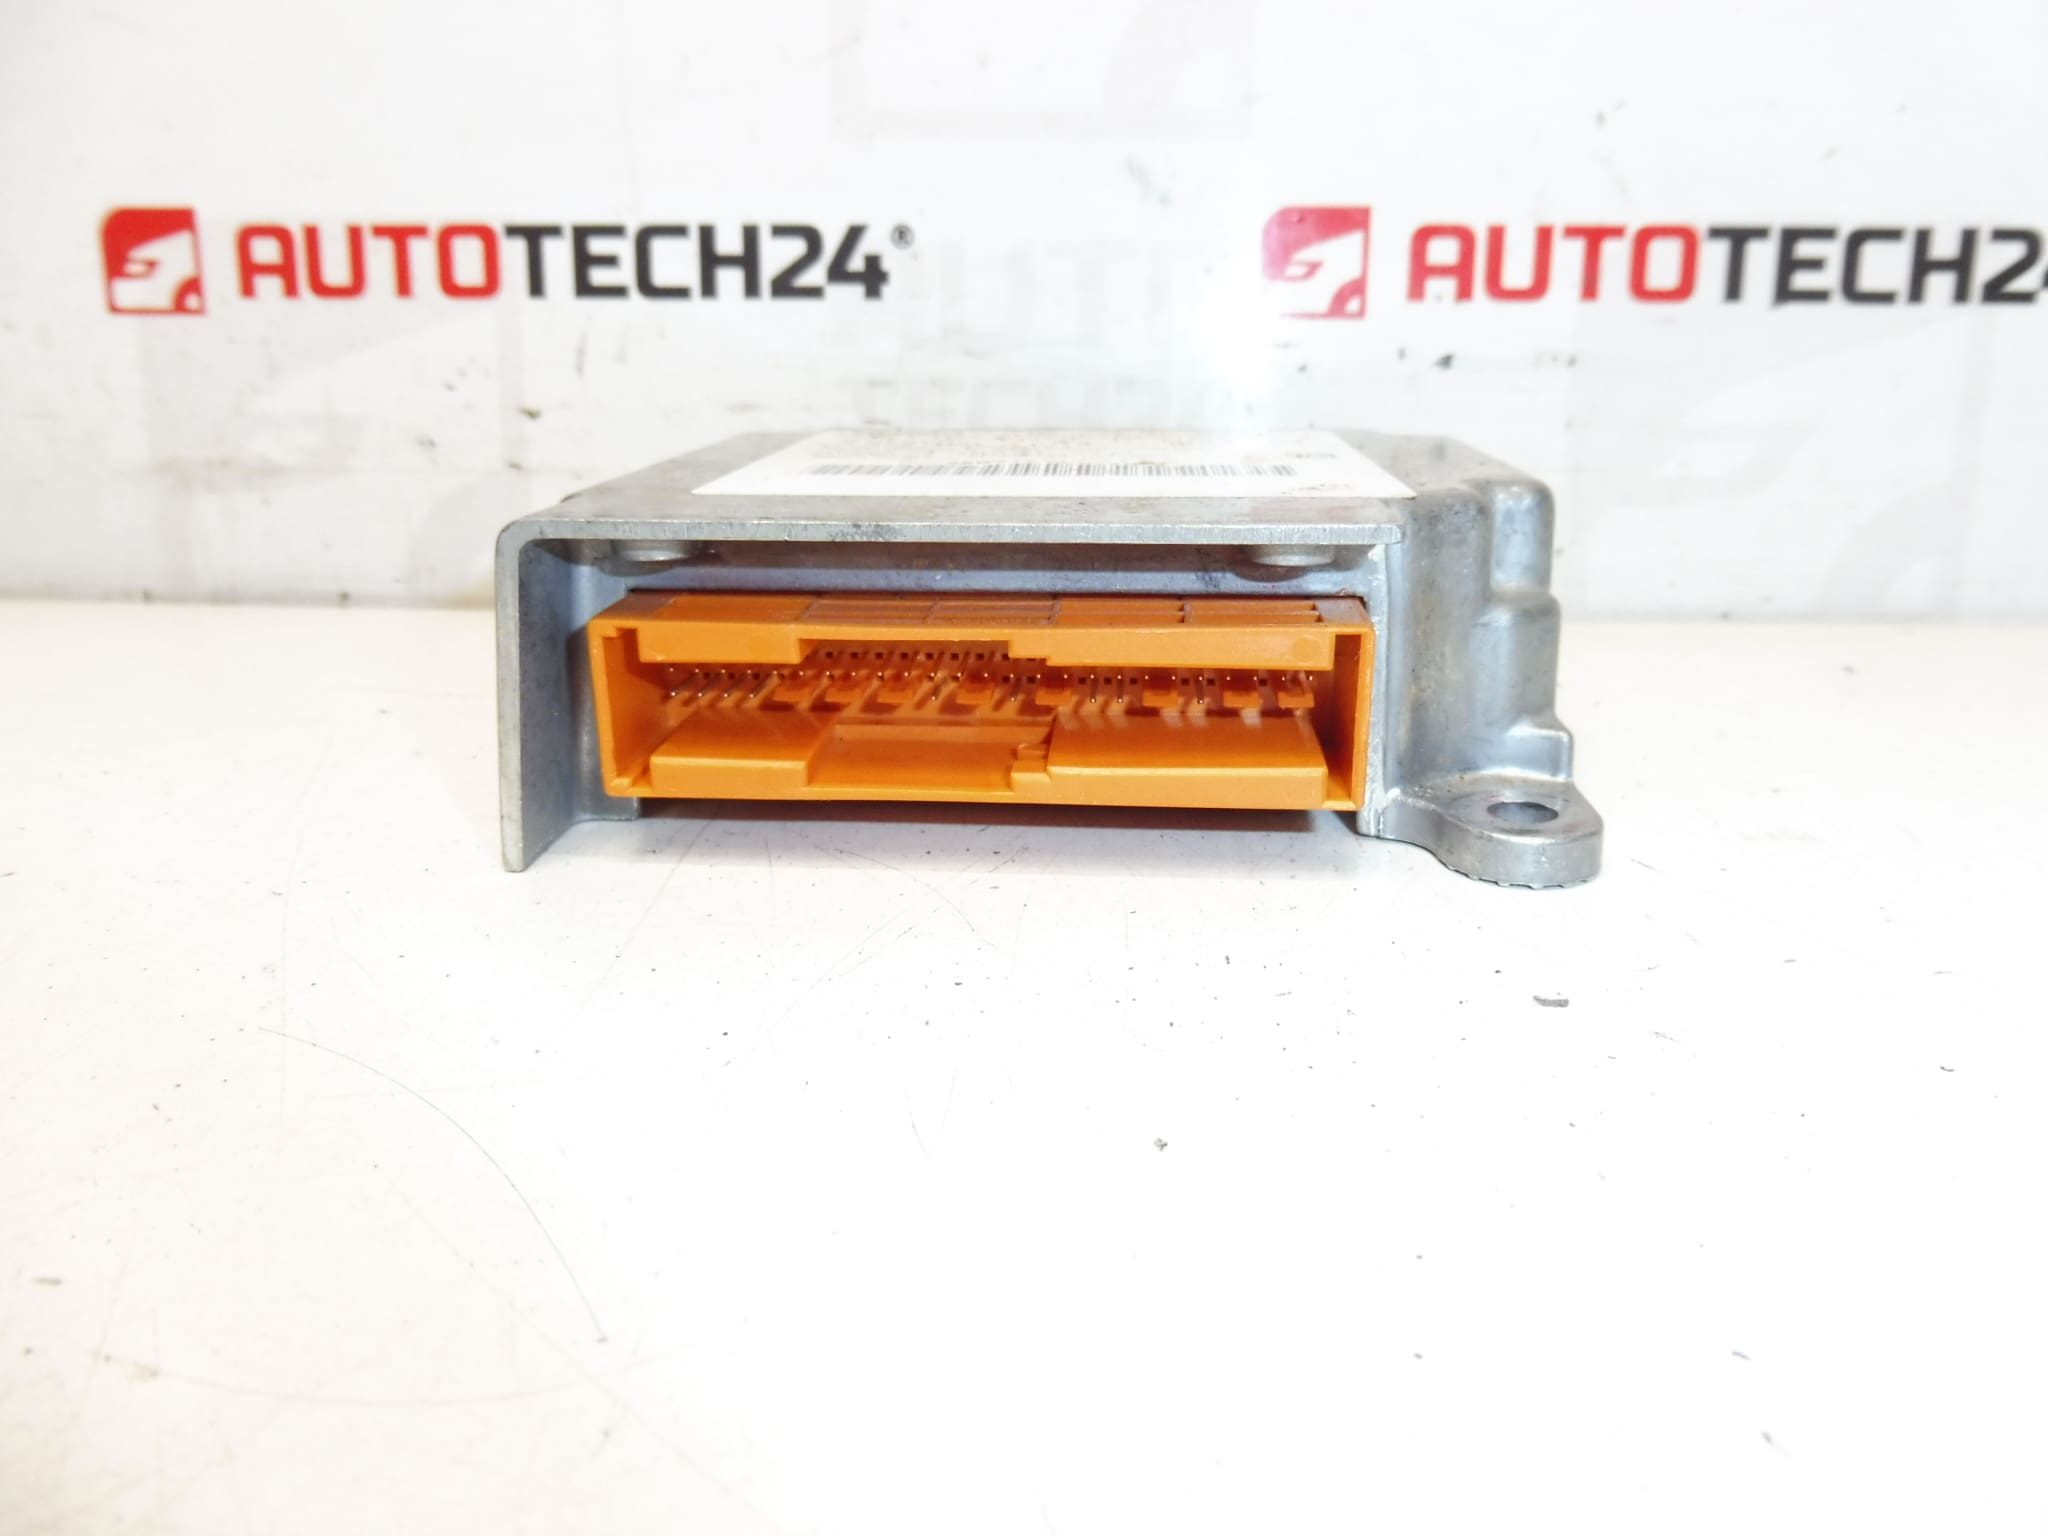
Part description
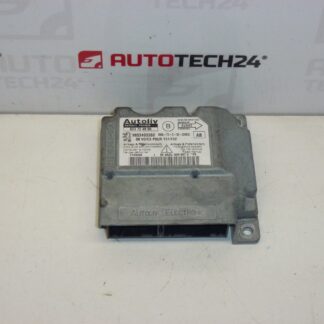
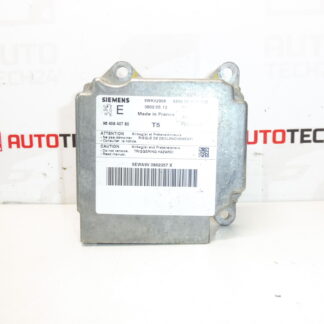
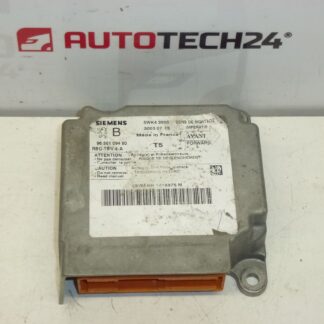
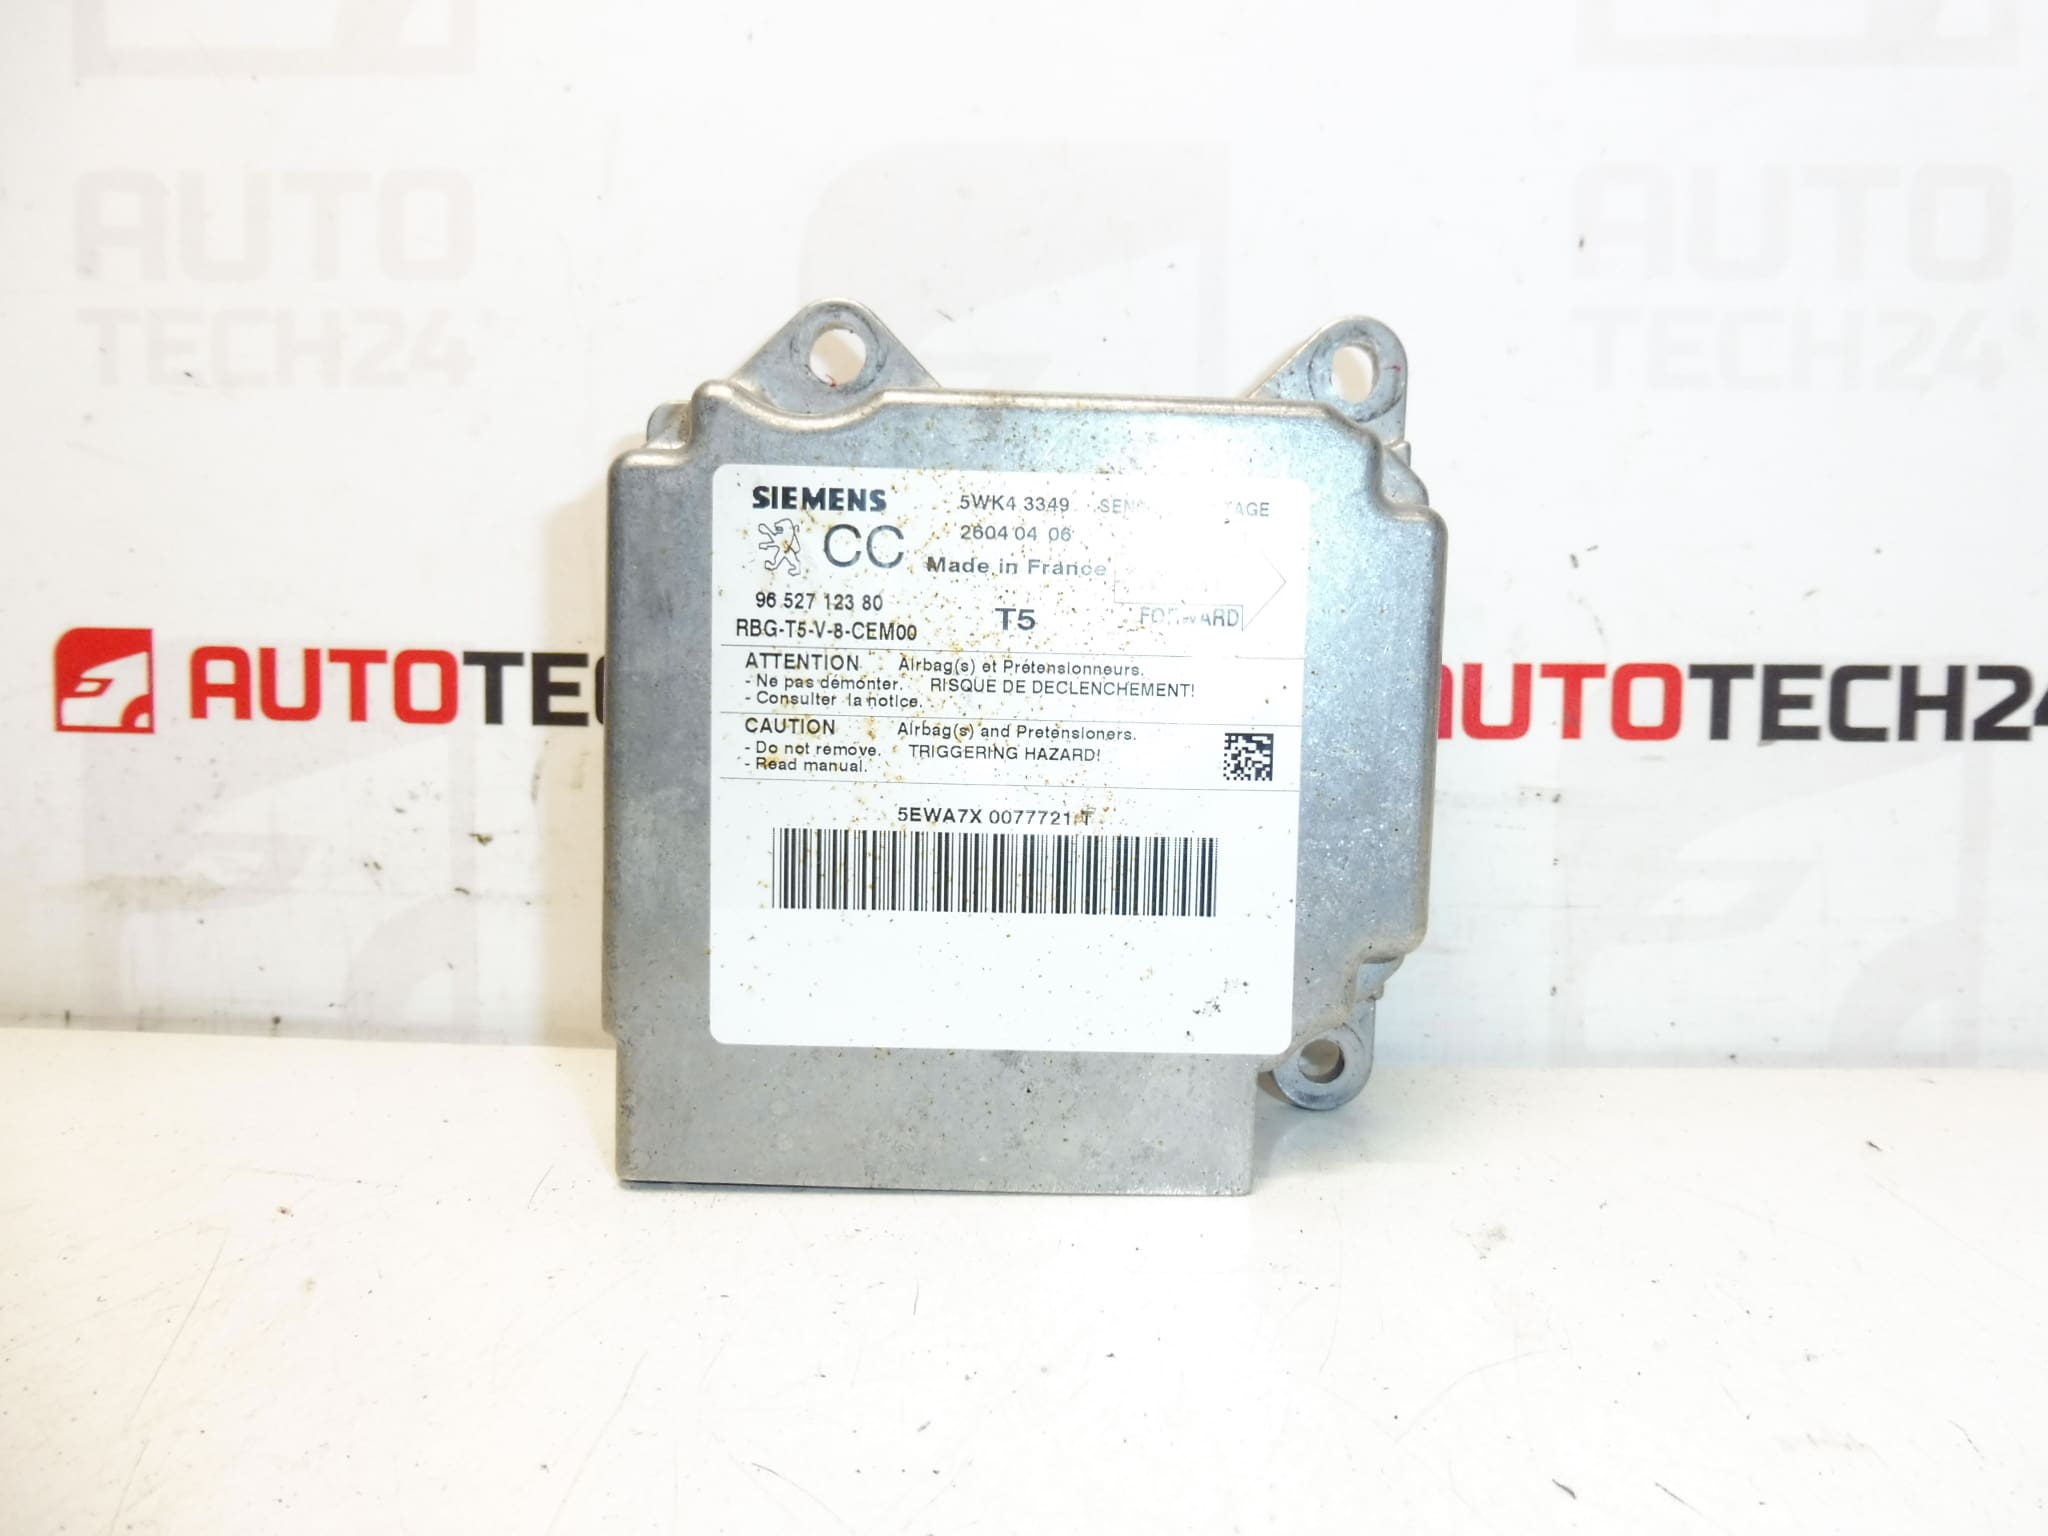
This Siemens airbag unit (SRS) is designed for the Peugeot 307 CC (according to the documents up to 2004). The airbag control unit evaluates the signals from the SRS system and ensures the correct functioning of the safety elements. When replacing, it is crucial to follow the matching of the markings and codes on the unit, since this part is often searched and matched precisely by product numbers.
A suitable solution when the original unit fails or when the car is repaired after a defect in the airbag system – if you need a quickly available part with the correct marking RBG-T5-V-8-CEM00 and PSA numbers.
Technical information
- Manufacturer: Siemens
- Model: Peugeot 307 CC (up to 2004)
- Other numbers: 5WK43349, 6545JG, 6545JH, NFP
Product codes
- Product codes: 9652712380, 5WK43349, 6545JG, 6545JH
Installation recommendations
Warning: This is a safety feature (SRS). Generally/typically, working on an airbag system requires extreme caution, correct manufacturer’s procedure and appropriate diagnostics. The exact steps may vary depending on the specific design of the car.
1) Before assembly
- Compare with the old part: 9652712380, 5WK43349, or 6545JG/6545JH and designation RBG-T5-V-8-CEM00.
- Check the condition of the connectors and pins (they must not be bent, oxidized or mechanically damaged).
- Check the unit for obvious damage (cracks, deformation, traces of moisture).
2) Necessary tools and materials
- Basic set of hand tools (typically ratchet/bits, screwdrivers as needed)
- Cleaning agent for electrical contacts (as needed)
- Diagnostics for PSA (to check faults and verify SRS function)
- Protective equipment (gloves, glasses)
3) Step-by-step assembly procedure (typically)
- Turn off the ignition and secure the vehicle against movement.
- Disconnect the battery and allow a reasonable amount of time for the SRS to safely deactivate (according to the manufacturer’s procedure).
- Provide access to the airbag unit according to the vehicle design (exact access varies by model).
- Disconnect the unit connectors carefully – without force, release the connector fuses first.
- Dismantle the unit mount and remove the original piece.
- Compare again the numbers and markings of the new unit with the old part.
- Install the unit in its place and fasten it in the original way.
- Reconnect the connectors and check that they are fully inserted and secure.
- Reassemble the disassembled interior parts/hood (if removed).
- Connect the battery.
- Diagnoses the SRS system and checks the status of malfunctions and the airbag light.
-
4) Post-assembly checks and test drive/function verification
- Check that the standard warning light test runs after the ignition is turned on and the airbag light does not stay on.
- Verify with diagnostics that the SRS system does not report active faults (if there are, solve the cause in the wiring/sensors/connectors first).
- After a short drive, check again that the fault does not return.
5) The most common assembly mistakes + how to avoid them
- Manipulation without disconnected battery – always disconnect the battery and follow the safety procedure.
- Poorly engaged connectors – check full seating and locking, if necessary clean contacts.
- Unit Code Mismatch – verify part number and designation match (9652712380, 5WK43349, 6545JG/6545JH, RBG-T5-V-8-CEM00) before assembly.
- Solution only by “replacing the unit” without diagnostics – if the cause is in the wiring or another part of the SRS, the fault will return.
Reasons why the part is damaged
- Moisture and corrosion in the connector area or where the unit is installed.
- Damage after an accident (SRS activation, impact overload, mechanical stress).
- Voltage fluctuations in the on-board network, bad grounding or battery problems.
- Errors in cabling/connectors (transitional resistances, oxidation) – can cause malfunctions and subsequent interventions.
- Incompetent handling during interior repairs or electrical installation (torn connectors, damaged pins).