Description
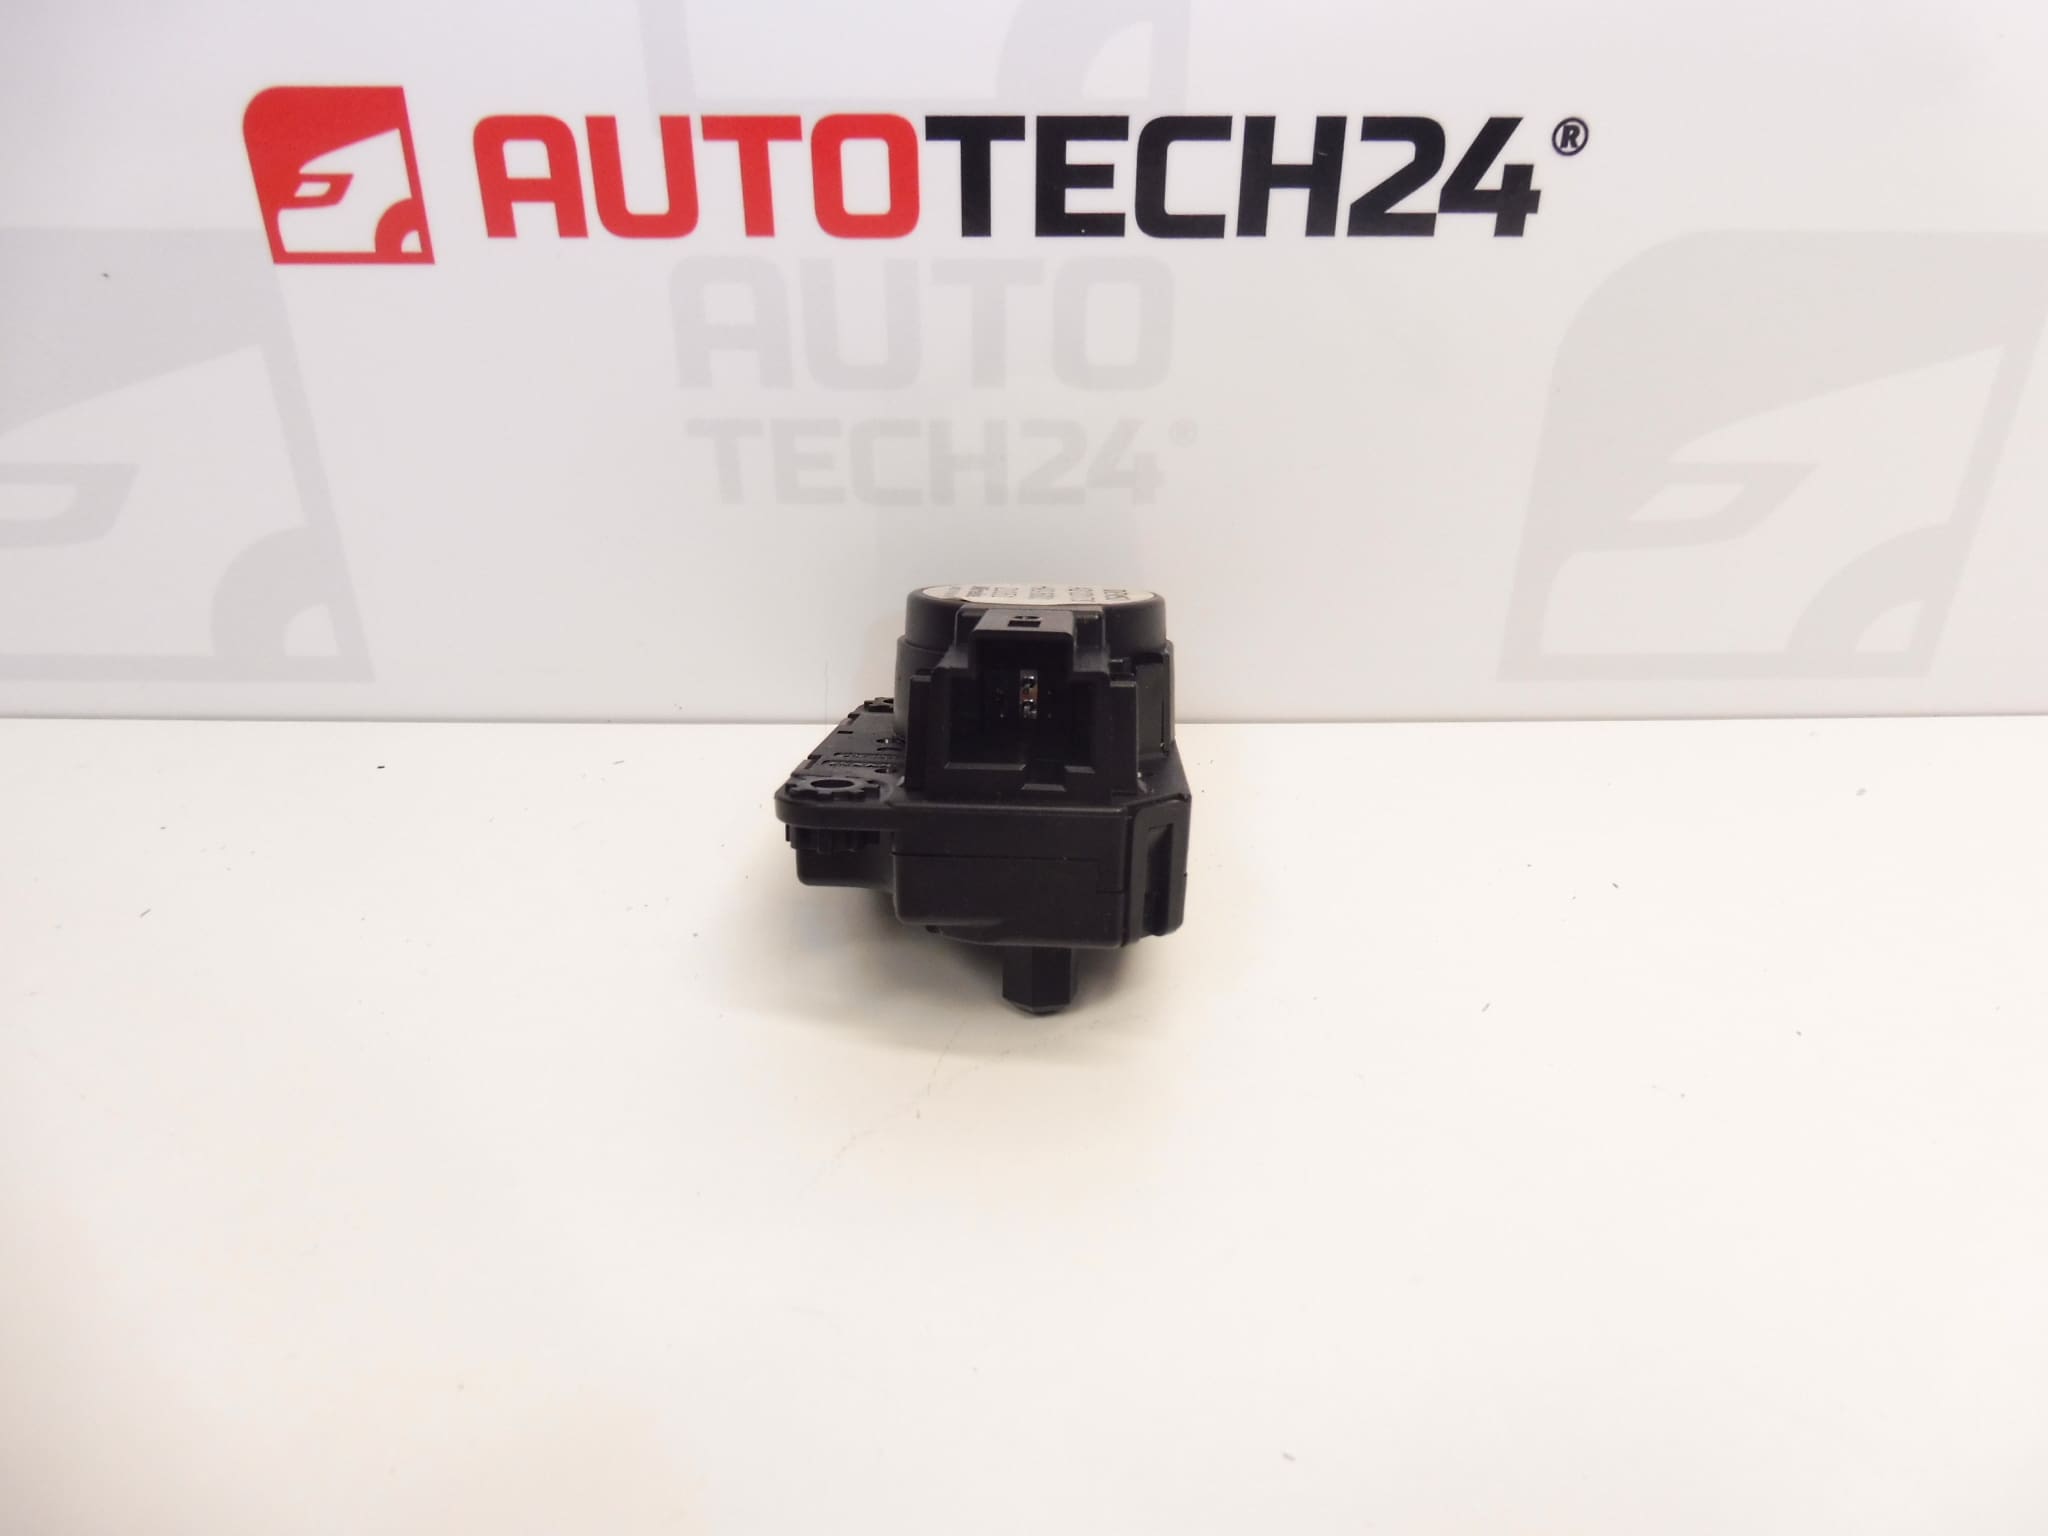
Air-Conditioning Motor Reducer For Stellantis Group Vehicles: Citroën, Peugeot, Opel, Fiat, Toyota.
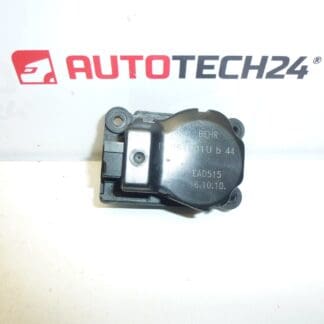
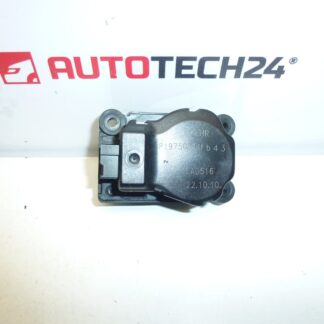
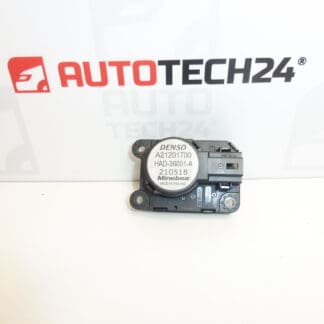
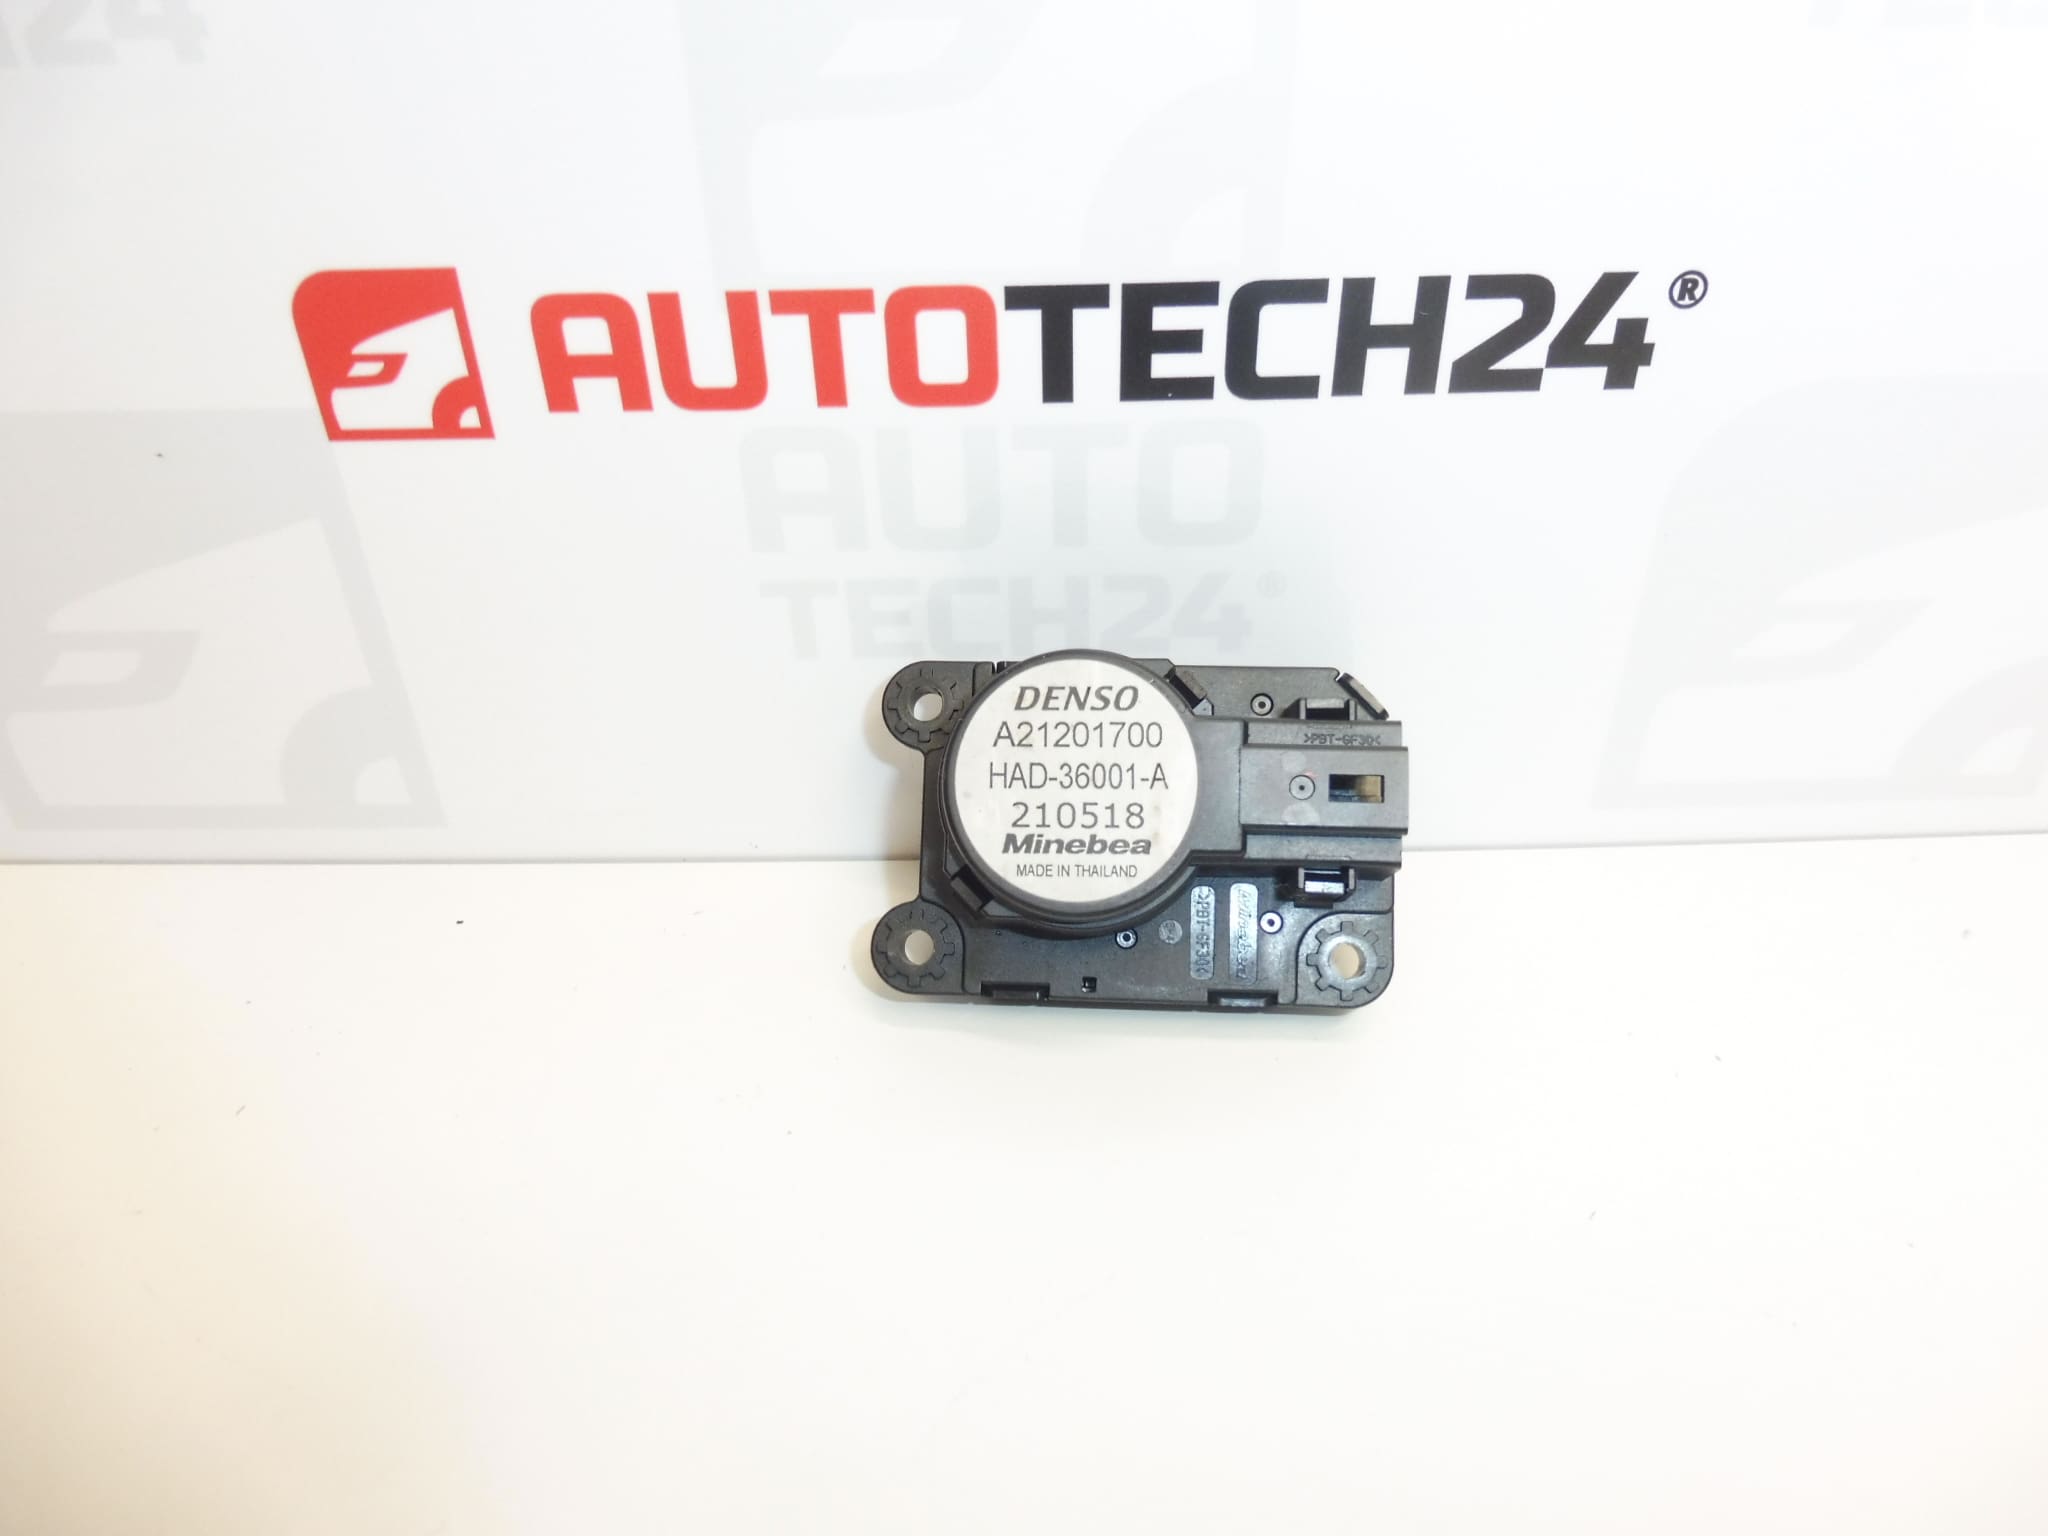
High-quality Denso HVAC servo motor designed for climate control systems in multiple Stellantis group models. This servo (motor-reducer) operates the air-mix/door flaps in the heating and air-conditioning unit to deliver accurate temperature and airflow distribution. The part is referenced under numbers 9821293280, A21201700 and HAD-36001-A, commonly sought by professional mechanics and DIY enthusiasts when troubleshooting HVAC faults such as incorrect cabin temperature, stuck flaps or clicking noises from behind the dashboard.
Features And Benefits
– Direct-fit replacement for specified Stellantis models with matching product codes.
– Durable Denso motor core with integrated gear reduction for precise flap movement.
– Restores proper HVAC functionality: eliminates erratic temperature swings, incorrect mode selection and actuator noise.
– Ideal choice for workshops and DIY repairs where fast, reliable HVAC restoration is required.
Symptoms Of A Faulty Actuator
– Repeated clicking or grinding noise from the dashboard area.
– Inability to change temperature or airflow mode (blend/recirculation/vent/foot).
– Intermittent or no response from HVAC controls despite correct input on the panel.
– Uneven or unexpected cabin temperature distribution.
Replacement Procedure (Overview)
Removal and replacement vary by model but typically follow these steps: access the HVAC unit (often behind the glovebox or lower dashboard), unplug the electrical connector, remove the mounting screws securing the actuator to the heater box, extract the faulty unit and install the new actuator in the correct position. Verify flap travel and function before reassembling trim. Always consult vehicle-specific repair manual for exact disassembly sequence and torque values.
Technical Information
- Manufacturer: Denso
- Model: Citroën Berlingo K9; Opel Combo E K9; Peugeot Partner III; Peugeot Rifter
- Product Codes: 9821293280; A21201700
- Other Numbers: HAD-36001-A
Installation Recommendations
– Disconnect the vehicle battery before starting work to avoid short circuits and prevent damage to electronic components.
– Follow the vehicle manufacturer’s removal and installation procedure to avoid damaging HVAC housing or gears.
– Do not force the actuator onto splines; ensure correct alignment of the gear and flap lever.
– After installation, cycle the HVAC system through all modes to confirm full travel and absence of binding. Refit trim only after functional verification.
Why This Part Most Often Fails
The most frequent causes of actuator failure are mechanical wear of plastic gears, debris ingress and moisture leading to corrosion or seizure, and motor/brush wear after extended operation. Repeated forced movement of a stuck flap accelerates internal damage. Harsh environmental conditions and accumulated dust in the heater box increase the likelihood of premature failure.
Practical Tips For Mechanics
– Inspect surrounding HVAC components (flaps, linkages, heater box) for damage or obstructions when replacing the actuator.
– If noise was present, listen to the new unit during initial run to confirm quiet, smooth operation.
– Keep replacement part numbers handy for quick identification: matching codes ensure correct fit and function.