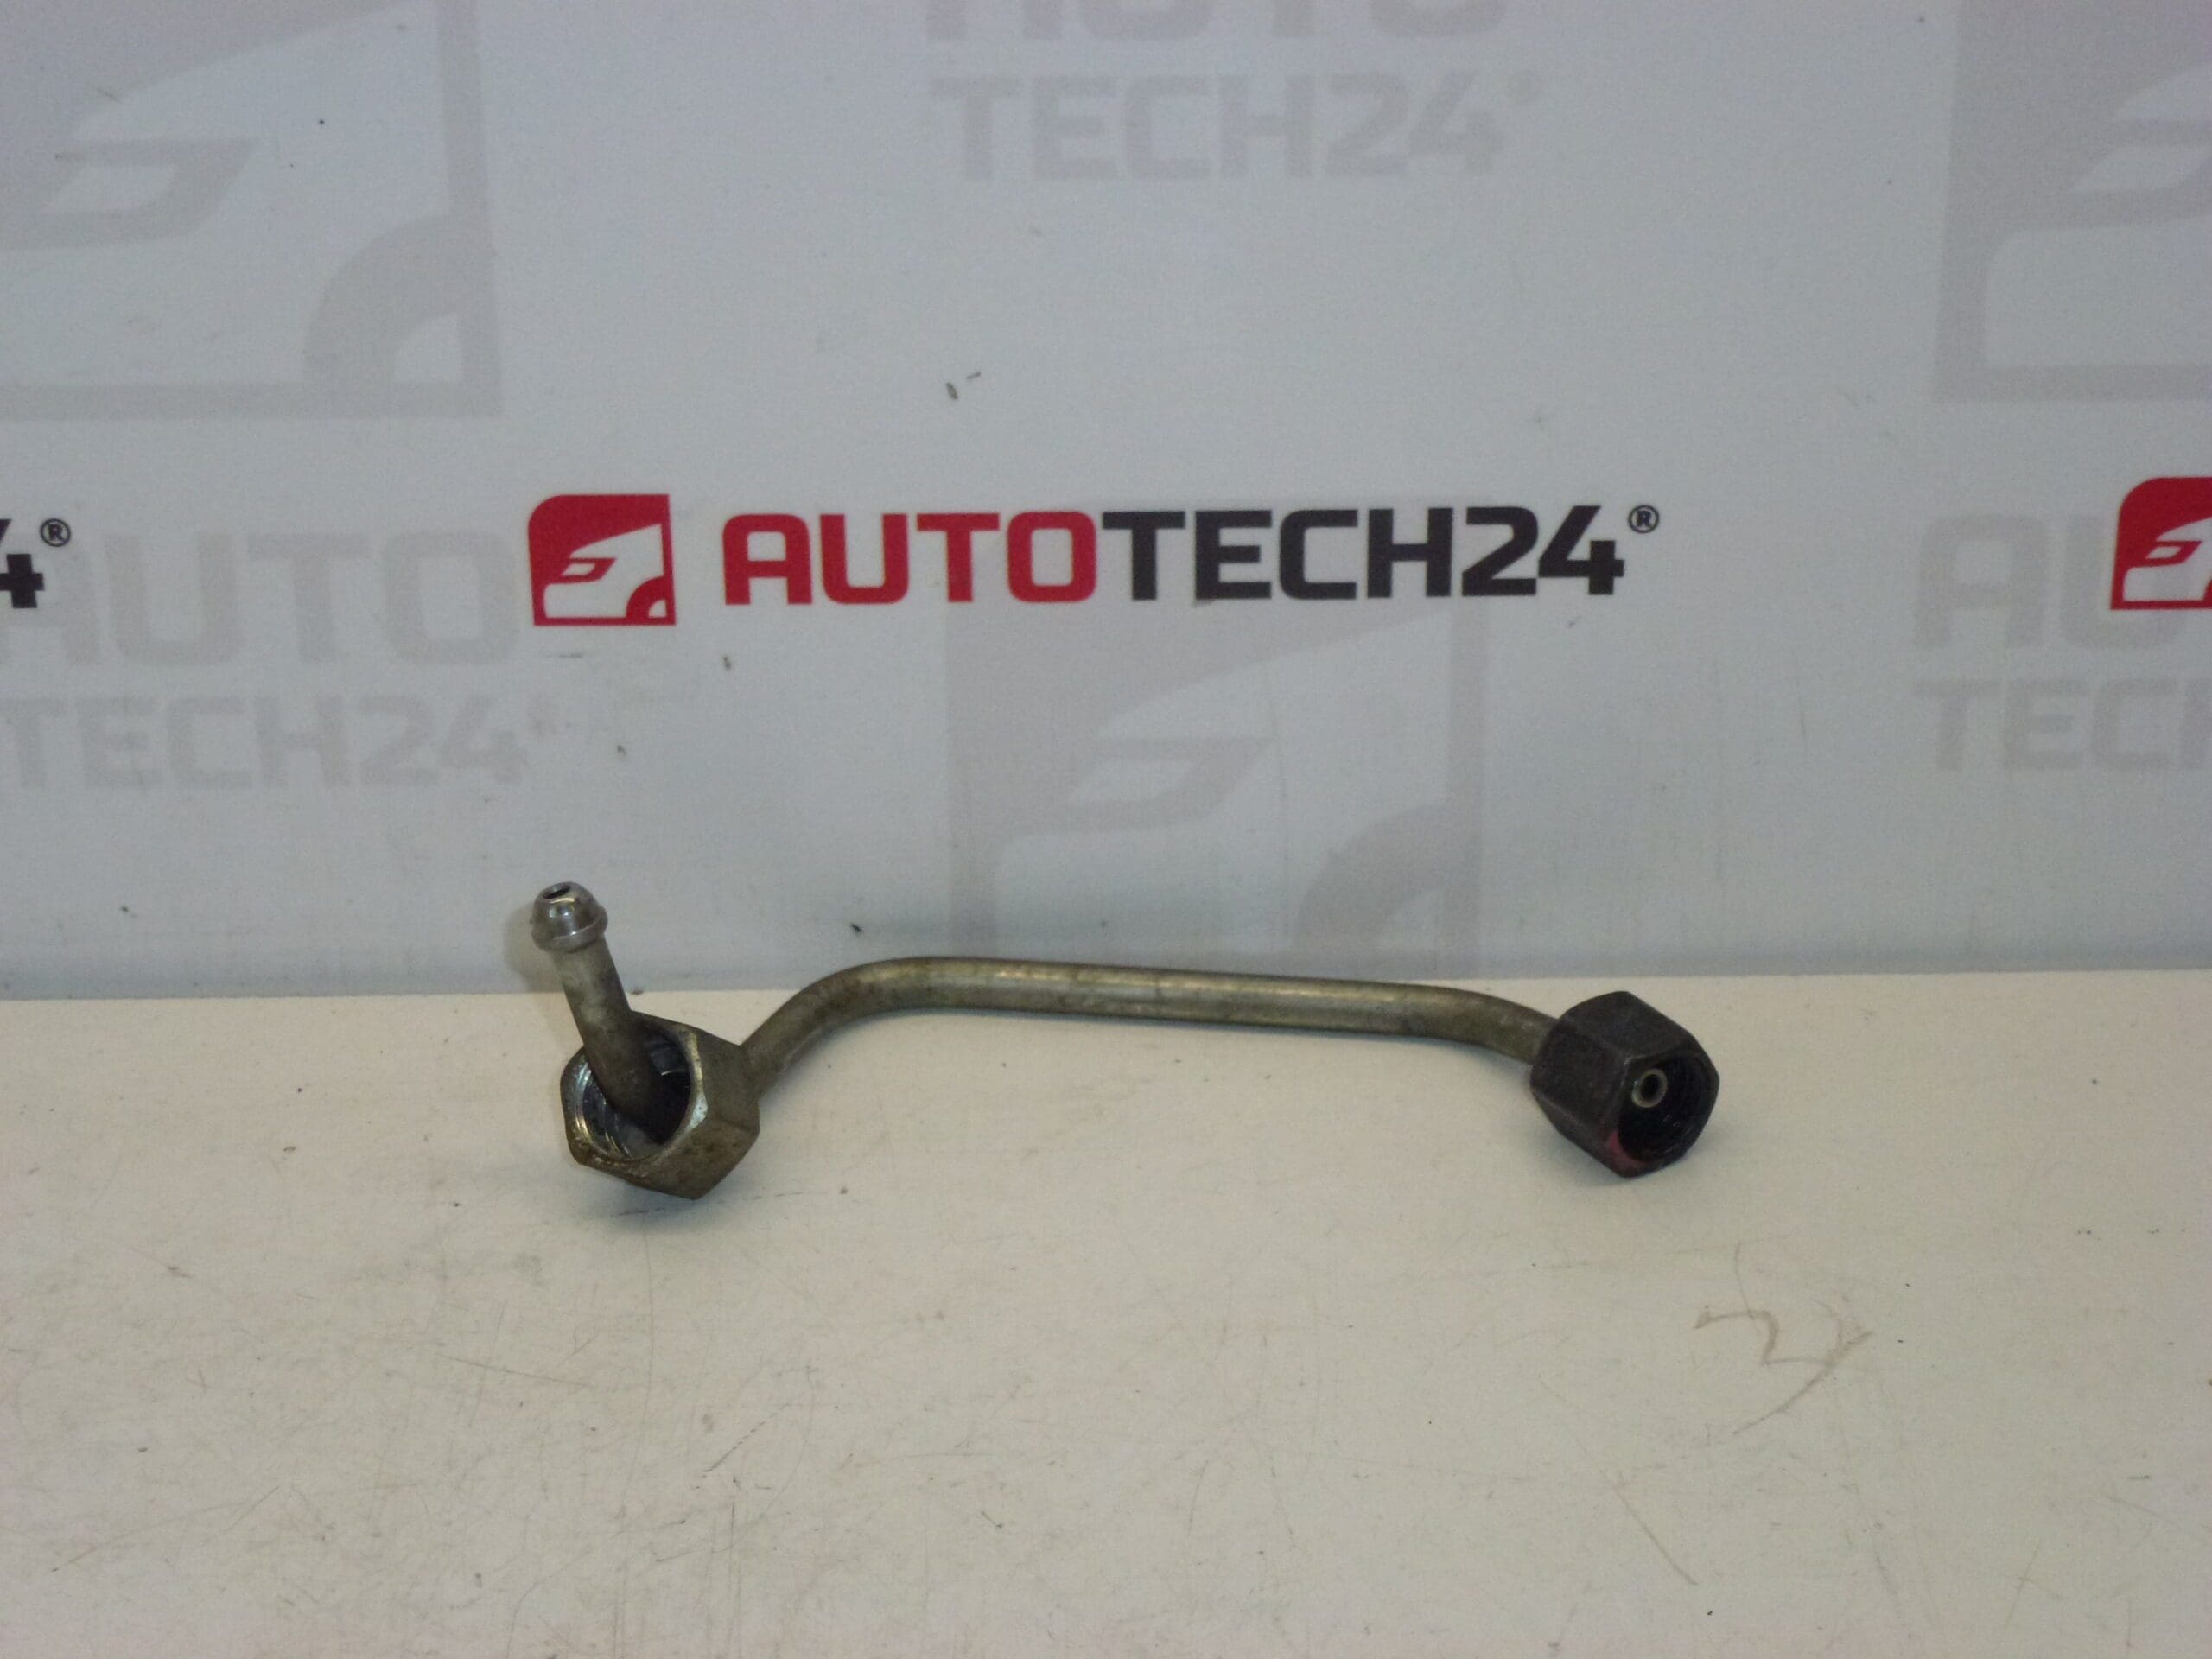
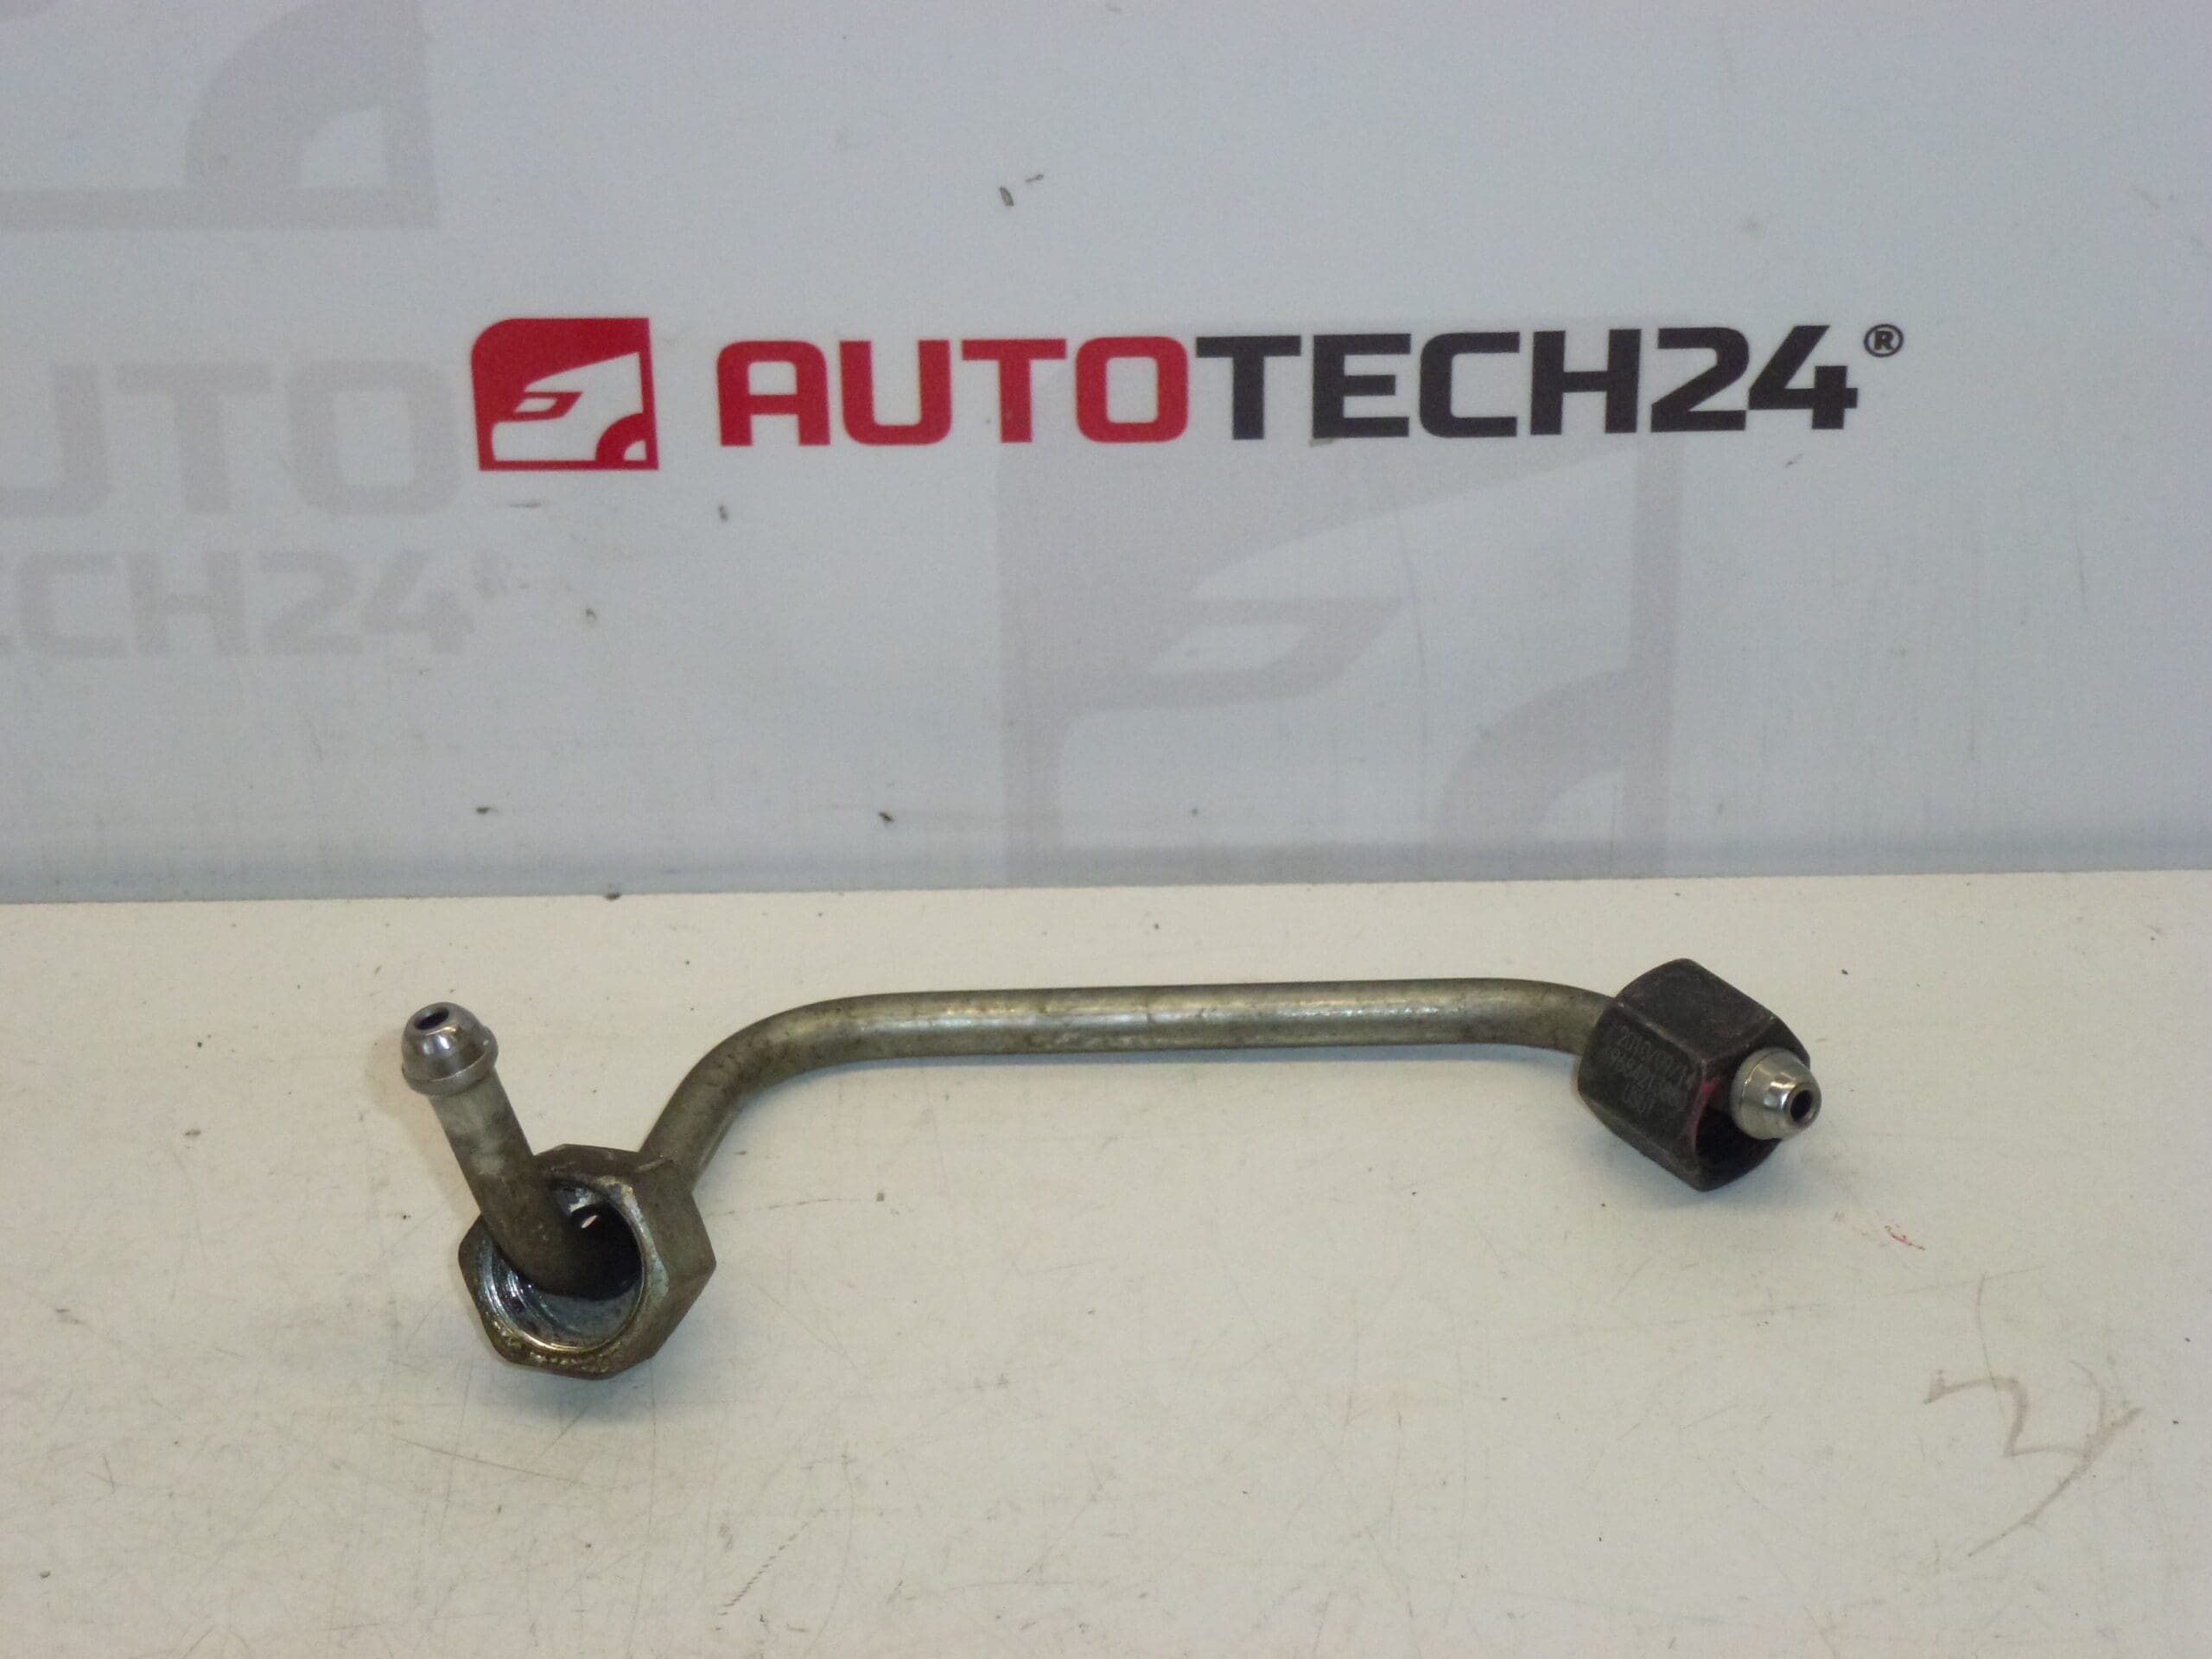
Description
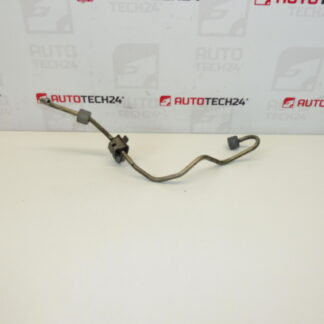
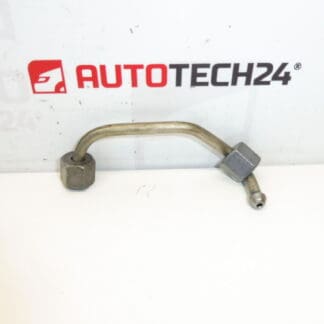
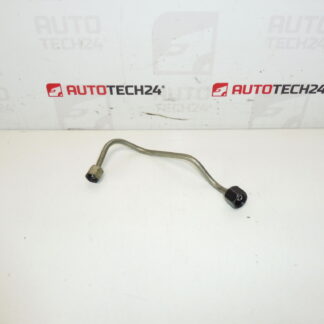
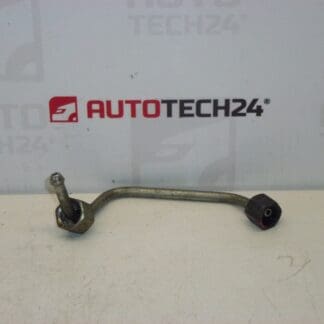
Outlet pipe for injection pump BOSCH engines 1.4 HDI and 1.6 HDI eHDI
Part description
Used RAIL inlet pipe for Citroën and Peugeot, numbered 9684213880 and 1570Q3, belongs to the fuel system with BOSCH injection pump. The documents state it for the 1.4 HDI and 1.6 HDI eHDI engines. Serves to guide fuel between pump and fuel rail; an intact pipe and tight joints are essential for proper injection function.
When looking for a spare part, be guided primarily by the product number and the conformity of the design with the original pipe. The list of models below is based on the labels supplied and does not imply suitability for all their engines and variants. A used part can be a cost-effective repair solution if its condition and the service regulations of the specific car allow for reassembly.
Technical information
- Manufacturer: not specified; BOSCH is listed in the documents as the manufacturer of the injection pump, not explicitly of the pipe itself.
- Model: Citroën Berlingo B9, Citroën C3 Picasso, Citroen C4 II, Citroën C4 PICASSO, Peugeot 308, Peugeot Partner Tepee.
- Engine according to documents: 1.4 HDI and 1.6 HDI eHDI.
- Part type: RAIL inlet pipe / injection pump outlet pipe.
- Condition: used car part.
- Other numbers: not specified.
Product codes
- Product codes: 9684213880, 1570Q3.
Both designations can be used when searching for a part and comparing it with the original part. In addition to the numbers, also compare the shape of the pipe, the termination and the connection joint.
Installation recommendations
The following procedure is general for common rail high pressure fuel pipes. The exact steps depend on the specific car model and make. The work requires strict cleanliness and compliance with the manufacturer’s service procedure; leave it to a professional service without adequate experience.
1) Before assembly
- Compare the product numbers, overall shape, length, termination and any attachment points with the old piece.
- Check the surface, threads and sealing surfaces. Do not install a pipe with cracks, dents, significant corrosion or damaged joints.
- Check the cleanliness of the interior and openings. If internal contamination cannot be ruled out, do not use the part without professional assessment.
- Find out in the service documentation whether the reassembly of this high-pressure pipe is permissible. If the manufacturer prescribes a new pipe after disassembly, do not install the used piece.
2) Necessary tools and materials
In general, prepare suitable pipe joint wrenches, torque wrench, clean protective plugs, lint-free cloths, joint cleaner, safety glasses and gloves. Service documentation for a specific car design is also needed.
3) Step-by-step assembly procedure
- Secure the vehicle against movement, turn off the engine and ignition and allow the engine to cool.
- According to the manufacturer’s procedure, ensure that the engine cannot be accidentally started. If necessary, disconnect the battery in the prescribed manner.
- Follow the prescribed procedure for a safe pressure drop in the fuel system. Never release the pressure by loosening the joint.
- Disassemble only the parts necessary to access the pipe. Note its direction and method of attachment.
- Thoroughly clean the area around the connections so that dirt does not get inside when the system is opened.
- Use a suitable tool to release the connections without twisting the pipe and stressing the counter parts. Immediately cover open connections with clean plugs after removal.
- Compare both parts again and check the mating surfaces of the counterparts. Fix the damaged connection professionally first.
- Set the replacement pipe in its natural position without bending or straining. First screw the connections by hand to avoid damaging the threads.
- Tighten the connections and fasteners in the order and to the values prescribed by the car manufacturer. Do not use sealing tape or universal sealants.
- Return the dismantled components and carry out the prescribed commissioning of the fuel system. Do not perform any venting by loosening the high-pressure connections.
-
4) Post-assembly checks and test drive / function verification
First check the correct pipe routing and fixing. After putting the system into operation, check for leaks using the manufacturer’s safe procedure. Never look for a high-pressure fuel leak with your fingers or by touching the joint – there is a risk of fuel injection under the skin. If a leak is detected, shut down the engine and reestablish a safe pressure drop before further handling. Do a short test drive only after a successful inspection; then check the tightness again safely.
5) The most common assembly mistakes + how to avoid them
- Force fit: do not bend or force the tube into position; use the corresponding implementation.
- Introduction of dirt into the system: work cleanly and plug open connections immediately.
- Overtightening or under-tightening of joints: use a torque wrench and the specification of the specific car.
- Trying to eliminate the leak by further tightening: first determine the cause and condition of the mating surfaces.
- Vibrations and incorrect mounting which can cause material fatigue.
- Corrosion due to humidity and dirt.
- Mechanical deformation during careless disassembly or repairs of surrounding components.
- Damage to threads and sealing surfaces during installation at an angle, excessive tightening or improper handling.
- Mounting in tension or contact with surrounding parts, leading to abrasion and increased stress on the pipe.
Reasons why the part is damaged
The following causes of damage can generally occur with fuel pipes of this type; it is not a description of the history of the offered piece: