Description
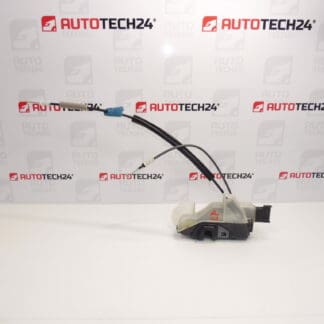
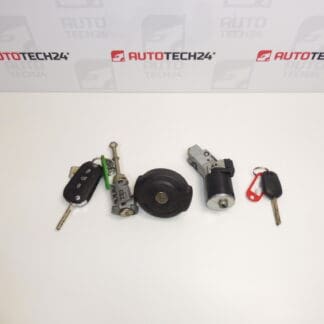
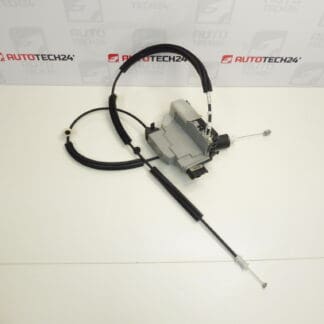
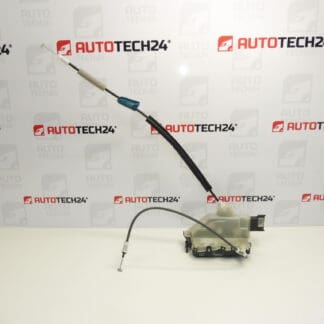
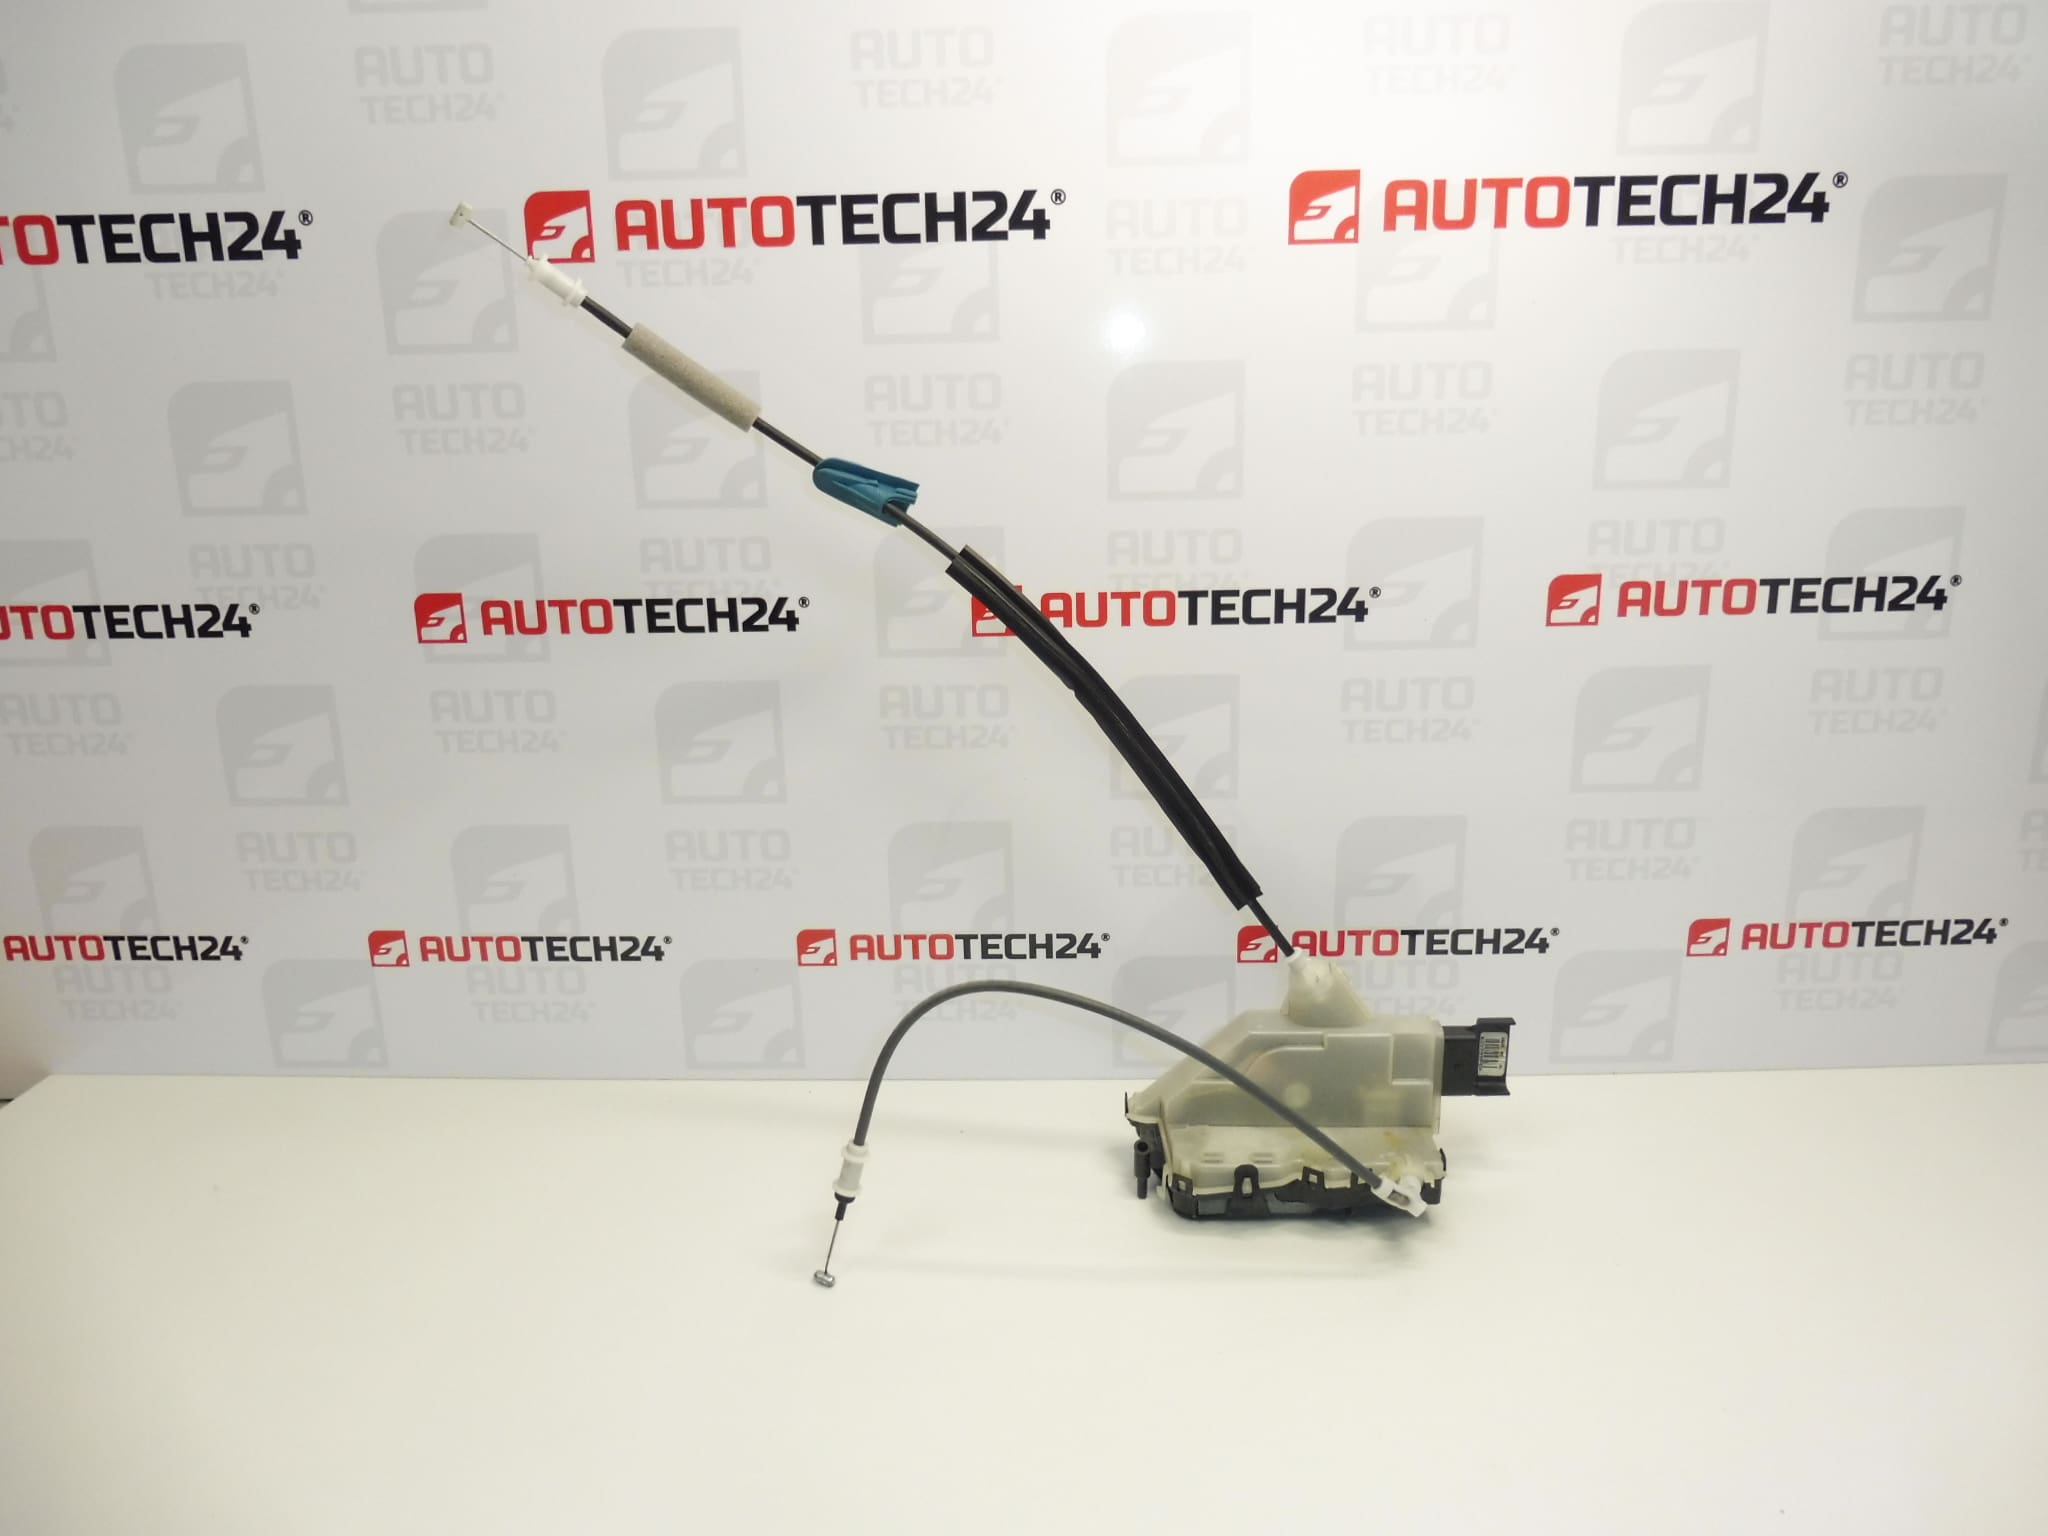
Front passenger door lock for vehicles from the Stellantis group: CITROEN PEUGEOT OPEL FIAT TOYOTA
Part description
Used front passenger door lock with product number 9816343380 is intended to replace a damaged or non-functional door lock. This type of part keeps the door closed and allows it to be locked and unlocked. Proper lock function is important for securely closing the door and for the comfortable everyday use of the vehicle.
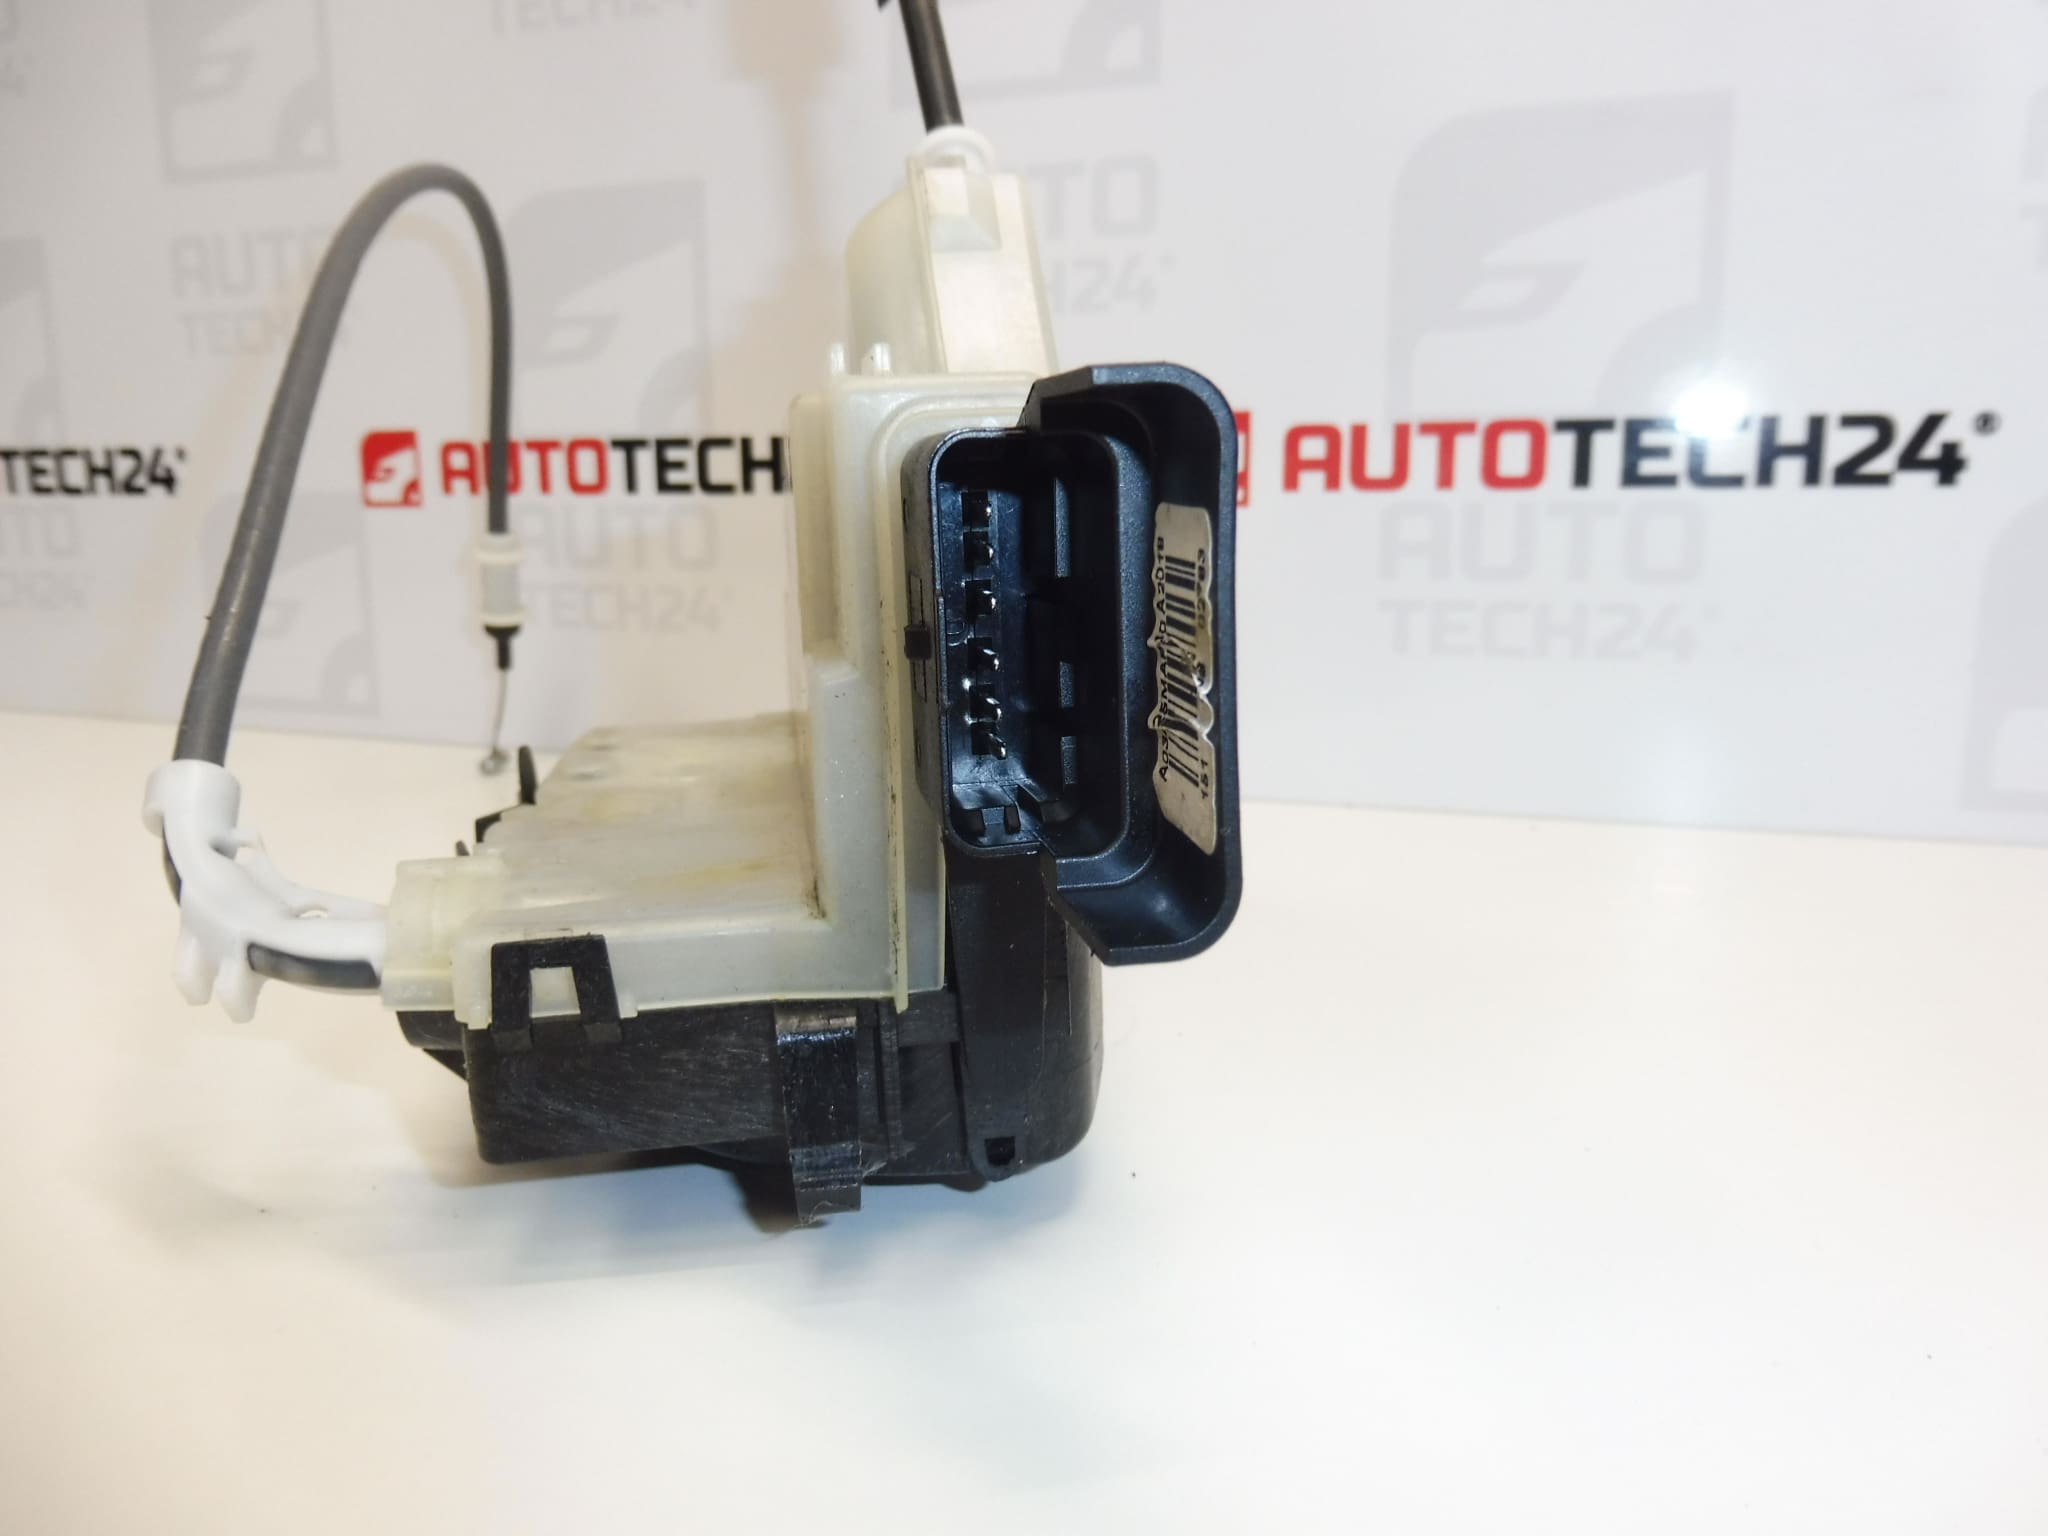
The source materials list the following models: Citroën Berlingo K9, OPEL COMBO E K9, PEUGEOT PARTNER III and PEUGEOT RIFTER. When selecting a part, compare product number 9816343380, connector design, mounting points and connection to the operating mechanism with the original part. A used lock is a practical repair option that avoids having to buy a new part.
Technical information
- Manufacturer: not specified; Stellantis / CITROEN PEUGEOT is listed in the source materials.
- Model: Citroën Berlingo K9, OPEL COMBO E K9, PEUGEOT PARTNER III, PEUGEOT RIFTER.
- Part type: door lock.
- Location: front passenger door.
- Condition: used part.
- Additional numbers: not specified.
Product codes
- Product codes: 9816343380.
The product number is the primary detail to use when looking for a replacement lock. Also verify compatibility by comparing the design and connections of the original part.
Installation recommendations
The following procedure is general and typically applies to replacing a door lock with an electrical connection. The exact procedure for removing the trim, accessing the lock and disconnecting the operating components depends on the specific model and vehicle configuration. Follow the manufacturer’s service procedure.
1) Before installation
- Compare the product number, housing shape, mounting points, connector and connection to the rods or cables with the old lock.
- Inspect the used part: check for cracks, deformation, corrosion, damaged contacts and the condition of the operating levers. Do not force the moving parts.
- Also check the handle, rods or cables, wiring and striker. A fault in these components can mimic a problem with the lock itself.
2) Tools and materials required
- Standard hand tools suitable for the fasteners used.
- Plastic trim removal tools and a suitable tool for releasing clips.
- Flashlight, protective gloves and a clean cloth.
- Depending on the condition, a suitable product for restoring the seal of the original protective door layer and appropriate replacements for damaged clips.
3) Step-by-step installation procedure
- Park the vehicle safely, switch off the ignition and leave the door open. Ensure you can still access the vehicle in case the locking system is inoperative.
- Before disconnecting electrical components, follow the manufacturer’s instructions for powering down the electrical system and, if necessary, disconnecting the battery.
- Release the door trim according to the service procedure. Carefully disconnect attached connectors and operating components without pulling on the wires.
- If access is protected by a cover or sealing layer, release it in a way that allows it to be correctly refitted and resealed afterwards.
- Document the routing of the wiring, rods or cables and the position of their retainers. Photographs will make correct reassembly easier.
- Release the lock connector retainer and disconnect the connector. Check the contacts and condition of the supply wires.
- Disconnect the operating rods or cables in accordance with their attachment method. Do not force the plastic retainers.
- Support the original lock, release its fasteners and remove it. Compare its design with the replacement part once again.
- Position the replacement lock without putting it under tension and secure it according to the manufacturer’s specifications. Do not use bolt tightening to force an ill-fitting part into alignment.
- Connect the rods or cables and secure their retainers. Connect the connector and route the wiring so that it is not pinched or in the path of moving parts.
- Restore the power supply according to the manufacturer’s procedure and check that the controls work before final reassembly. When testing with the door open, keep your fingers away from the mechanism and ensure the latch is in the open position before closing the door.
- Refit the protective layer and trim, check that they are secure, and close the door carefully for the first time without slamming it.
4) Post-installation checks and function verification
- Check several times that the door opens using both the exterior and interior handles, and that it locks and unlocks using the methods available for the vehicle’s equipment.
- Check that the door stays securely closed, does not stick and does not require excessive force to close.
- If the vehicle displays the door-open status, check that the indicator responds correctly.
- Only carry out a test drive after confirming that the door closes and latches securely. During the drive, listen for any unusual noises; test the handles and lock only while the vehicle is stationary.
5) Common installation mistakes and how to avoid them
- Incorrect version: before installation, compare the part number, mounting points, connections and operating mechanism.
- Rod or cable not seated correctly: follow the original routing and check that all retainers click into place. The operating mechanism must not remain under tension.
- Connector not fully engaged or wire pinched: check that the connector is secured and that the wiring is routed freely and protected.
- Damaged or leaking protective layer: restore its original seal to prevent moisture from reaching the trim and electrical connections.
- Closing the door too soon: first check operation with the door open. If the mechanism does not operate smoothly, do not slam the door.
Reasons why the part can become damaged
The following causes can generally affect door locks; they do not describe the condition of this specific part:
- Mechanical wear of the latch, levers and other moving parts through repeated use.
- Moisture, dirt and corrosion, which increase resistance in the mechanism or damage electrical contacts.
- Electrical control failure or damage to the connection, which can result in unreliable locking and unlocking.
- Incorrect alignment of the door or striker, which puts excessive strain on the lock.
- Slamming, freezing or forced operation, which can damage mechanical parts.
- Incorrect previous installation, especially a tensioned cable, an incorrectly seated rod or unsecured retainers.