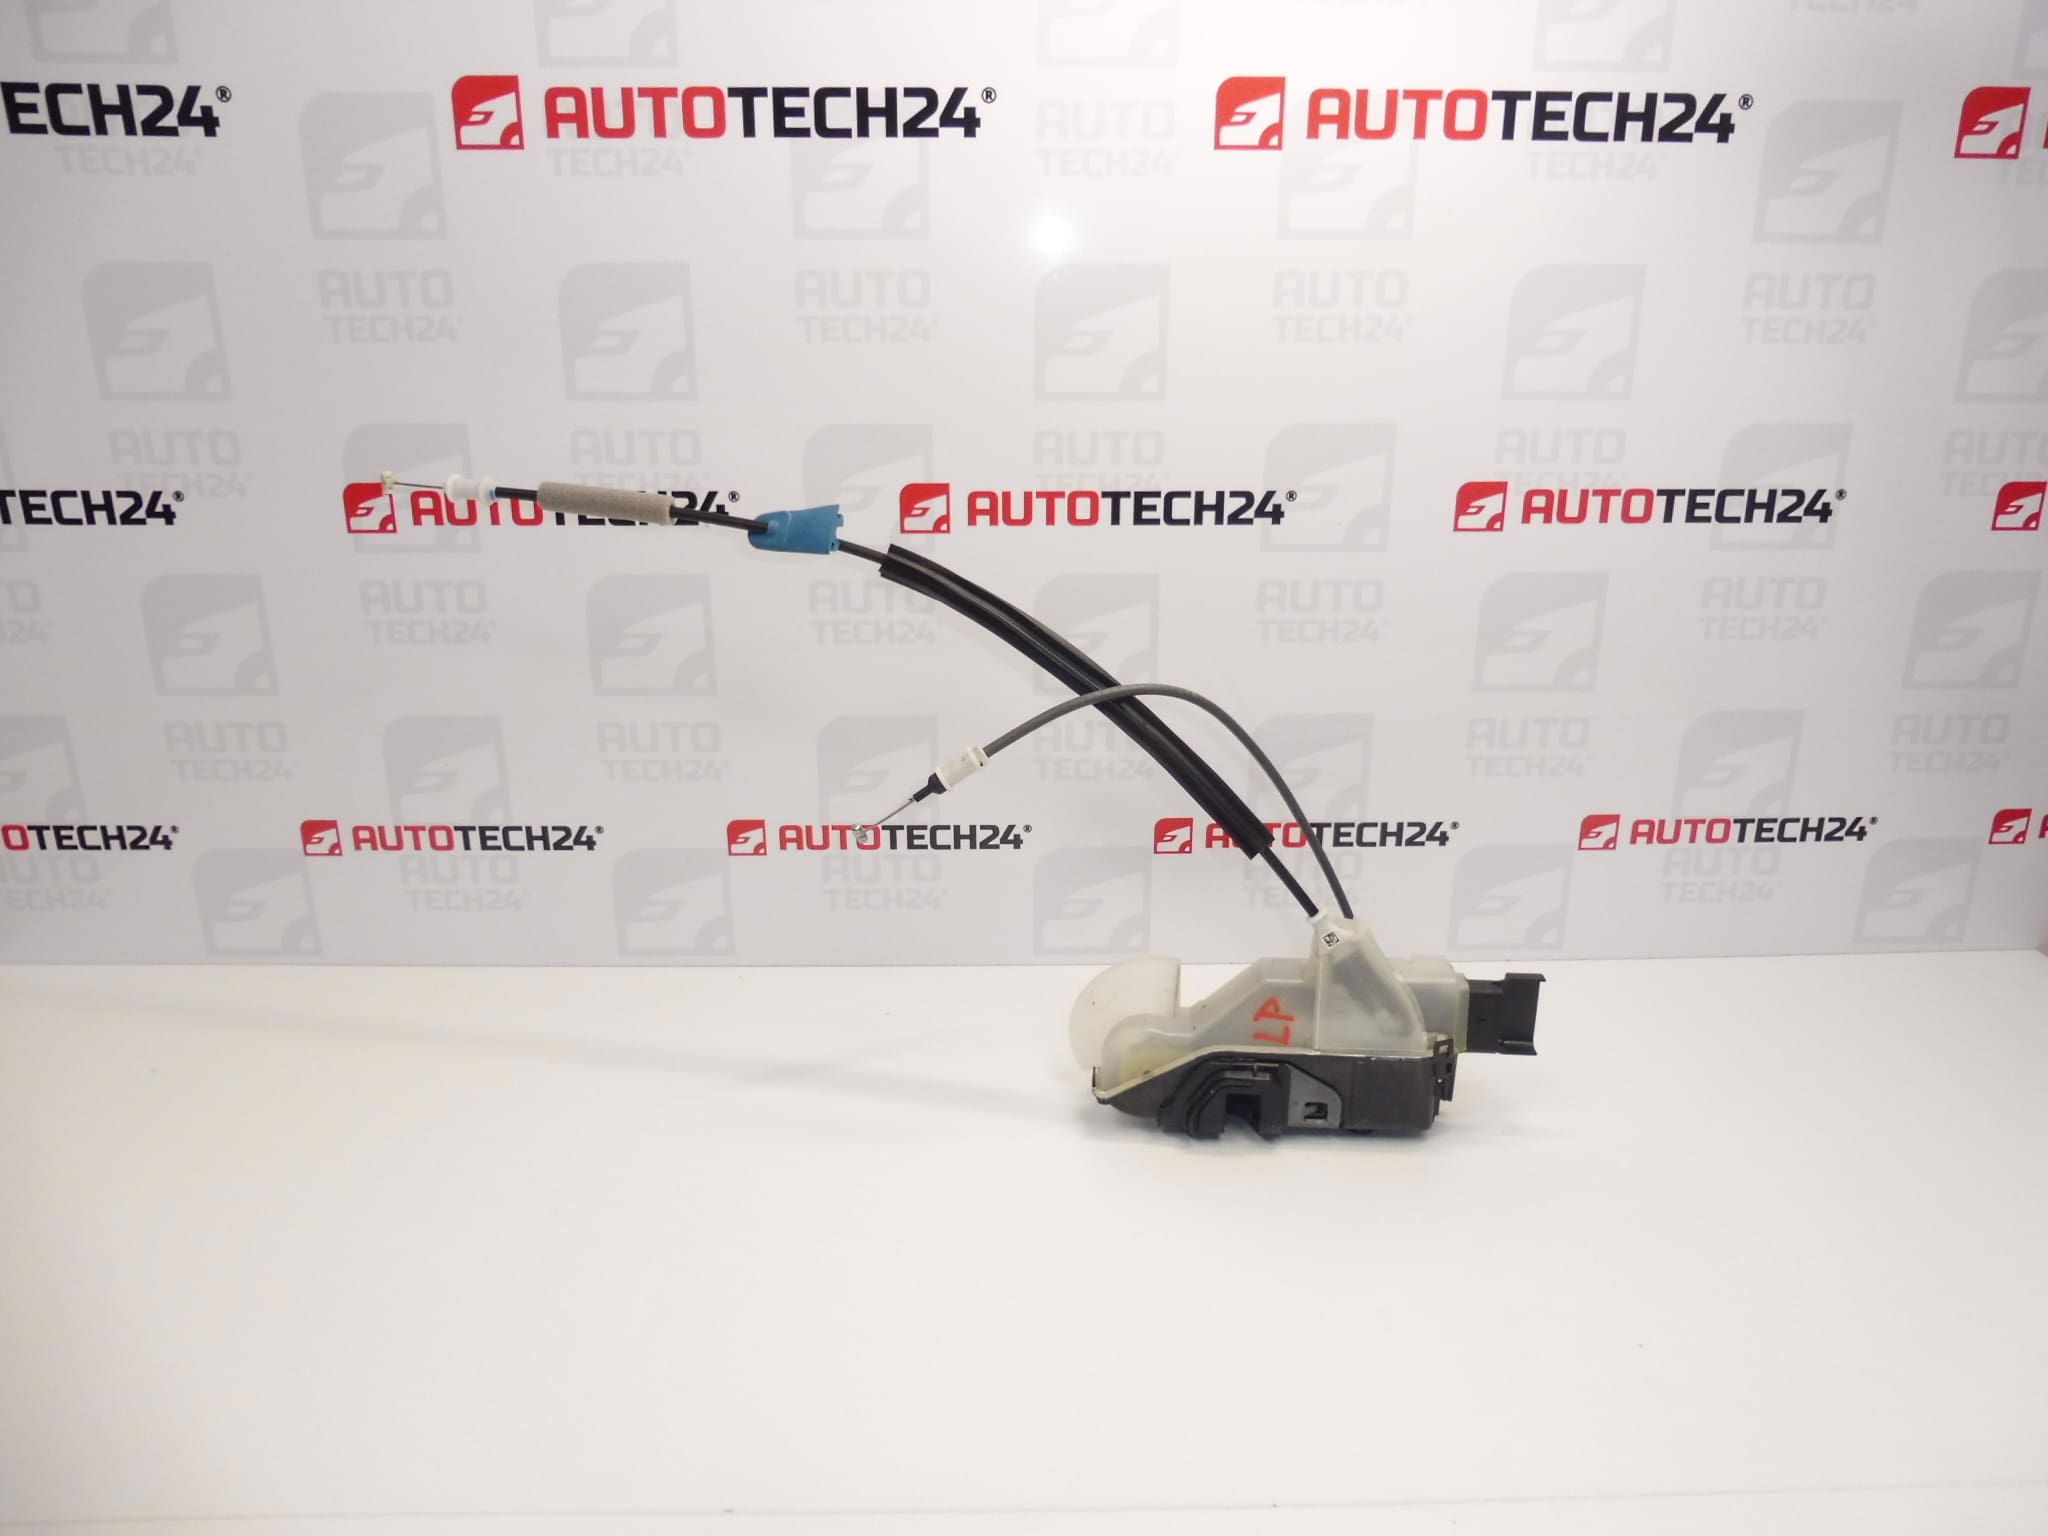
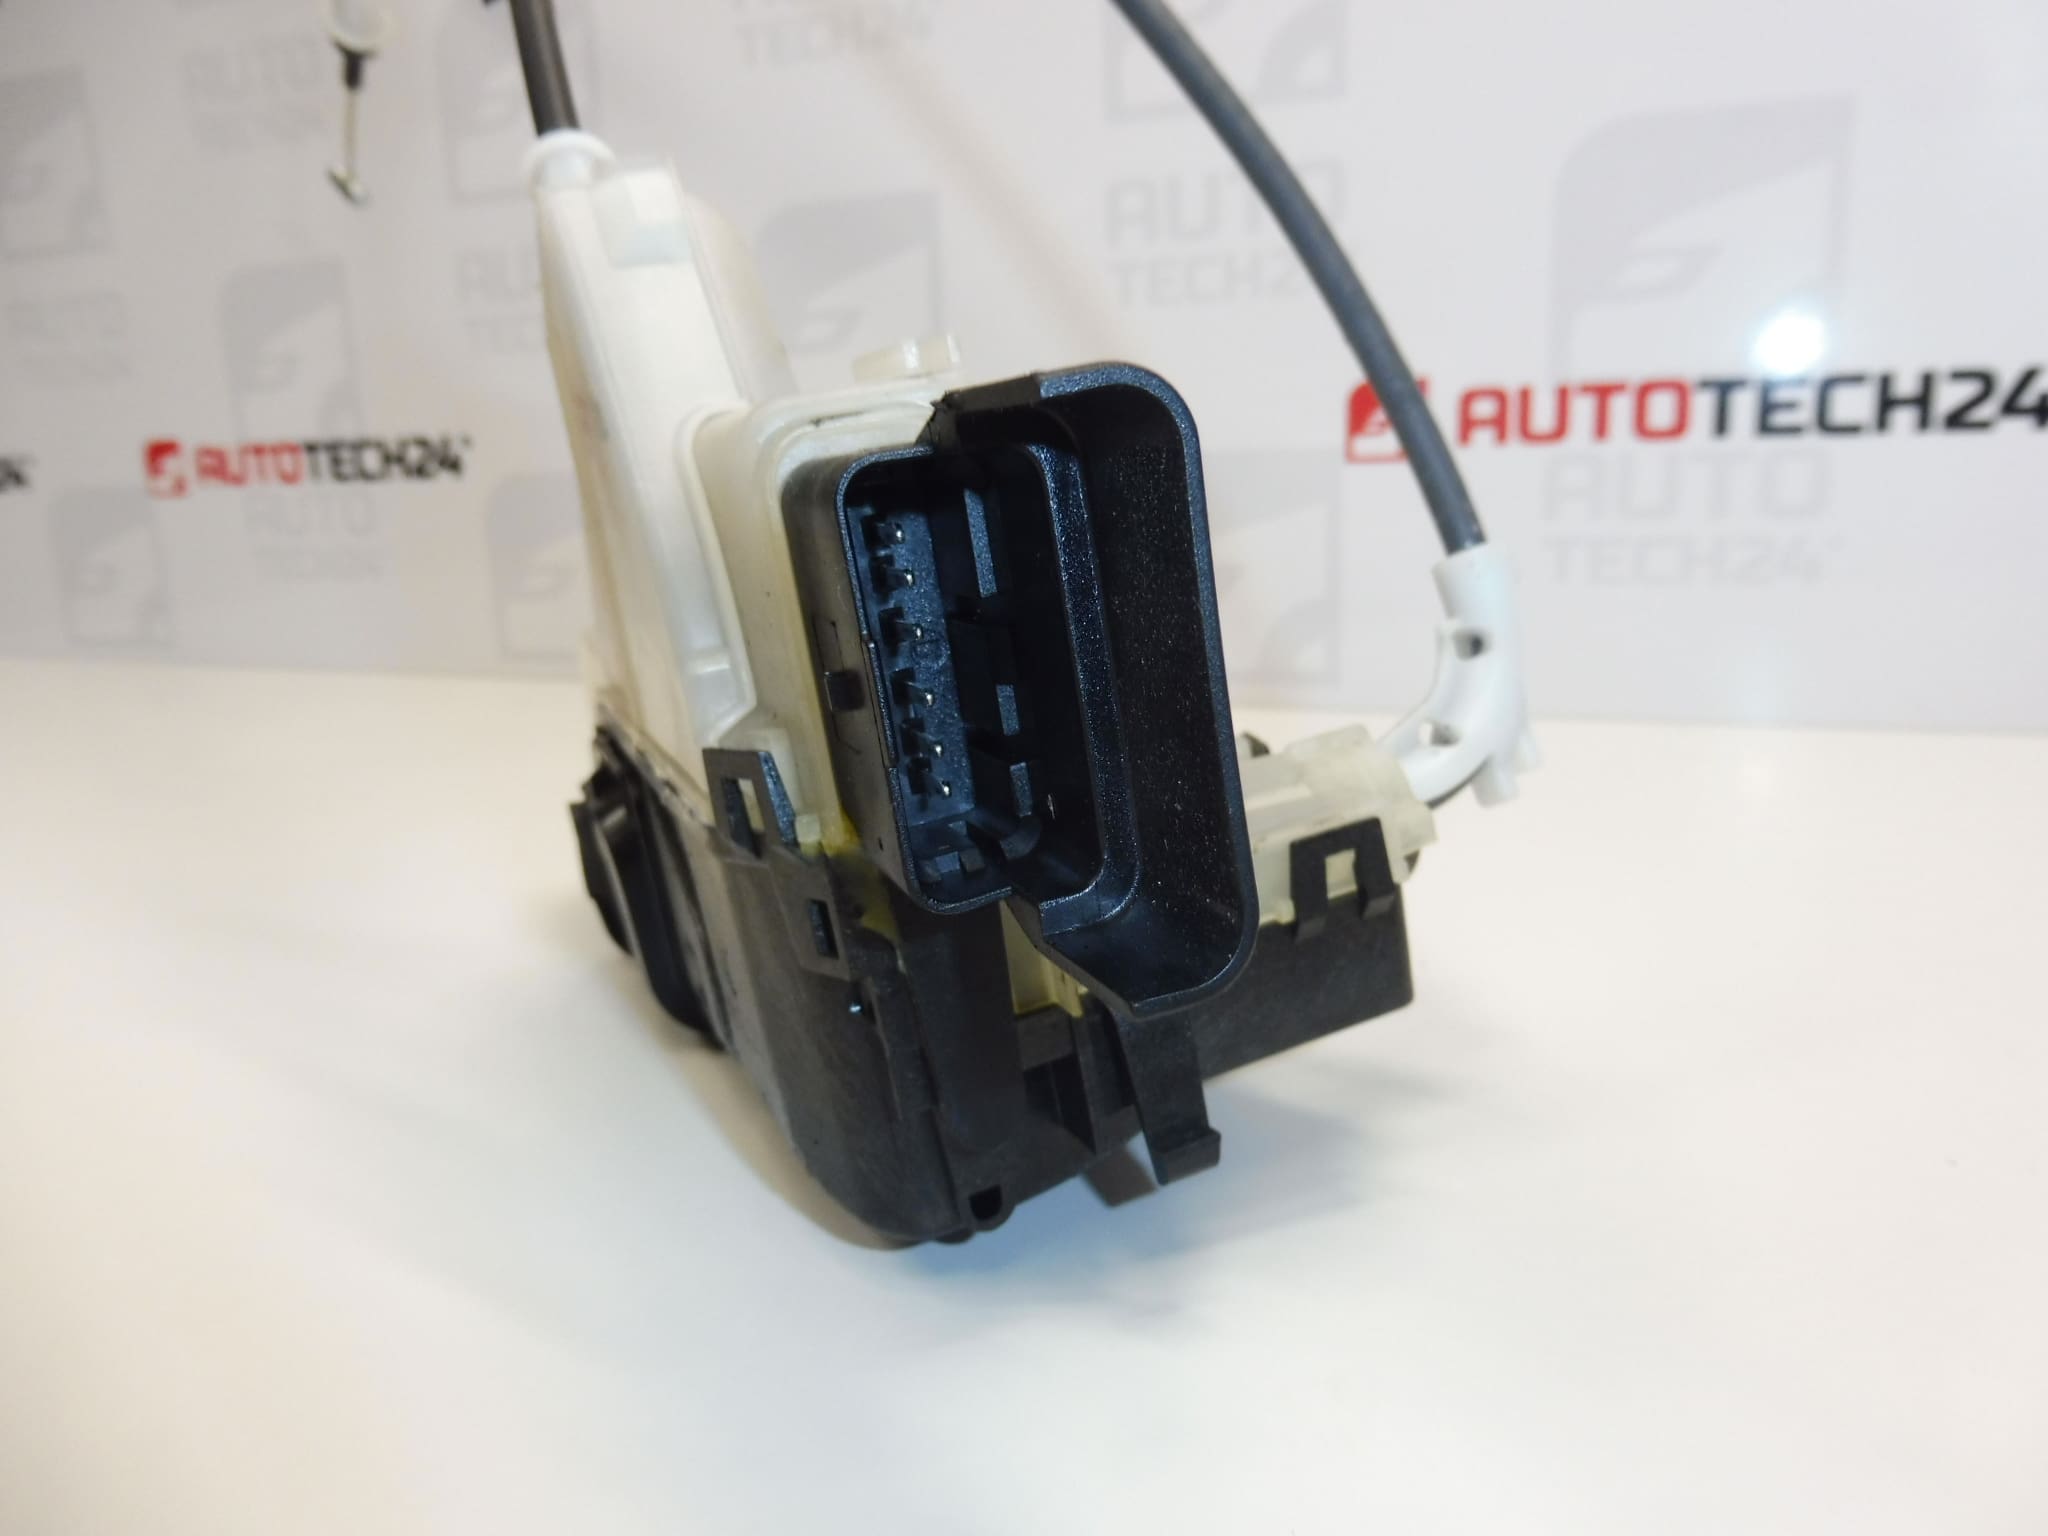
Description
Driver’s door lock for Stellantis Group vehicles CITROEN PEUGEOT OPEL FIAT TOYOTA
Part description
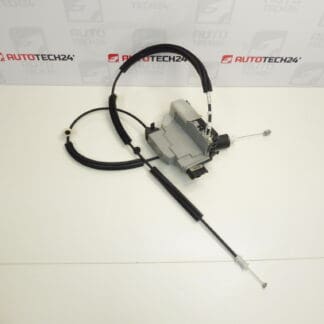
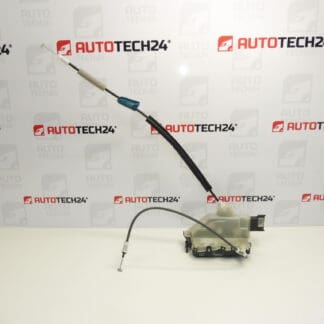
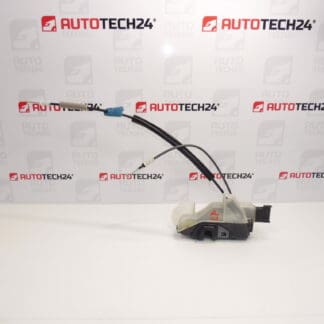
Used Citroën Peugeot driver’s door lock, part number 9816343480, is a replacement part for repairing a faulty or damaged door lock. It secures the door when closed and locks it. Correct lock operation is important not only for vehicle security, but also to keep the door safely in the closed position.
The part is listed in the documentation for the Citroën Berlingo K9, OPEL COMBO E K9, PEUGEOT PARTNER III and PEUGEOT RIFTER models. When selecting a part, compare number 9816343480 with the original part and check that the design, mounting points and connections match. A used lock offers a repair option without the need to purchase a new part.
Technical information
- Manufacturer: not specified; the documentation lists the designation Stellantis CITROEN PEUGEOT.
- Model: Citroën Berlingo K9, OPEL COMBO E K9, PEUGEOT PARTNER III, PEUGEOT RIFTER.
- Part type: door lock.
- Location: driver’s door.
- Condition: used part.
- Other numbers: not specified.
Product codes
- Product codes: 9816343480.
The part number is an important guide when looking for a replacement. Also compare the mechanical and electrical design of the original lock; the model name alone may not distinguish all variants.
Installation recommendations
The following procedure is general and typically applies to replacing a door lock with an electrical connection. The exact method of accessing the lock, disconnecting the controls and securing it depends on the specific model and vehicle configuration. Follow the manufacturer’s service procedure.
1) Before installation
- Compare the part markings, housing shape, mounting points, connector and connections for control cables or rods with the old part.
- Inspect the used lock: its housing must not be cracked, mounting points damaged, controls deformed, or contacts visibly damaged.
- Before replacement, also check the wiring, connector, handle operation and condition of the lock striker. The fault may not be caused by the lock itself.
- Make sure you can safely access the vehicle while checking its operation, to avoid accidentally locking yourself out.
2) Required tools and materials
- Standard hand tools suitable for the fasteners used.
- Plastic tools for removing door trim and clips.
- Flashlight, protective gloves and a clean cloth.
- Suitable material for restoring the seal of the protective film or door cover, as required by its condition.
3) Step-by-step installation procedure
- Secure the vehicle against movement, switch off the ignition and leave the door open. Keep the key outside the vehicle.
- Before disconnecting electrical connectors, shut down the electrical system and, if required, disconnect the battery according to the vehicle manufacturer’s instructions.
- Following the service procedure, remove the necessary door trim components. Release the clips gradually without forcing them with a lever.
- If a protective film or cover blocks access, carefully release it so that its seal can be restored.
- Take a photo of the wiring and the connections for the control cables or rods. Note the position of their holders and clips.
- Release the electrical connector lock and disconnect it by pulling on the connector body, not the wires. Disconnect the controls according to their design.
- Support the lock, release the fasteners and remove it without putting strain on the surrounding components.
- Inspect accessible mountings, wiring and controls. Remove any dirt and address any related faults that could impair the operation of the replacement lock.
- Fit the replacement lock without using force and secure it according to the manufacturer’s instructions. Connect the cables or rods and check that their clips are correctly seated.
- Connect the electrical connector and position the wiring so that it is not pinched or in the path of moving door components.
- Restore the power supply according to the manufacturer’s procedure and check the lock and handles before fully closing the door. If you test the latch with the door open, return it to the open position before closing the door; do not put your fingers into the mechanism.
- After successfully checking operation, restore the protective layer’s seal, refit the trim and perform a final check with the door fully assembled.
4) Post-installation checks and function verification
- Repeatedly test opening and closing the door and the operation of both the interior and exterior handles.
- Check locking and unlocking using the methods available for the vehicle’s equipment, and, if applicable, check the open-door indicator.
- The door must stay securely closed without needing to slam it excessively. The controls must not stick.
- Only carry out a test drive after confirming that the door is securely latched. Do not drive the vehicle if the door does not stay reliably closed.
5) Common installation mistakes and how to avoid them
- Incorrectly seated cable or rod: compare its routing with the photo taken before removal and check that all clips are secure.
- Connector not fully engaged or pinched wiring: check the connection and wire routing before refitting the cover.
- Closing the door without testing it first: first check the mechanism with the door open to reduce the risk of it becoming locked.
- Damaged protective layer seal: restore its continuous adhesion after installation to prevent water from entering areas where it should not.
- Overlooking a fault outside the lock: also check the handles, controls, electrical connection and alignment of the door with the striker.
Reasons why the part becomes damaged
Common causes of damage to door locks include:
- Mechanical wear of moving parts due to prolonged use.
- Moisture, dirt and corrosion, which can impair the movement of the mechanism or the electrical contact.
- Slamming the door or incorrect door adjustment, which increases the load on the lock.
- Sticking cables, rods or handles, which prevent the mechanism from returning to the correct position.
- A fault in the electrical controls or connection, which may cause intermittent or non-functional locking.
- Forced opening or careless removal, which can deform the mechanism and damage the mounting points.