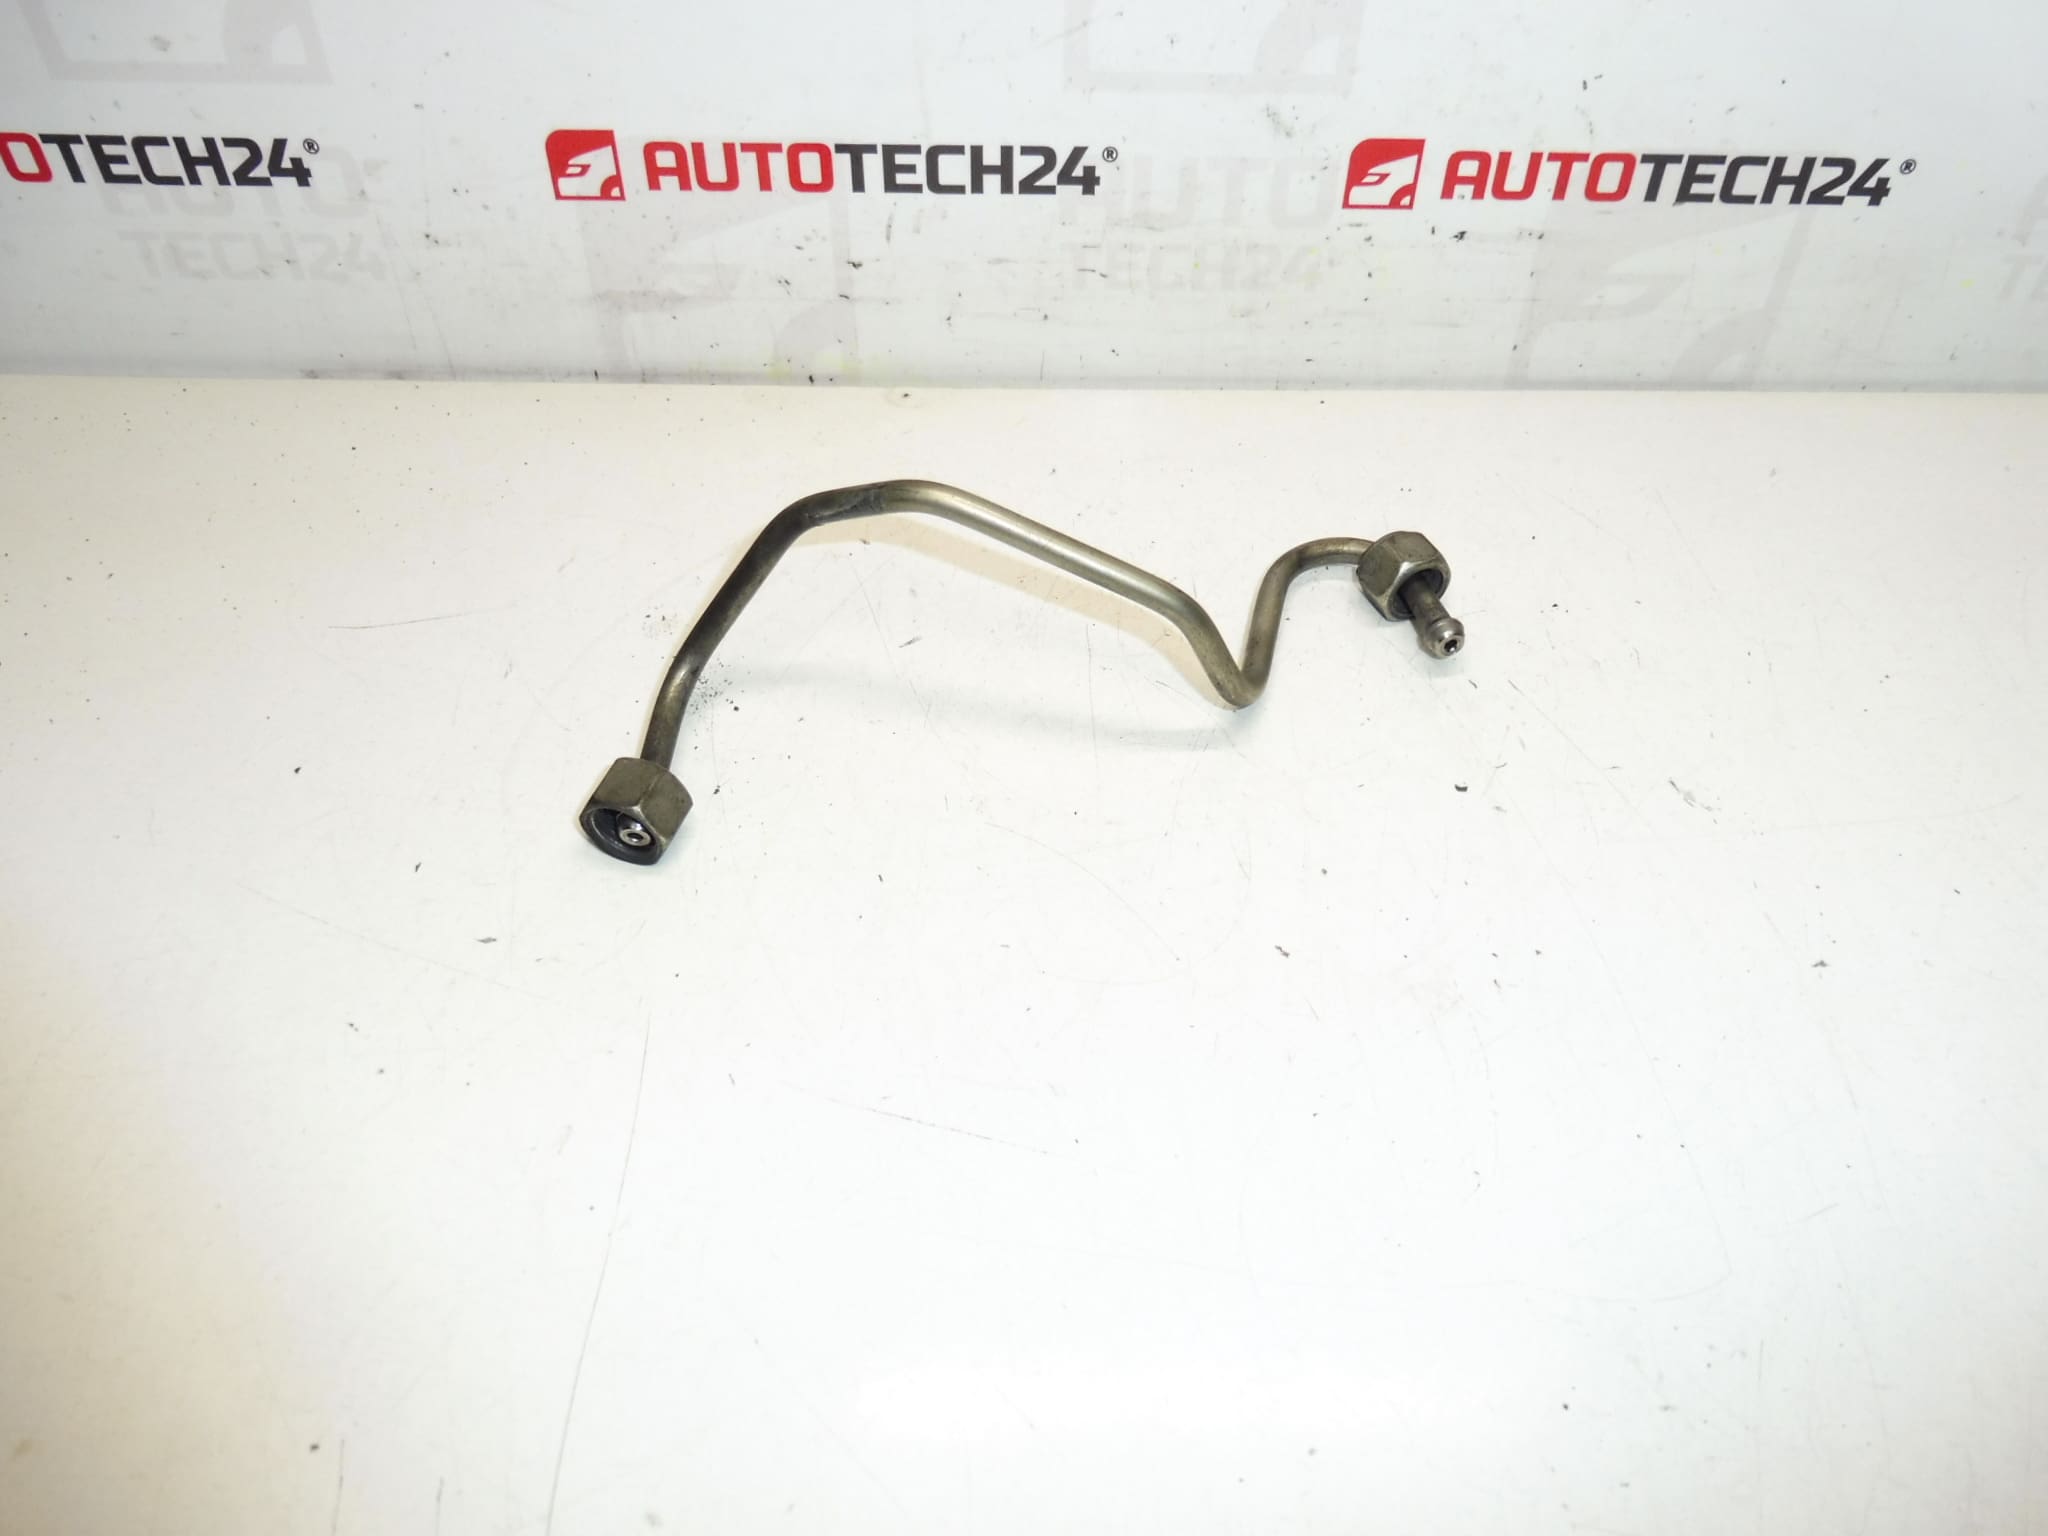
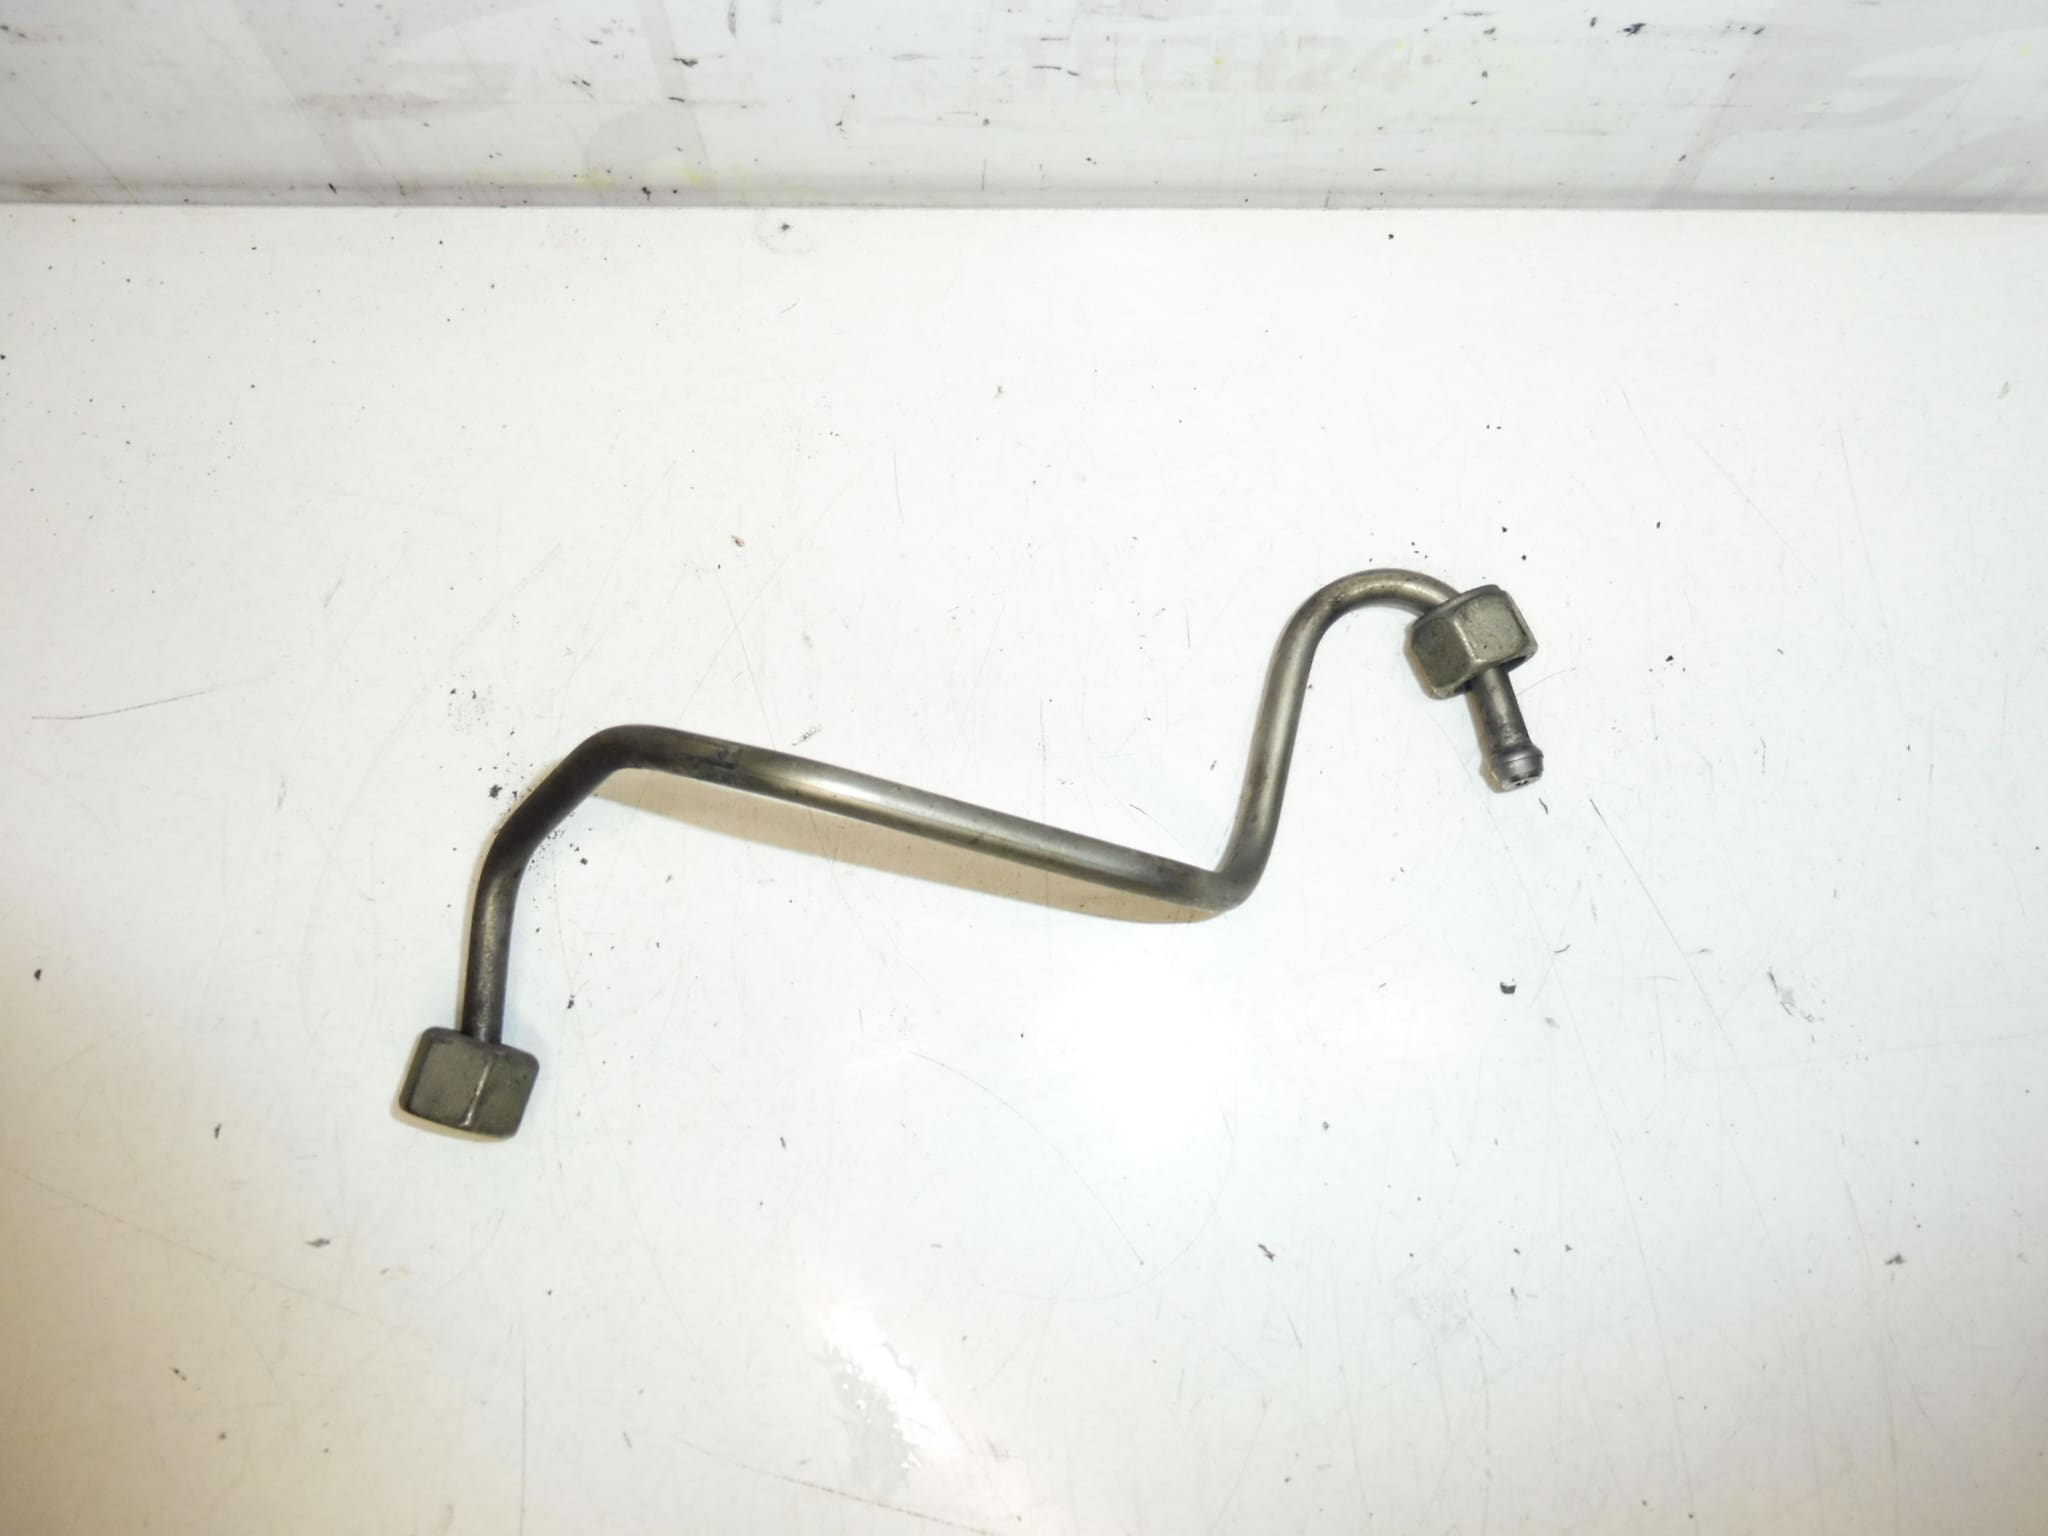
Description
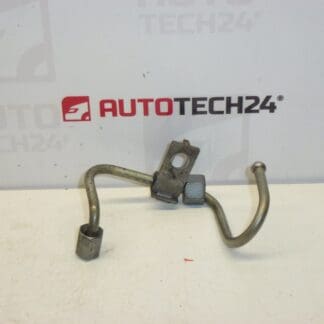
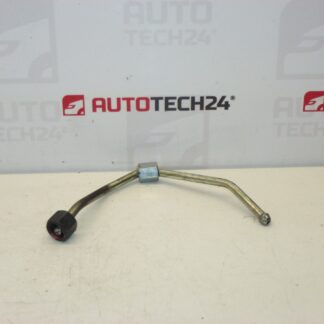
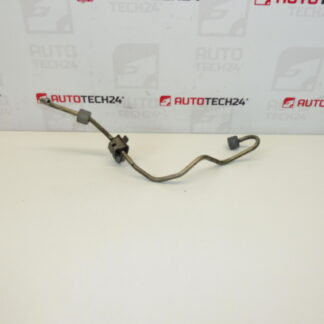
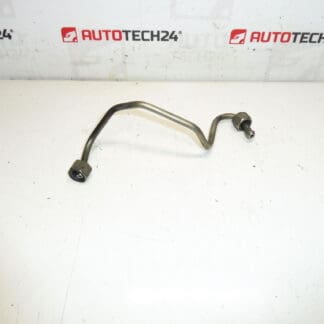
Outlet Pipe To Injector For 2.0 HDi (RHR, RHK) Siemens System. Used, Fully Sealing.
This injector outlet pipe is designed for the 2.0 HDi diesel engines with Siemens injection components and provides a reliable fuel connection to the injector. The unit is used but confirmed fully sealing, making it a cost‑effective replacement for workshops and DIY enthusiasts who need to restore correct fuel delivery without compromise. Commonly searched under part number 1570J3, this pipe is an essential item when repairing leaks, replacing damaged lines, or servicing injector connections on compatible Citroën and Peugeot models.
The part is suited for technicians and experienced DIY mechanics who are familiar with diesel fuel systems. It restores proper high‑pressure fuel routing to the injector and reduces the risk of leakage, smoke, and poor engine running that result from damaged or leaking injector pipes.
Compatibility
Fits The Following Models (Typical Applications):
- Citroën C4
- Citroën C4 Picasso
- Citroën C5
- Citroën C8
- Peugeot 3008 I
- Peugeot 307
- Peugeot 308
- Peugeot 5008 I
- Peugeot 807
Technical Information
- Manufacturer: Stellantis (Citroën / Peugeot)
- Model: 2.0 HDi (Engine Codes RHR, RHK)
- Product Codes: 1570J3
- Additional Numbers: RHR, RHK; Siemens Injection System
Installation Recommendations
- Depressurize The Fuel System And Follow Safety Procedures Before Starting Work.
- Remove Any Engine Covers To Access The Injector Rail And Pipes.
- Disconnect Electrical Connectors From Injectors If Necessary And Note Their Position.
- Remove Mounting Clips Or Bolts Securing The Pipe; Replace All Sealing Rings (O‑Rings/Crush Washers) With New Items During Reassembly.
- Fit The Replacement Pipe Carefully To Avoid Damaging Seals; Tighten Fasteners To Manufacturer Torque Specifications.
- After Installation, Prime The Fuel System, Start The Engine, And Inspect For Leaks Under Load And Idle.
- Use Appropriate Fuel‑Resistant Lubricant On New Seals And Ensure Clean Working Conditions To Prevent Contamination.
Why This Part Fails
The Most Common Causes Of Failure Are Corrosion Of The Pipe Or Fittings, Degraded Or Crushed Seals, Mechanical Damage From Vibration Or Impact, And Contamination From Dirt Or Fuel System Debris. Over‑Tightening Or Incorrect Installation Can Also Deform Sealing Surfaces And Lead To Leaks. Regular Inspection Of Injector Connections And Replacement Of Seals During Service Helps Prevent Sudden Fuel Leaks And Associated Engine Problems.
Buying This Used, Fully Sealing Outlet Pipe Is A Practical Option For Repairing Fuel Leaks And Restoring Proper Injector Function On Compatible 2.0 HDi Vehicles. Always Replace Seals And Follow Correct Torque And Assembly Procedures For A Durable Repair.