Description
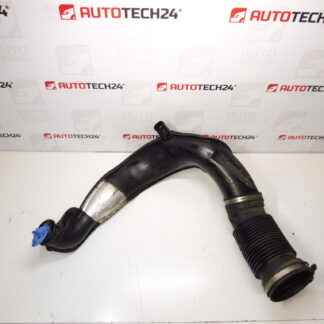
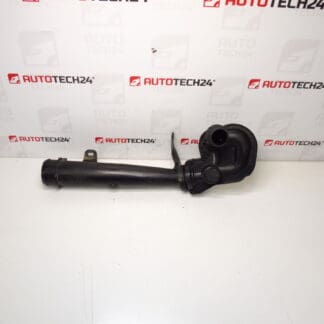
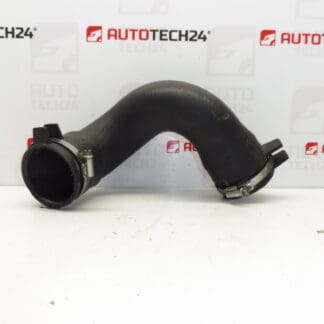
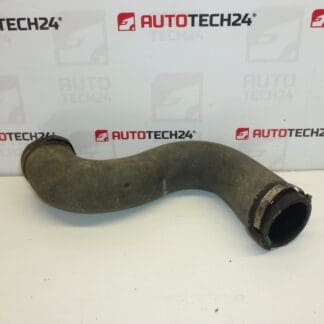
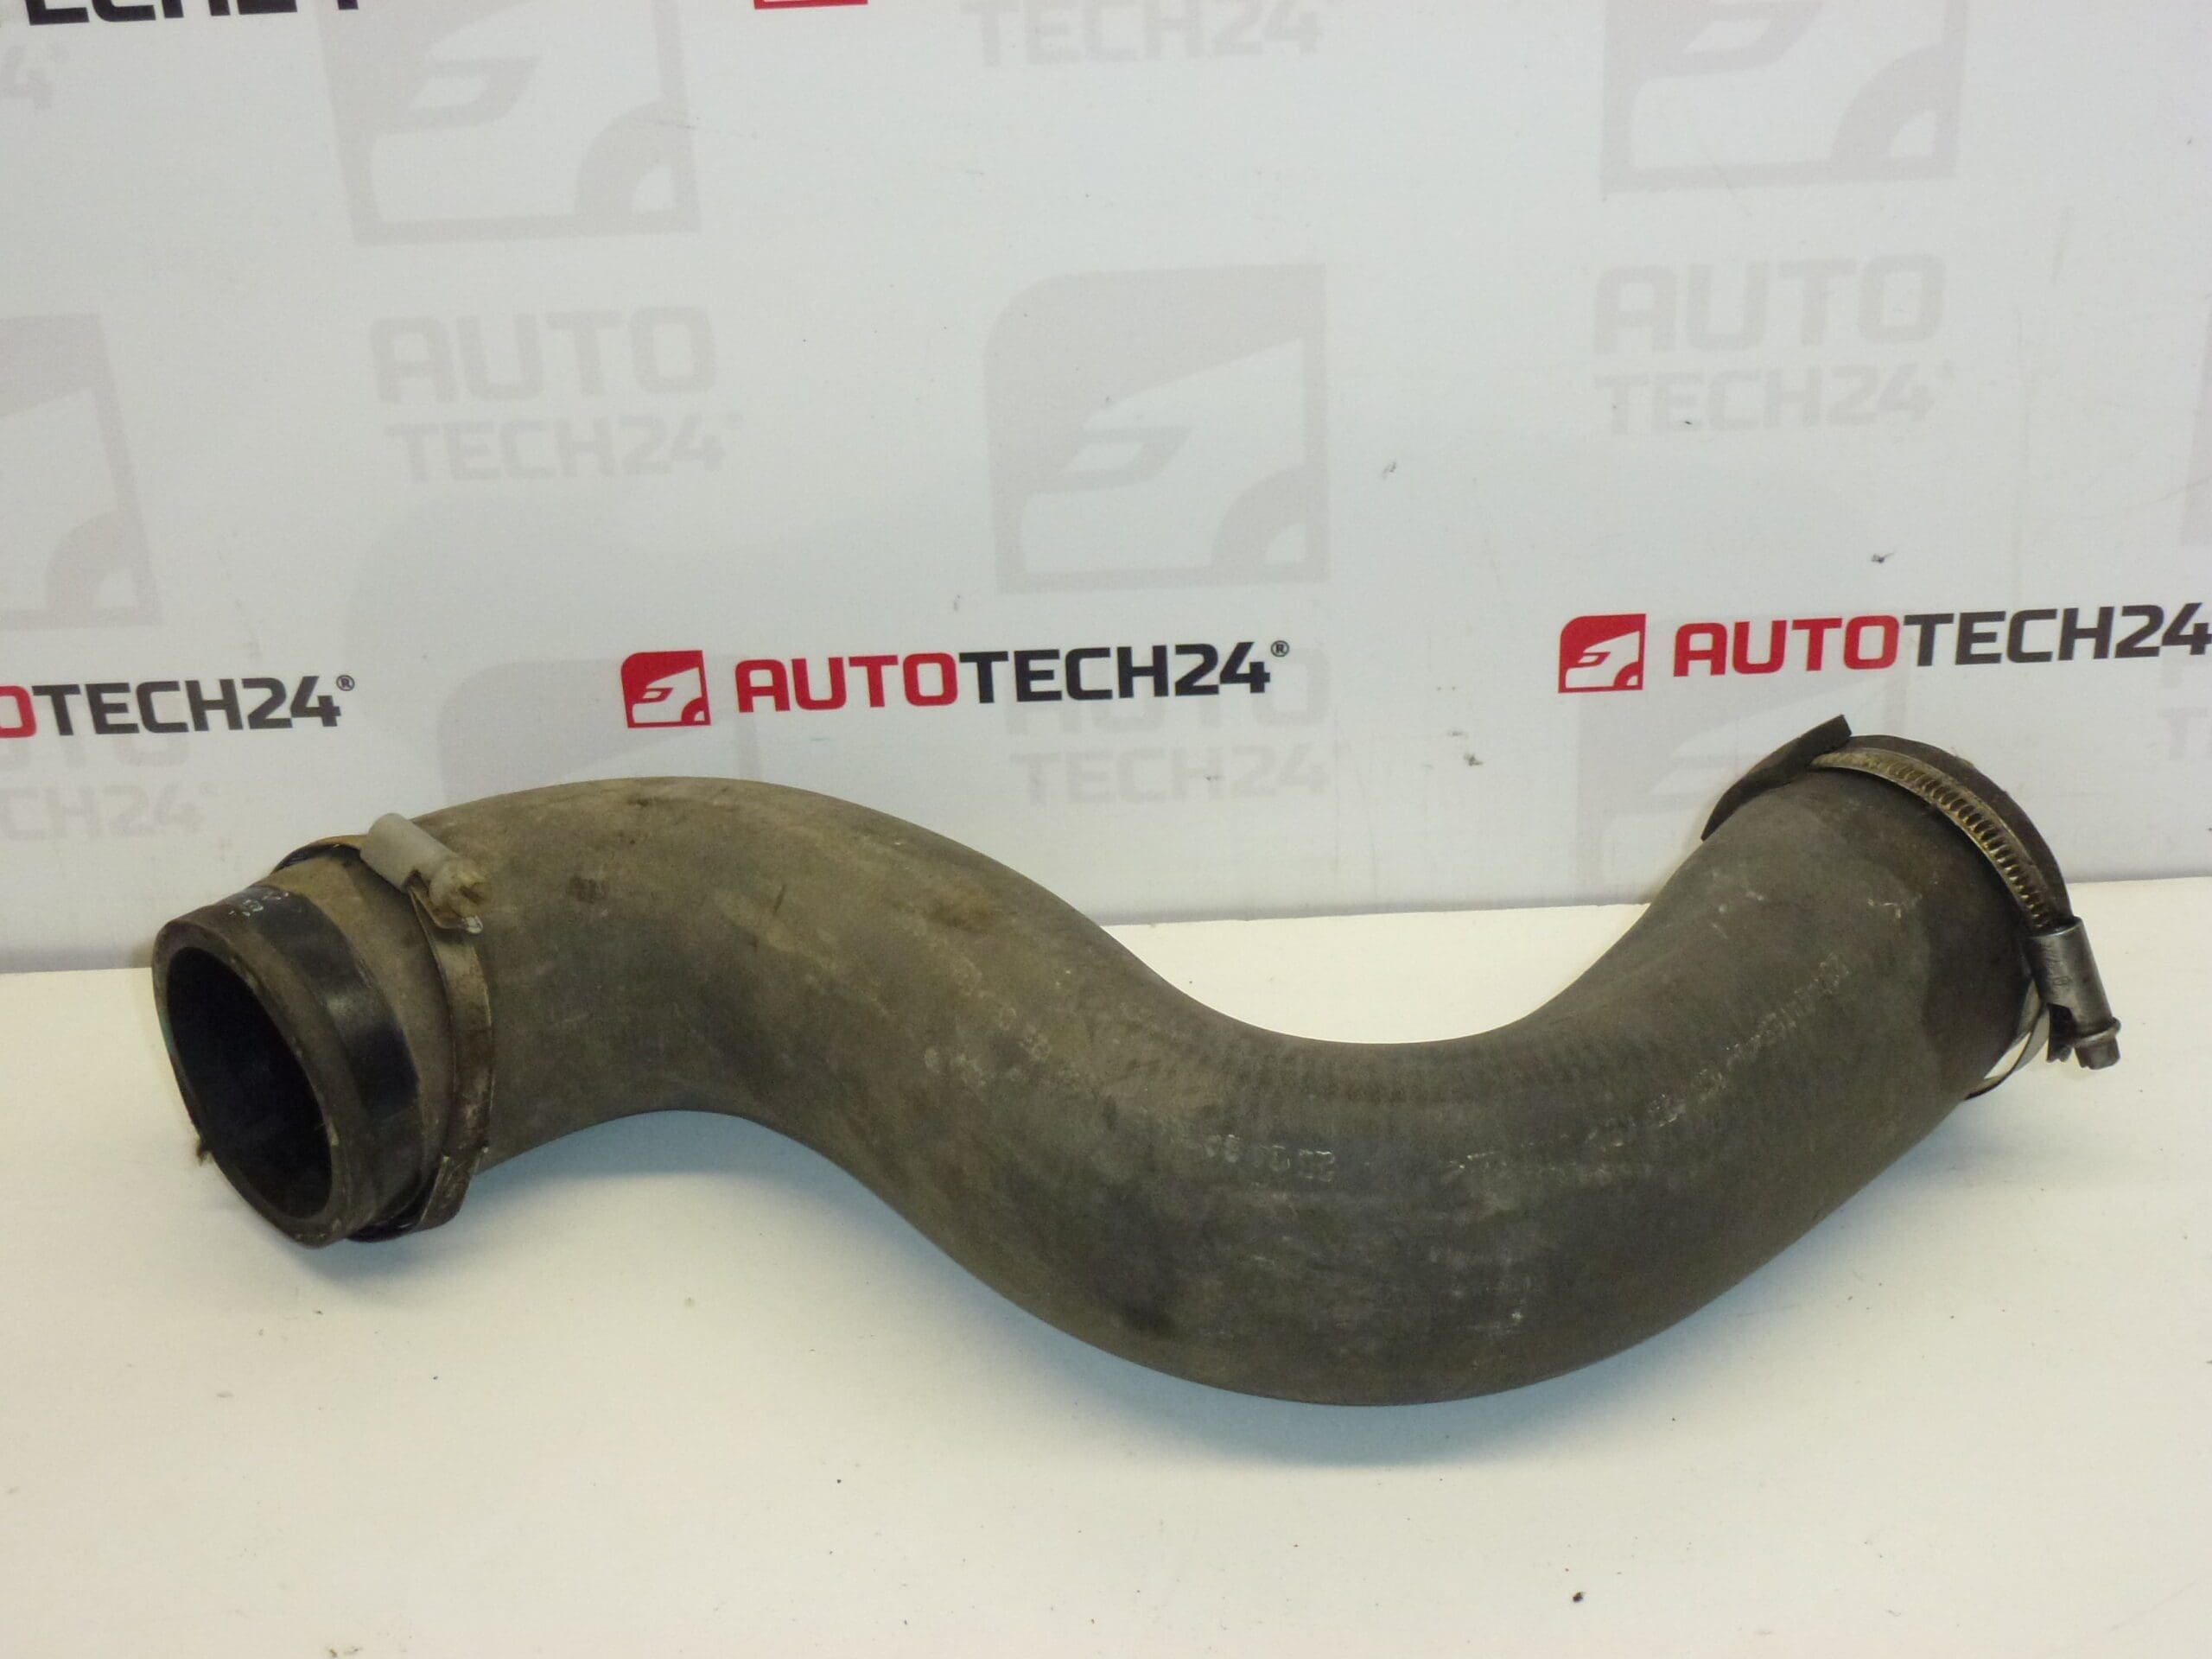
Turbo air hose pipe for CITROËN PEUGEOT 2.0 HDi engines. Fits Citroën C5 2.0 HDi RHR and Peugeot 407 2.0 HDi RHR.
This high-quality turbo intake hose is designed as a direct-fit replacement for the 2.0 HDi RHR engines used in Citroën C5 and Peugeot 407 models. Manufactured to match original dimensions and connection points, the hose ensures reliable air delivery between the turbocharger and the intercooler/intake system, helping maintain boost pressure, engine response and fuel efficiency.
Key Features
• Direct-fit replacement for 2.0 HDi RHR turbocharging systems.
• Durable construction resistant to heat and oil contamination typical in turbo circuits.
• Maintains correct boost pressure and airflow characteristics to preserve engine performance.
• Part commonly searched by product code 0382GS.
Compatibility
Designed for vehicles with 2.0 HDi RHR engine code, including but not limited to:
• Citroën C5 2.0 HDi (RHR)
• Peugeot 407 2.0 HDi (RHR)
Function And Common Symptoms Of Failure
The turbo air hose channels pressurised air from the turbocharger to the intercooler or intake manifold. A compromised hose causes boost leaks, which commonly result in reduced engine power, poor throttle response, turbo surge or increased smoke under acceleration. Vacuum or boost leaks may also trigger fault codes and limp mode on some vehicles.
Why The Part Most Commonly Fails
Typical causes of failure include prolonged exposure to high underbonnet temperatures, oil contamination from turbocharger seal wear, repeated pressure cycles that fatigue the material, and mechanical damage from loose clamps or contact with sharp components. Over time rubber and flexible materials harden and crack, leading to leaks.
Installation Recommendations
• Allow The Engine To Cool Before Starting Work To Avoid Burns.
• Inspect Adjacent Components (Clamps, Piping, Intercooler Connections And Turbo Outlet) And Replace Corroded Or Damaged Clamps.
• Remove Old Hose By Loosening Clamps At Both Ends; Clean Mating Surfaces Of Oil And Debris Before Fitting The New Hose.
• Use Appropriate Stainless Steel Or OEM-Quality Clamps And Ensure Even, Secure Tightening — Avoid Over-Tightening That Could Deform The Hose.
• After Installation Perform A Visual Check For Proper Routing And A Pressure Test Or Engine Run-Up To Confirm No Boost Leaks.
Technical Information
Manufacturer: Stellantis / Citroën / Peugeot
Model: Citroën C5 2.0 HDi (RHR), Peugeot 407 2.0 HDi (RHR)
Product Codes: 0382GS
Other Numbers: 0382GS
Additional Advice For Mechanics And DIY Enthusiasts
This part is commonly identified by its product number—include 0382GS in your search or order to speed up locating the correct item. When replacing the hose, check the turbocharger for oil leaks and the intercooler for blockages; replacing only the hose without addressing upstream oil ingress may result in premature failure. If you diagnose boost-related fault codes, inspect all intake piping and clamps for leaks before replacing sensors or other components.
Upgrade your repair with OEM-quality clamps and follow correct routing to ensure long-term reliability. Fast, correct replacement restores drivability and reduces the chance of secondary turbocharger or engine issues caused by prolonged boost leaks.