Description
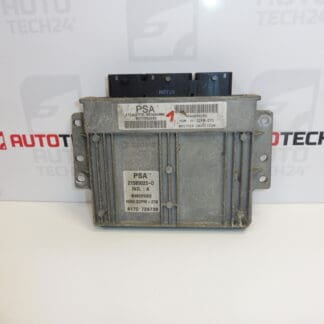
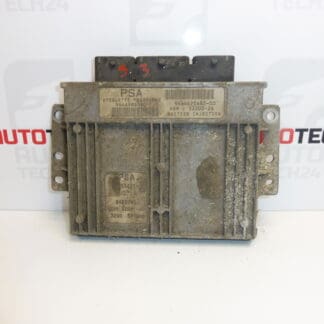
SAGEM control unit for PEUGEOT 206 1.4i vehicles
Part description
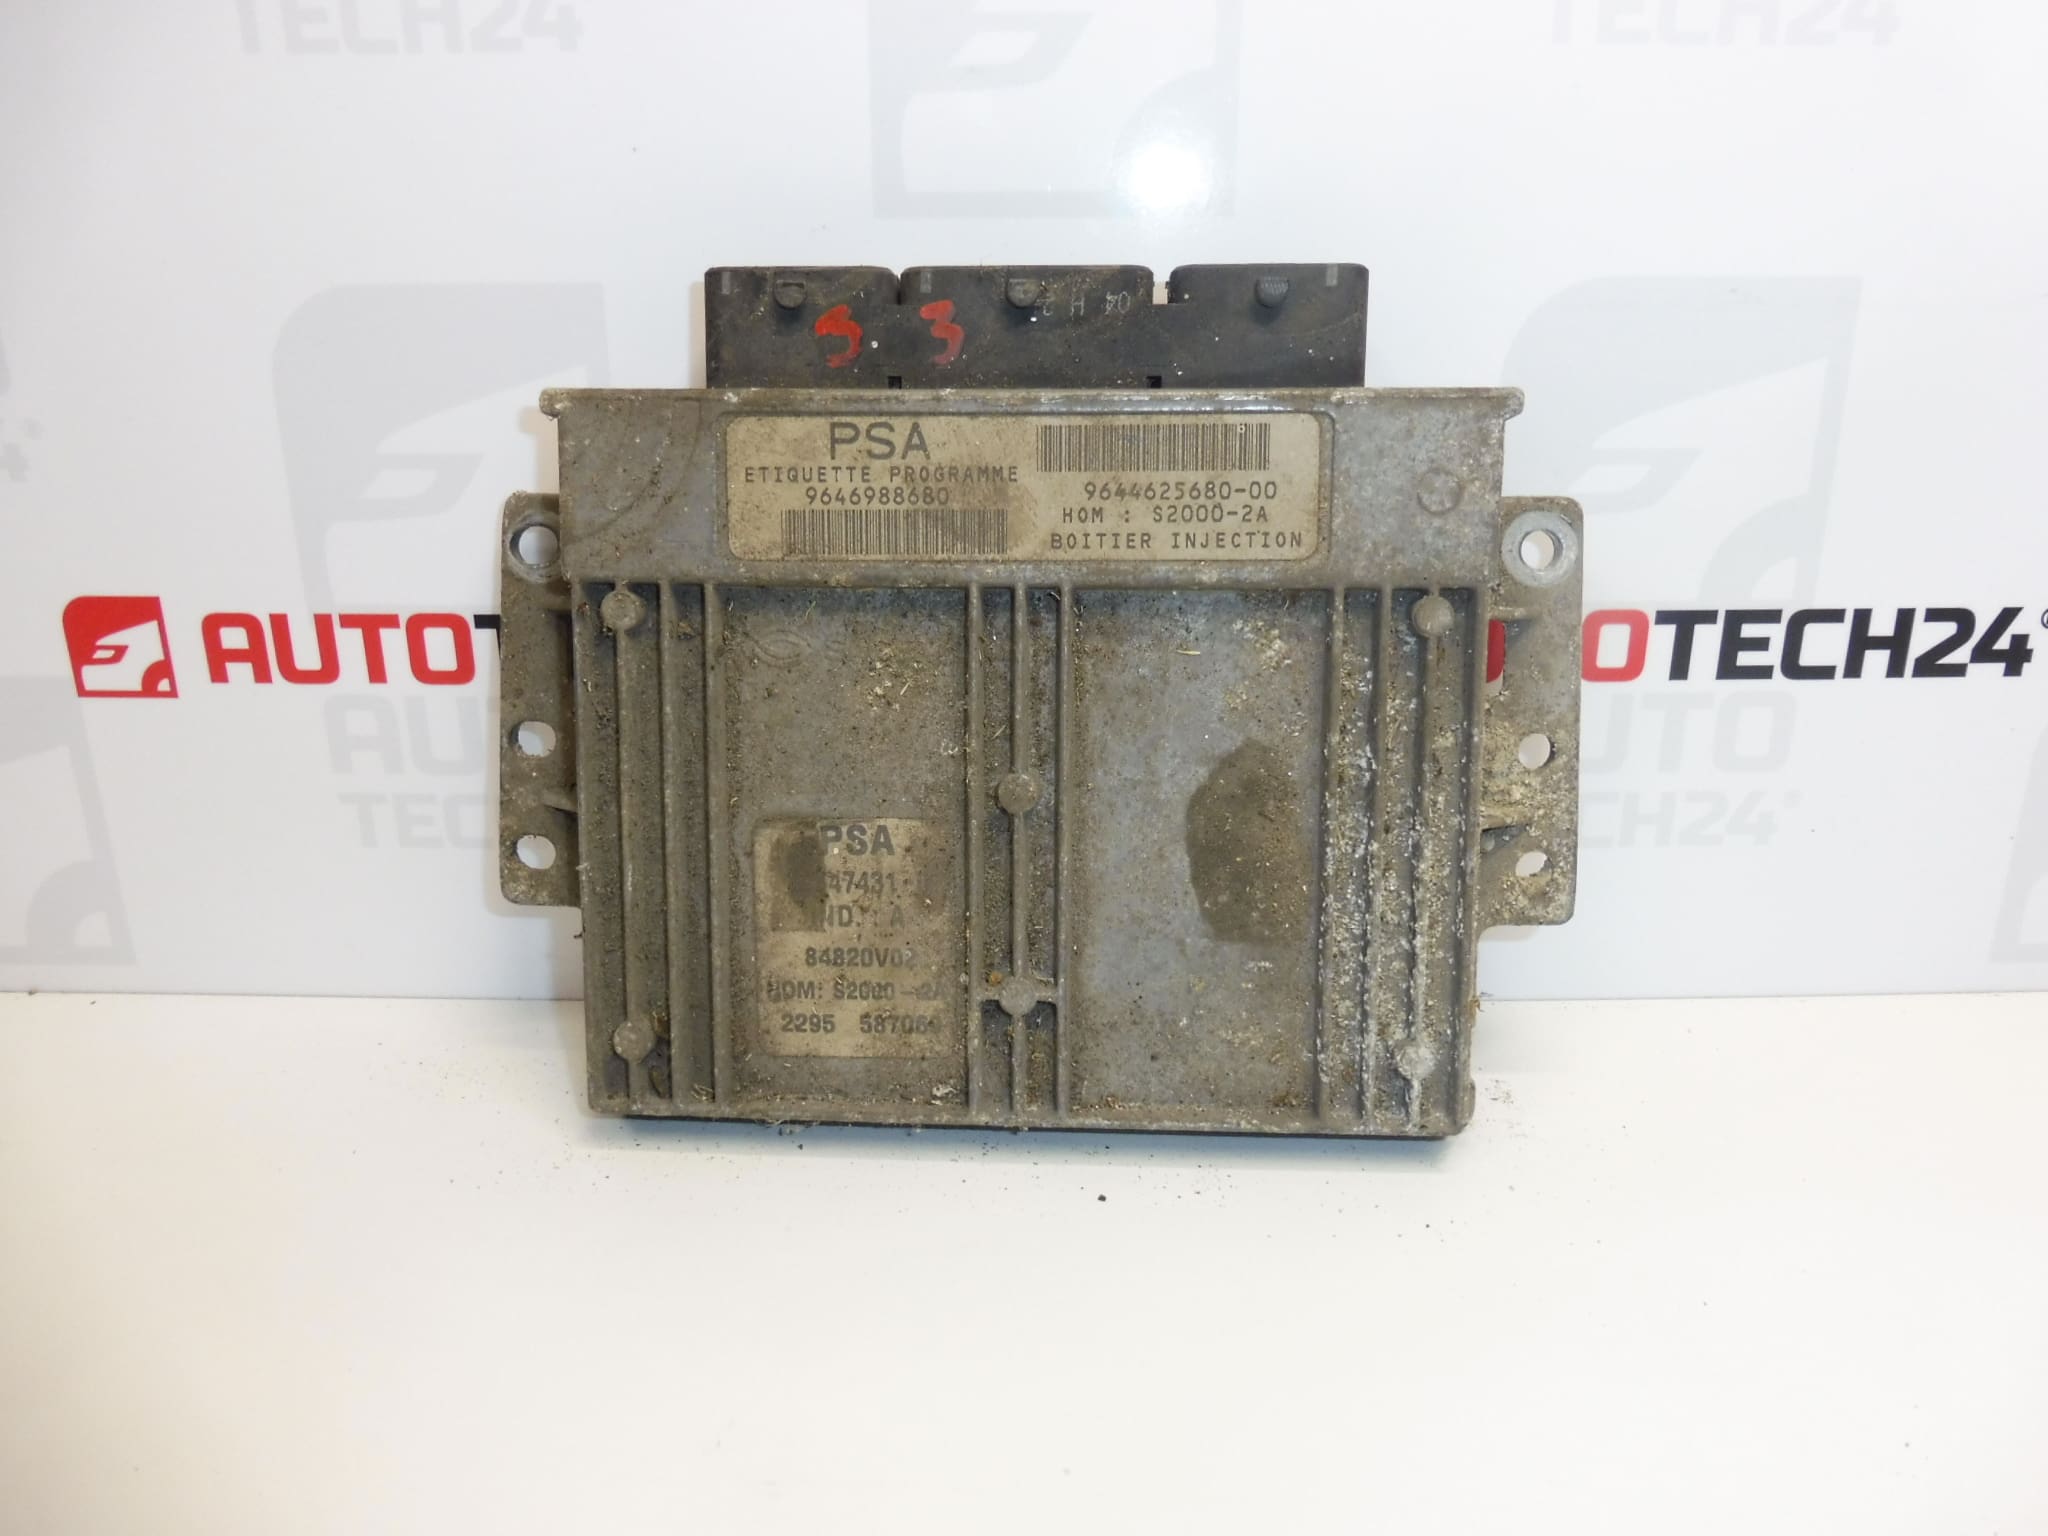
Used Sagem S2000-2A fuel injection control unit for Peugeot 206 1.4i. It controls fuel injection and related engine functions based on signals from the sensors. It is a suitable option for replacing a faulty unit if it matches the required configuration and is correctly adapted to the vehicle.
When selecting a unit, compare in particular the S2000-2A designation and product numbers 9644625680, 9646988680 and 1940W1 with the original unit. Matching the vehicle model alone is not enough to confirm interchangeability. For a used control unit, data transfer or coding must also be taken into account; simply connecting the plugs may not allow the engine to start.
Technical information
- Manufacturer: SAGEM
- Model: Peugeot 206
- Engine specified in the reference materials: 1.4i
- Unit type: S2000-2A
- Part category: fuel injection control unit
- Condition: used part
- Additional numbers: 1940W2
- Additional designation in the reference materials: NFP
Product codes
- Product codes: 9644625680, 9646988680, 1940W1, 1940W2
- Type designation: Sagem S2000-2A
The listed codes make it easier to find the part and compare it with the original unit. Their inclusion does not in itself confirm the interchangeability of all hardware and software variants.
Installation recommendations
The following applies in general to this type of part: replacing a fuel injection control unit involves both mechanical installation and electronic adaptation. The procedure below is general; the exact steps, power disconnection procedure and programming method depend on the specific vehicle and unit configuration.
1) Before installation
- Use diagnostic equipment to verify the cause of the fault. A problem with the power supply, grounding, wiring or connected components may mimic a unit malfunction.
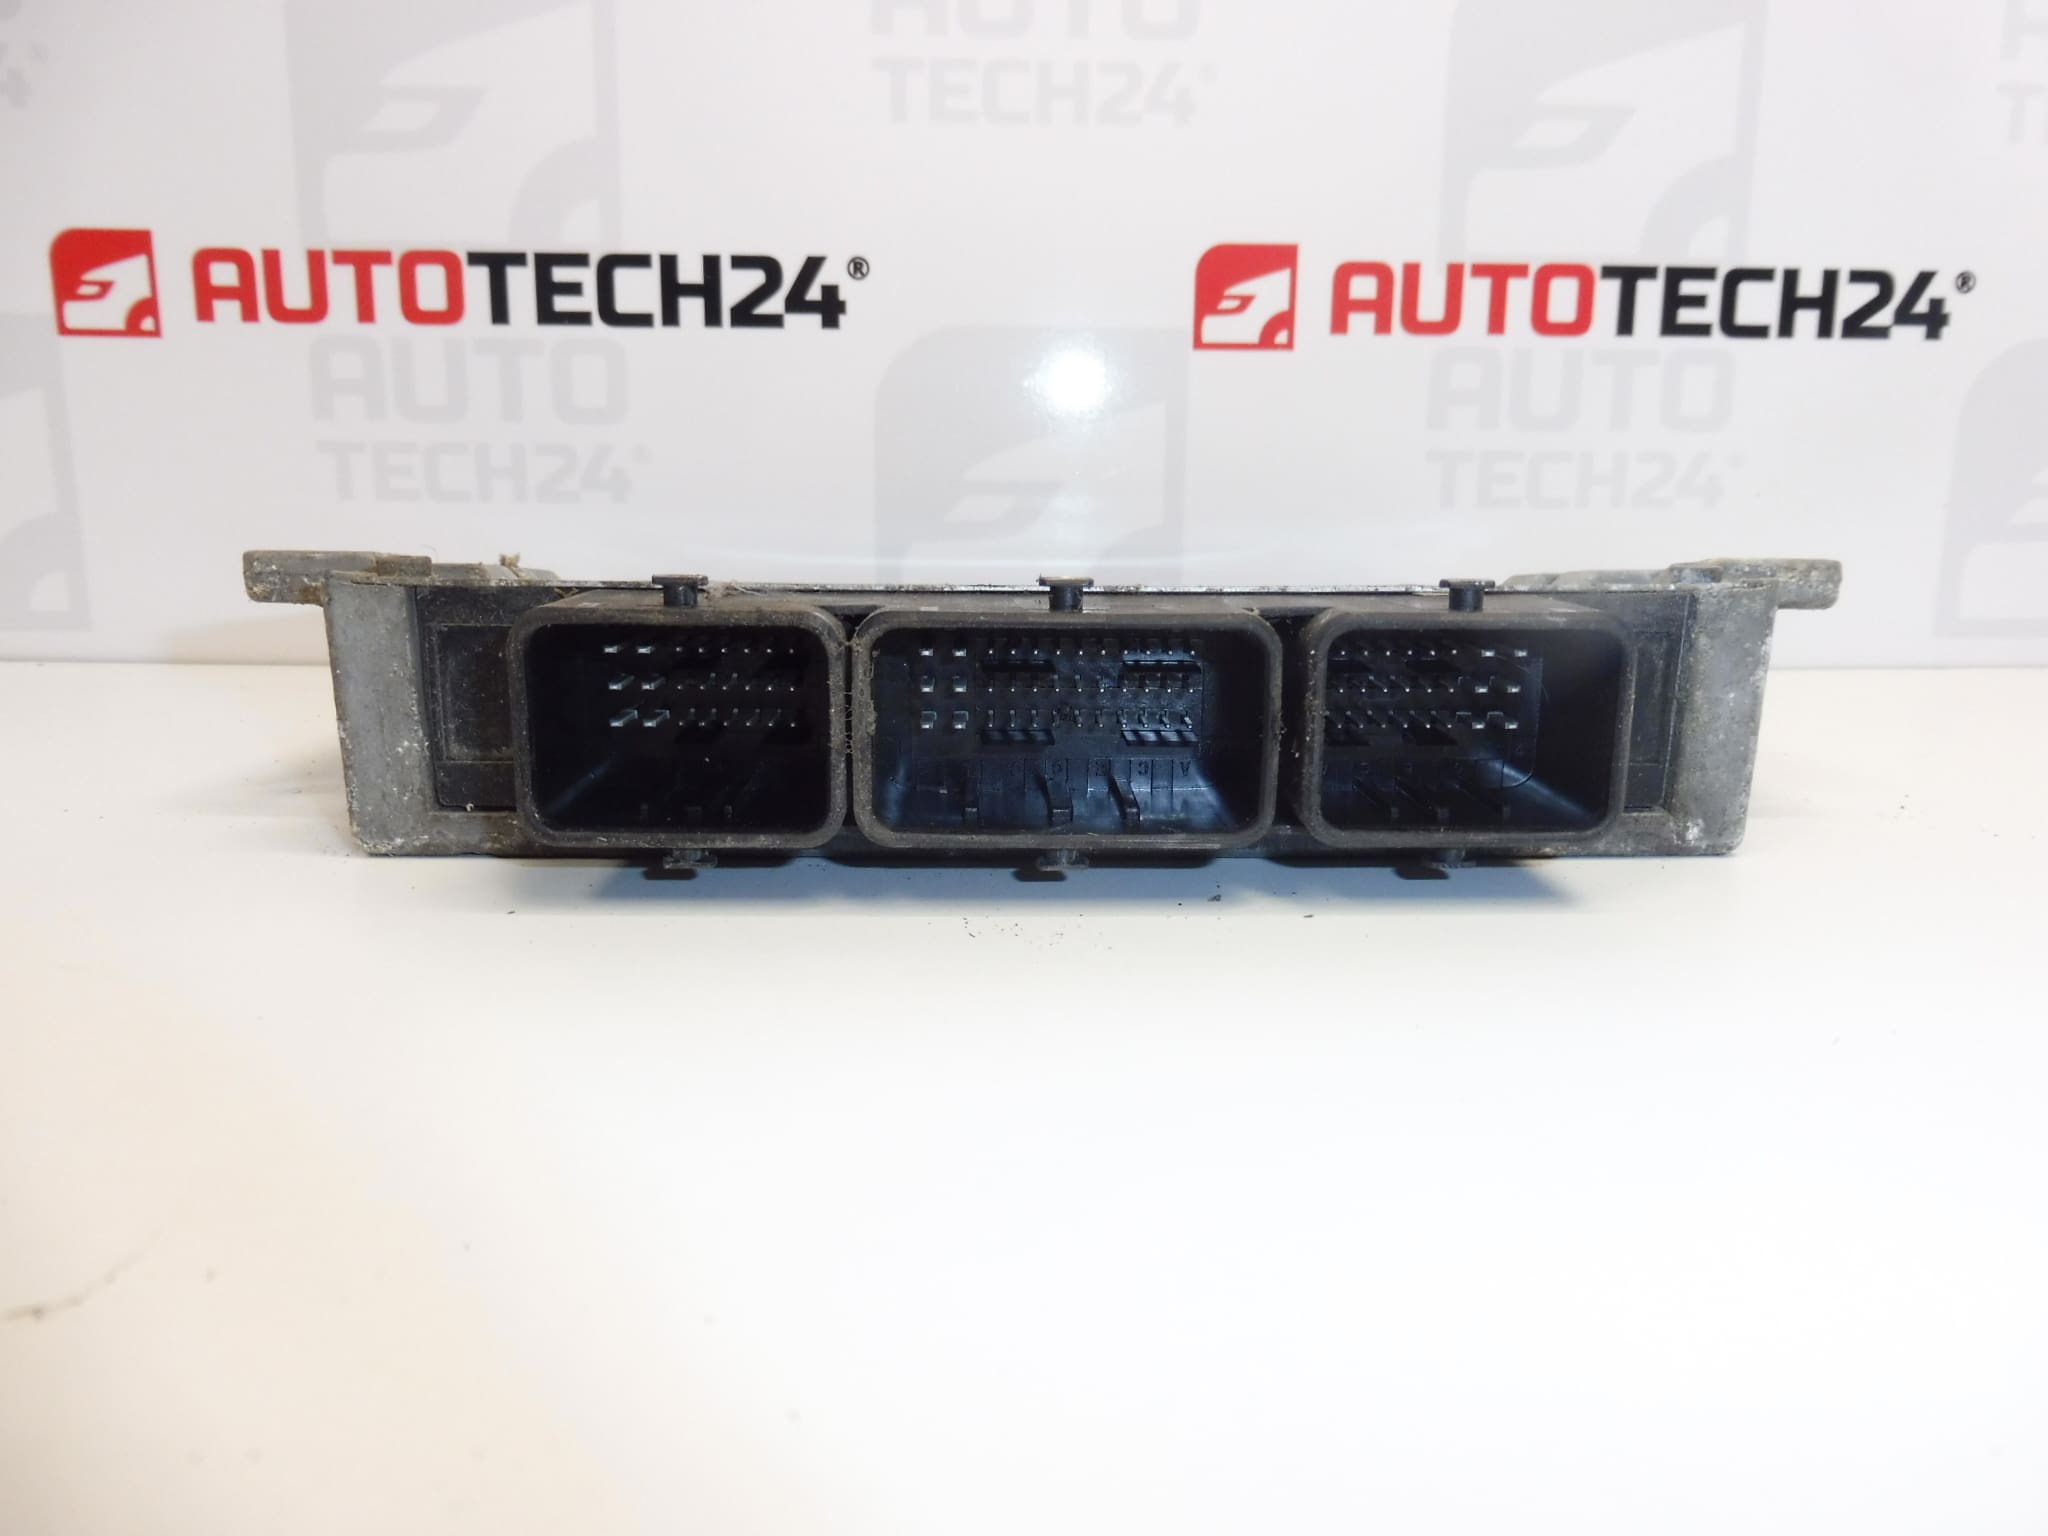
- Compare the product numbers, type designation, connectors, mounting points and available hardware and software version information with the old unit.
- Inspect the used unit: the casing, contacts and connector locks must show no obvious damage, moisture or corrosion.
- Determine the data transfer or initialization method in advance. If the original unit communicates, back up the available data and configuration.
2) Tools and materials required
- Standard hand tools suitable for the mounting points and tools for safely releasing the connectors.
- PSA diagnostic equipment and, depending on the method chosen, suitable programming equipment.
- A multimeter for checking electrical circuits according to the service documentation.
- Products suitable for cleaning electrical contacts, clean work supplies and electrostatic discharge protection when working with electronics.
- A stabilized power supply suitable for programming, as required by the service equipment used.
3) Step-by-step installation procedure
- Record the symptoms of the fault and read the available diagnostic data before disconnecting the unit.
- Check the power supply, grounding and related wiring. Resolve the cause of any damage before connecting the replacement part.
- Back up the original unit’s data, if it can be read safely, and prepare the chosen method for putting the unit into operation.
- Switch off the ignition, allow the electronic systems to enter their idle state and disconnect the battery according to the vehicle manufacturer’s procedure.
- Access the unit according to the service documentation. Clean around the connectors before disconnecting them to prevent dirt from entering.
- Release the connector locks and disconnect the connectors without pulling on the wires or prying at the contacts.
- Release the mounting points and remove the original unit. Check the brackets, wiring harness and for any signs of water ingress.
- Compare the two units again. Have the cloning or preparation for initialization carried out professionally, according to the chosen procedure.
- Secure the replacement unit without putting strain on the casing or wiring. Fit the connectors in the correct position and secure their locks.
- Reconnect the battery according to the manufacturer’s instructions. If required by the chosen method, perform initialization, telecoding and key adaptation using the prescribed equipment and a stable power supply.
- Verify diagnostic communication, correct configuration and the ability to start the engine. Assess any faults before a test drive.
4) Post-installation checks and test drive / function verification
- Check engine starting, idle stability and response to throttle input.
- Check the warning lights and diagnostic data. Clear the fault memory only after recording the faults and resolving their causes.
- If the engine is running correctly and the vehicle has no faults that could compromise safety, take a short test drive and then run another diagnostic scan.
- After verifying operation, check the connector locks and wiring routing again.
5) Common installation mistakes and how to avoid them
- Replacing the unit without verifying the original fault: first check the electrical circuits and connected components to prevent the replacement unit from being damaged again.
- Selecting a unit based only on the vehicle model: also compare the unit designation and available information about its configuration.
- Connecting the unit without the required adaptation: prepare for cloning or initialization and key adaptation before installation.
- Damaging connectors by force: always release their locking mechanism first.
- Interrupting the power supply during programming: use appropriate power support and do not interrupt a write operation in progress.
- Leaving moisture or corrosion in place: address not only the effects but also their cause.
Installation and coding – important
- The unit is used and is “paired” with the original vehicle (VIN/PIN/keys).
- Options for putting it into operation:
- Cloning data from the old unit (EEPROM/Flash) – after cloning, the unit is plug and play.
- Virginizing followed by initialization/telecoding via DiagBox (possibly online) + key adaptation.
- We recommend having this carried out by a professional with PSA service equipment (DiagBox/Lexia/PP2000).
- Always disconnect the battery before removing/installing the unit and follow the manufacturer’s procedure to avoid damaging it.
Reasons why the part may be damaged
The following causes can generally lead to damage to fuel injection control units. This is not a description of the condition found on this specific unit.
- Moisture and corrosion on the contacts or inside the unit.
- A short circuit in the wiring or a connected component, which may damage the output circuits.
- Overvoltage, reversed polarity or improper work on the power supply.
- Thermal stress, vibration and aging of electronic components.
- Improper opening of the unit or interrupted programming, which may damage the electronics or prevent the unit from functioning.
Resolving the cause of the original fault before replacement helps protect the replacement unit and prevent repeat repairs.