Description
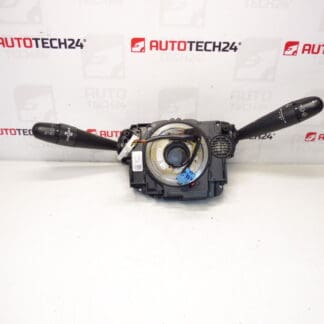
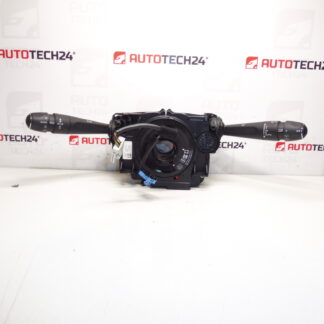
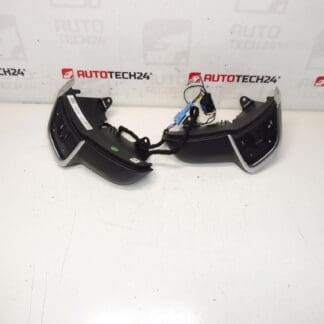
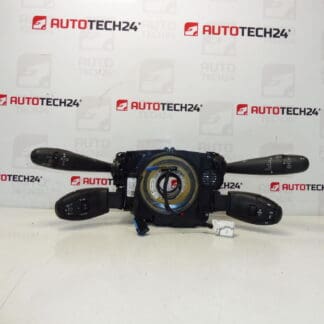
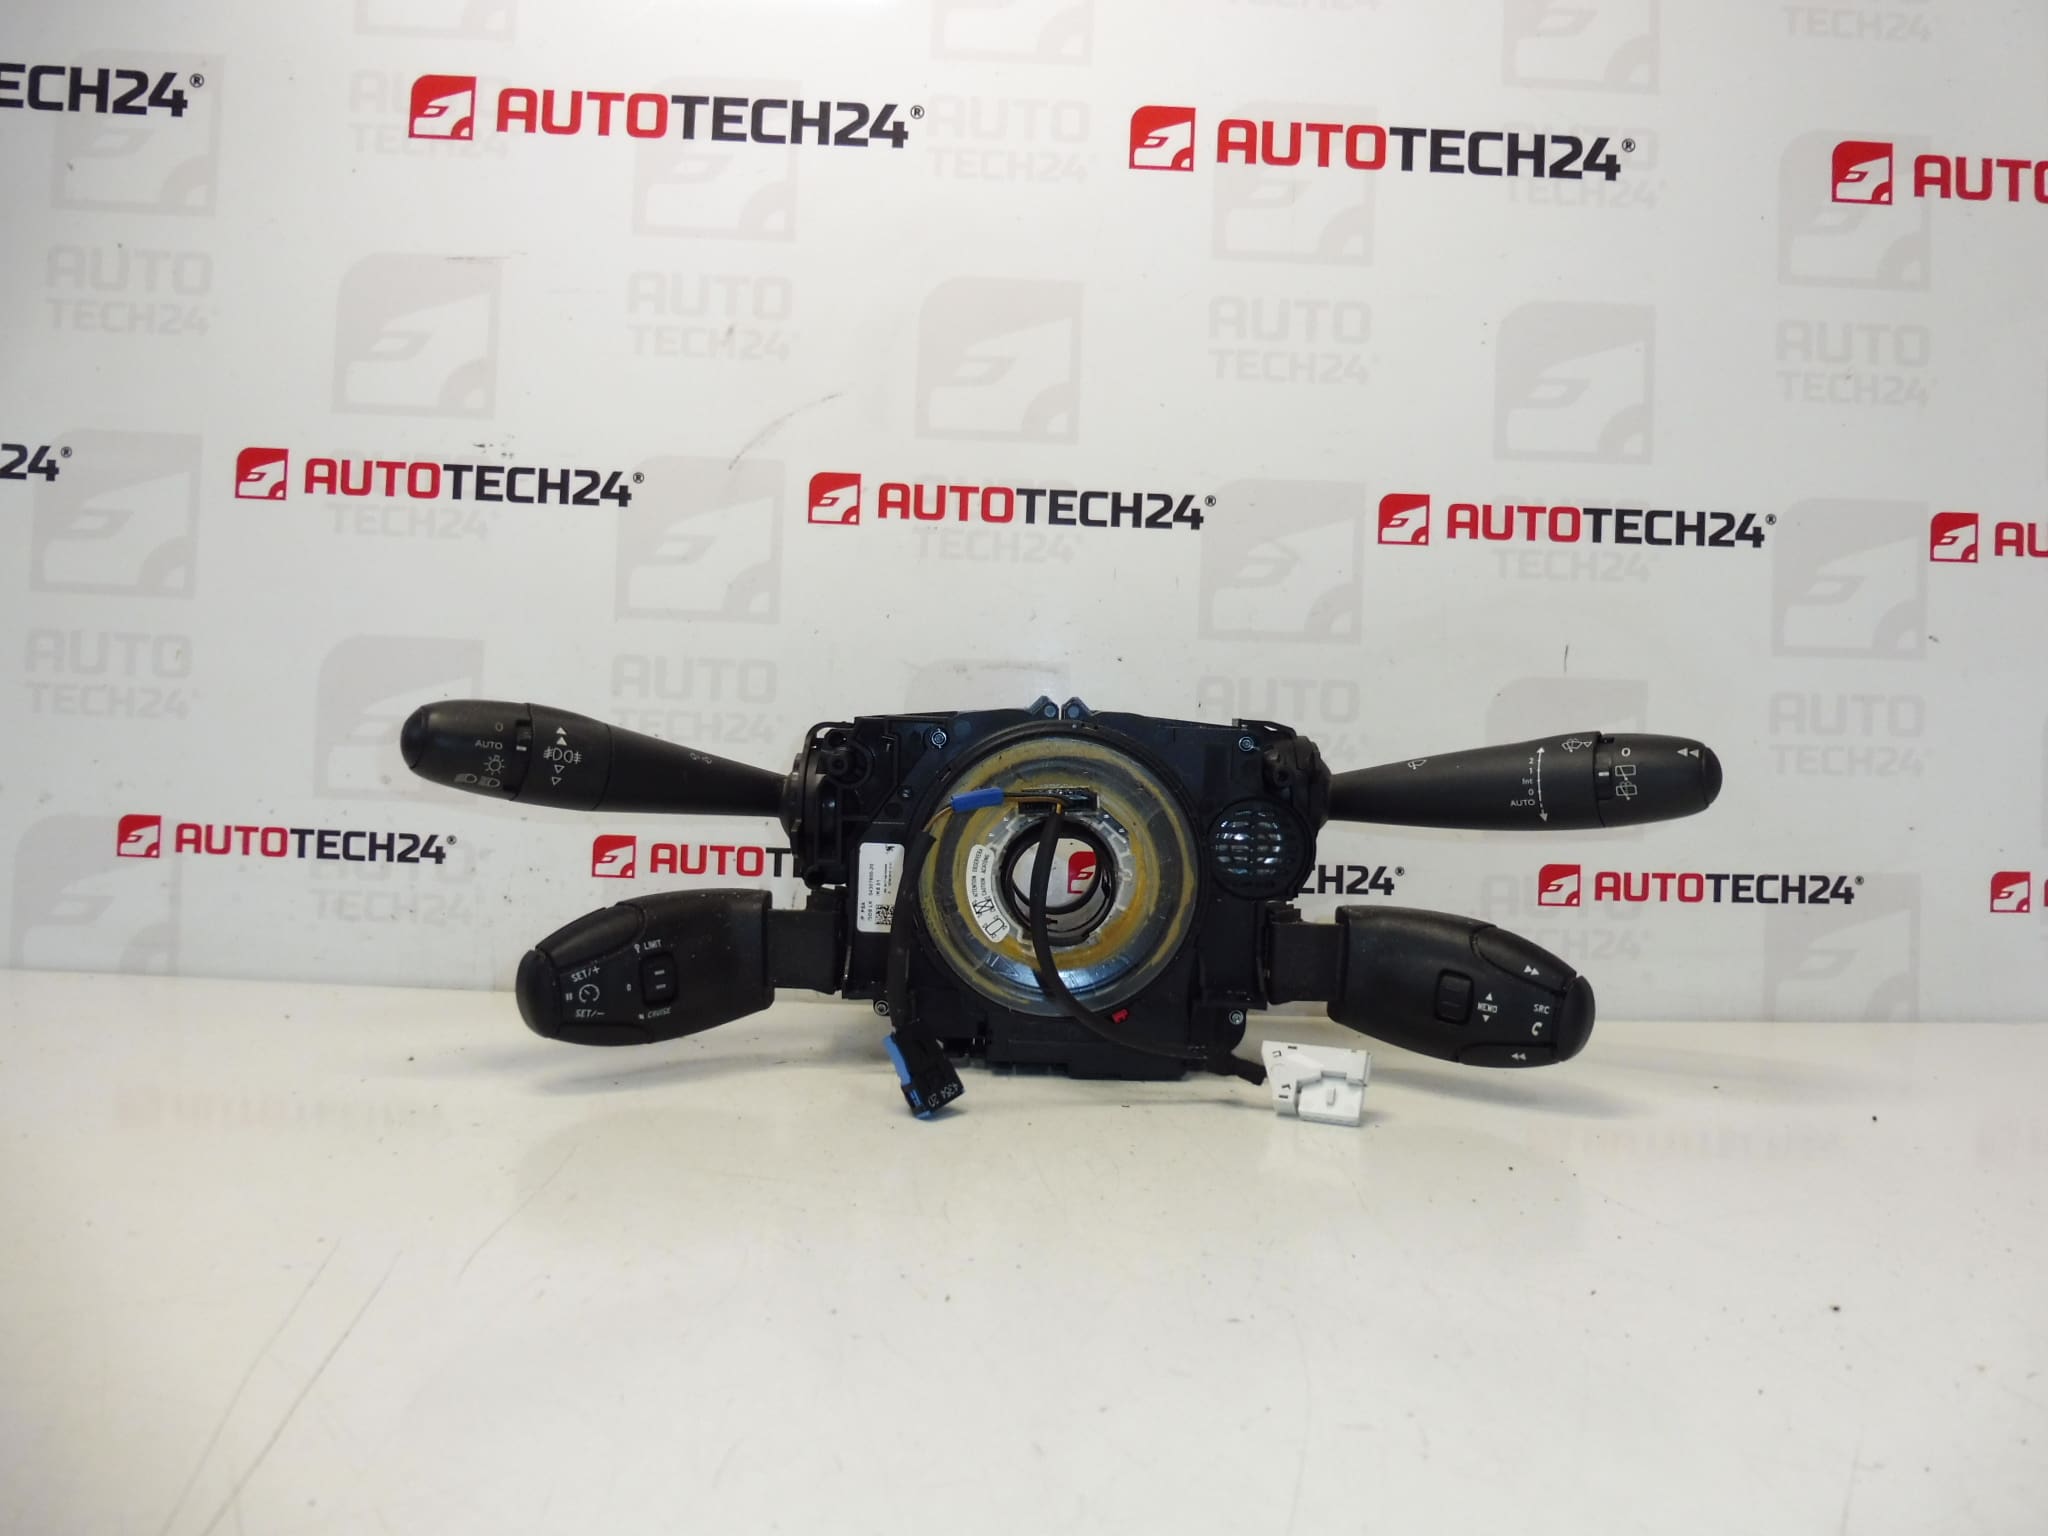
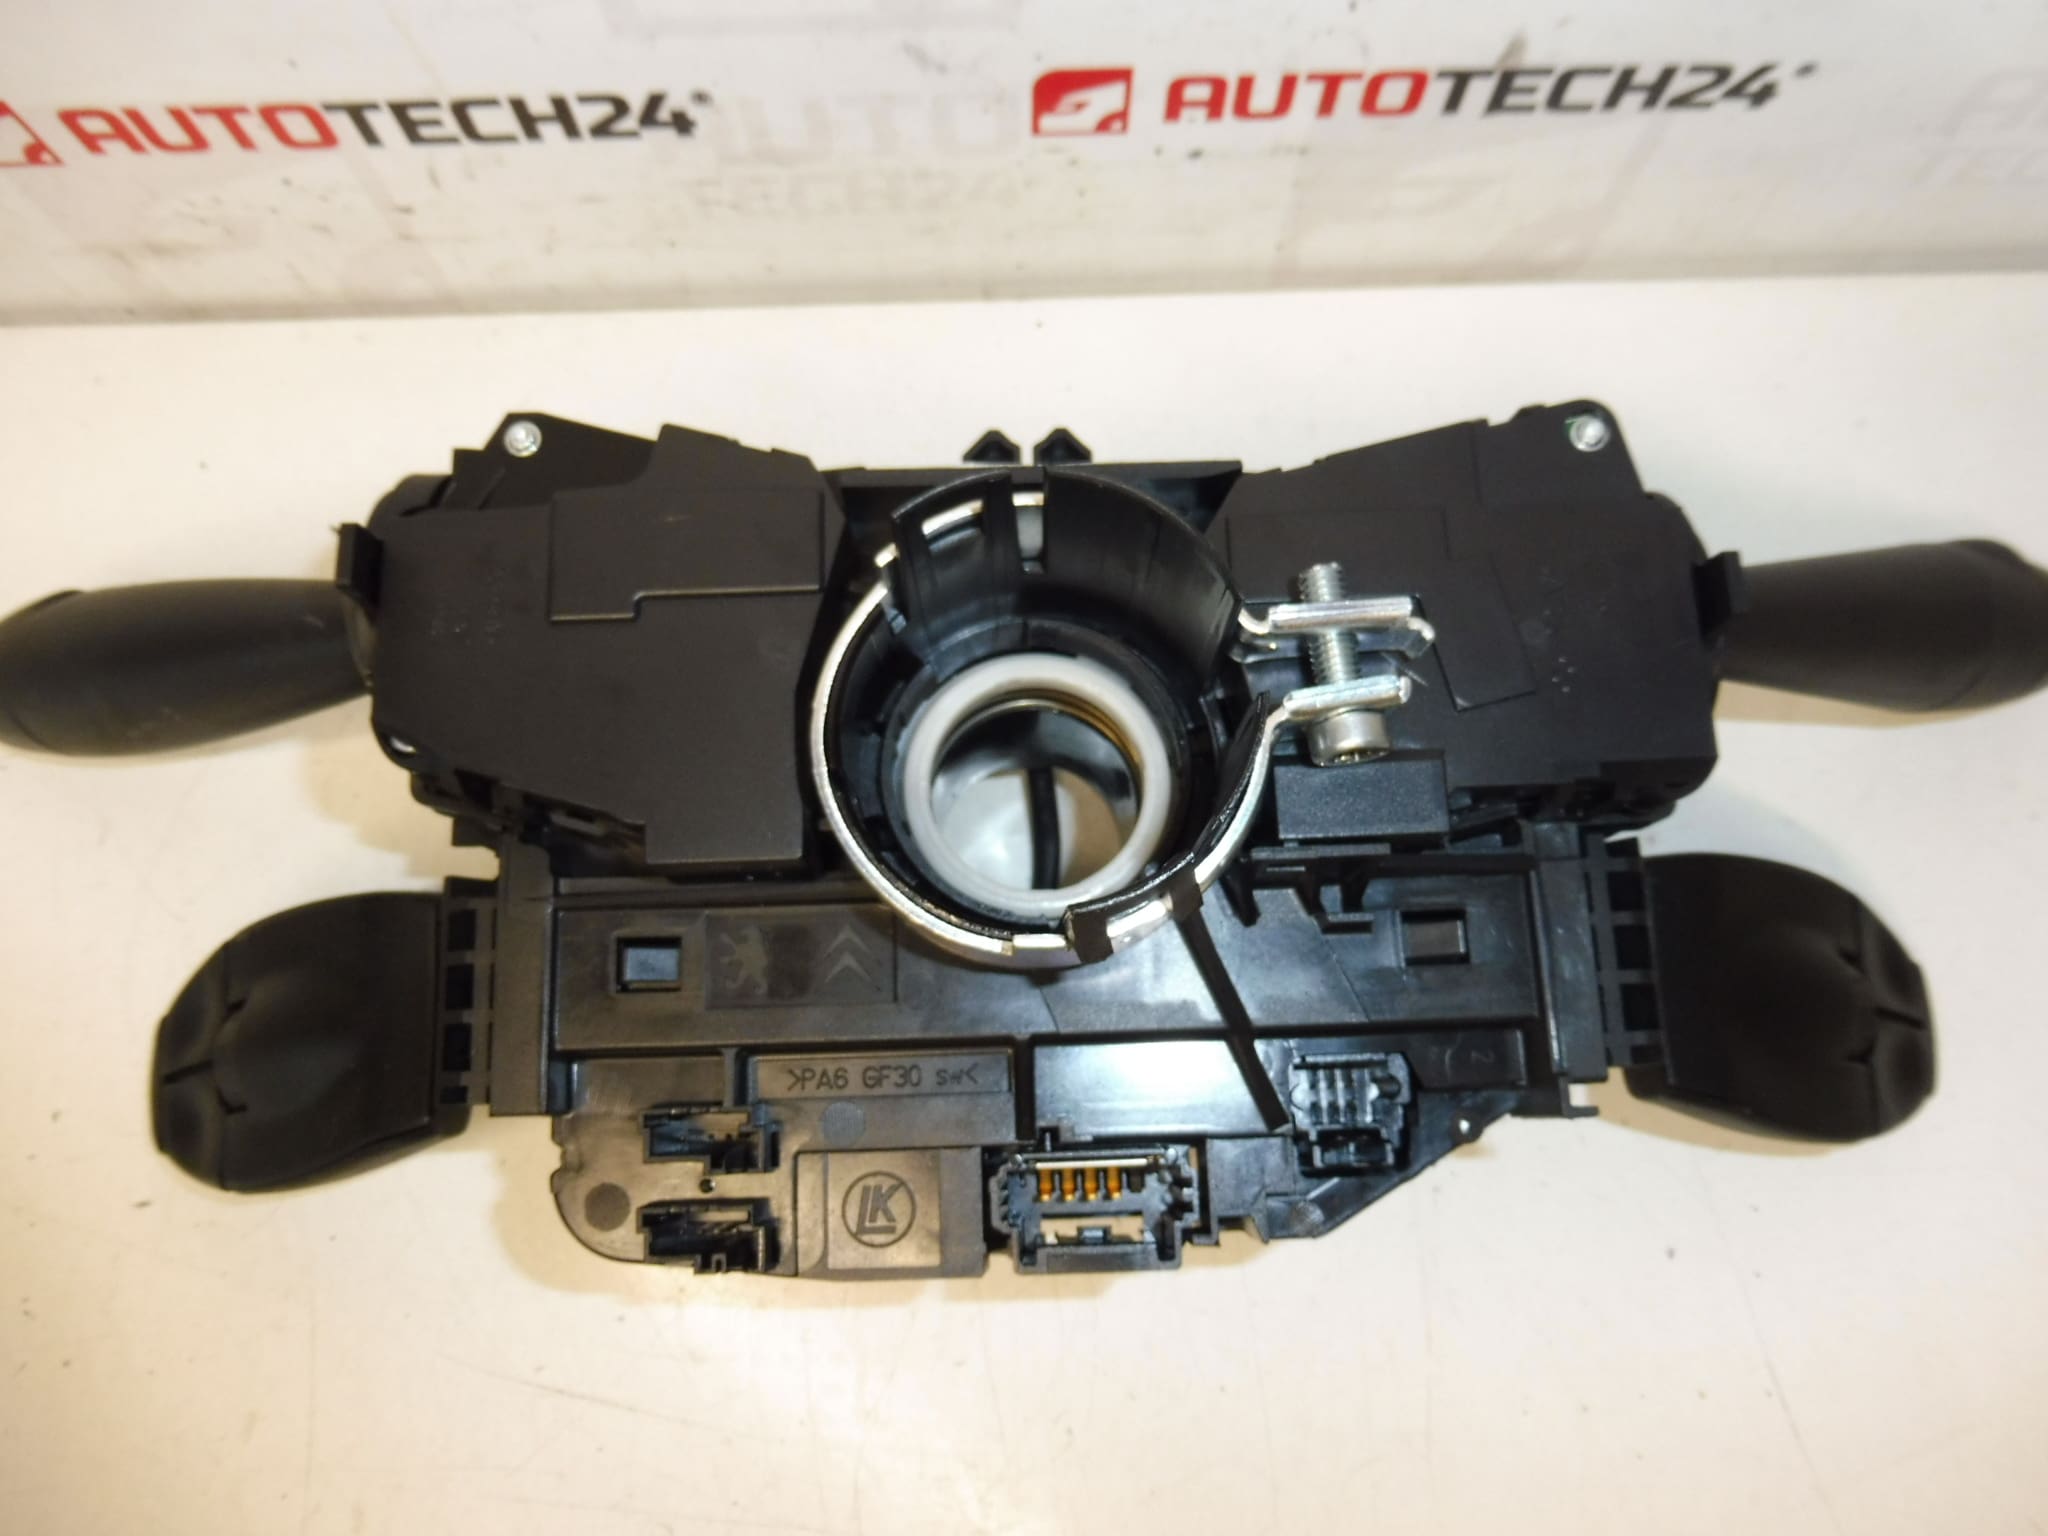
Steering Wheel Controls COM2008 Peugeot 3008 and 5008 T84 Multifunction Control Block
They control the lights, fog lights, front and rear wipers, blinkers, horn, on-board computer
Part description
This used part represents the multifunctional COM2008 controller block, which combines commonly used car control functions directly under the steering wheel. It is a practical piece of electrical equipment that ensures convenient and quick control of important functions while driving.
COM2008 joystick drivers are particularly searched for by product number 96773911ZD, making it easy to identify the correct part when repairing or replacing a damaged piece. This makes this auto part a suitable choice for auto mechanics as well as for car owners who service themselves.
The advantage is that it is an original part of the Stellantis Citroën Peugeot concern, intended for the vehicles listed in the documents. When replacing the controls under the steering wheel, it is important to match the connectors, the design of the levers and the functional equipment of a specific piece.
Technical information
- Manufacturer: Stellantis Citroën Peugeot
- Model: Peugeot 3008, Peugeot 5008 T84
- Other numbers: COM2008
Product codes
- Product codes: 96773911ZD
- Models according to documents: PEUGEOT 3008 I, PEUGEOT 5008 I
Installation recommendations
Generally/typically for this type of part, the exact replacement procedure may vary depending on the specific model, steering wheel design and vehicle equipment. Care must be taken with the controls under the steering wheel, especially due to the connection to the steering wheel elements and electrical connectors.
1) Before assembly
- Check that product number 96773911ZD and COM2008 type designation match.
- Compare the new and original part visually: body shape, levers, connectors, mounting and overall design.
- Make sure that the part does not have cracks, damaged plastic locks, bent levers or obviously damaged connectors.
- Before working, disconnect the battery and wait a reasonable time to minimize the risk of damage to electrical components.
2) Necessary tools and materials
- Set of common hand tools
- Screwdrivers or bits depending on the type of fastening
- Plastic pry bar for removing covers
- Clean cloth
- Preparation for gentle cleaning of electrical contacts, if needed
3) Step-by-step assembly procedure
- Turn off the ignition, disconnect the battery and prepare a work area around the steering column.
- Remove the necessary steering wheel or steering column covers to access the control block.
- Carefully disconnect the electrical connectors from the original controller and check their condition.
- Unfasten the original part according to the vehicle version.
- Remove the old controller block and compare it to the replacement piece, especially the connectors, mounts and layout of the levers.
- If the contact surfaces are dirty, clean them gently without rough mechanical intervention.
- Place the replacement COM2008 controllers in the correct position and make sure they fit exactly into the mount.
- Connect all connectors so that they are fully secured and without strain on the wiring.
- Reinstall all the removed covers and check that nothing is blocking the movement of the levers.
- Connect the battery and do a basic function check before the job is completely finished.
-
4) Post-assembly checks and test drive/function verification
- Verify light control function.
- Check the front and rear wipers.
- Try the blinkers, horn and fog lights.
- Check the control of the on-board computer, if it is handled by this lever.
- On a short test drive, observe whether the levers work smoothly, without jamming and without loss of functions.
5) The most common assembly mistakes + how to avoid them
- Part exchange based on appearance – always compare the part number and connector designs.
- Damage to plastic handles – remove the covers and the part without violence, ideally with a plastic tool.
- Insufficiently engaged connectors – after connection, check that they are fully seated and secure.
- Assembly without function check – check all available controller functions before final assembly.
- Working with the battery connected – always disconnect the vehicle’s power supply before removing or installing an electrical part.
Reasons why the part is damaged
- Normal wear from frequent use of levers and controls.
- Mechanical damage caused by rough handling or unprofessional disassembly.
- Contamination or oxidation of contacts, which can lead to failure of individual functions.
- Damage after intervention in the electrical installation or after careless assembly of related parts.