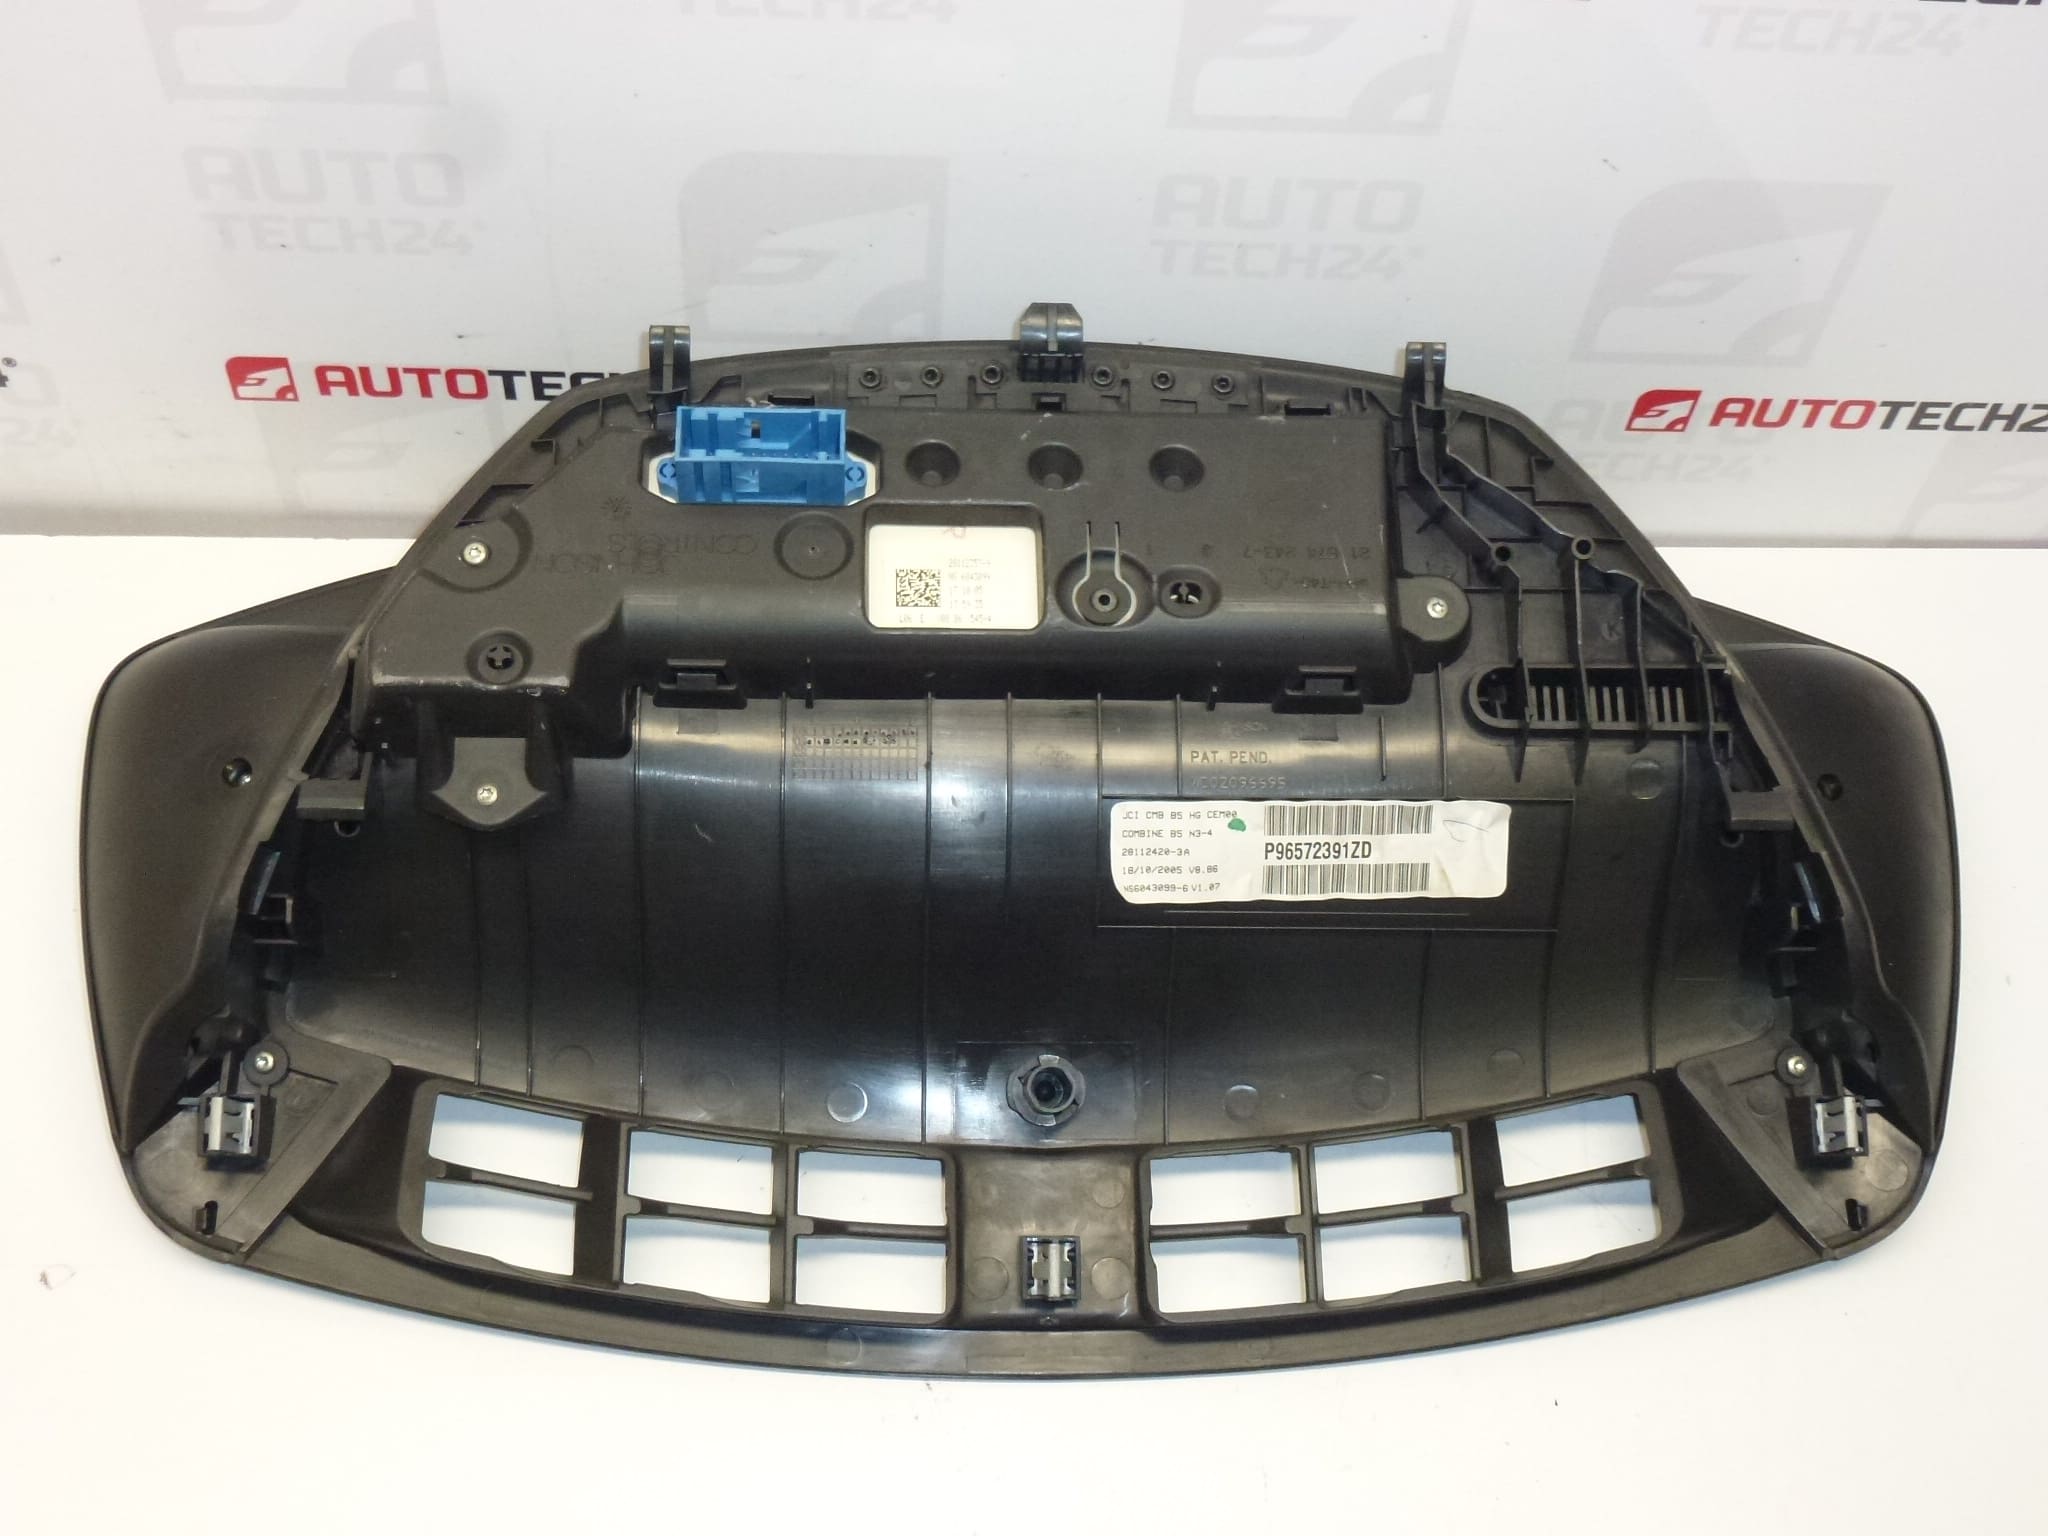
Description
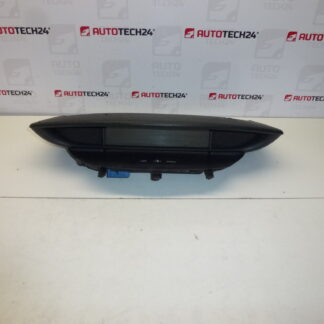
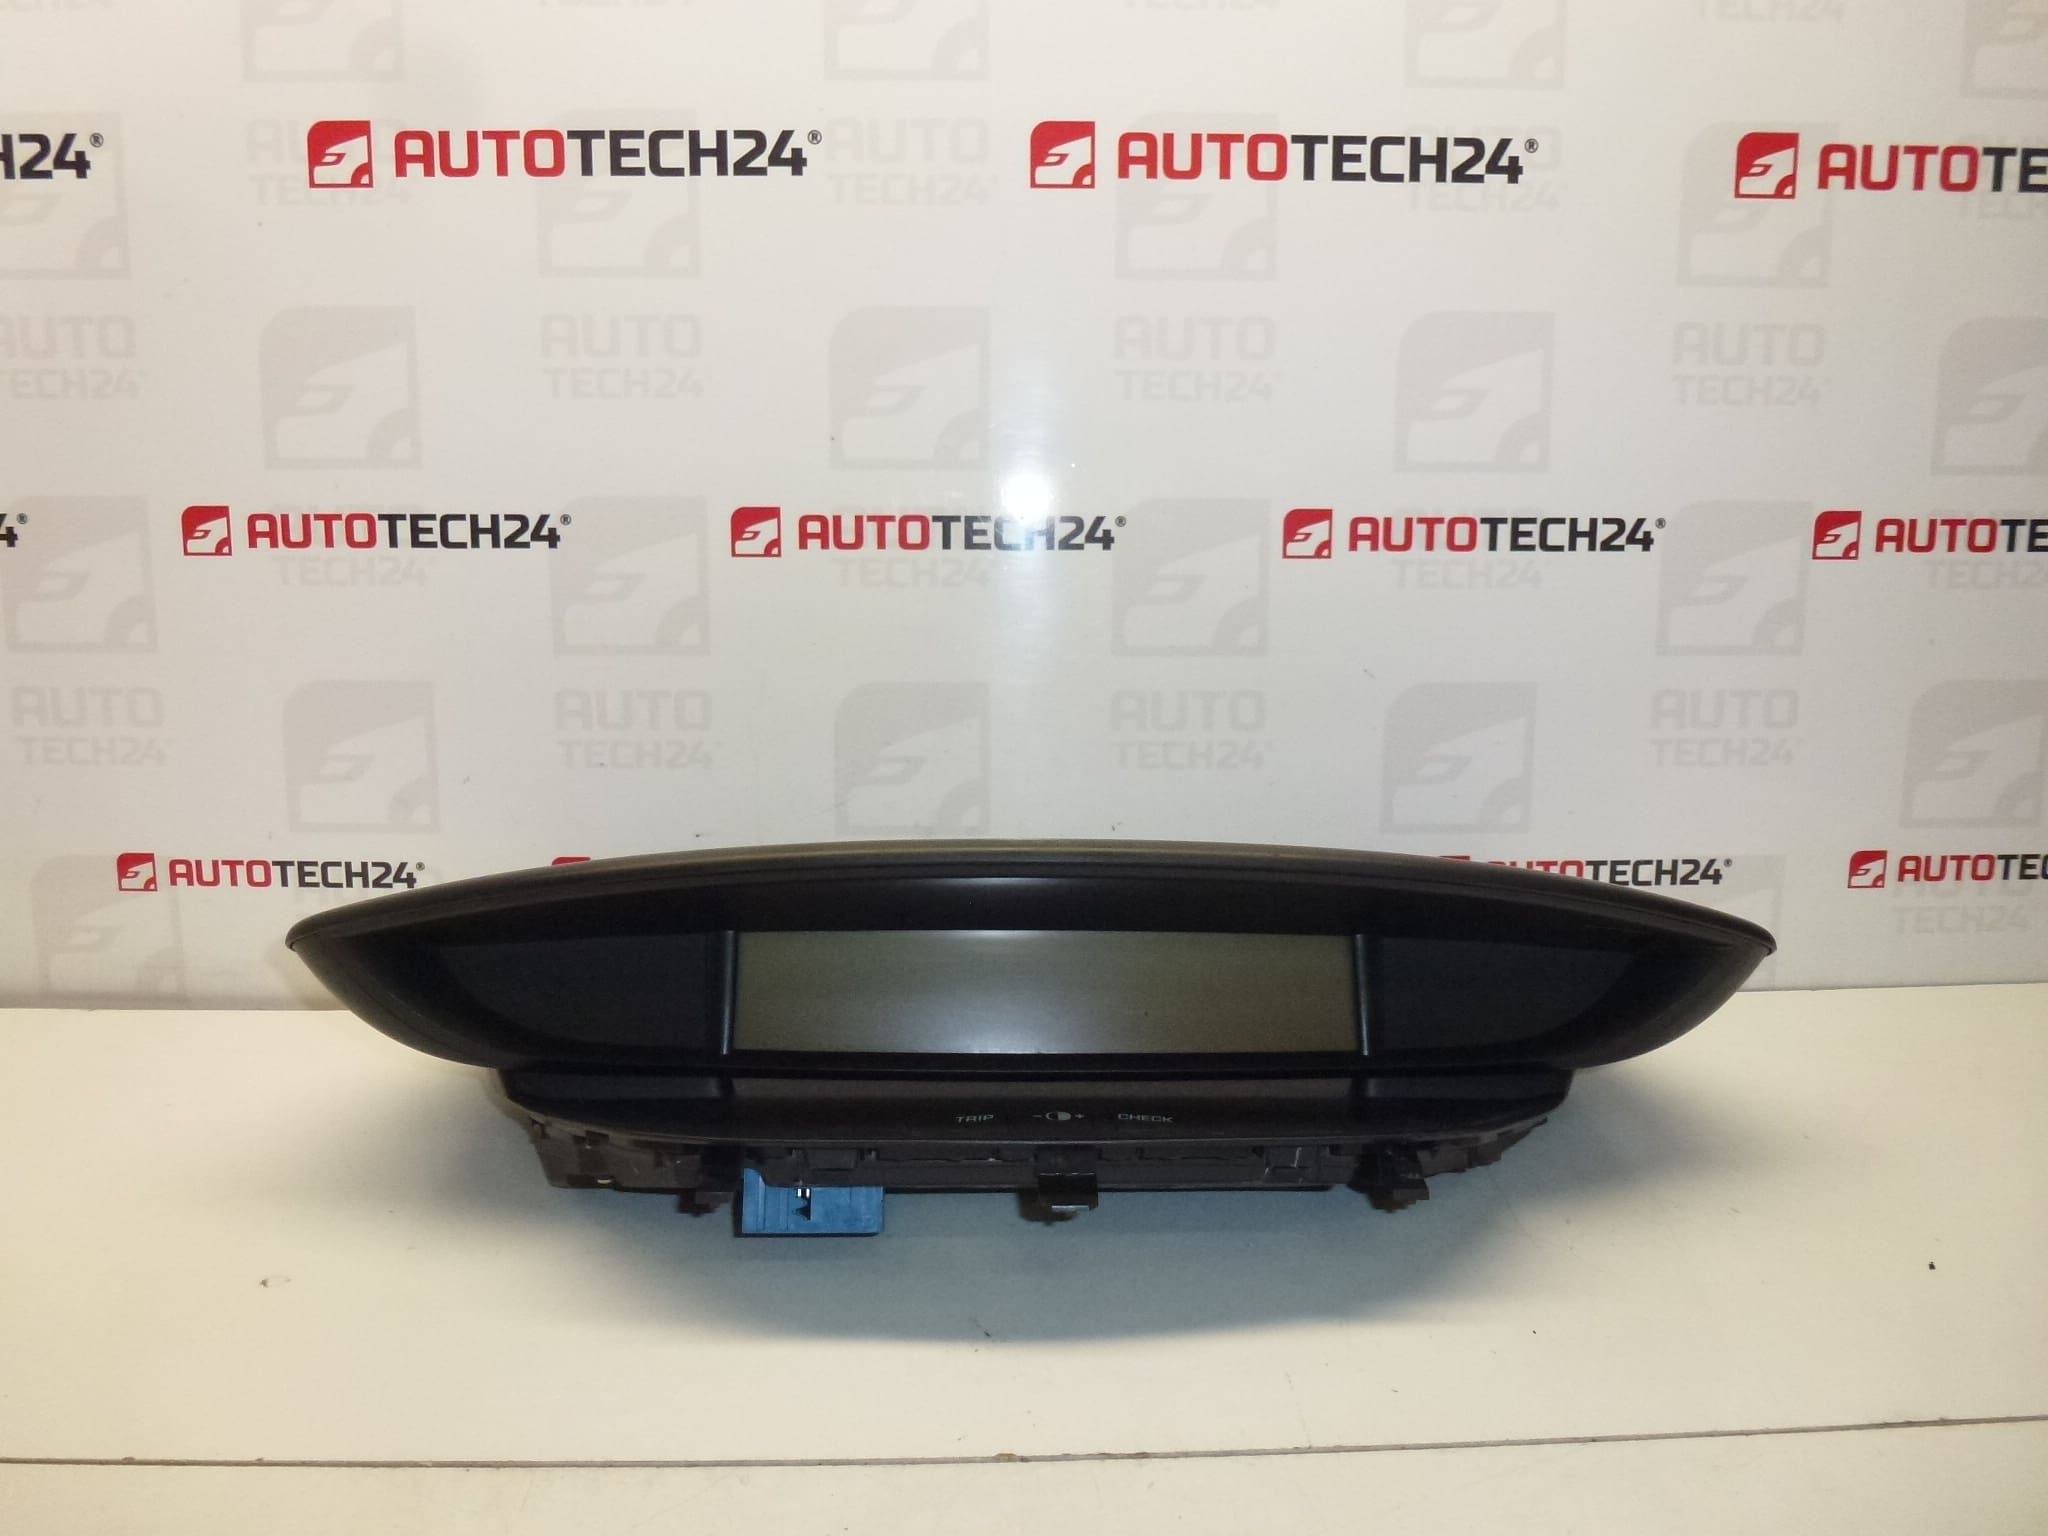
Complete Combined Instrument Cluster For Citroën C4 Up To 2008.
This is a used, complete instrument cluster (tachometer/gauge cluster) engineered for first‑generation Citroën C4 models. It displays speed, engine rpm, fuel level, coolant temperature, odometer/trip, and contains the warning lamp array and indicators needed for safe vehicle operation. Ideal for professional workshops and experienced DIY mechanics looking to replace a faulty or intermittent dashboard unit with an original Stellantis part.
Key Features And Benefits
Original equipment part compatible with Citroën C4 I. Restores full instrumentation functionality including digital odometer and warning indicators. Direct fit for dash openings used on supported models, reducing installation time for garages and home mechanics. Using an OEM cluster helps maintain correct gauge response and factory fit-and-finish compared with aftermarket alternatives.
How The Unit Works
The instrument cluster interprets vehicle bus signals (CAN/serial bus) and sensor inputs to drive stepper motors and digital displays. It provides the driver with speed, engine rpm, fuel and temperature readings, and displays fault codes/warning lamps. Proper electrical supply and reliable signal feeds from vehicle sensors and body computers are required for accurate operation.
Replacement Procedure (Overview)
Recommended For: Experienced Mechanics And Competent DIYers.
- Safety First: Disconnect the negative battery terminal before starting to avoid short circuits and protect electronic modules.
- Remove Trim: Carefully pry off dashboard trim surrounding the cluster. Keep screws and clips organized.
- Unscrew Cluster: Remove mounting screws holding the instrument cluster in place.
- Disconnect Connectors: Gently unplug electrical connectors from the rear of the unit. Note connector orientation and locking tabs.
- Install New Unit: Seat the replacement cluster, reconnect all plugs, secure with screws and refit trim.
- Power Up And Check: Reconnect battery, cycle ignition and verify all gauges, lights and odometer function. Check fuses if any circuit is dead.
Installation Recommendations
- Always disconnect the battery before removal and installation to prevent damage to electronic circuitry.
- Avoid touching exposed circuit boards or connector pins. Use antistatic precautions where possible.
- Inspect connector pins and wiring harness for corrosion or damage before reconnecting.
- After fitting, confirm gauge movement and warning lights at ignition on; perform a short road test to validate speedometer and odometer response.
- If the cluster shows communication errors or immobilizer/odometer mismatch, a PSA diagnostic tool (DiagBox/Lexia/PP2000) may be required to check messages and adapt settings.
Why This Part Fails Most Often
Instrument clusters commonly develop faults due to:
- Moisture Ingress: Water or condensation can corrode contacts, stepper motor shafts and printed circuit traces.
- Electrical Surges Or Poor Grounding: Voltage spikes or bad earth connections can damage electronic components and backlighting circuits.
- Worn Stepper Motors: Mechanical wear in the small stepper motors causes sticking or inaccurate gauge readings.
- Age-Related Component Failure: Bulbs, LEDs/drivers or electrolytic capacitors can degrade over time leading to dim displays or intermittent operation.
- Connector Oxidation: Corroded pins between harness and cluster cause intermittent signals and flickering gauges.
Technical Information
- Manufacturer: Stellantis (Citroën/Peugeot)
- Model: Citroën C4 I (up to 2008)
- Product Codes: P96572391ZD
- Additional Numbers: 6106VZ, 6106WA
Suitability And Notes For Buyers
Compatible Primarily With First‑Generation Citroën C4 Models Produced Up To 2008. Intended For Mechanics And Skilled DIYers Who Can Follow Safe Removal And Reinstallation Procedures. Check Harness And Fuse Health If Problems Persist After Replacement.
Final Advice
Replacing the instrument cluster is a practical repair that returns full dashboard function and driver information. Prepare basic hand tools, keep work area clean of dust and moisture, and follow the installation recommendations above for a reliable result.