
Description
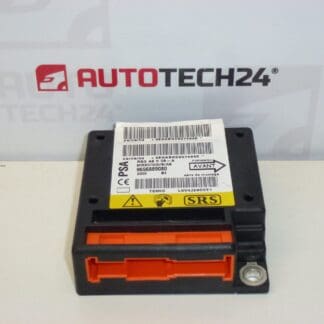
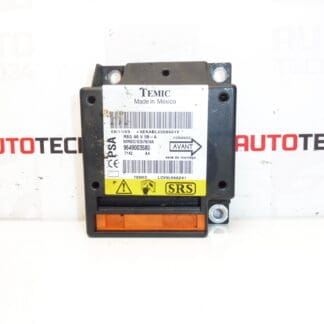
Airbag control unit for Citroën C2 and C3 vehicles from 2005. From a non-accident vehicle, fully functional.
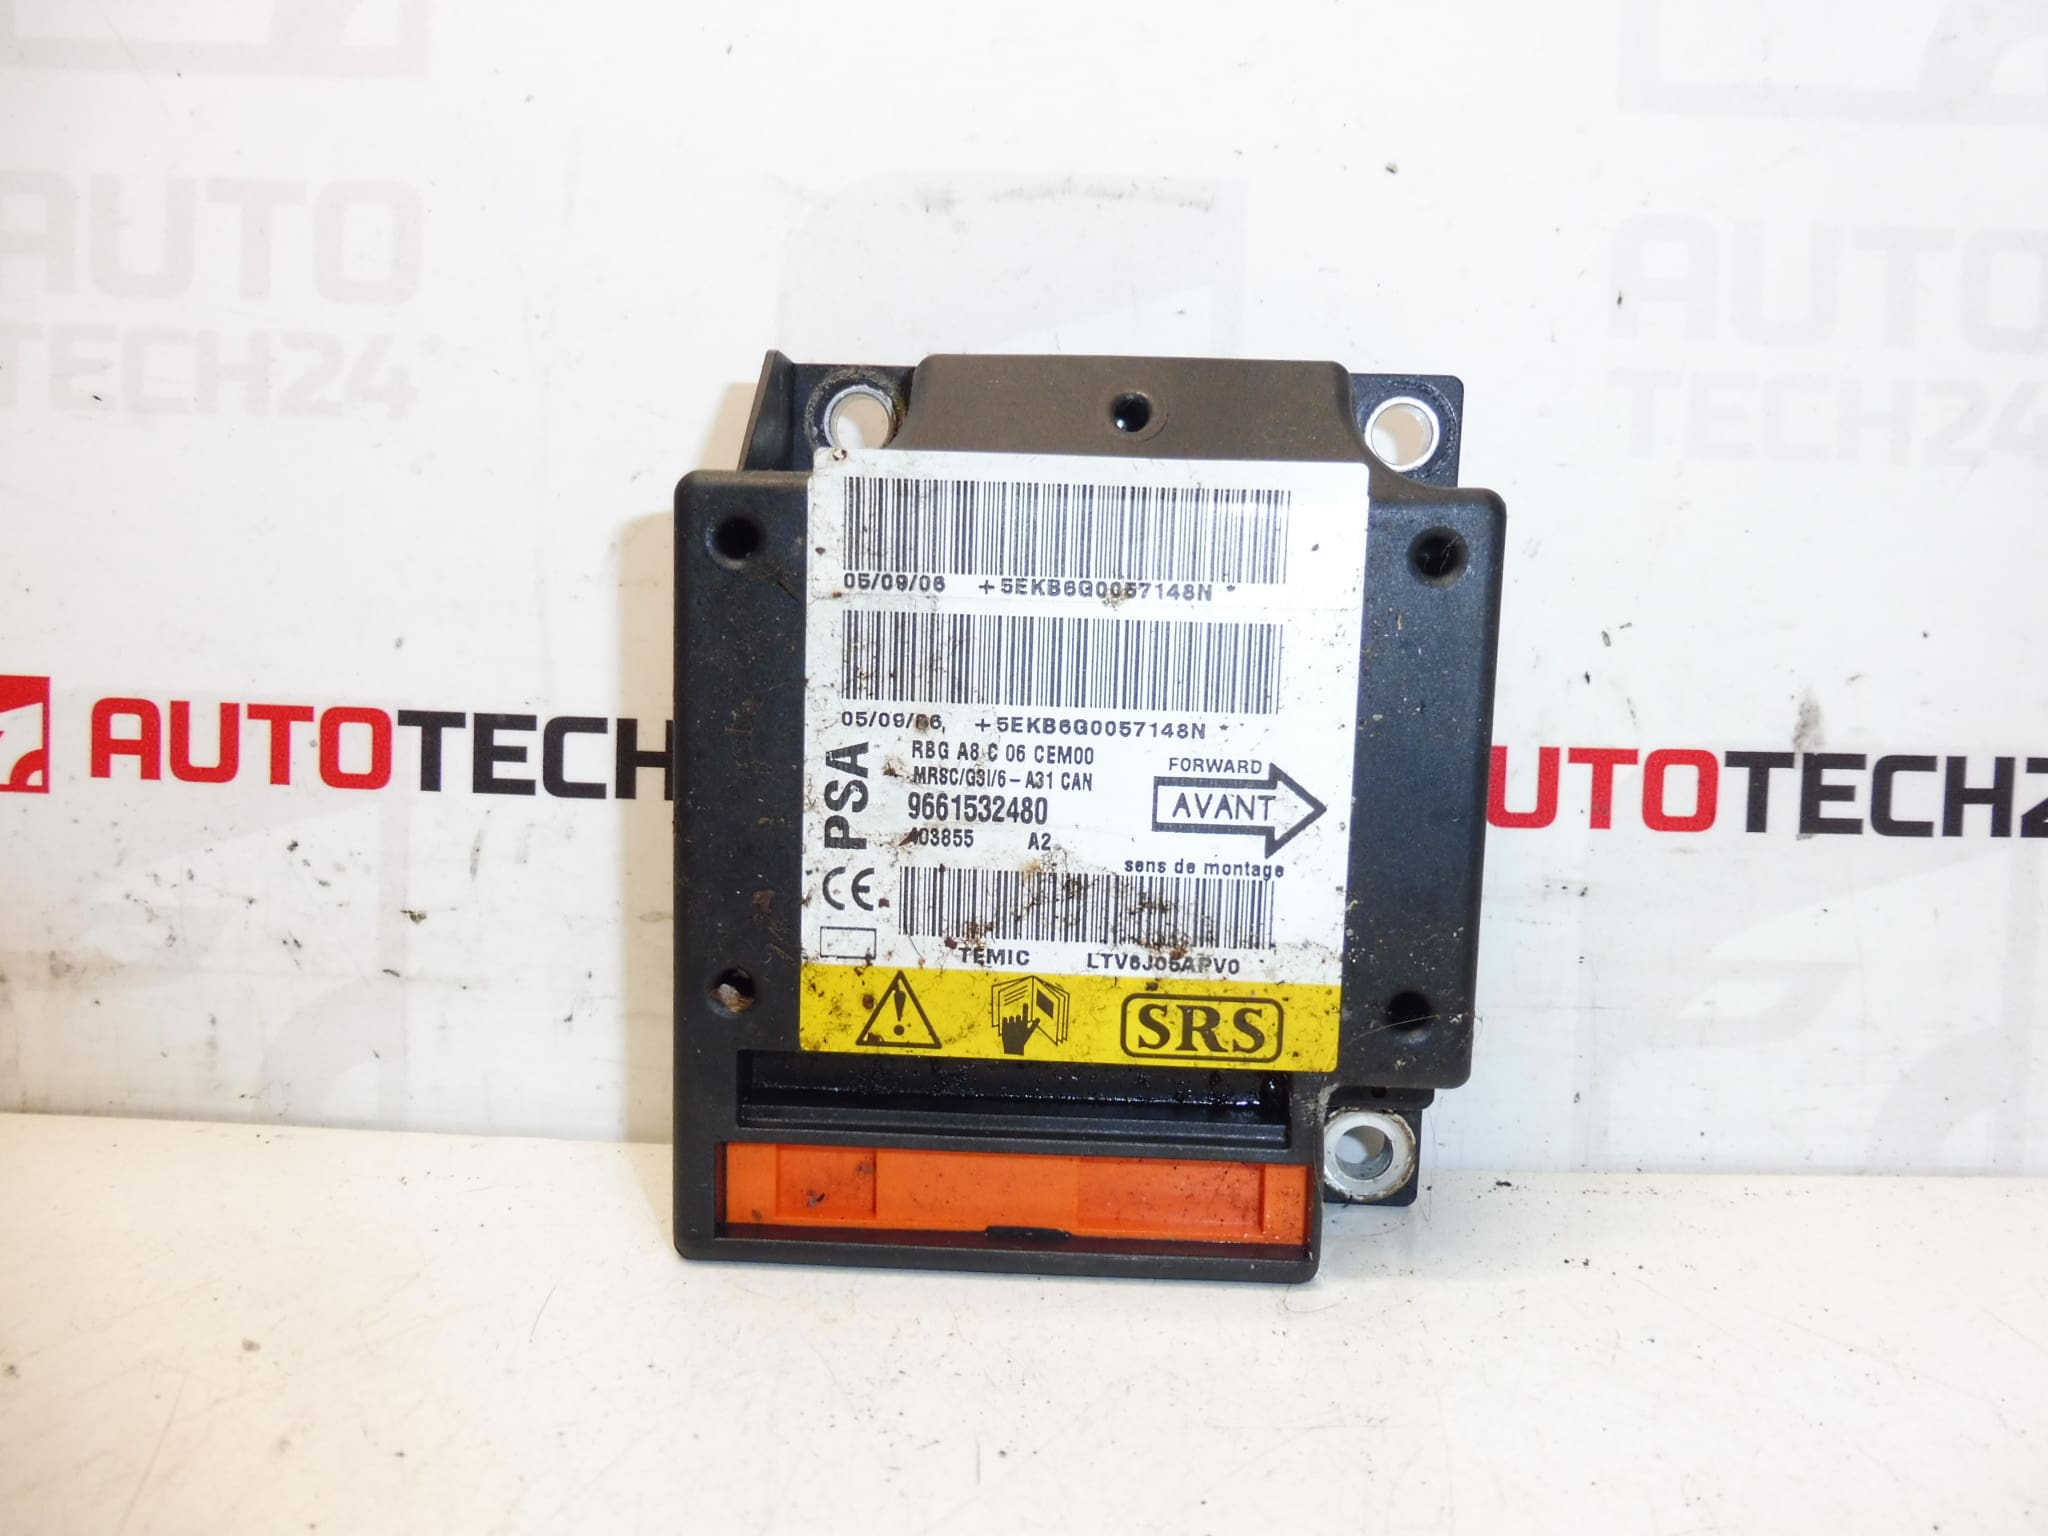
This airbag control unit (SRS Control Module) is an original PSA/ Stellantis unit suitable for Citroën C2 and Citroën C3 models from 2005. The module monitors crash sensors and pyrotechnic devices and triggers airbag deployment during an impact while storing fault codes and event data. Common search terms include Airbag ECU Citroën C3, SRS Control Module 9661532480, and OE codes 6545S0 / 6546C7.
Compatibility And Application
Designed for Citroën C2 and Citroën C3 vehicles (from 2005, variant-dependent). Compatible with vehicles using the listed OE numbers; always check part numbers in the vehicle documentation before fitting. Typical cross-reference numbers for this unit are listed in the Technical Information section below.
Function And Symptoms
- Function: Monitors impact sensors and seat/seatbelt inputs, decides on airbag deployment and records crash/fault events in memory.
- Visible Symptoms Of Faulty Unit: Airbag warning lamp on dashboard, permanent or intermittent SRS fault codes, or loss of communication with the unit via diagnostic tool. After a deployment the module normally stores crash data and must be replaced or correctly reset according to manufacturer procedures.
How Replacement Is Performed (Overview)
- Safety First: Disconnect the negative battery terminal and wait at least 10 minutes (manufacturer procedure may specify different wait time) to allow the SRS capacitors to discharge.
- Access: The SRS control unit location can vary by model and equipment level; it is commonly located under a front seat or in the central tunnel area. Remove any trim or seat fixings necessary to reach the module.
- Removal: Unplug connectors carefully (inspect for corrosion or damaged pins), remove mounting bolts and extract the unit.
- Fitment: Install the replacement unit in reverse order, secure connectors and bolts to correct torque, ensure connector seats are dry and undamaged.
- Finalization: Reconnect battery, perform a full SRS system scan and clear or initialise fault memory with an appropriate diagnostic tool. If the module contains crash data, additional actions may be required (see Technical/Programming notes).
Technical Information
Manufacturer: Stellantis (Citroën/Peugeot)
Model: Citroën C2; Citroën C3
Product Codes: 9661532480, 6545S0
Other Numbers: 6546C7, 6546C8, 6545S5
Mounting Recommendations
- Always Disconnect The Battery: Remove negative battery terminal and wait per manufacturer guidance before touching SRS components.
- Use Proper Tools: Use correct torques for fasteners and avoid over-tightening plastic retainers.
- Inspect Connectors: Replace or clean corroded connectors and ensure seals are intact to prevent future moisture ingress.
- Diagnostic Check: After fitment run a full SRS diagnostic; clearing codes without addressing root causes can leave the system unsafe. It is recommended that initialisation and fault clearing be carried out with a suitable diagnostic tool.
Why This Part Fails Most Often
- Accident Damage: The most common reason for replacement is prior airbag deployment or severe impact that records crash events in the module.
- Moisture And Corrosion: Water ingress or long-term corrosion of connectors can cause electrical faults.
- Electrical Surges Or Short Circuits: Poor battery connections or past jump-start events can damage electronics.
- Internal Electronic Failure: Age-related component failures inside the unit can lead to intermittent or permanent faults.
Programming And Diagnostic Notes
Replacement or reuse of an airbag control unit may require diagnosis and reset of stored crash data, plus verification of sensor inputs. A diagnostic tool capable of reading SRS fault history is needed to confirm correct operation after installation. Where reinitialisation or data transfer is necessary, use professional PSA diagnostic equipment or an equivalent capable of handling SRS functions.
Additional Information
Part Numbers In Search: 9661532480, 6545S0, 6546C7, 6546C8, 6545S5. The unit originates from a non-accident vehicle and is offered as fully functional according to the seller’s description. Always follow vehicle manufacturer service procedures when working on the SRS system to maintain occupant safety.