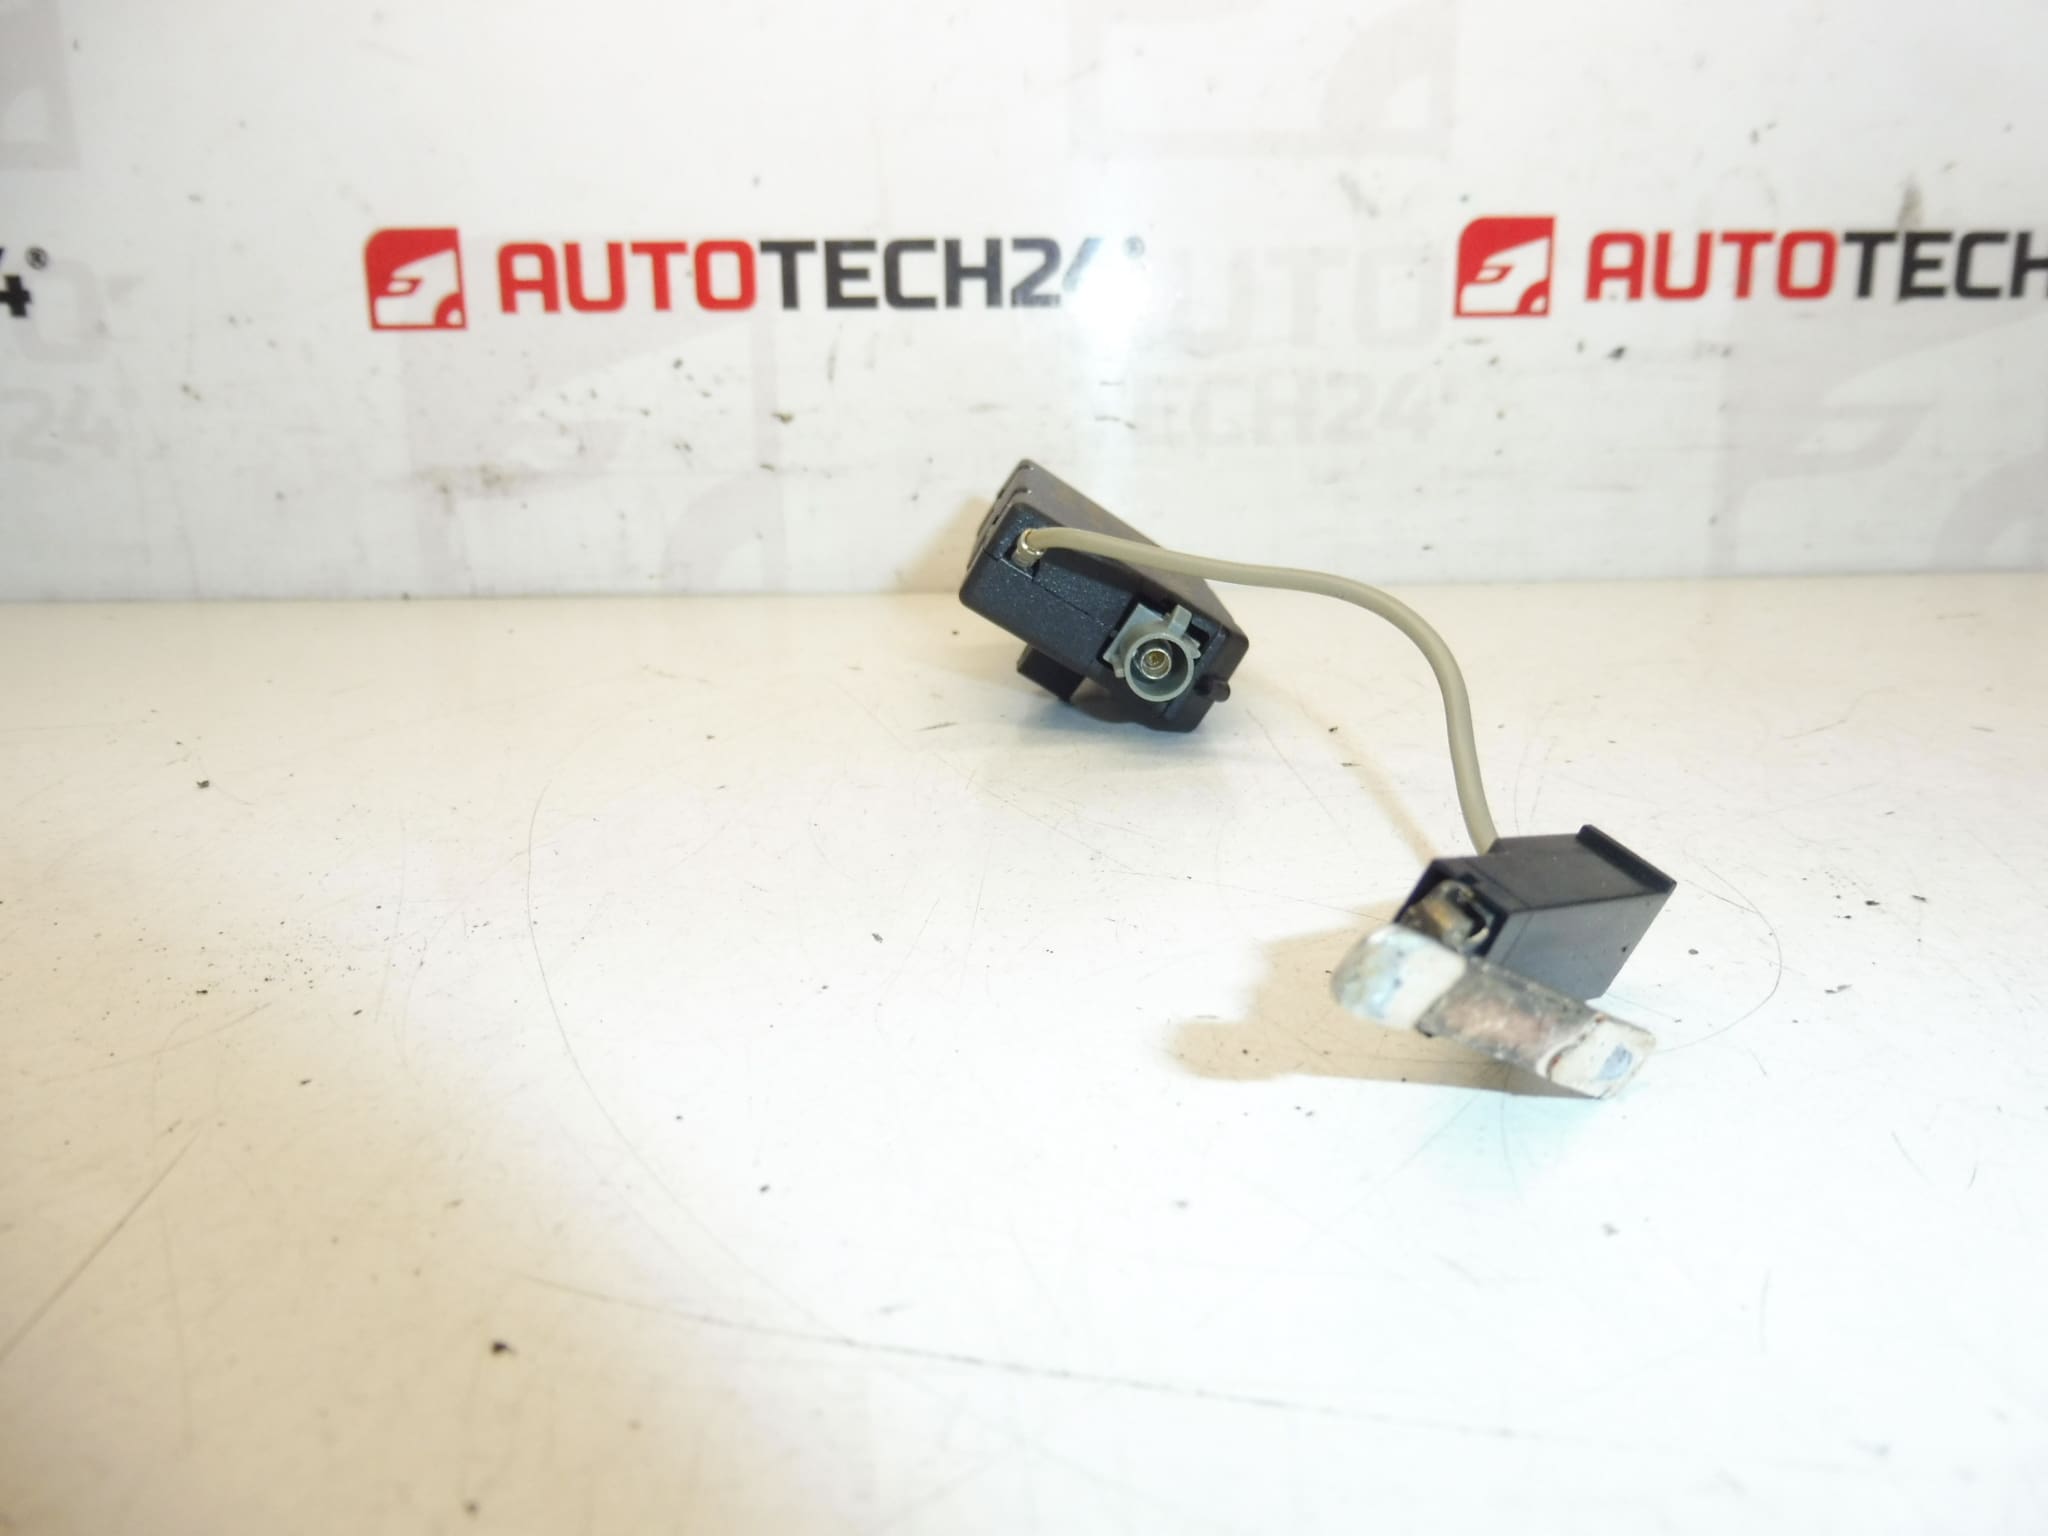
Description
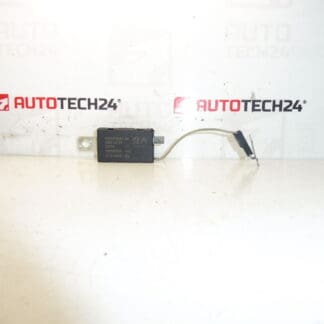
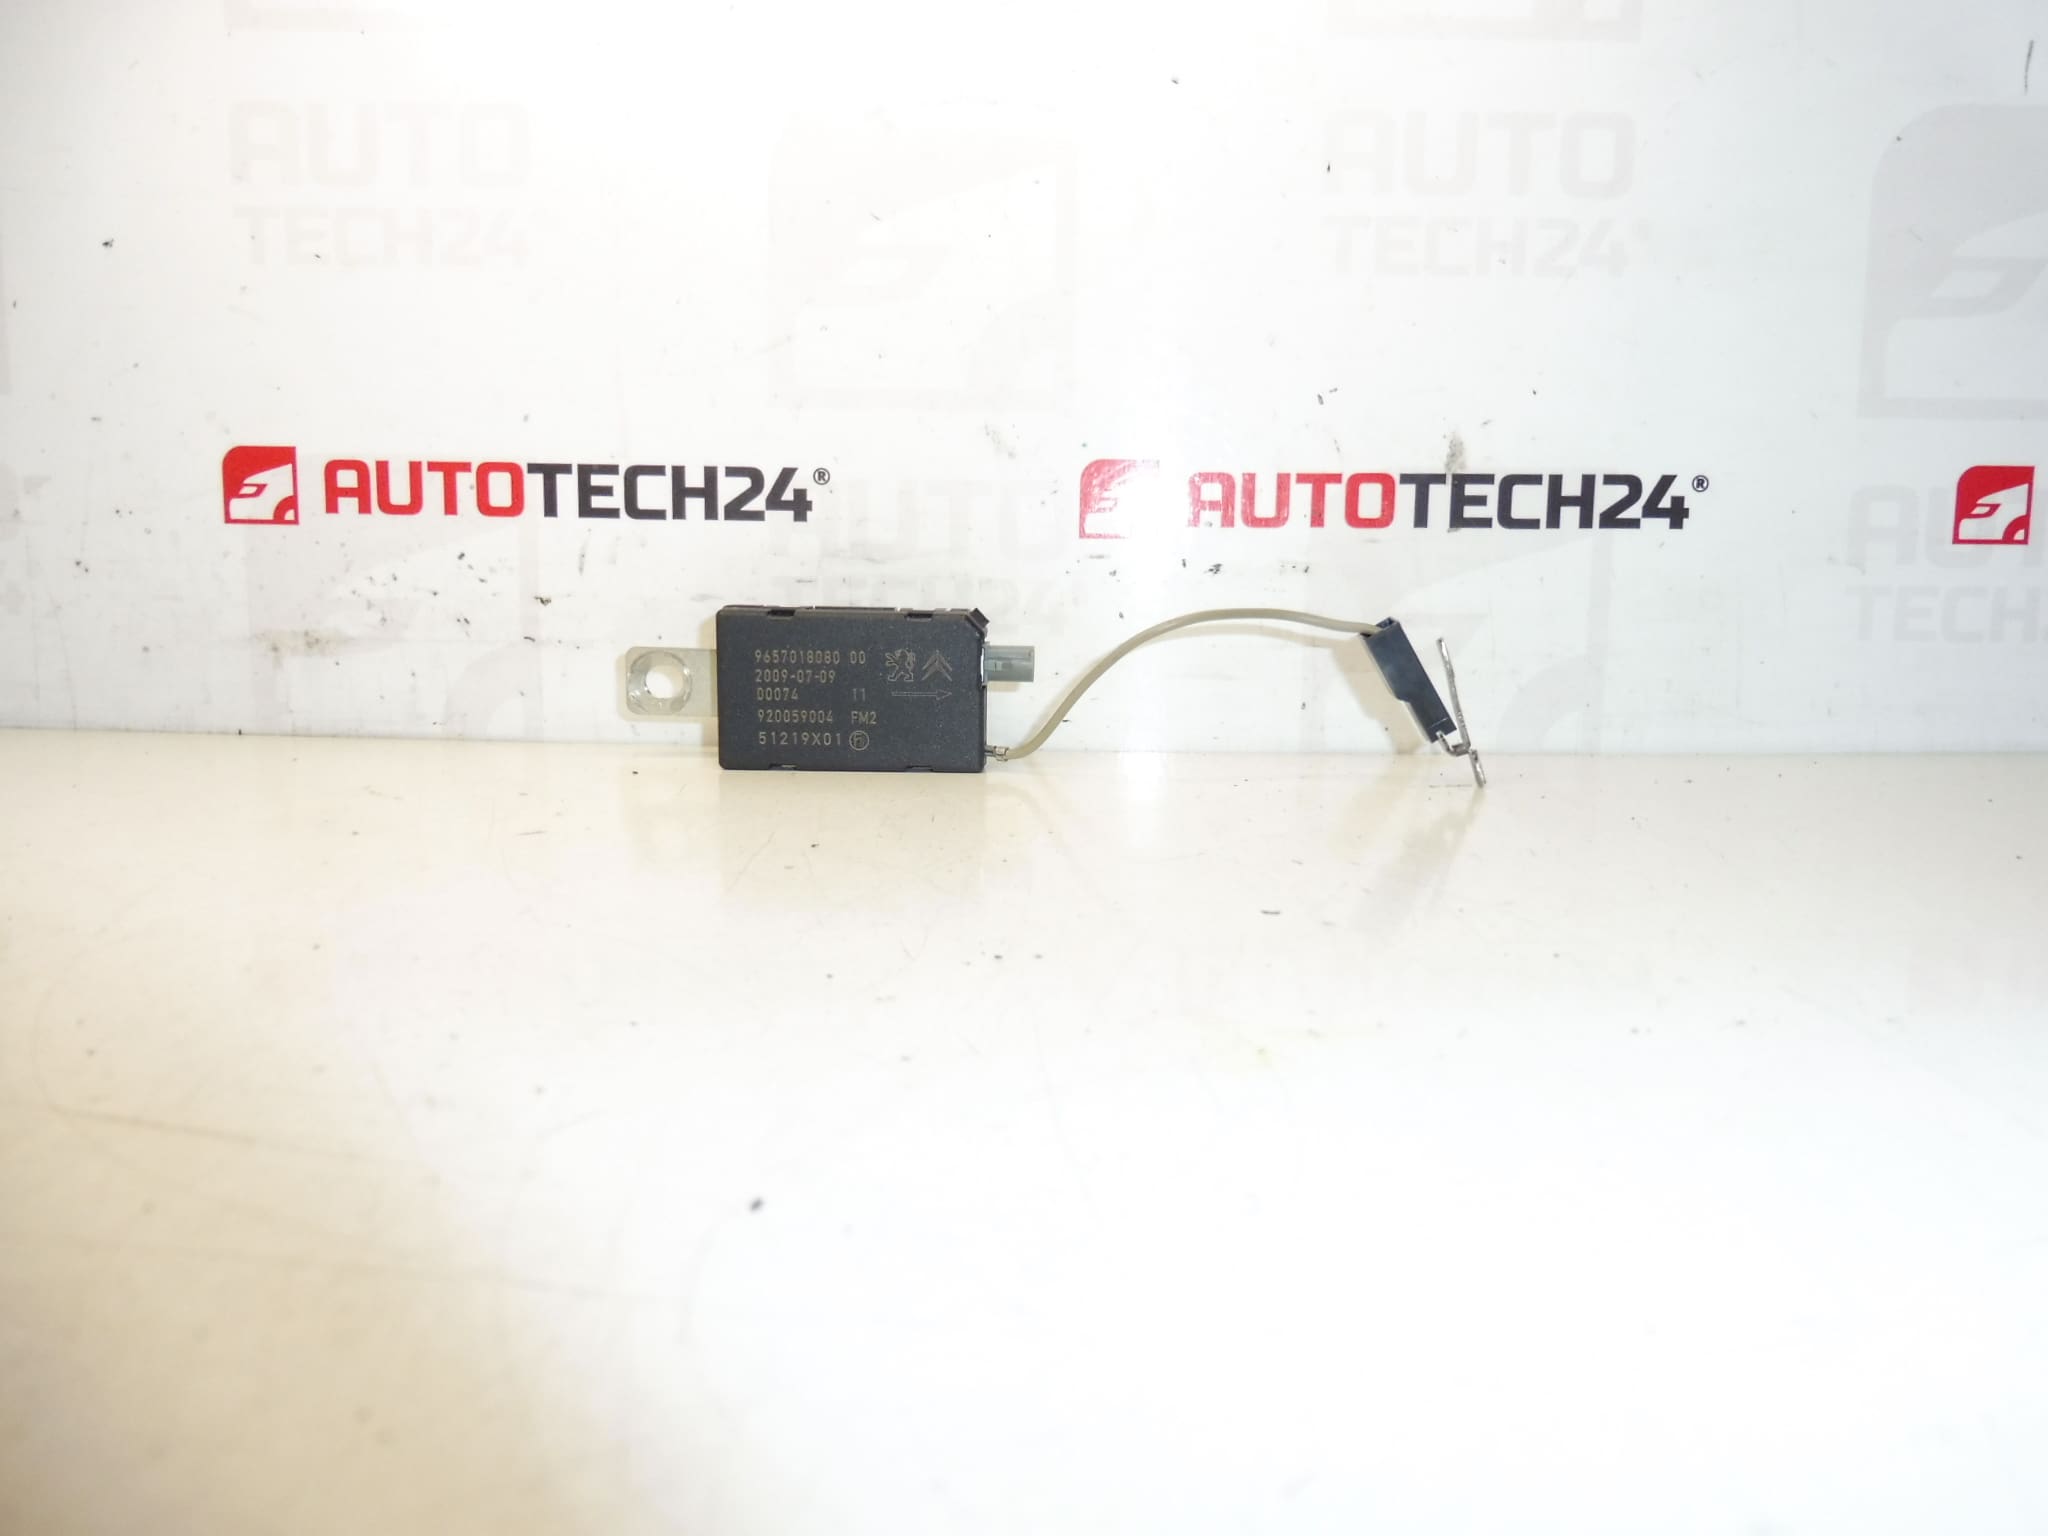
Antenna amplifier FM2 for Citroen and PEUGEOT cars
Part description
Antenna amplifier FM2 is an electrical component designed for Citroën and Peugeot cars. This used car part is a good choice for repairing problems with FM signal reception, fluctuations in radio quality or complete loss of reception. Parts of this type are often searched mainly by the serial number, so it is important to check the correspondence of the marking with the existing piece.
The advantage is the original Stellantis/PSA design, which facilitates the exchange for the original part without unnecessary modifications. It is a practical solution for auto mechanics and DIYers when restoring the function of the vehicle’s antenna system.
Technical information
- Manufacturer: Stellantis Citroën Peugeot
- Model: Citroën C4 PICASSO
- Other numbers: 9657018080, 6561JW, NFP
Product codes
- Product codes: 9657018080, 6561JW
- Models: Citroën C4 PICASSO
Installation recommendations
Generally/typically for replacing this type of electrical part, the exact procedure may vary depending on the specific model and make of the car. Care should be taken with the antenna amplifier to avoid damage to the connectors, wiring or fasteners.
1) Before assembly
- Check that the markings of the original and new part match, especially 9657018080 and 6561JW.
- Visually verify the condition of the connectors, contacts and body of the part.
- Compare the shape, fit and number of connection points with the old piece.
- Make sure that the used part is not mechanically damaged, clogged or with traces of strong corrosion.
2) Necessary tools and materials
- Basic set of hand tools
- Preparations for panel removal
- Electrical contact cleaner
- Clean cloth or tea towel
- Protective gloves
3) Step-by-step assembly procedure
- Turn off the ignition and disconnect the battery for safety.
- Provide access to the original antenna amplifier according to the vehicle design.
- Carefully remove cover or cladding parts if they obstruct access to the part.
- Check the wiring and the condition of the connectors before disconnecting the old part.
- Disconnect the electrical connectors without using brute force to avoid breaking the latches.
- Remove the original amplifier from the mount or bracket.
- Compare the old and new part side by side, especially the numbers, connectors and mountings.
- If necessary, gently clean the contact surfaces and connectors with a suitable product.
- Place the new part in its original place and fasten it properly.
- Connect the connectors so that they are fully seated and properly secured.
- Reinstall all removed covers and trim.
- Connect the battery and perform a basic check of radio function and signal reception.
-
4) Post-assembly checks and test drive/function verification
- Verify that the radio receives FM stations stably and without significant noise.
- Check for signal dropouts during normal operation.
- Check that the connectors hold firmly and there is no excessive tension in the wiring anywhere.
- While driving, observe whether the reception quality has improved compared to the original state.
5) The most common assembly mistakes + how to avoid them
- Part swapping based on appearance – always compare product numbers, not just shape.
- Damage to the connector during disassembly – unlock the connector first and do not pull on the cables.
- Insufficient seating of the connector – after connecting, check that the connection is tight and secure.
- Assembly without checking the condition of the cabling – the defect does not have to be only in the amplifier itself, but also in the supply or connector.
- Rough removal of trim – use a suitable plastic pry bar to avoid damaging interior parts.
Reasons why the part is damaged
- Moisture and leaks in the area of the antenna system
- Corrosion of contacts and electrical connections
- Damage to wiring or connectors during previous repair
- Age and normal wear and tear of electronic components
- Voltage fluctuations in the vehicle’s electrical system
- Mechanical damage when disassembling the trim or other related parts