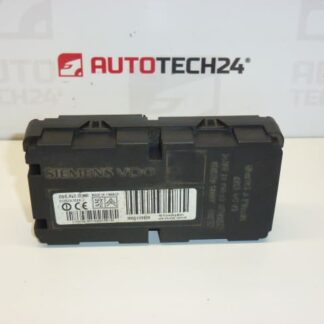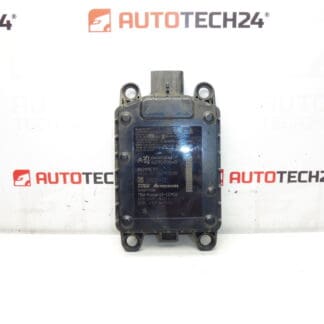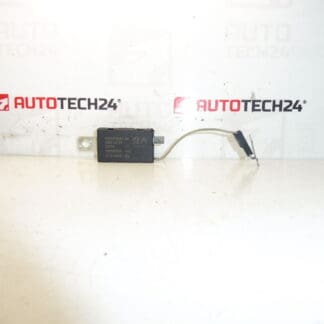
Description
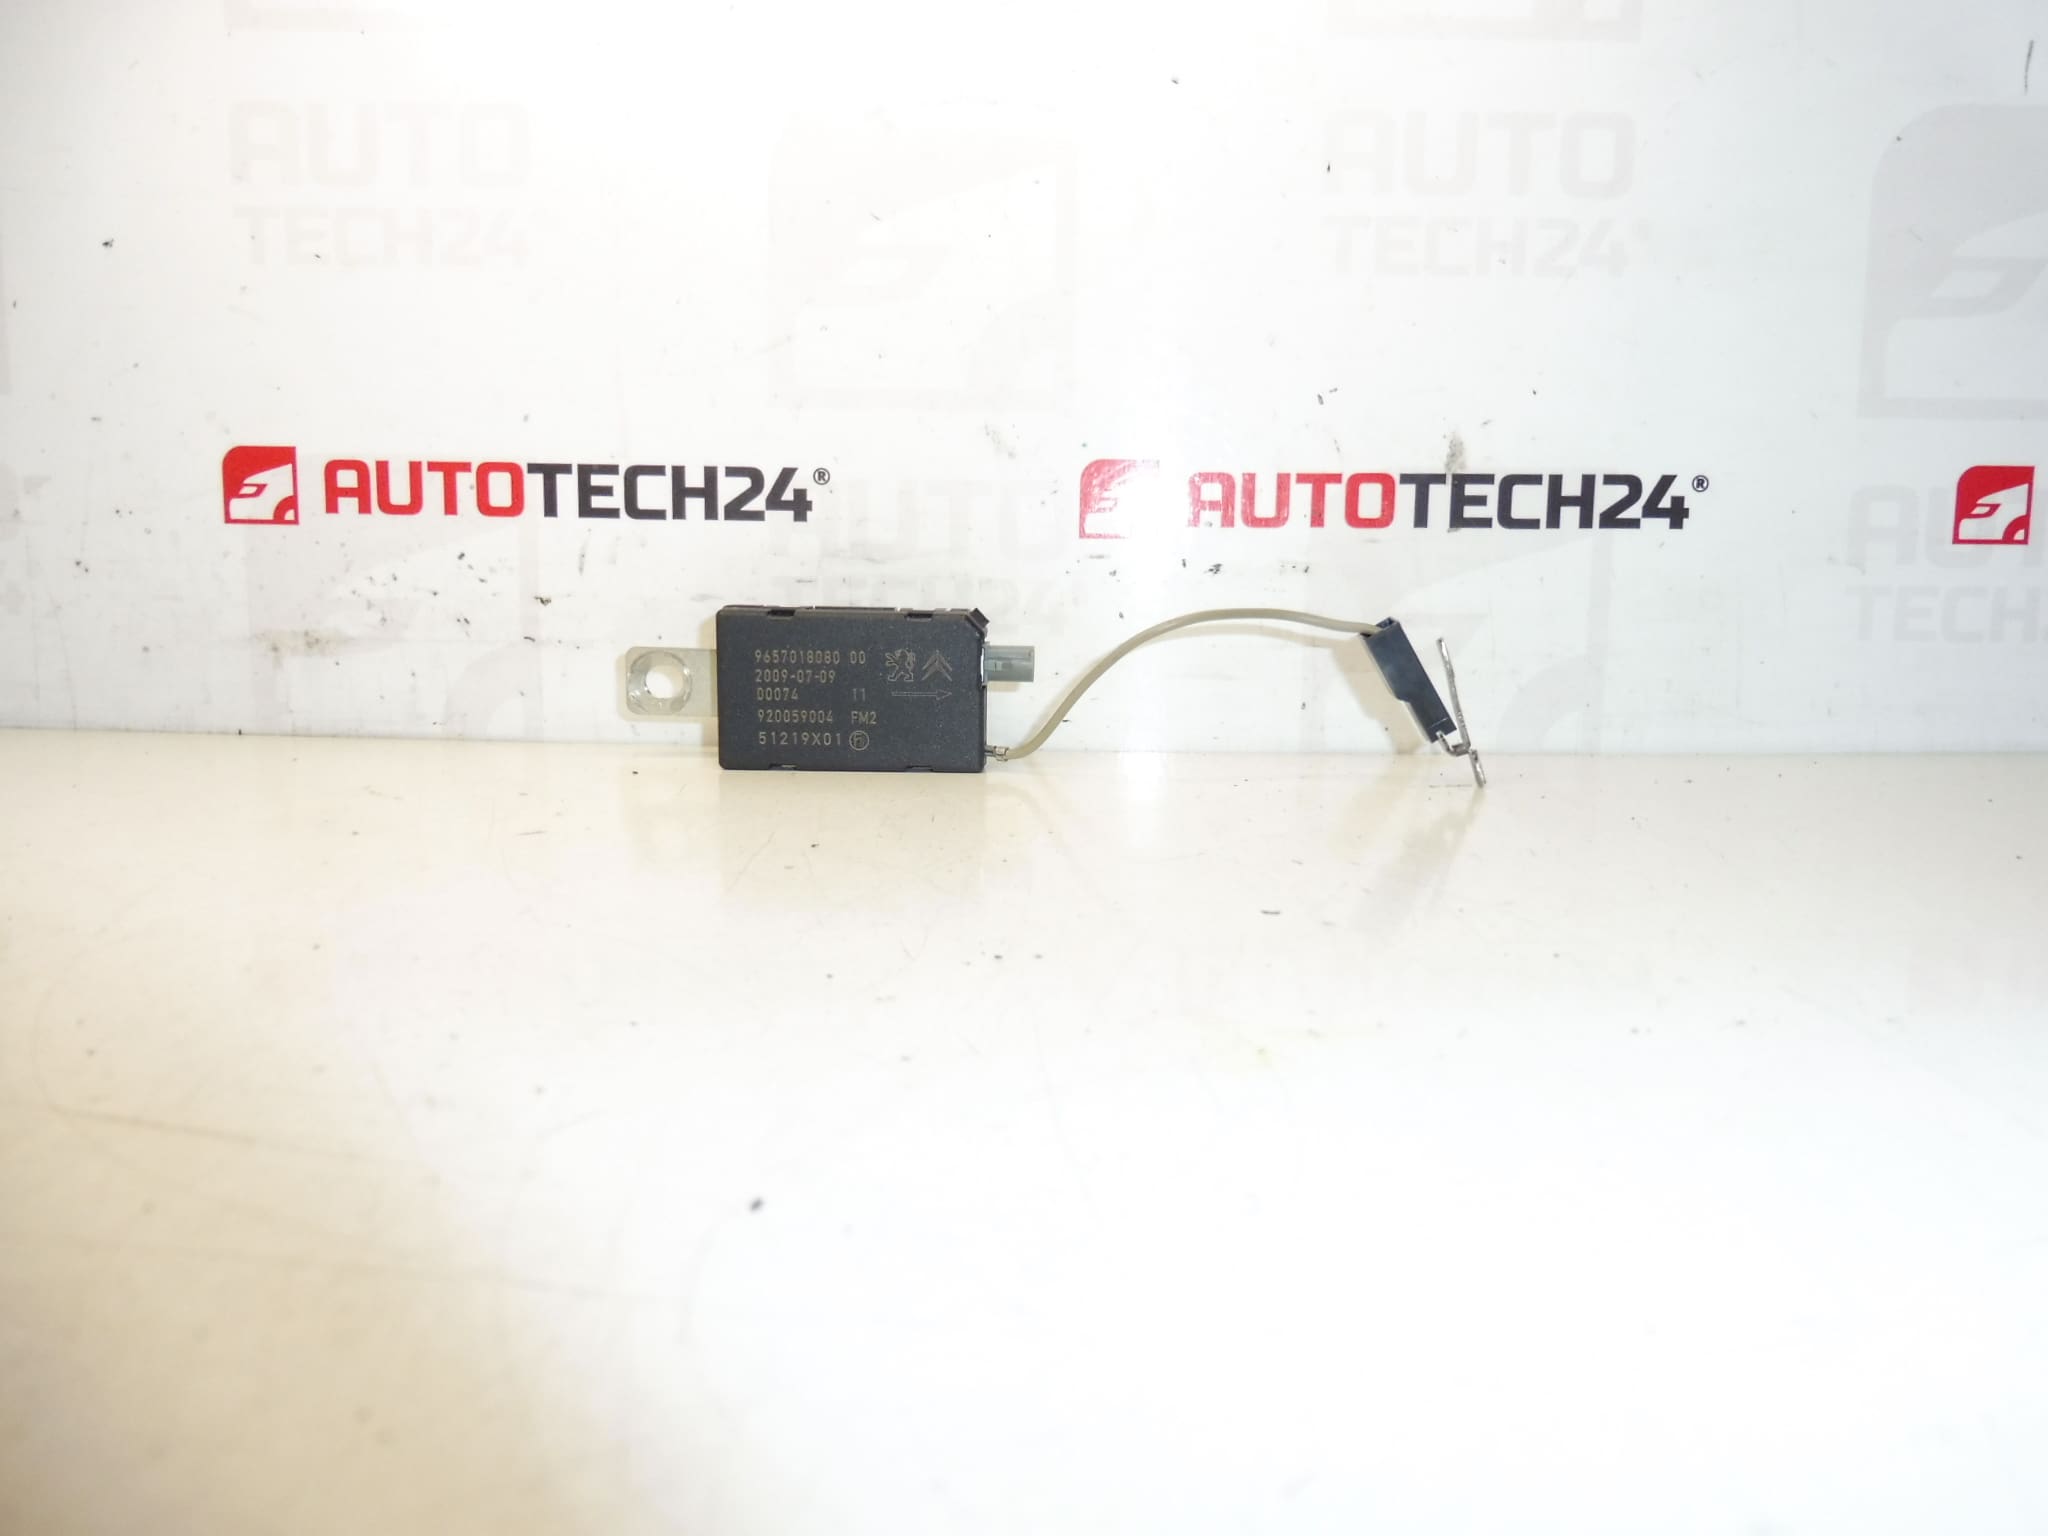
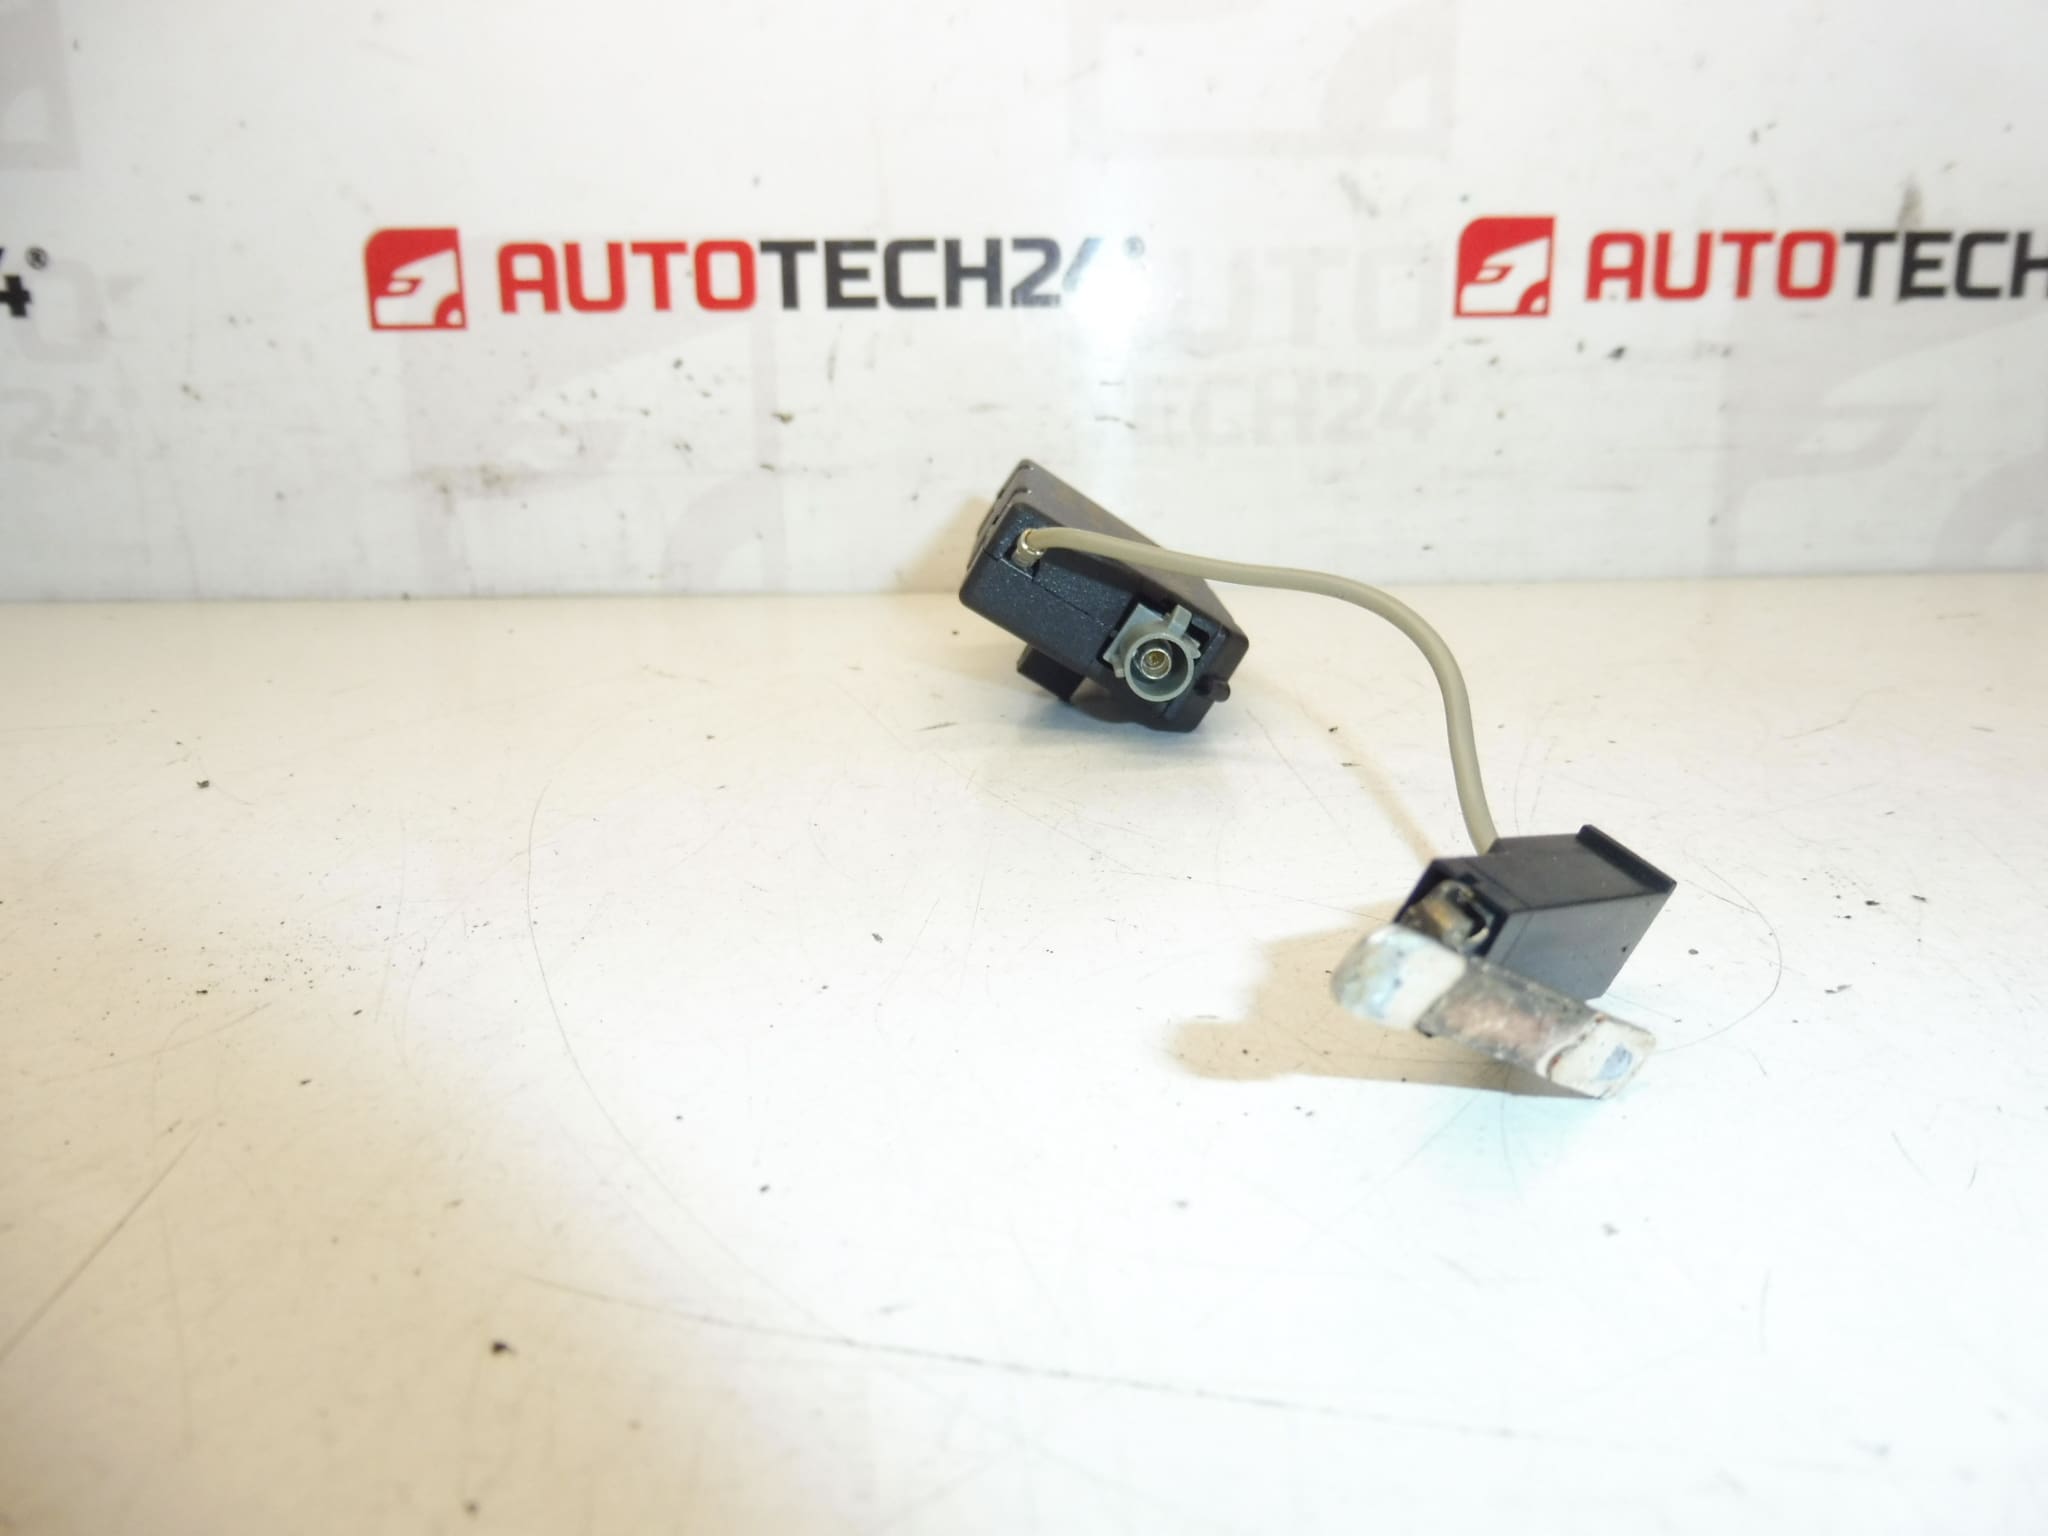
Antenna amplifier FM2 for Citroën and Peugeot vehicles
The FM2 Antenna Amplifier is a direct-fit electrical module designed to restore and improve FM radio reception on compatible Citroën and Peugeot models. This unit replaces failed or noisy amplifiers and helps eliminate weak signal, static and intermittent reception that commonly occur when the amplifier degrades. Ideal for professional workshops and competent DIY mechanics, the amplifier is referenced under OE codes 9657018080 and 6561JW and fits vehicles equipped with the FM2 antenna system, for example Citroën C4 Picasso.
Key Benefits
– Restores clear FM reception in areas with poor signal.
– Reduces background noise and intermittent dropouts caused by a failing amplifier.
– Direct replacement for OE numbers listed; plugs into existing antenna harness with original connectors.
– Compact unit designed for hidden installation near the antenna base, providing reliable long-term performance when properly installed.
Technical Information
- Manufacturer: Stellantis
- Model: Antenna Amplifier FM2
- Product Codes: 9657018080, 6561JW
- Other Numbers: NFP
Where It Is Located
The antenna amplifier is typically mounted at or near the vehicle’s antenna base — commonly on the roof, in the roof antenna module, or inside the tailgate/headliner on hatchback models such as the C4 Picasso. Access requires removal of the relevant trim or tailgate lining to reach the antenna connector and amplifier module.
How To Replace
1) Disconnect the negative battery terminal before beginning work.
2) Remove interior trim or tailgate lining to access the antenna base or amplifier housing.
3) Unplug the antenna coax connector and the amplifier electrical connector; note connector orientation.
4) Unbolt or unclip the amplifier assembly and fit the replacement unit in the same position.
5) Reconnect the coax and electrical connector, reconnect the battery and test FM reception and functionality before refitting trim.
6) Reassemble trim and check for secure fitment and absence of rattles.
Installation Recommendations
- Always disconnect the battery before starting to avoid short circuits and potential damage.
- Use the original connectors and secure fastening points; avoid excessive force on plastic clips.
- Inspect the antenna coax cable and connectors for corrosion or damage; replace or repair damaged coax to ensure optimal performance.
- Apply a small amount of dielectric grease to external connectors to limit future corrosion if exposed to moisture.
- Test the radio reception and verify ground continuity before reassembling the interior trim.
Why This Part Fails Most Often
– Water Ingress And Corrosion: Moisture penetrating the antenna base or tailgate area causes corrosion of connectors and internal circuitry.
– Connector Or Coax Damage: Broken or pinched coax cables and damaged antenna connectors lead to poor signal transmission and load the amplifier.
– Electrical Overstress: Voltage spikes, poor grounding or faults in the vehicle’s electrical system can damage internal amplifier components.
– Vibration And Aging: Long-term vibration and thermal cycling weaken solder joints and electronic components, causing intermittent failures.
Practical Tips For Diagnostics
Before replacing the amplifier, check for a blown radio fuse, test coax continuity from head unit to antenna, and swap with a known-good unit if available. If reception improves when the head unit is connected to an external antenna, the amplifier is a likely culprit. Always inspect for water entry points around the antenna base and tailgate seals.