Description
Airbag Control Unit For Citroën C8 And Peugeot 807. Fully Functional.
Description
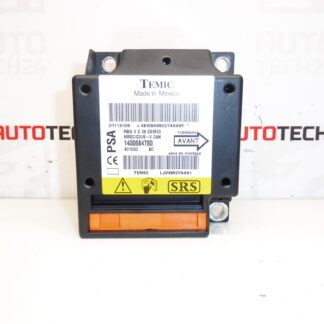
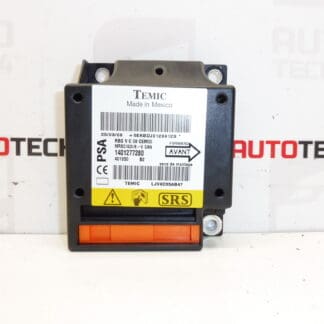
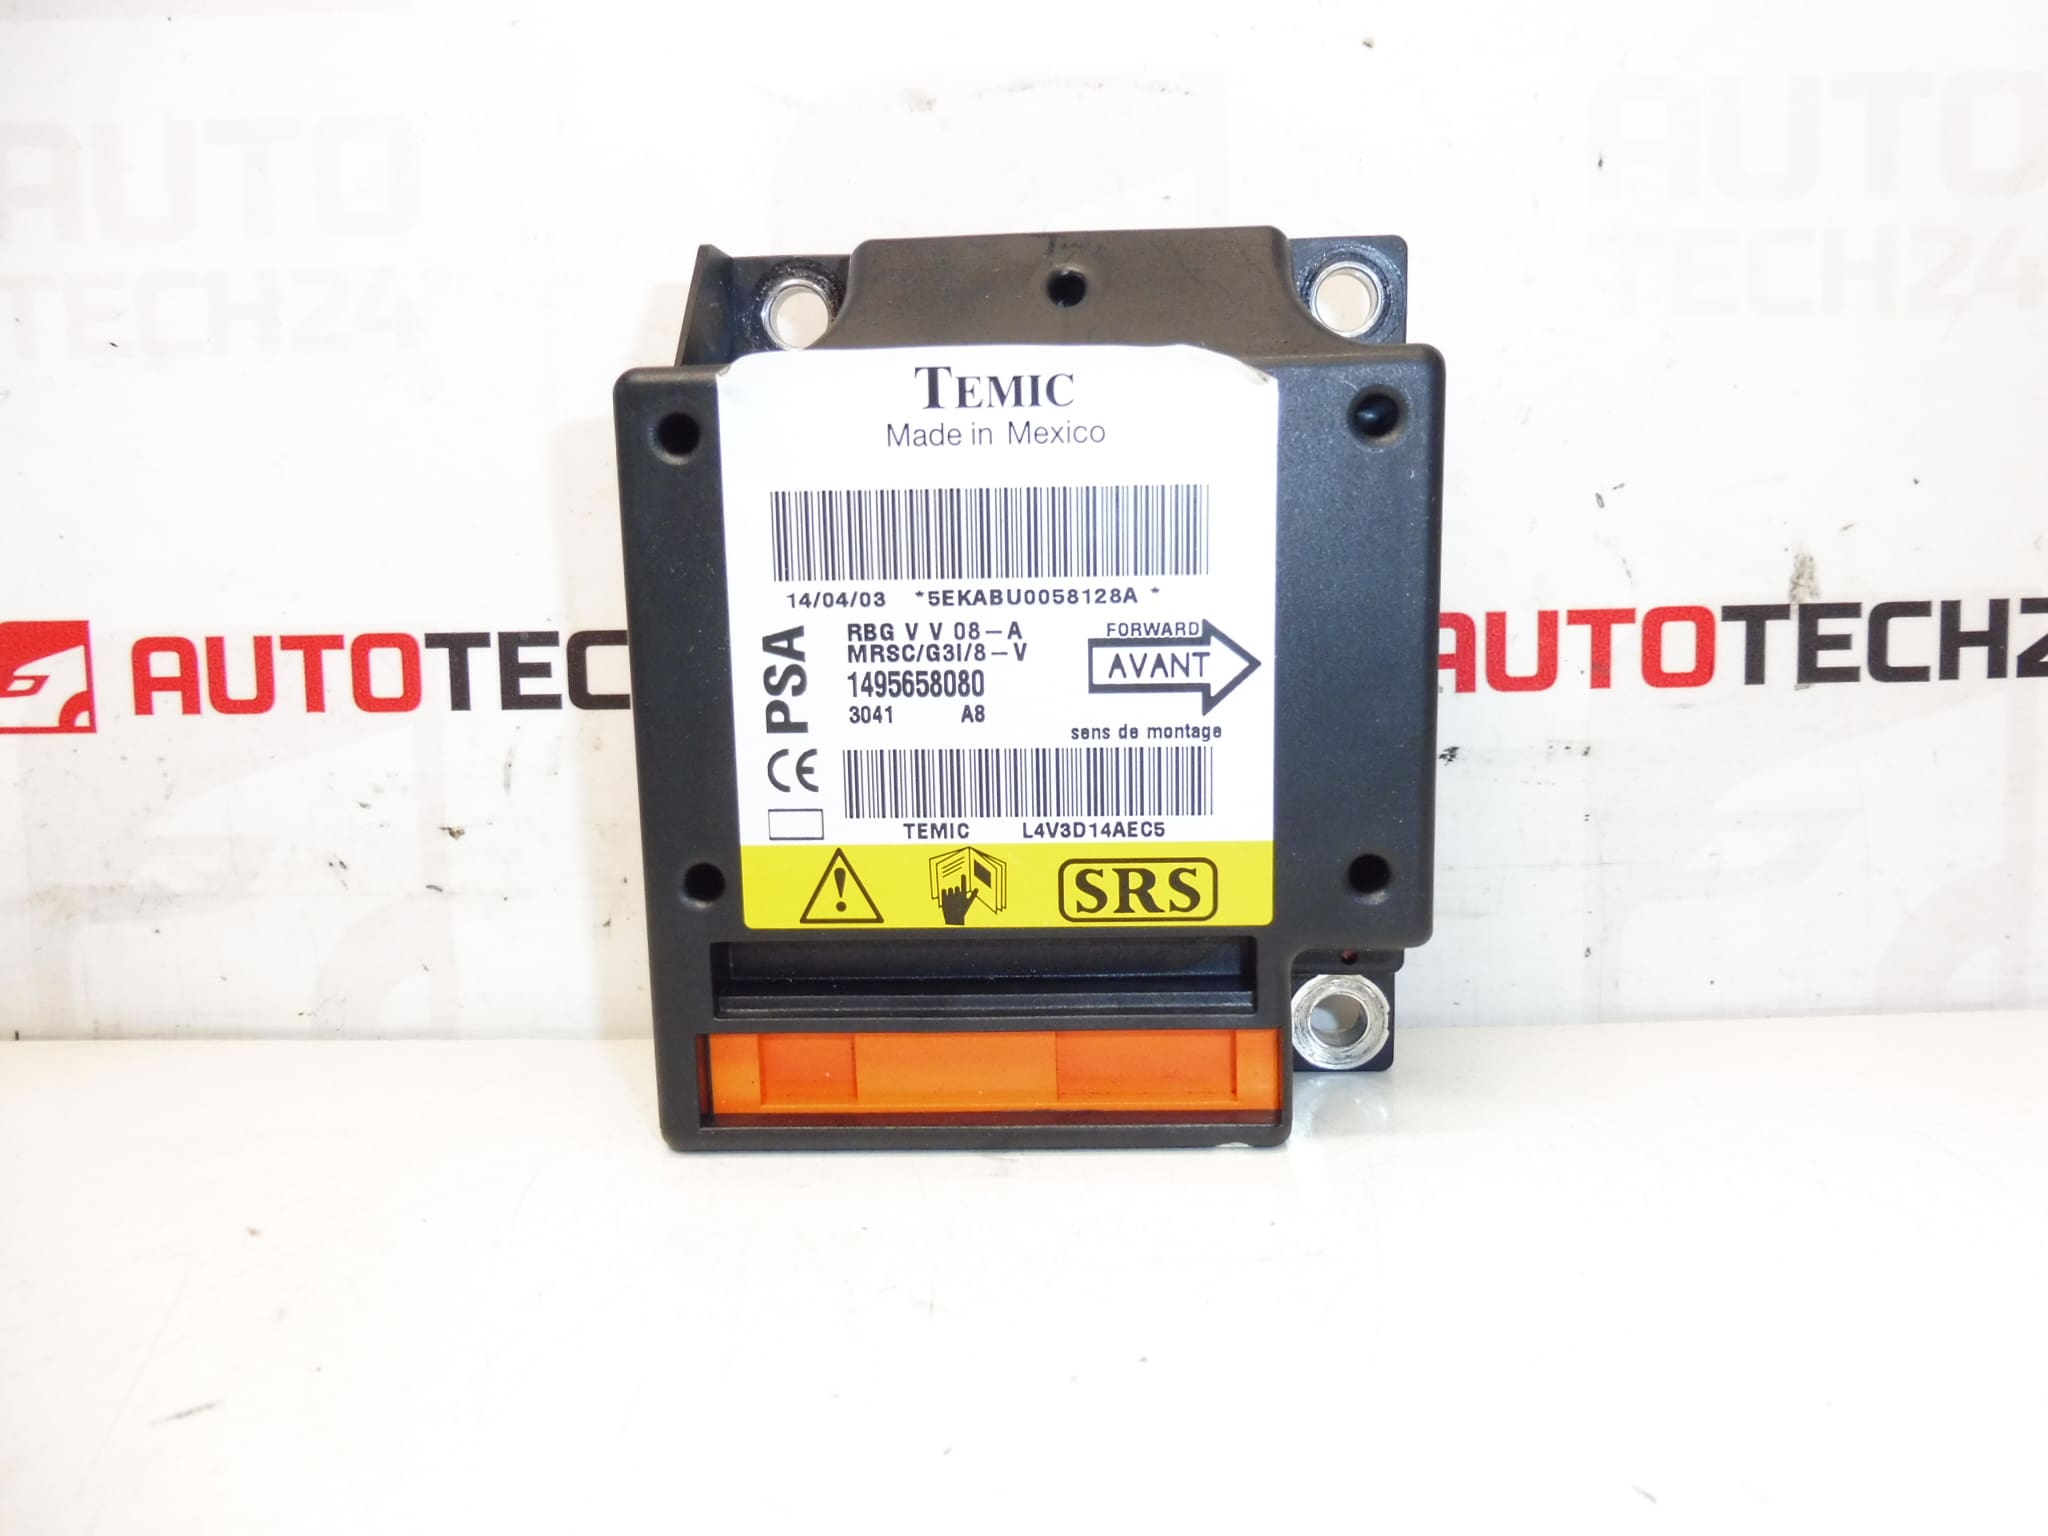
This Airbag Control Unit (SRS/Restraints Control Module) is intended for Citroën C8 and Peugeot 807 models. It restores proper airbag system operation when the original unit is faulty or damaged. Frequently Searched By Product Code (1495658080, 654674), this unit is a direct-fit replacement for technicians and experienced DIYers who need a reliable SRS module that integrates with the vehicle’s safety systems.
Technical Information
- Manufacturer: Stellantis (Citroën / Peugeot OEM)
- Model: Citroën C8; Peugeot 807
- Product Codes: 1495658080, 654674
- Additional Numbers: NFP
Function And Fitment
The Airbag Control Unit Monitors Crash Sensors, Seatbelt Pretensioners And Airbag Deployment Circuits. It Evaluates Sensor Inputs And Commands Deployment In The Event Of A Collision. The Module Also Stores Fault Codes Related To The SRS System, Which Require A Diagnostic Tool To Read And Clear. Designed For The Citroën C8 And Peugeot 807 Platforms, It Matches The Electrical And Mounting Interfaces Used On These Vehicles.
Replacement Procedure
- Safety First: Disconnect The Battery Negative Terminal And Follow The Manufacturer’S Recommended Waiting Period To Allow Residual Energy To Discharge Before Working On The SRS System.
- Access The Unit: The Module Is Typically Located Under The Center Console Or Beneath A Seat In Citroën C8 / Peugeot 807 Vehicles. Remove Interior Trim Panels As Required To Reach The Module.
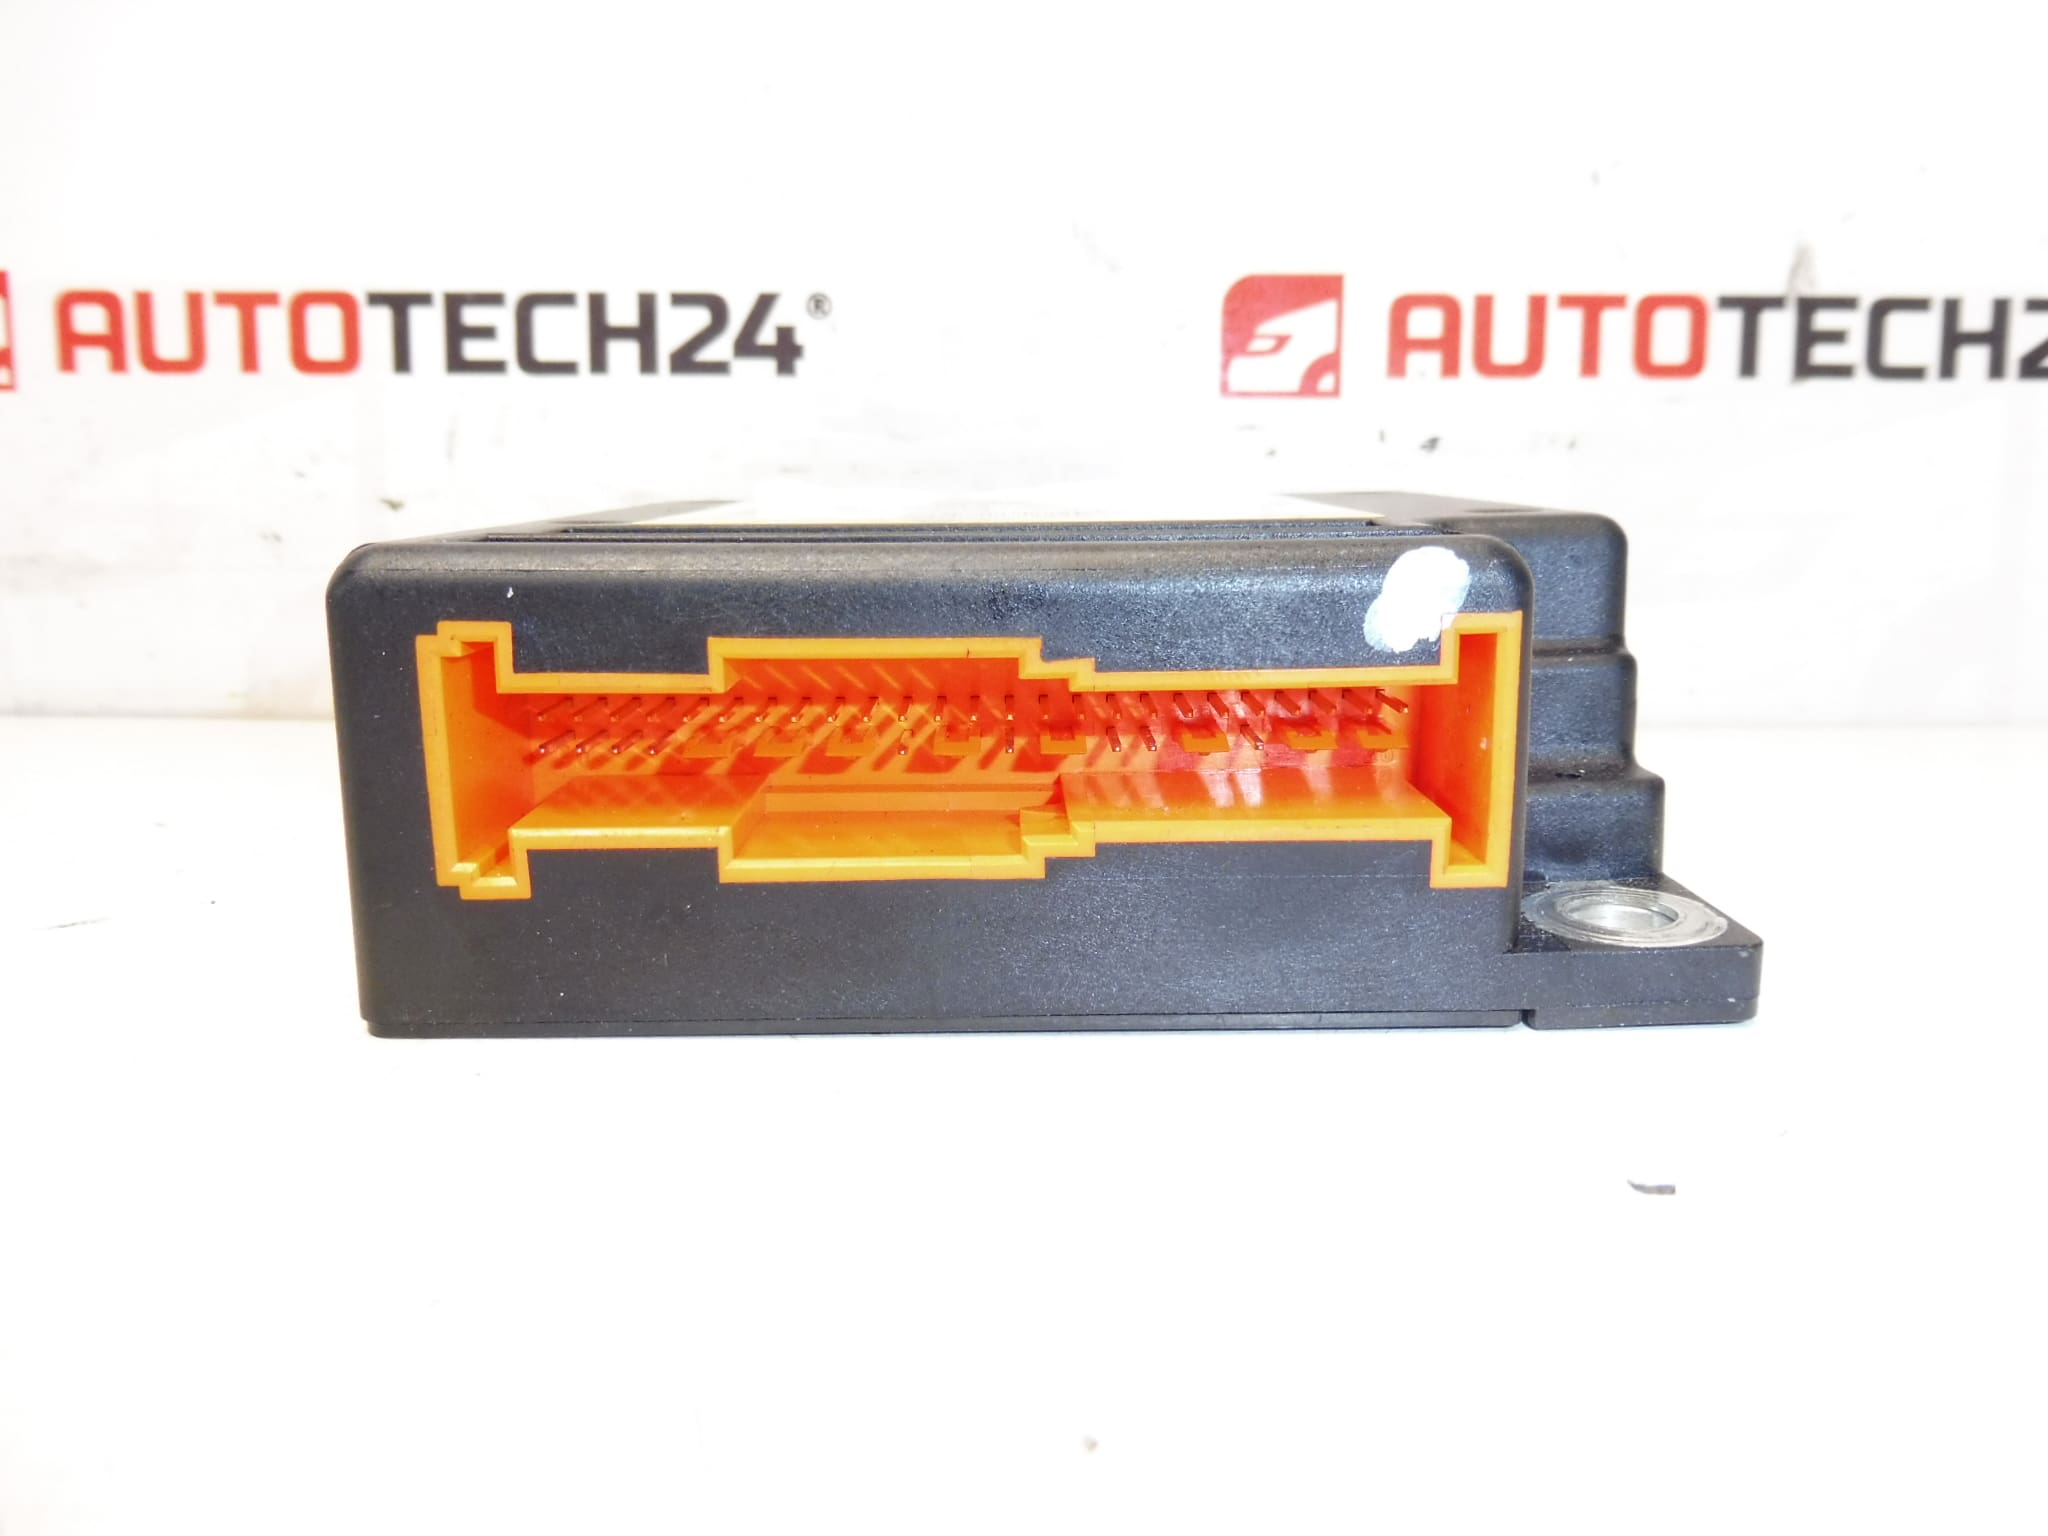
- Disconnect Connectors: Carefully Unplug All Airbag Harness Connectors, Noting Locking Tabs And Retainers. Avoid Pulling On Wires.
- Remove And Replace: Unbolt The Module From Its Bracket, Install The Replacement Unit, And Refit Fasteners To The Original Position.
- Diagnostics: After Reconnection, Use A Compatible Diagnostic Tool To Read Stored Fault Codes, Clear SRS Faults, And Verify That The Airbag Warning Lamp Behaves Correctly.
Installation Recommendations
- Always Disconnect The Battery Before Removal And Follow The Vehicle Manufacturer’S Procedure.
- Handle The Unit As An Electrostatic Sensitive Device. Avoid Impact, Dropping, Or Exposure To Moisture.
- Use A Professional Diagnostic Tool To Read/Erase Codes And Confirm System Status After Installation.
- If The Vehicle Has Been In A Collision Or Airbags Have Deployed, Replace Any Deployed Components And Ensure The Entire SRS System Is Restored According To Manufacturer Specifications.
Typical Failure Causes
- Crash Deployment: Unit Is Replaced After Airbag Activation In A Collision.
- Water Ingress And Corrosion: Moisture From Leaks Or Flooding Can Corrode Connectors And Circuitry.
- Electrical Faults Or Short Circuits: Voltage Surges, Poor Grounding, Or Damaged Wiring Can Cause Module Failure.
- Connector Damage Or Poor Contact: Loose Or Corroded Plugs Can Generate Intermittent Faults Or Permanent Errors.
- Age And Environmental Stress: Over Many Years, Electronic Components Can Degrade Leading To Fault Codes Or Malfunction.
Why Choose This Unit
This Airbag Control Unit Is A Practical Solution For Restoring SRS Functionality On Citroën C8 And Peugeot 807 Vehicles. It Is Commonly Searched By Its Product Codes (1495658080, 654674), Making It Easier For Mechanics And DIY Enthusiasts To Find The Correct Part. When Installed And Diagnosed Properly, The Unit Helps Ensure That The Vehicle Safety System Operates As Intended.