Description
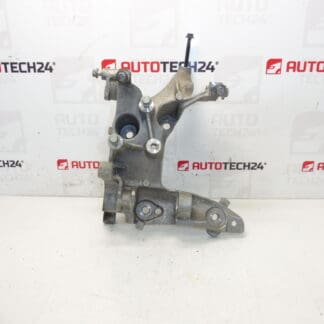
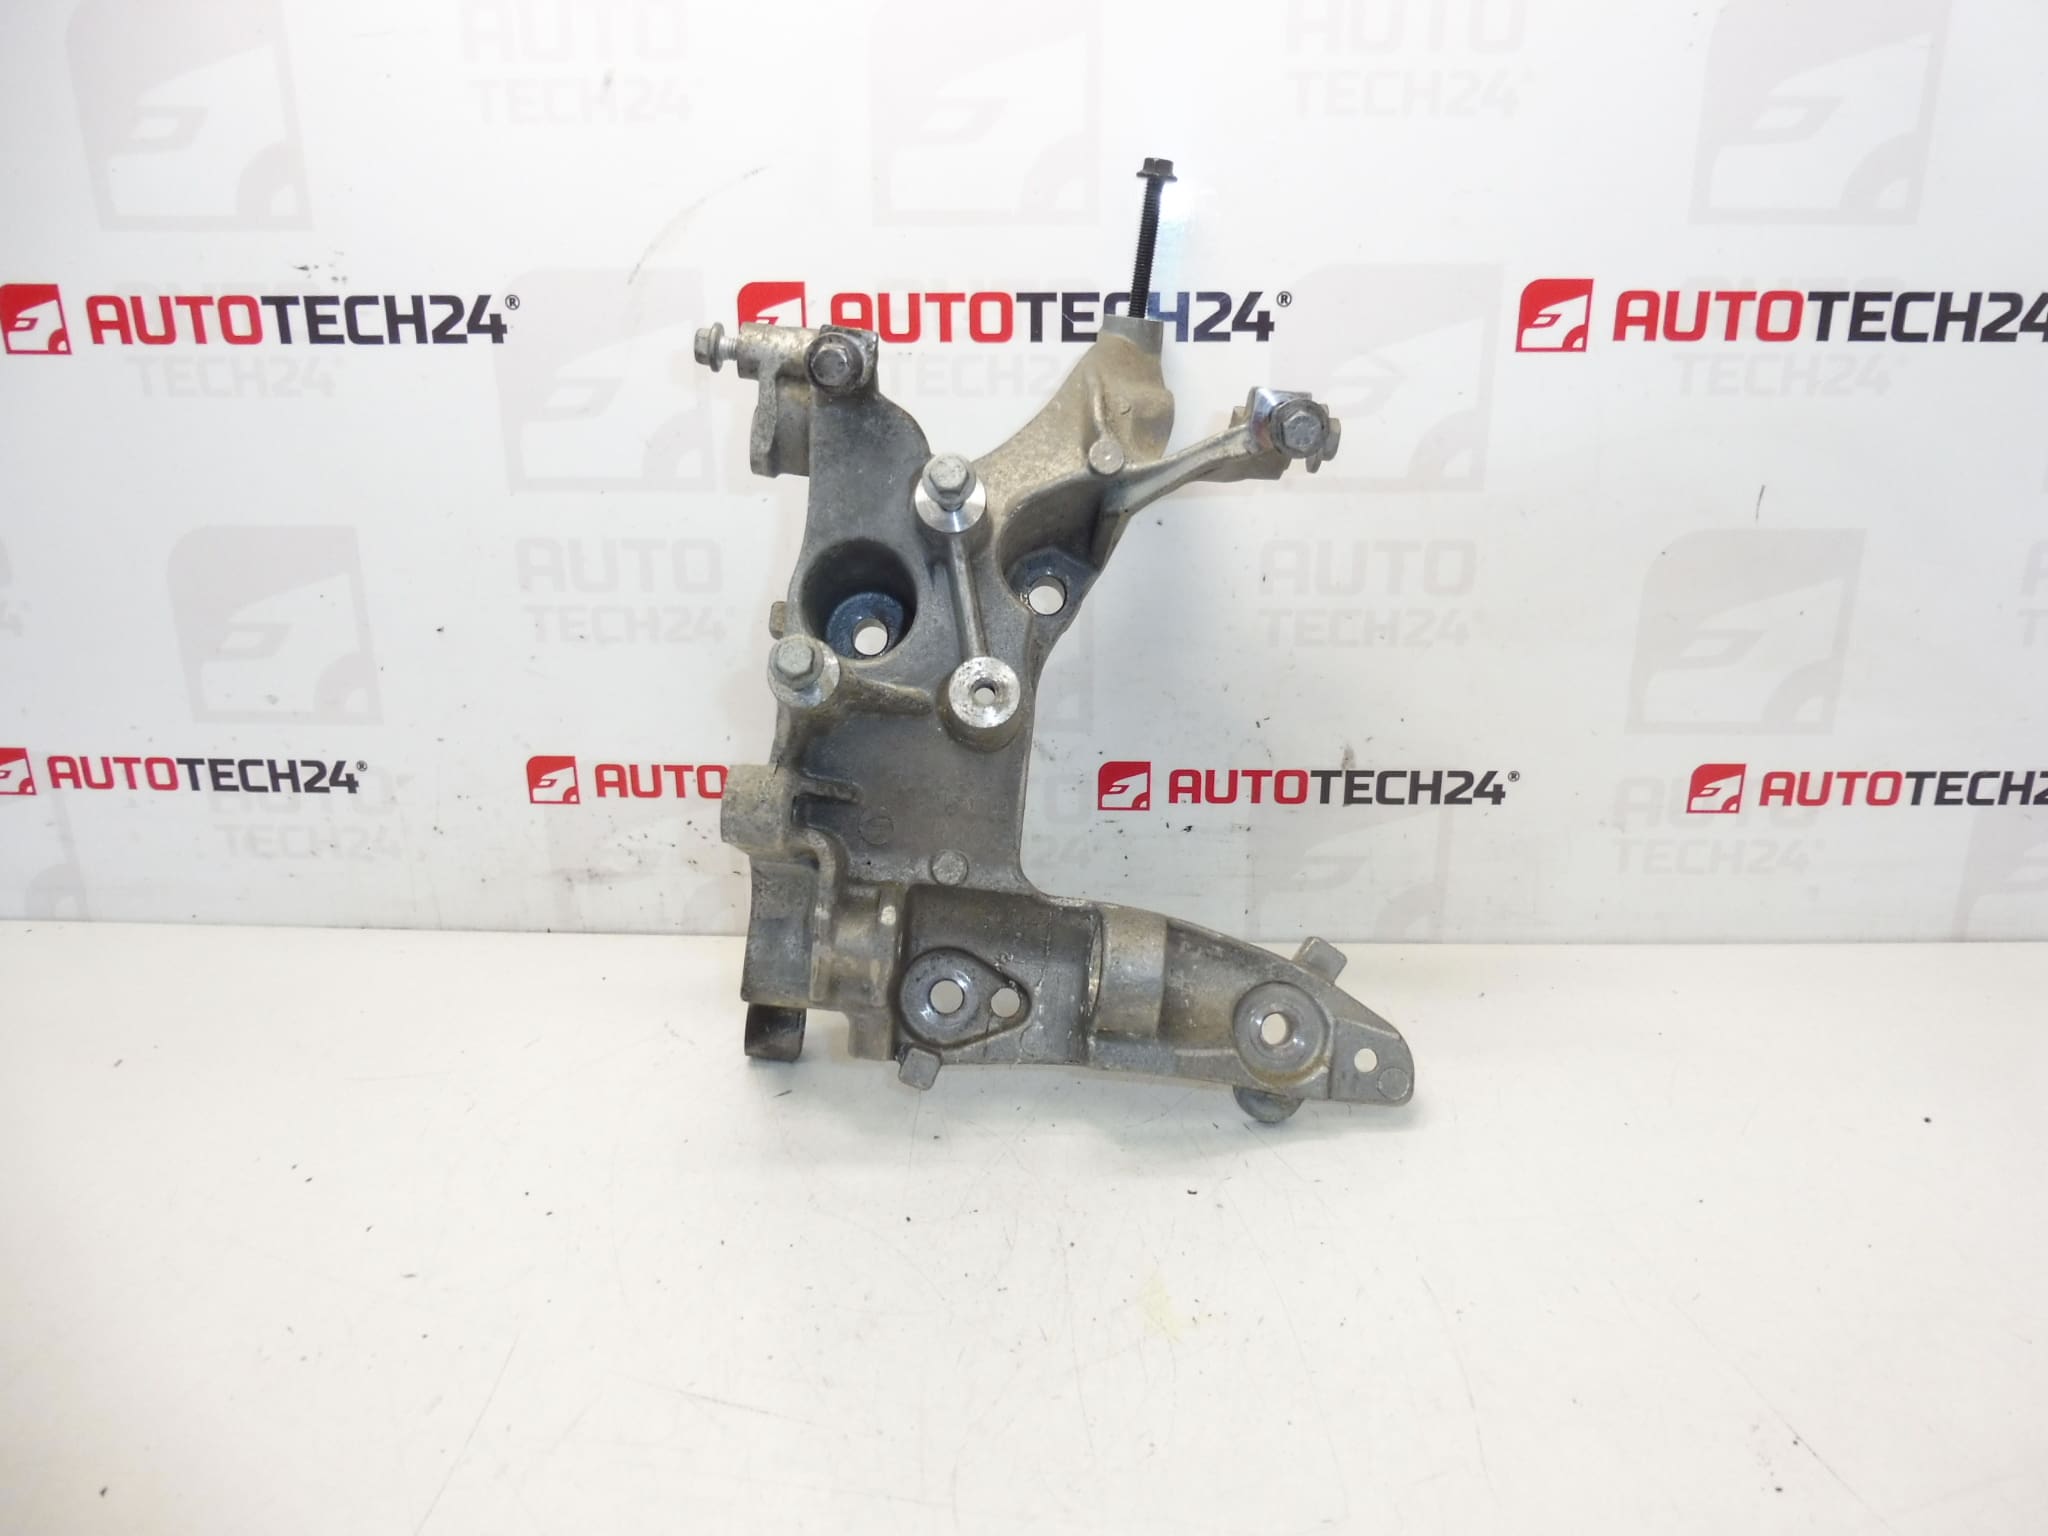
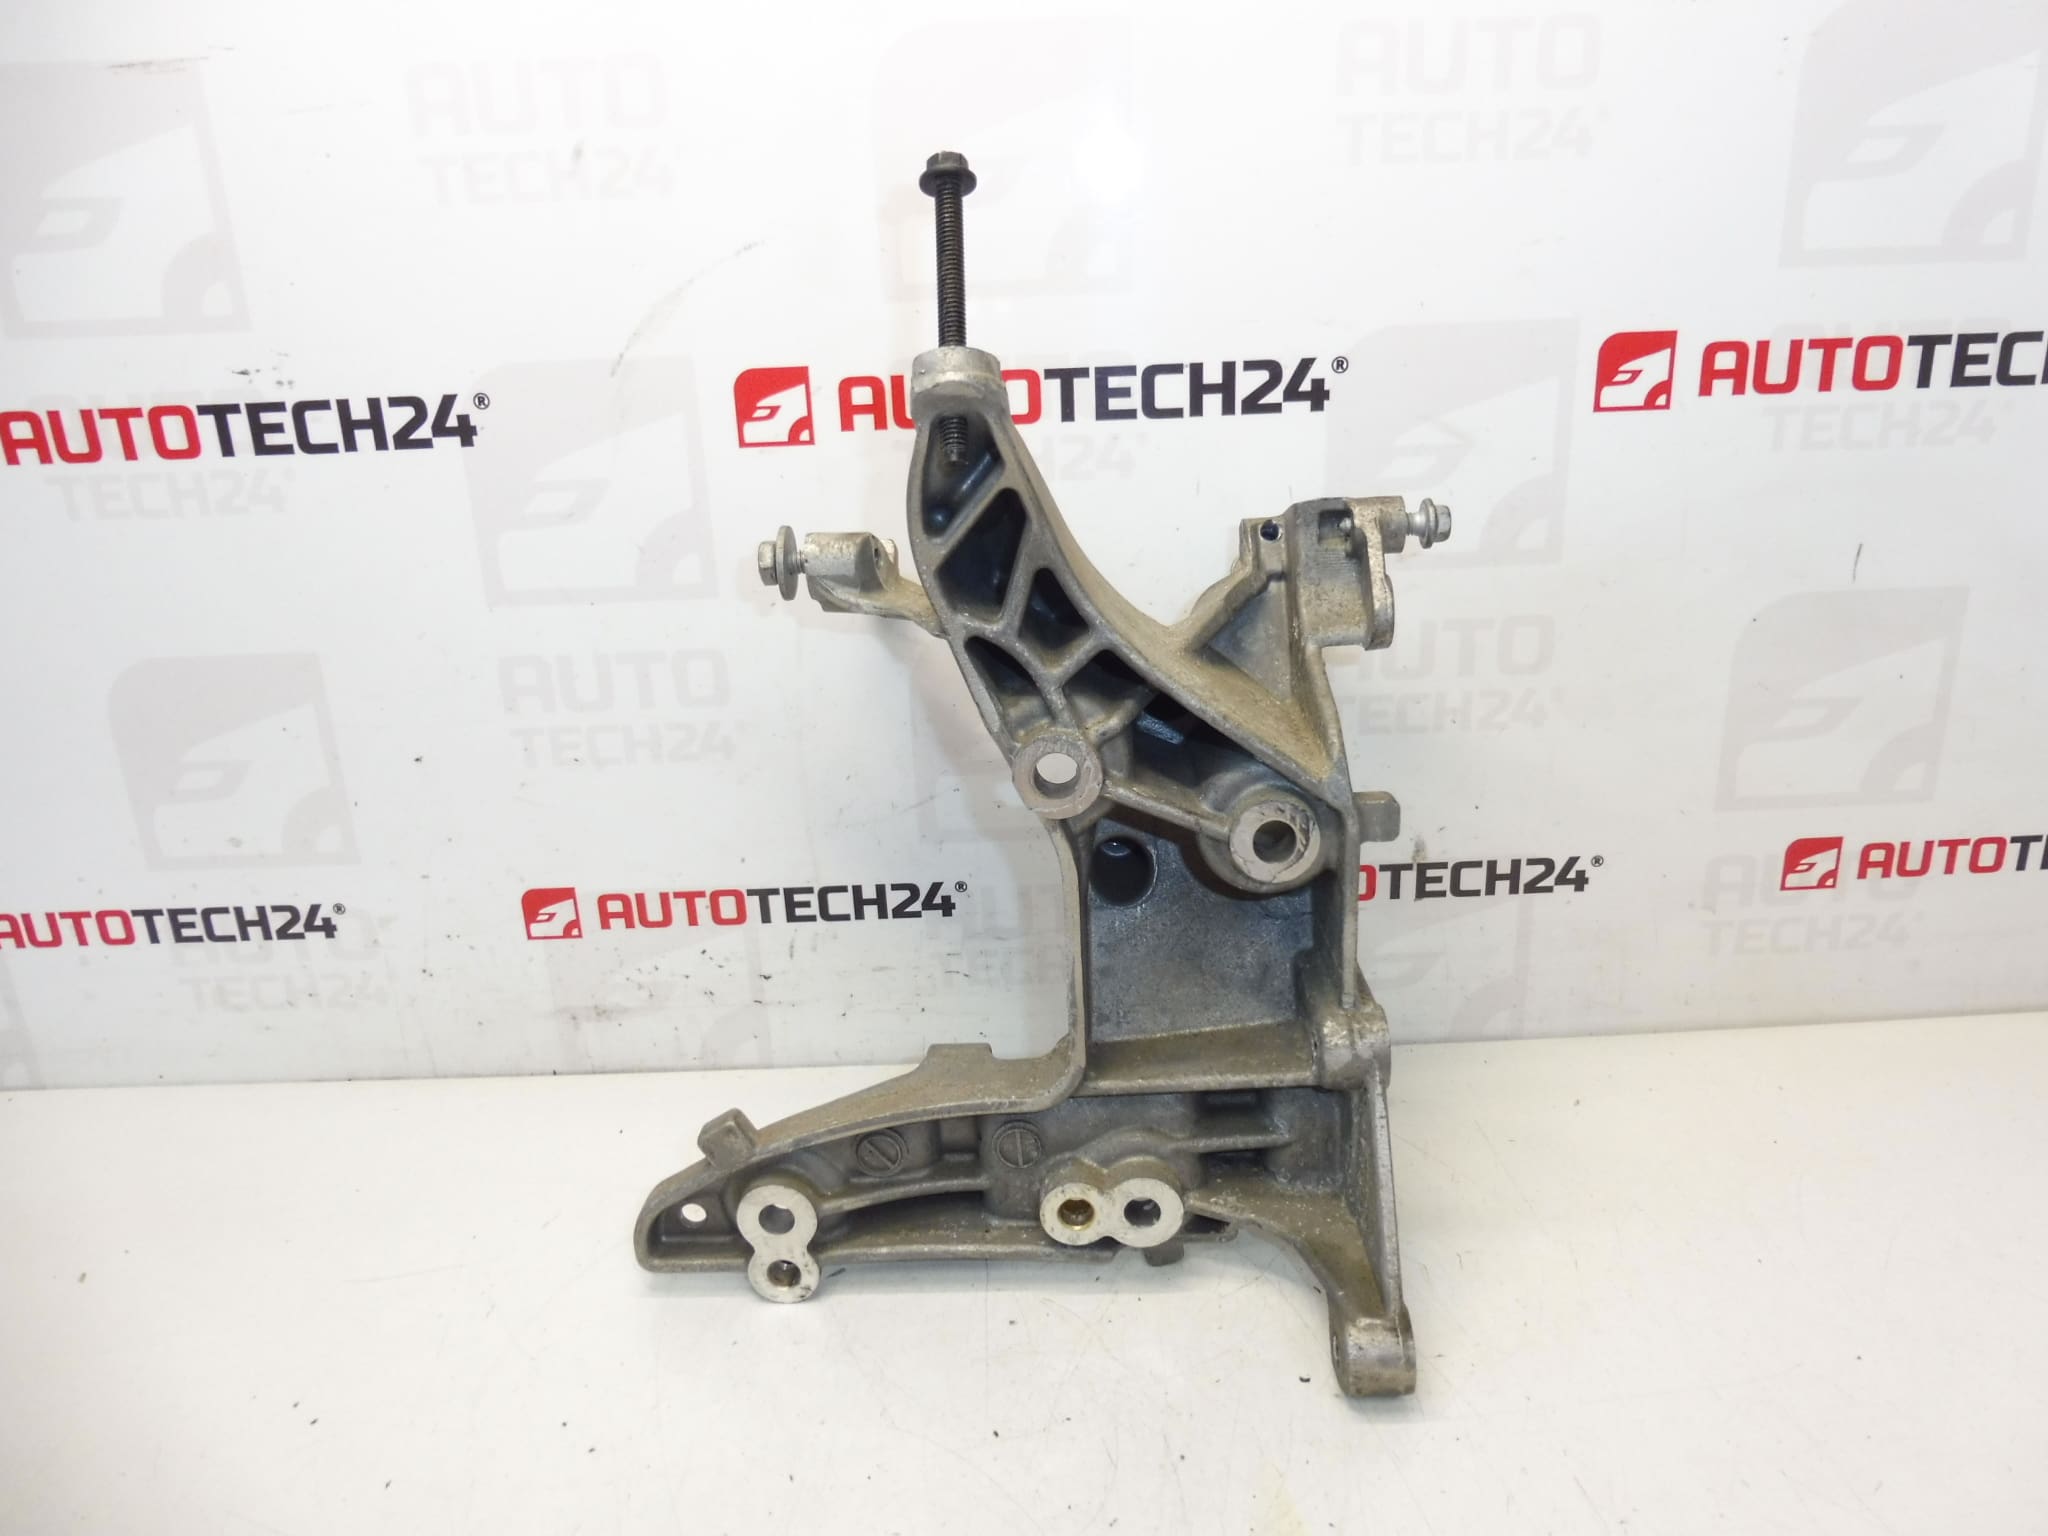
Alternator Bracket 1.6 HDI EURO5 For Citroën And Peugeot Vehicles. Bolts Shown In The Photos May Not Be Included.
Product Overview
Reliable alternator support designed for 1.6 HDi EURO5 engines used across a range of Citroën and Peugeot models. This alternator bracket provides a secure mounting point for the alternator, ensuring correct belt alignment and stable operation under typical driving loads. Ideal for professional workshops and DIY mechanics looking for a direct-fit replacement using OE reference 9684613880 / 5706N9.
Compatibility
Fits Several Models Equipped With The 1.6 HDi Euro5 Engine, Including:
- Citroën Berlingo B9
- Citroën C4 II
- Citroën C4 Picasso
- Citroën C5 X7
- Peugeot 3008 I
- Peugeot 308
- Peugeot Partner Tepee
Technical Information
- Manufacturer: Stellantis (Citroën/Peugeot)
- Model: 1.6 HDi EURO5 Applications
- Product Codes: 9684613880
- Additional Numbers: 5706N9
Function And Common Faults
The alternator bracket secures the alternator to the engine block and maintains correct belt tension and alignment. A damaged or bent bracket can cause misalignment, leading to increased belt wear, noise, poor charging performance or premature alternator failure. Common causes of bracket damage include corrosion, impact from road debris, fatigue cracks at mounting points and incorrect tensioning during belt service.
Replacement Guide
General Steps For Replacement (For Experienced Mechanics And Qualified DIY):
- Park Vehicle On A Level Surface And Apply Handbrake. Disconnect The Negative Battery Terminal To Prevent Short Circuits.
- Loosen Serpentine Or Drive Belt Tensioner And Remove Belt From Alternator Pulley.
- Support The Alternator If Required, Then Disconnect Electrical Connections And Remove Alternator From The Bracket.
- Remove Bracket Mounting Bolts. Inspect Mounting Faces On The Engine Block For Damage Or Corrosion.
- Fit New Bracket, Tighten Bolts To Manufacturer’S Torque Specification, Refit Alternator And Belt, Then Reconnect Battery.
Always Refer To The Vehicle Manufacturer’S Service Manual For Specific Procedures, Torque Values And Any Engine Support Requirements. Using Correct Torque And Sequence Helps Prevent Distortion And Premature Failure.
Installation Recommendations
- Use New Fasteners Where Specified; Bolts Shown In Pictures May Not Be Included With The Bracket.
- Clean Mounting Surfaces Before Installation To Ensure Proper Seating And Avoid Misalignment.
- Check Belt Condition And Tension During Reassembly; Replace The Belt If Worn.
- After Installation, Verify Charging System Voltage And Belt Tracking During A Short Road Test.
Why This Part Often Fails
Failures Typically Result From Long-Term Corrosion In Harsh Climates, Mechanical Impact Or Stress Concentration At Bolt Holes Causing Cracks. Improper Belt Tension Or Repeated Engine Vibration Can Accelerate Wear. Detecting Early Signs—Such As Unusual Belt Noise, Visible Cracks Or Misalignment—Prevents Secondary Damage To The Alternator And Drive System.
Additional Notes
OE Reference Numbers And Fitment Data Included To Aid Searchability: 9684613880 / 5706N9. Designed As A Direct Replacement For Affected 1.6 HDi Euro5 Applications; Suitable For Professional Repair Shops And Competent DIYers.