Description
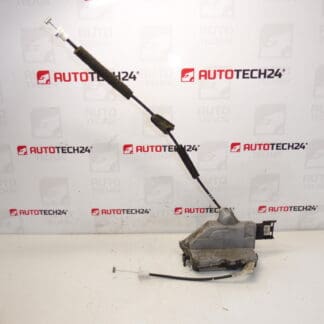
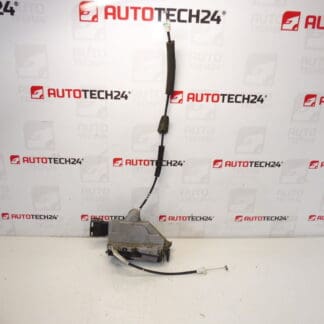
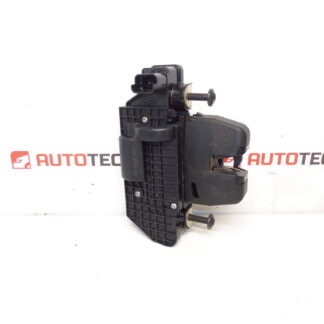
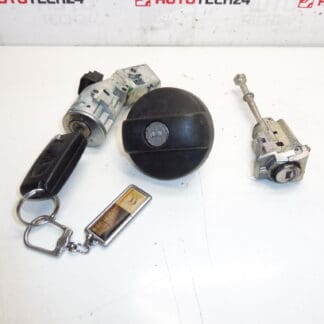
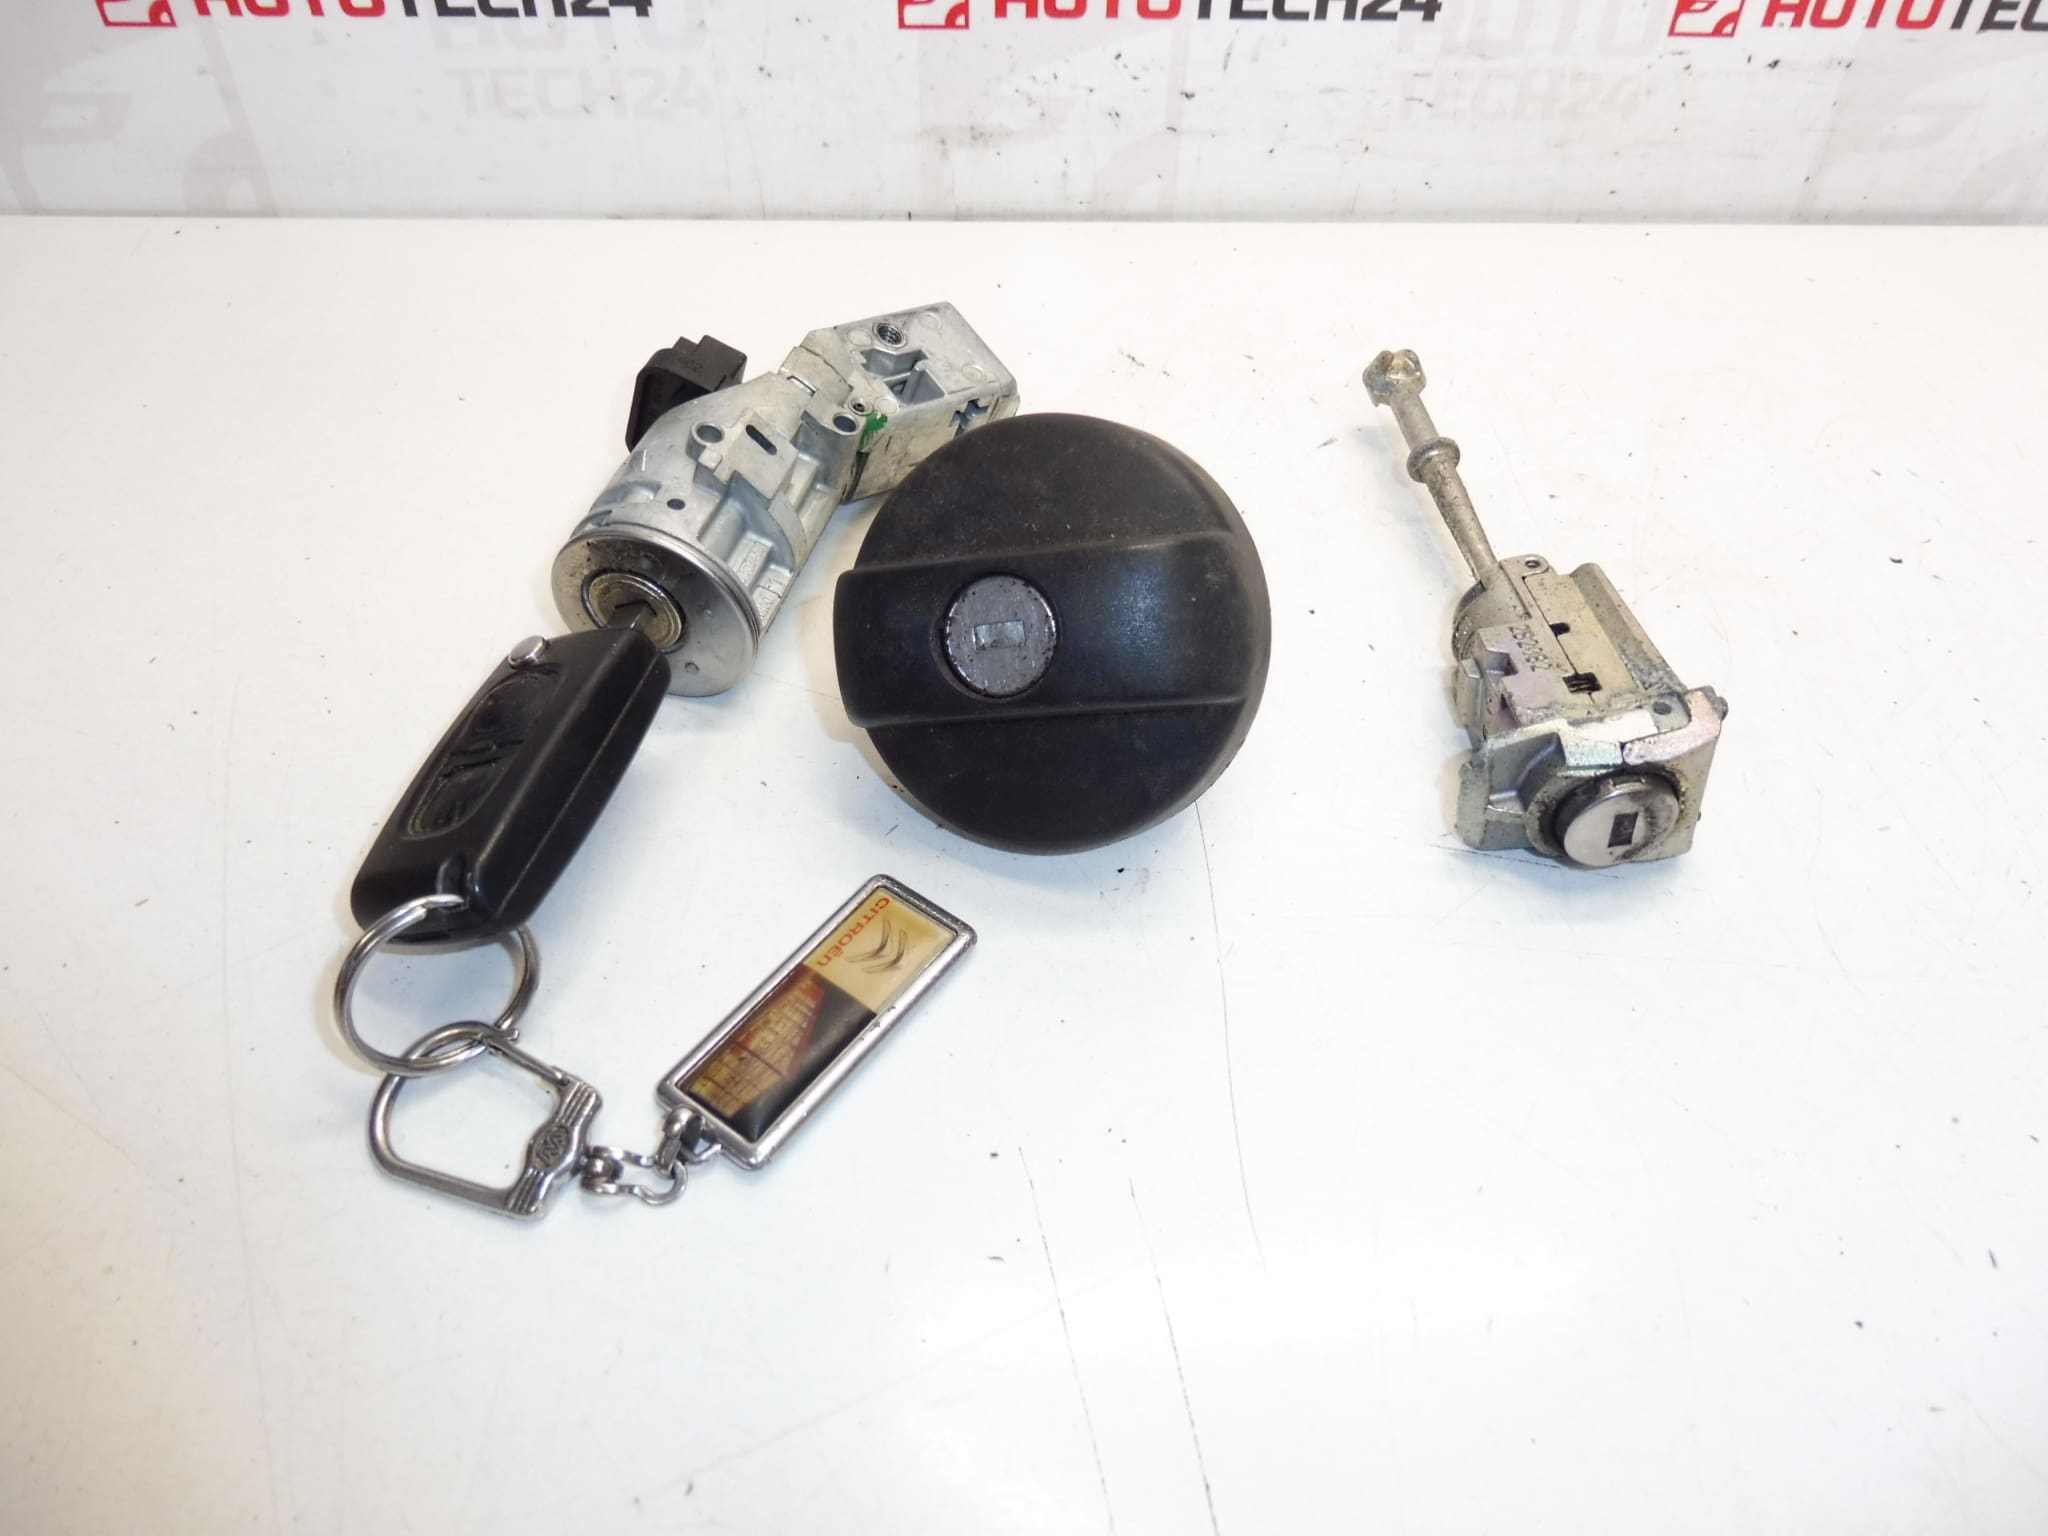
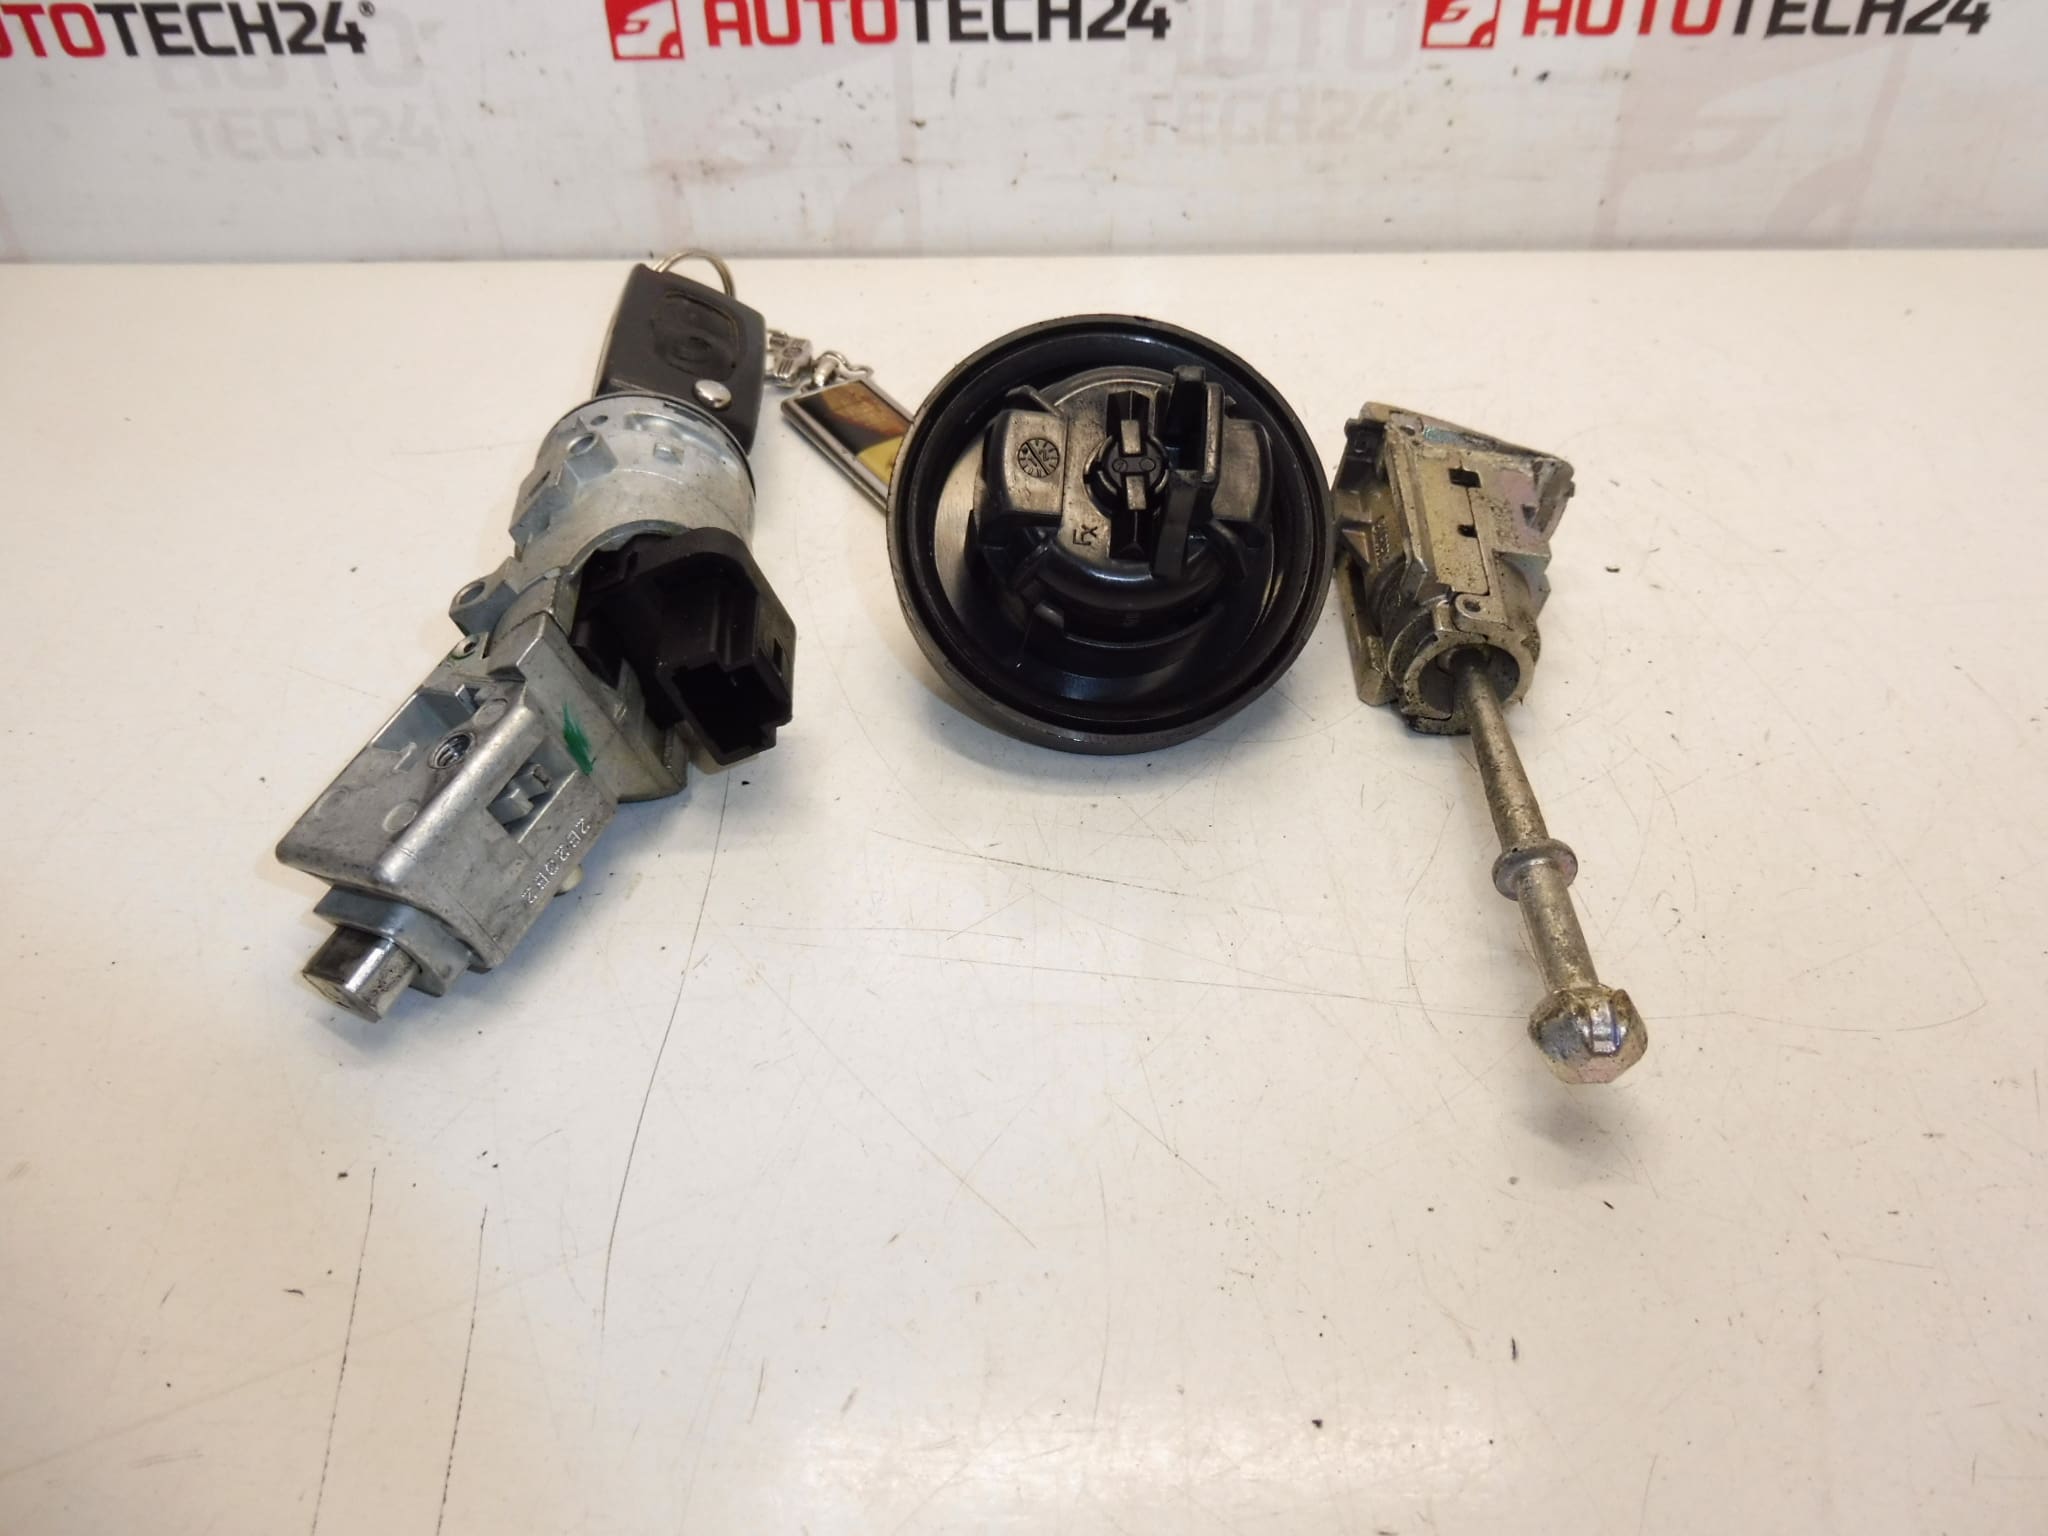
Lock set for Citroën C3 II 2009–2016 – Driver’s door lock, fuel filler flap lock and ignition barrel
1 Key
This comprehensive lock set is designed specifically for the Citroën C3 II (A51) produced between 2009 and 2016. It replaces the driver’s door lock mechanism, the fuel flap lock, and the ignition barrel, and is supplied with one key. Ideal for professional garages and experienced DIY mechanics, this kit restores secure mechanical locking and reliable operation of central locking components. The set matches commonly used part codes 4162VH and 4162PT, increasing the chance of direct fitment and fast replacement.
Why Choose This Lock Set
High relevance for Citroën C3 II owners looking for an original-fit style replacement. The kit targets the most frequently failing locking points: door latch, fuel flap, and ignition tumbler. Benefits include straightforward mechanical compatibility, improved door sealing and locking feel, and the ability to carry out repairs without replacing entire door modules. Using the correct lock set reduces workshop time and avoids recurring failures caused by partial or temporary fixes.
Technical Information
- Manufacturer: Stellantis / Citroën / Peugeot
- Model: Citroën C3 II (A51) 2009–2016
- Product Codes: 4162VH, 4162PT
- Other Numbers: Not Specified
Installation Recommendations
Intended for experienced mechanics or competent DIY users. Basic steps:
- Remove the door trim panel to access the door lock mechanism; follow the vehicle manufacturer’s disassembly order to avoid damaging clips and wiring.
- Disconnect electrical connectors for central locking and any microswitches before detaching the lock assembly.
- Fit the new door lock, fuel flap lock and ignition barrel, ensuring mechanical linkages and rods are correctly seated and clips are secure.
- Check key operation through the full range (lock/unlock/ignition) and verify central locking function and fuel flap release.
- Lubricate mechanical contact points with appropriate graphite or silicone-based lubricant for locks; avoid heavy oils that attract dirt.
- After installation, test door alignment and latch engagement to ensure proper sealing and closure.
Reason Why Part Most Commonly Fails
Locks and ignition barrels in older C3 II models typically fail due to mechanical wear of tumblers and latch components, corrosion from moisture ingress, and damage to linkages or plastic clips. Frequent key use, exposure to road salt, and accumulation of dirt accelerate wear. Electrical microswitches associated with central locking can also fail, causing lock actuation problems even when mechanical parts appear intact.
Fitment And Notes
Designed as a direct replacement for Citroën C3 II models from 2009 to 2016. Part codes 4162VH and 4162PT are referenced in the kit description; verify that these codes match the part you are replacing when ordering. Supplied With 1 Key — If your vehicle uses a transponder or immobilizer key system, additional key programming or transponder transfer may be required to enable engine start; arrange programming through a qualified service provider with appropriate equipment.
For garages and experienced technicians this lock set offers a cost-effective, long-term repair option to restore the secure locking and ignition functions of the Citroën C3 II.