Description
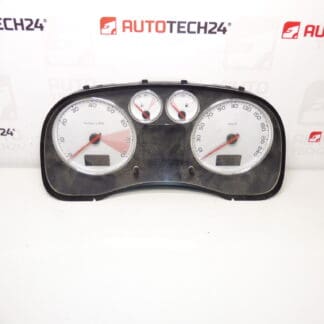
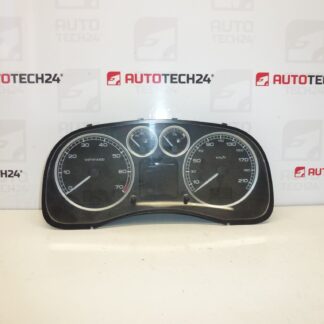
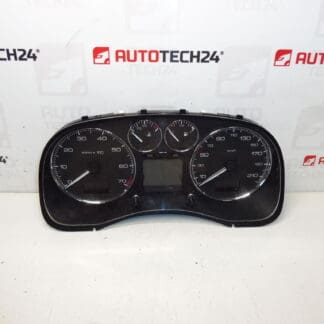
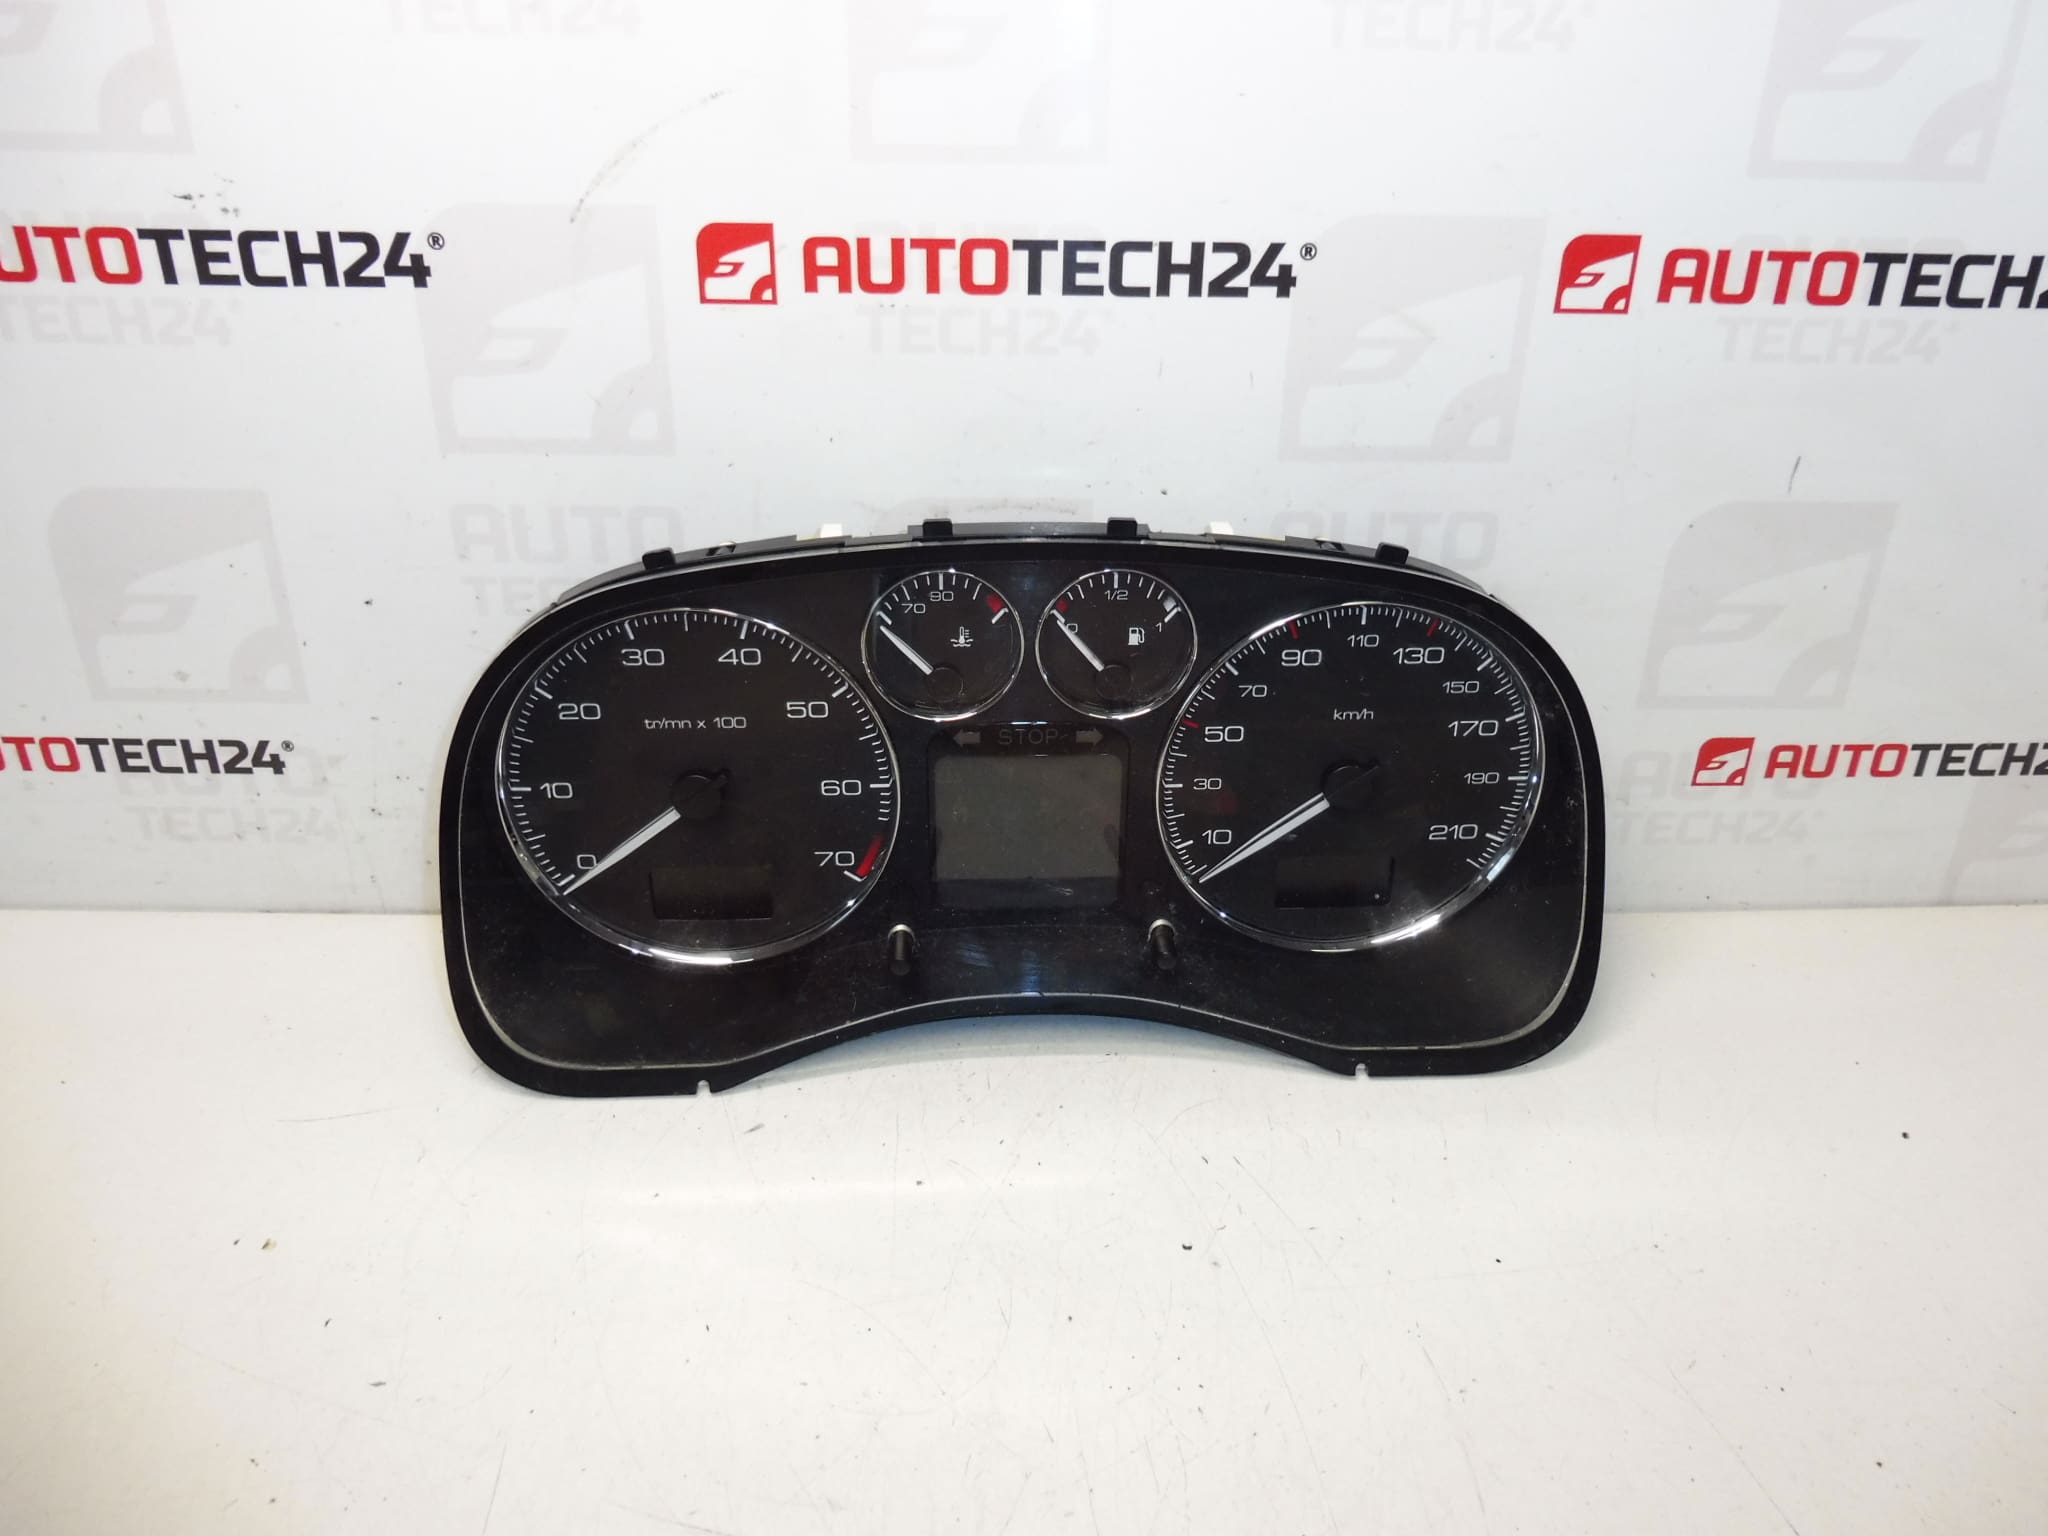
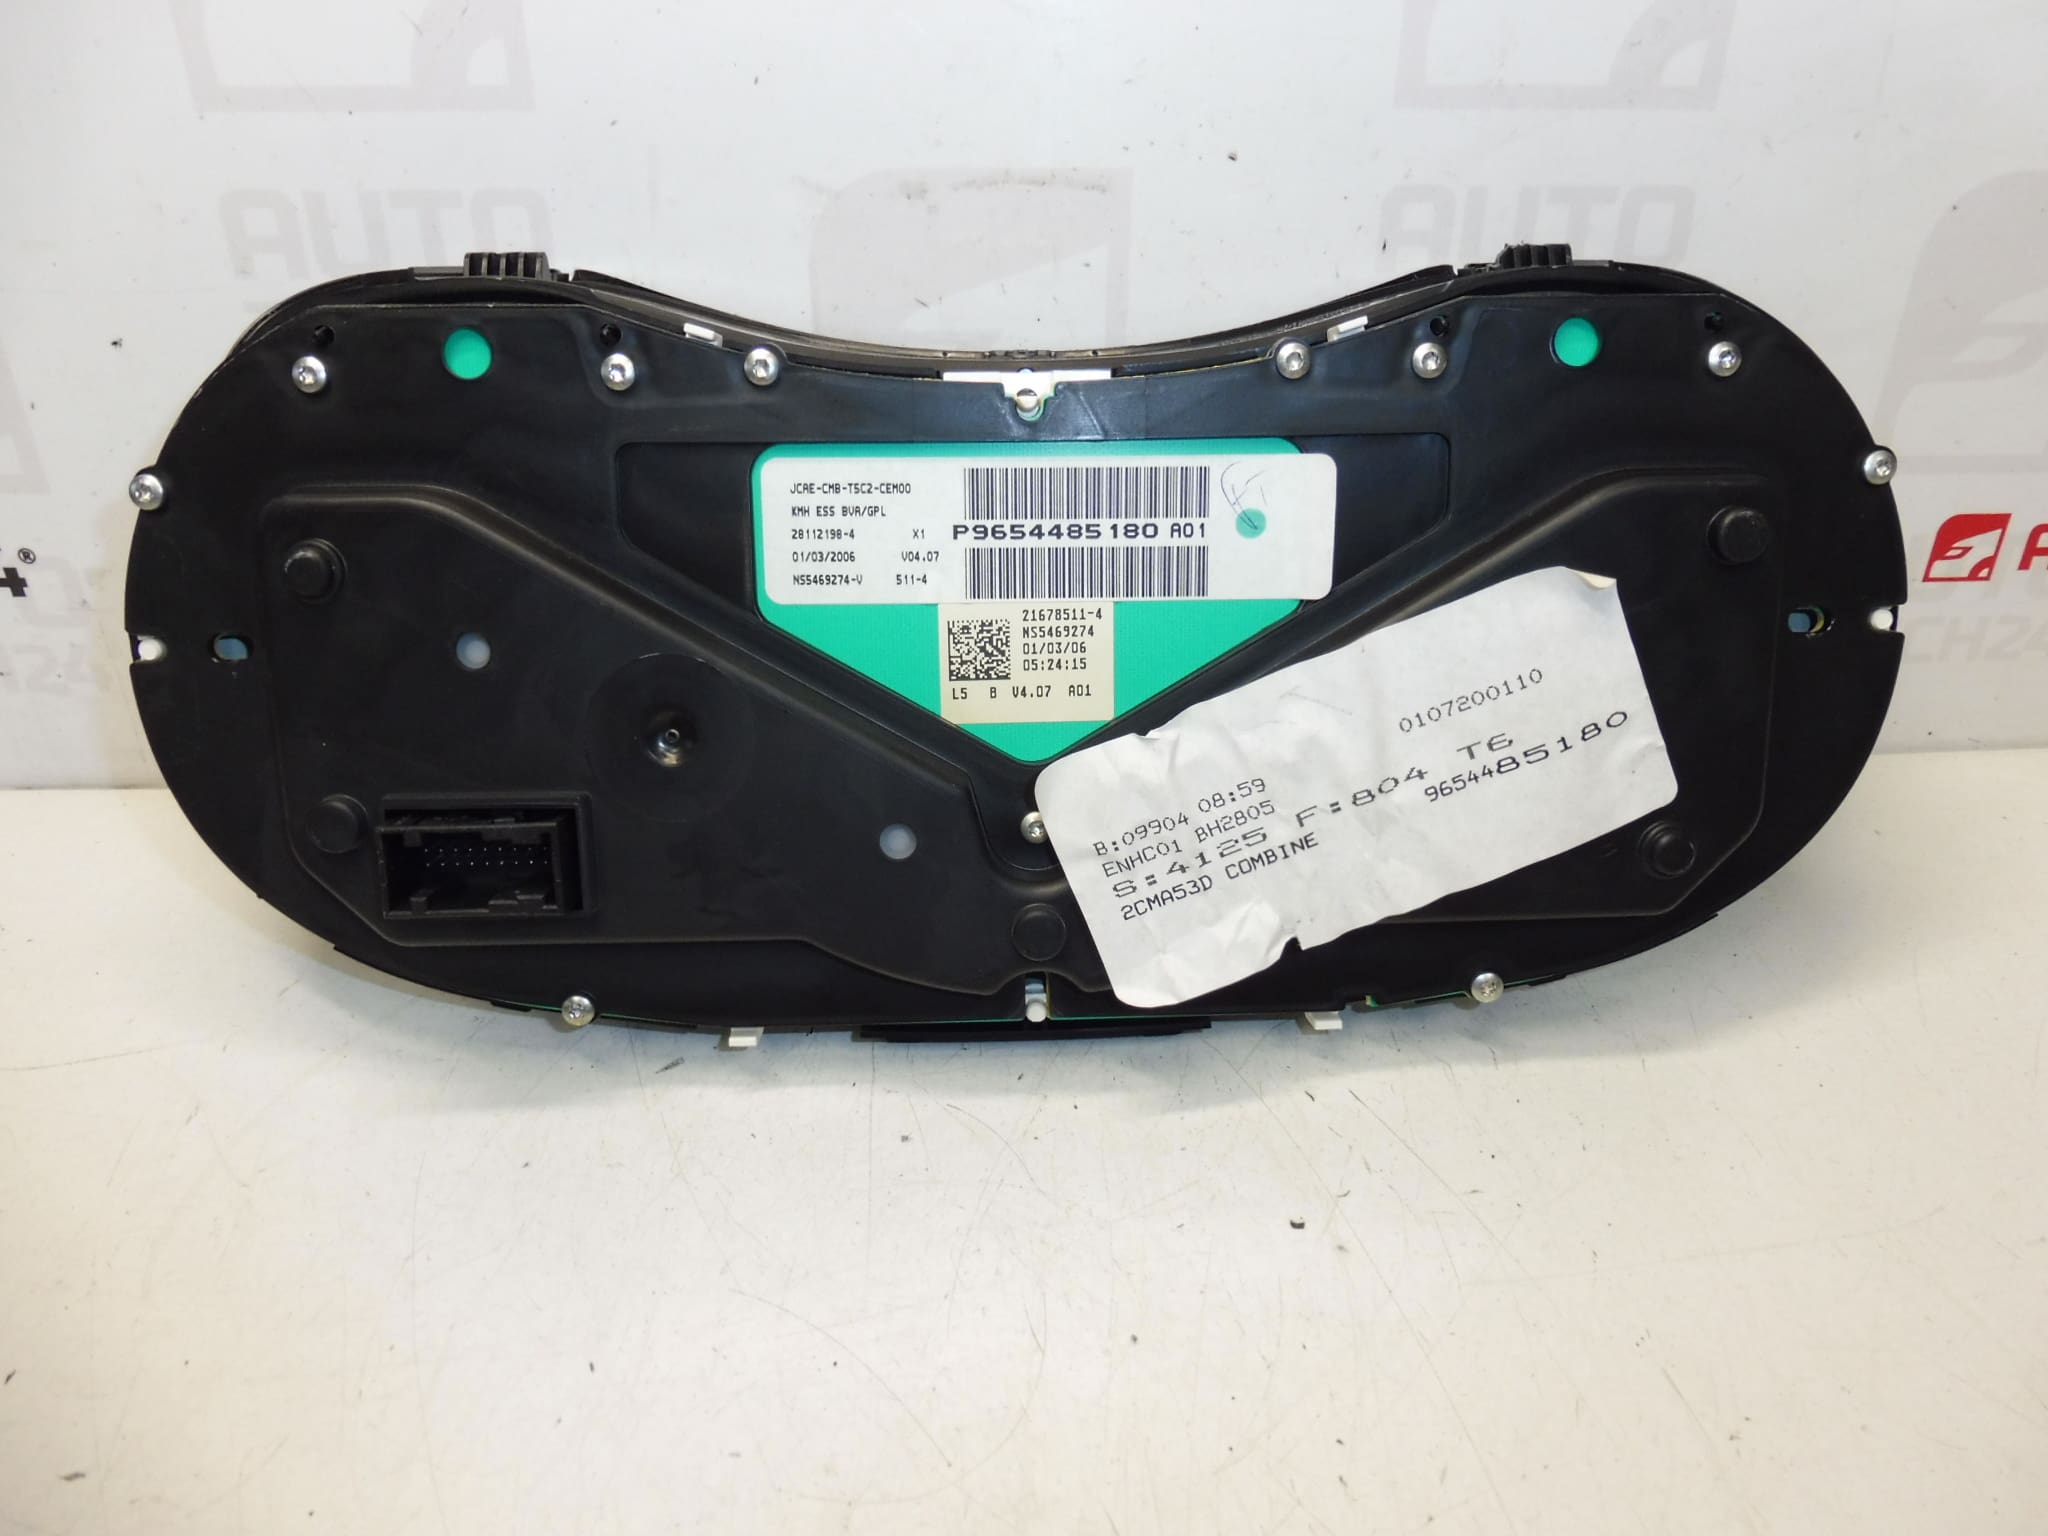
Instrument cluster for PEUGEOT 307 facelift. Removed from a vehicle with automatic transmission. Mileage approximately 190,000 km.
This original instrument cluster is a direct-fit unit for Peugeot 307 facelift models with automatic transmission. It displays speed, mileage and warning information clearly and retains the factory layout and connectors, making it a convenient replacement for garages and experienced DIY mechanics. The part is often searched under the part number 9654485180, so have that number ready when ordering or checking compatibility. Replacing a faulty cluster restores accurate speedometer and odometer readings, warning lamp visibility and instrument illumination.
Technical Information
- Manufacturer: Stellantis / Peugeot / Citroën
- Model: Peugeot 307 (Facelift) – Vehicles With Automatic Transmission
- Product Codes: 9654485180, P9654485180, A01
- Additional Numbers: 6106L4, 6106TR, 6103T1
Installation Recommendations
Always disconnect the battery before starting work and follow the vehicle manufacturer’s removal and installation procedures to avoid damage. General replacement steps:
- Disconnect negative battery terminal and wait a few minutes to allow systems to power down.
- Remove surrounding trim panels and bezel carefully to access the cluster retaining screws.
- Unscrew the cluster, tilt it forward and disconnect the multi-pin electrical connectors and any illumination plugs.
- Install the replacement unit by reversing the removal steps. Ensure connectors are fully seated and screws are tightened to OEM torque where specified.
- After installation, check all gauges, warning lamps and illumination. Some features may require initialization or coding with PSA diagnostic tools to match vehicle settings or instrument illumination preferences.
Why This Part Commonly Fails
Instrument clusters on Peugeot 307 models commonly develop faults due to age and usage. Typical causes include:
- Electrical wear: Corroded or loose connector pins and poor grounding affect signals and illumination.
- Faulty stepper motors or gauge drivers: Needles may stick, move erratically or stop responding.
- Internal electronic failure: Aging capacitors, solder joint cracks or component degradation can cause partial or total loss of functions.
- Water ingress or condensation: Moisture can damage circuits and cause short circuits or corrosion.
- Voltage spikes: Jump-starts or charging system faults may damage sensitive electronics.
Practical Notes For Mechanics And DIYers
Because instrument clusters contain the vehicle mileage and multiple electronic functions, handle units carefully and avoid static discharge. When replacing a cluster, document the original mileage and functionality. For any features that do not operate after fitment, a diagnostic tool with Peugeot/PSA capability may be required to initialize or configure settings. This unit is sourced from a vehicle with about 190,000 km and is intended as a 1:1 replacement for compatible facelift models with automatic transmission.