Description
Right Passenger Side Mirror For Stellantis Vehicles
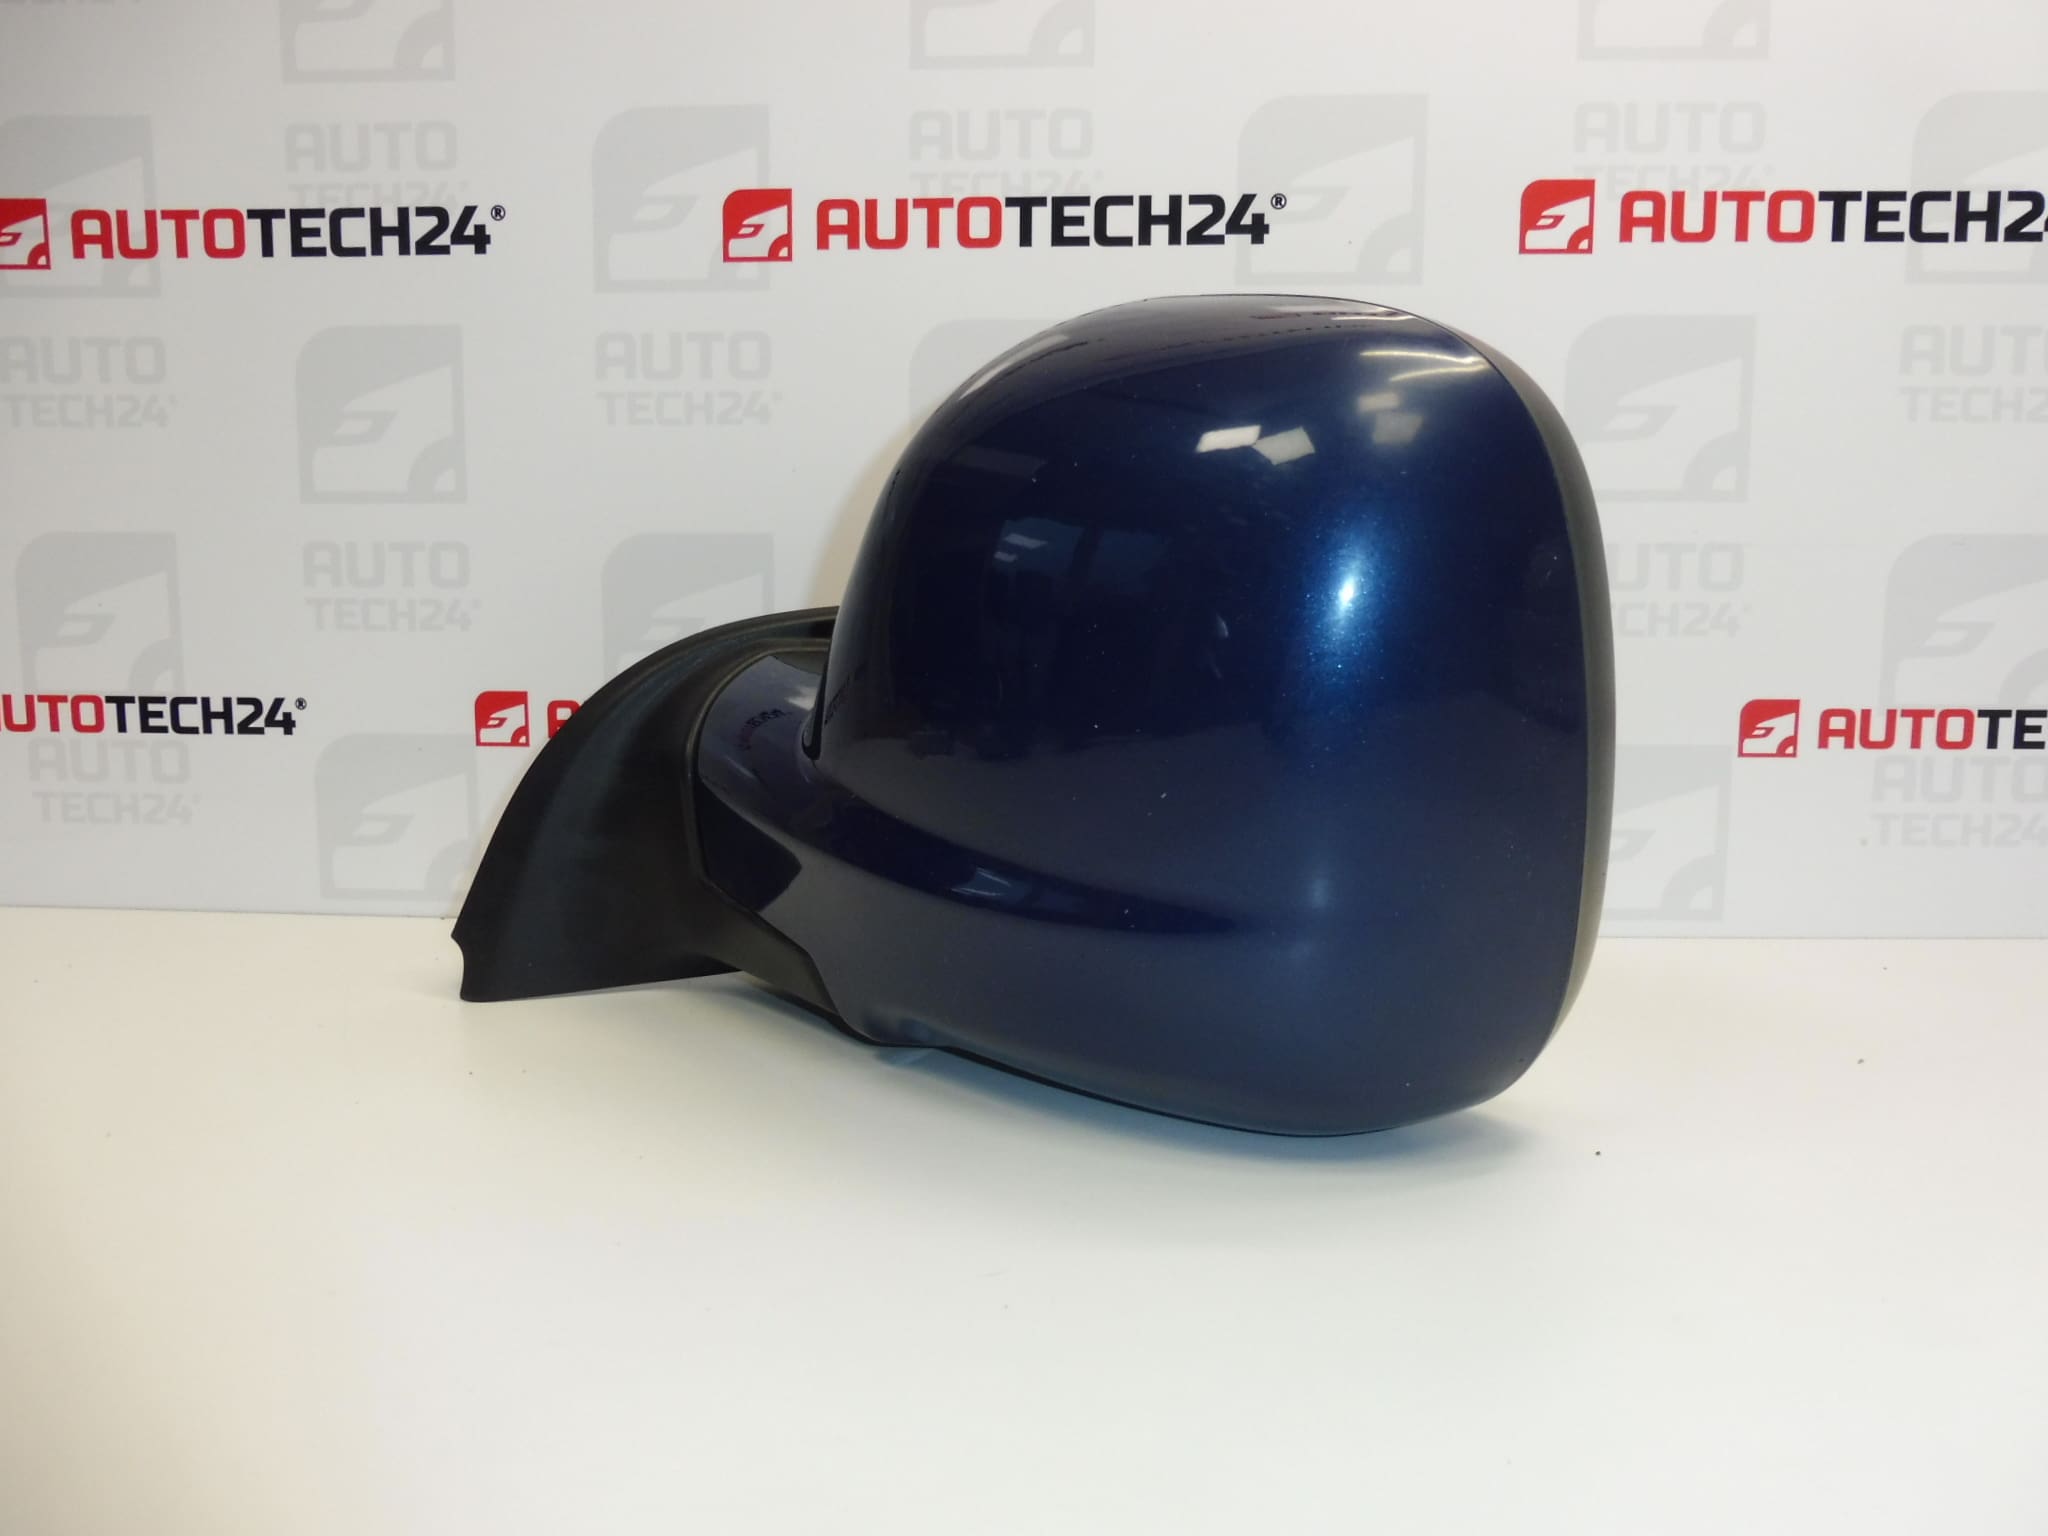
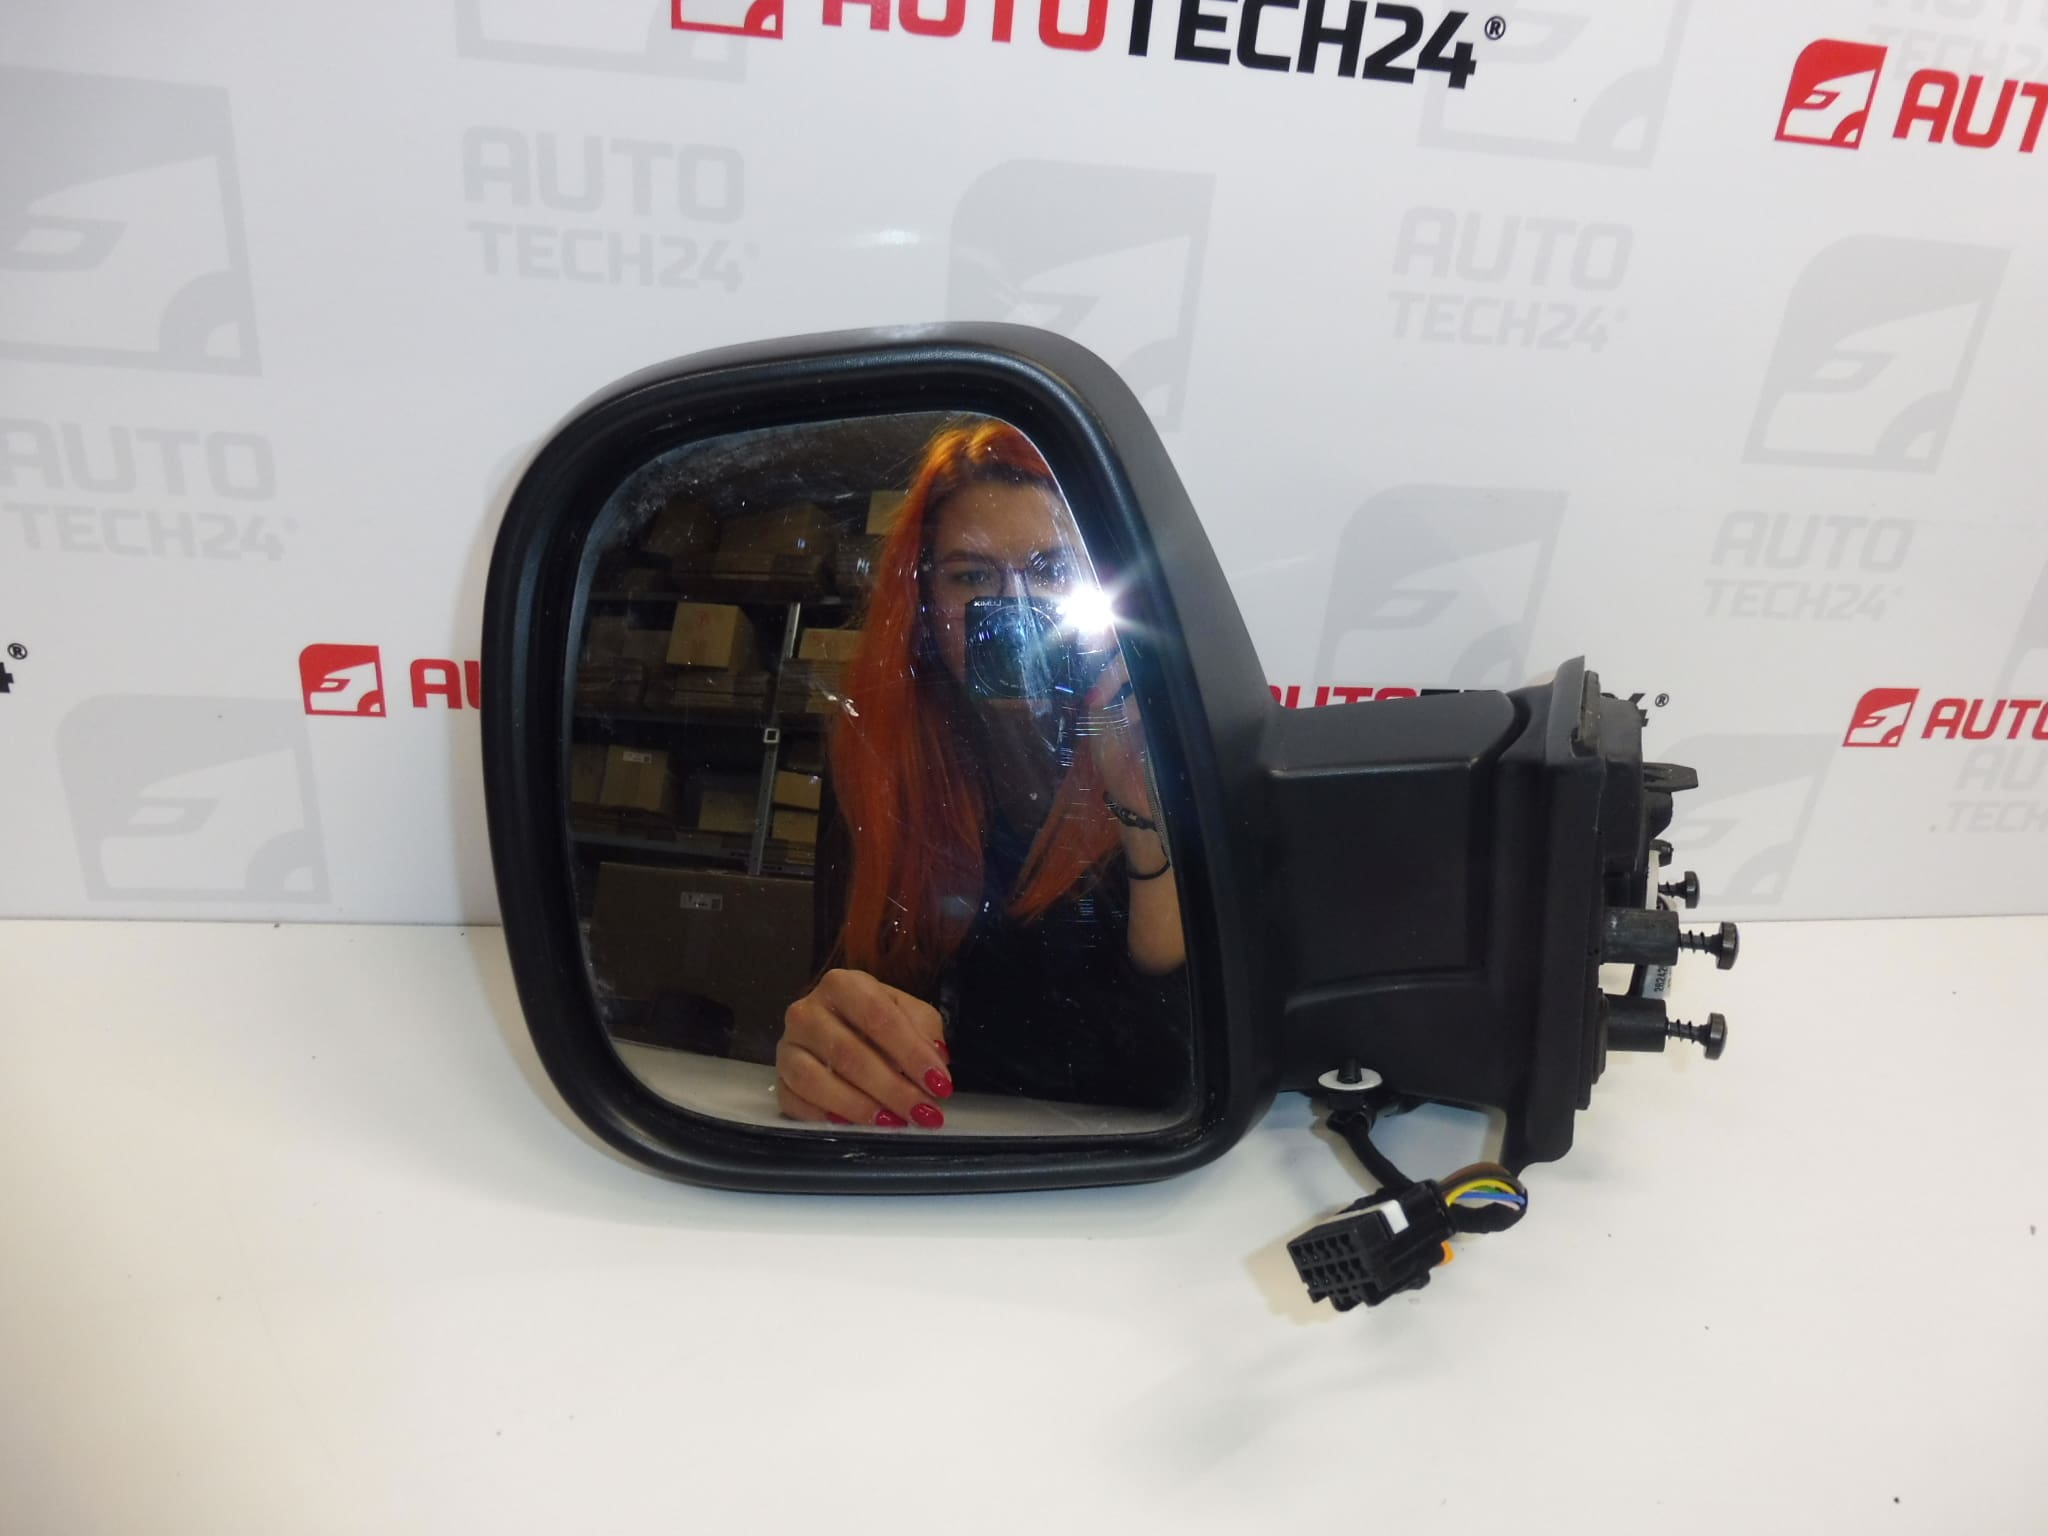
Electrically Operated And Heated, Electrically Folding To The Vehicle
Color EJG – Paint Blue Nuit
FXT – Black Cornelie
Driver’s Door
7 PIN
Product Overview
High-quality replacement side mirror designed for Stellantis small vans and MPVs. This electrically adjustable, heated mirror features an electric folding mechanism and a 7-pin connector for full functionality (adjustment, heating and folding). Color options and paint codes are provided to match bodywork: EJG (Blue Nuit) or FXT (Black Cornelie). Ideal for professional garages and DIY mechanics searching by product code 98169900XT.
Technical Information
- Manufacturer: Stellantis
- Model: Berlingo III, Partner III, Rifter, Combo E (K9), Doblo III, ProAce City
- Product Codes: 98169900XT
- Other Numbers: EJG (color code), FXT (color code), 7 Pin Connector
Compatibility
Compatible with a range of Stellantis and related models, commonly fitted to Citroën Berlingo III (K9), Peugeot Rifter, Partner III, Opel Combo E (K9), Fiat Doblo III and Toyota ProAce City. Confirm fitment by comparing the product code 98169900XT and connector/pin count with the vehicle part.
Functions And Benefits
- Electric Adjustment — Quick and precise mirror angle control from inside the cabin.
- Heated Glass — Prevents fogging and ice buildup for improved visibility in cold conditions.
- Electric Folding — Protects the mirror from impacts when parked and reduces width for narrow spaces.
- Direct Replacement — 7-pin connector provides full feature compatibility when matched to the corresponding wiring harness.
Replacement Guide
Basic steps for replacement (for experienced technicians and competent DIY mechanics):
- Disconnect the vehicle battery before starting to avoid short circuits and airbag/electrical faults.
- Remove interior door trim or small access cover to reach mirror mounting bolts and connector.
- Carefully detach the mirror glass or trim if required to access screws (use appropriate trim tools to avoid damage).
- Unplug the 7-pin connector and remove the mirror mounting bolts.
- Fit the new mirror, tighten mounting bolts to manufacturer torque, reconnect the 7-pin connector and reassemble the door trim.
- Reconnect the battery and test all functions: mirror adjustment, heating and folding. Check for smooth folding and correct electrical operation.
Installation Recommendations
- Use proper trim tools to avoid damaging clips and panels.
- Protect painted surfaces with tape or cloth while working to prevent scratches.
- Ensure connector pins are clean and undamaged; apply dielectric grease if appropriate for corrosion protection.
- Tighten mounting bolts evenly and to the correct torque to avoid stress on the mirror housing.
- After installation, verify mirror motor operation through its full range and the effectiveness of the heating element.
Common Failure Causes
- Impact Damage — Collisions and knocks are the most frequent causes of mirror breakage.
- Water Ingress — Seals fail or drains clog, causing motors or heaters to short or corrode.
- Motor Wear — Repeated folding and adjustment can wear the actuators over time.
- Connector Corrosion Or Wiring Damage — Moisture or mechanical wear can interrupt signals to the mirror functions.
- Internal Gear/Mechanism Failure — Plastic gears inside folding actuators may wear or strip, preventing proper folding.
Lifespan And Maintenance
Service life depends on usage and environment. Mirrors exposed to frequent urban impacts, salt or moisture may fail earlier. Regular inspection of seals, connectors and smooth operation reduces the risk of sudden failure. Clean contacts and remove debris from hinge areas during routine servicing.
Why Choose This Part
Designed as a direct-fit replacement with full electrical functionality (7-pin), this mirror is a practical choice for workshops and home mechanics who need a reliable spare part that matches original color codes (EJG / FXT) and the manufacturer product code 98169900XT — making it easy to find and order.
Mounting And Coding – Important
For control units such as injection ECUs and BSI comfort units (note: not applicable to this mirror) please follow the specific procedure in the product listing when applicable.
Recommended Final Checks
After mounting, verify:
- All electrical functions operate correctly (adjustment, heating, folding).
- Mirror is securely fastened and free of vibration at speed.
- Paint match and seal integrity around the base to prevent water ingress.