Description
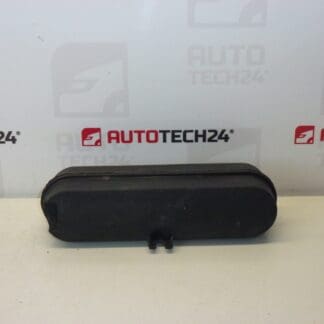
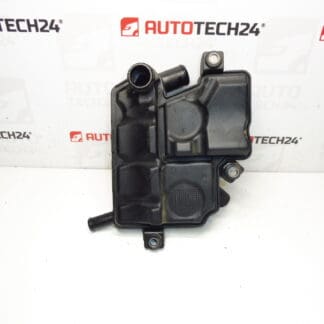
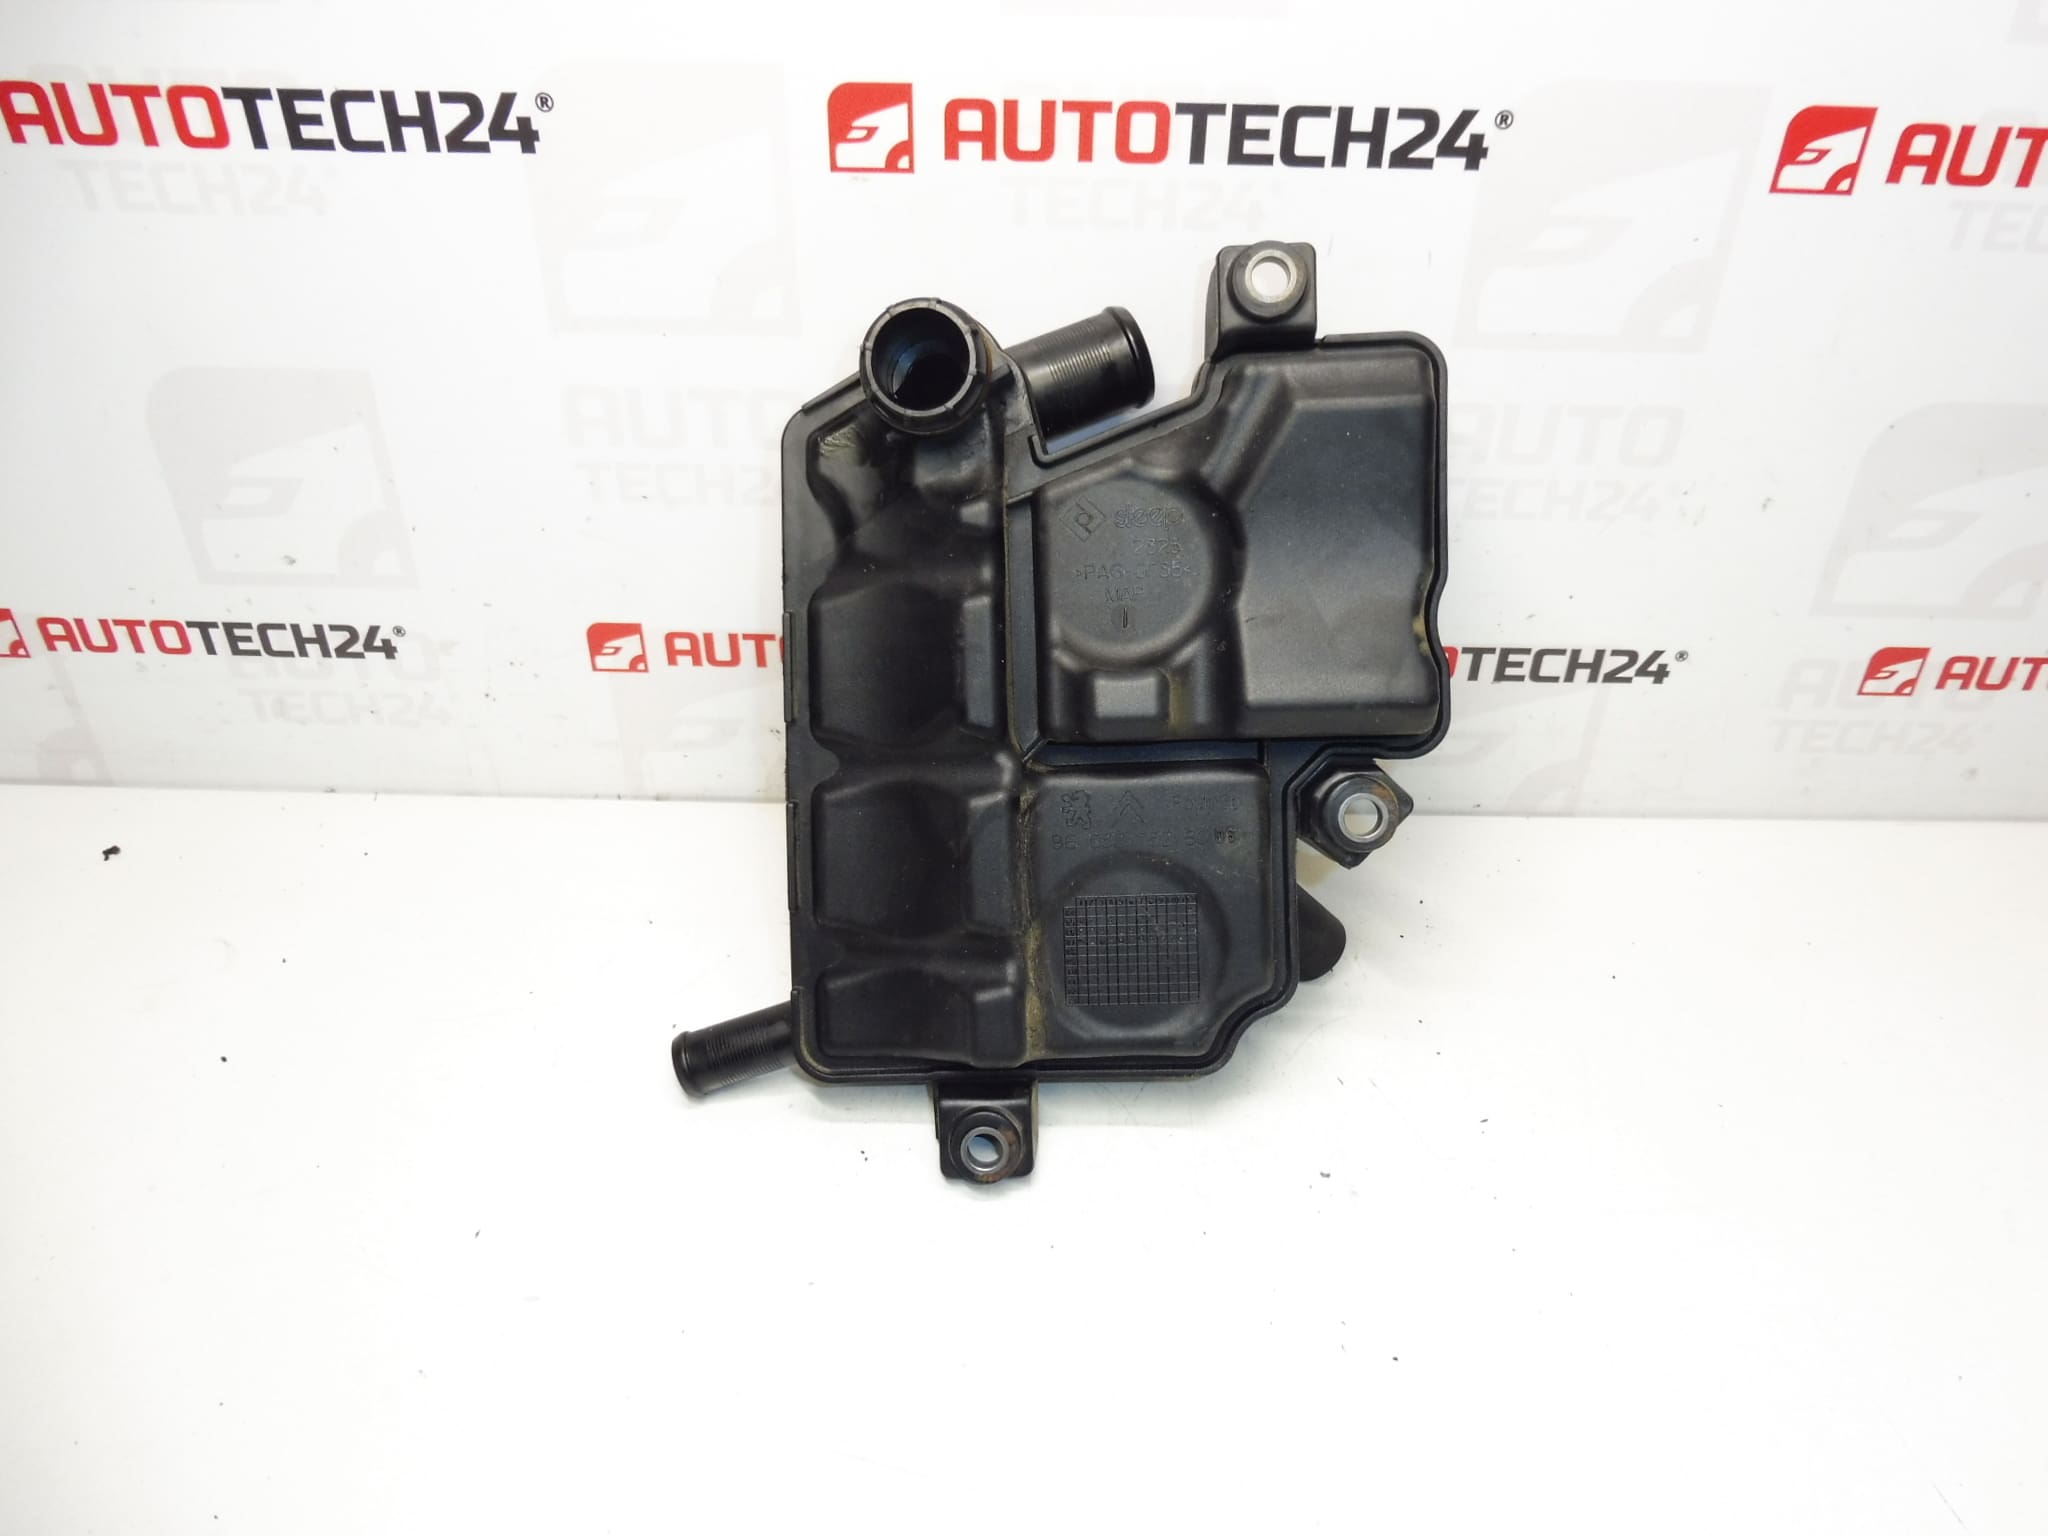
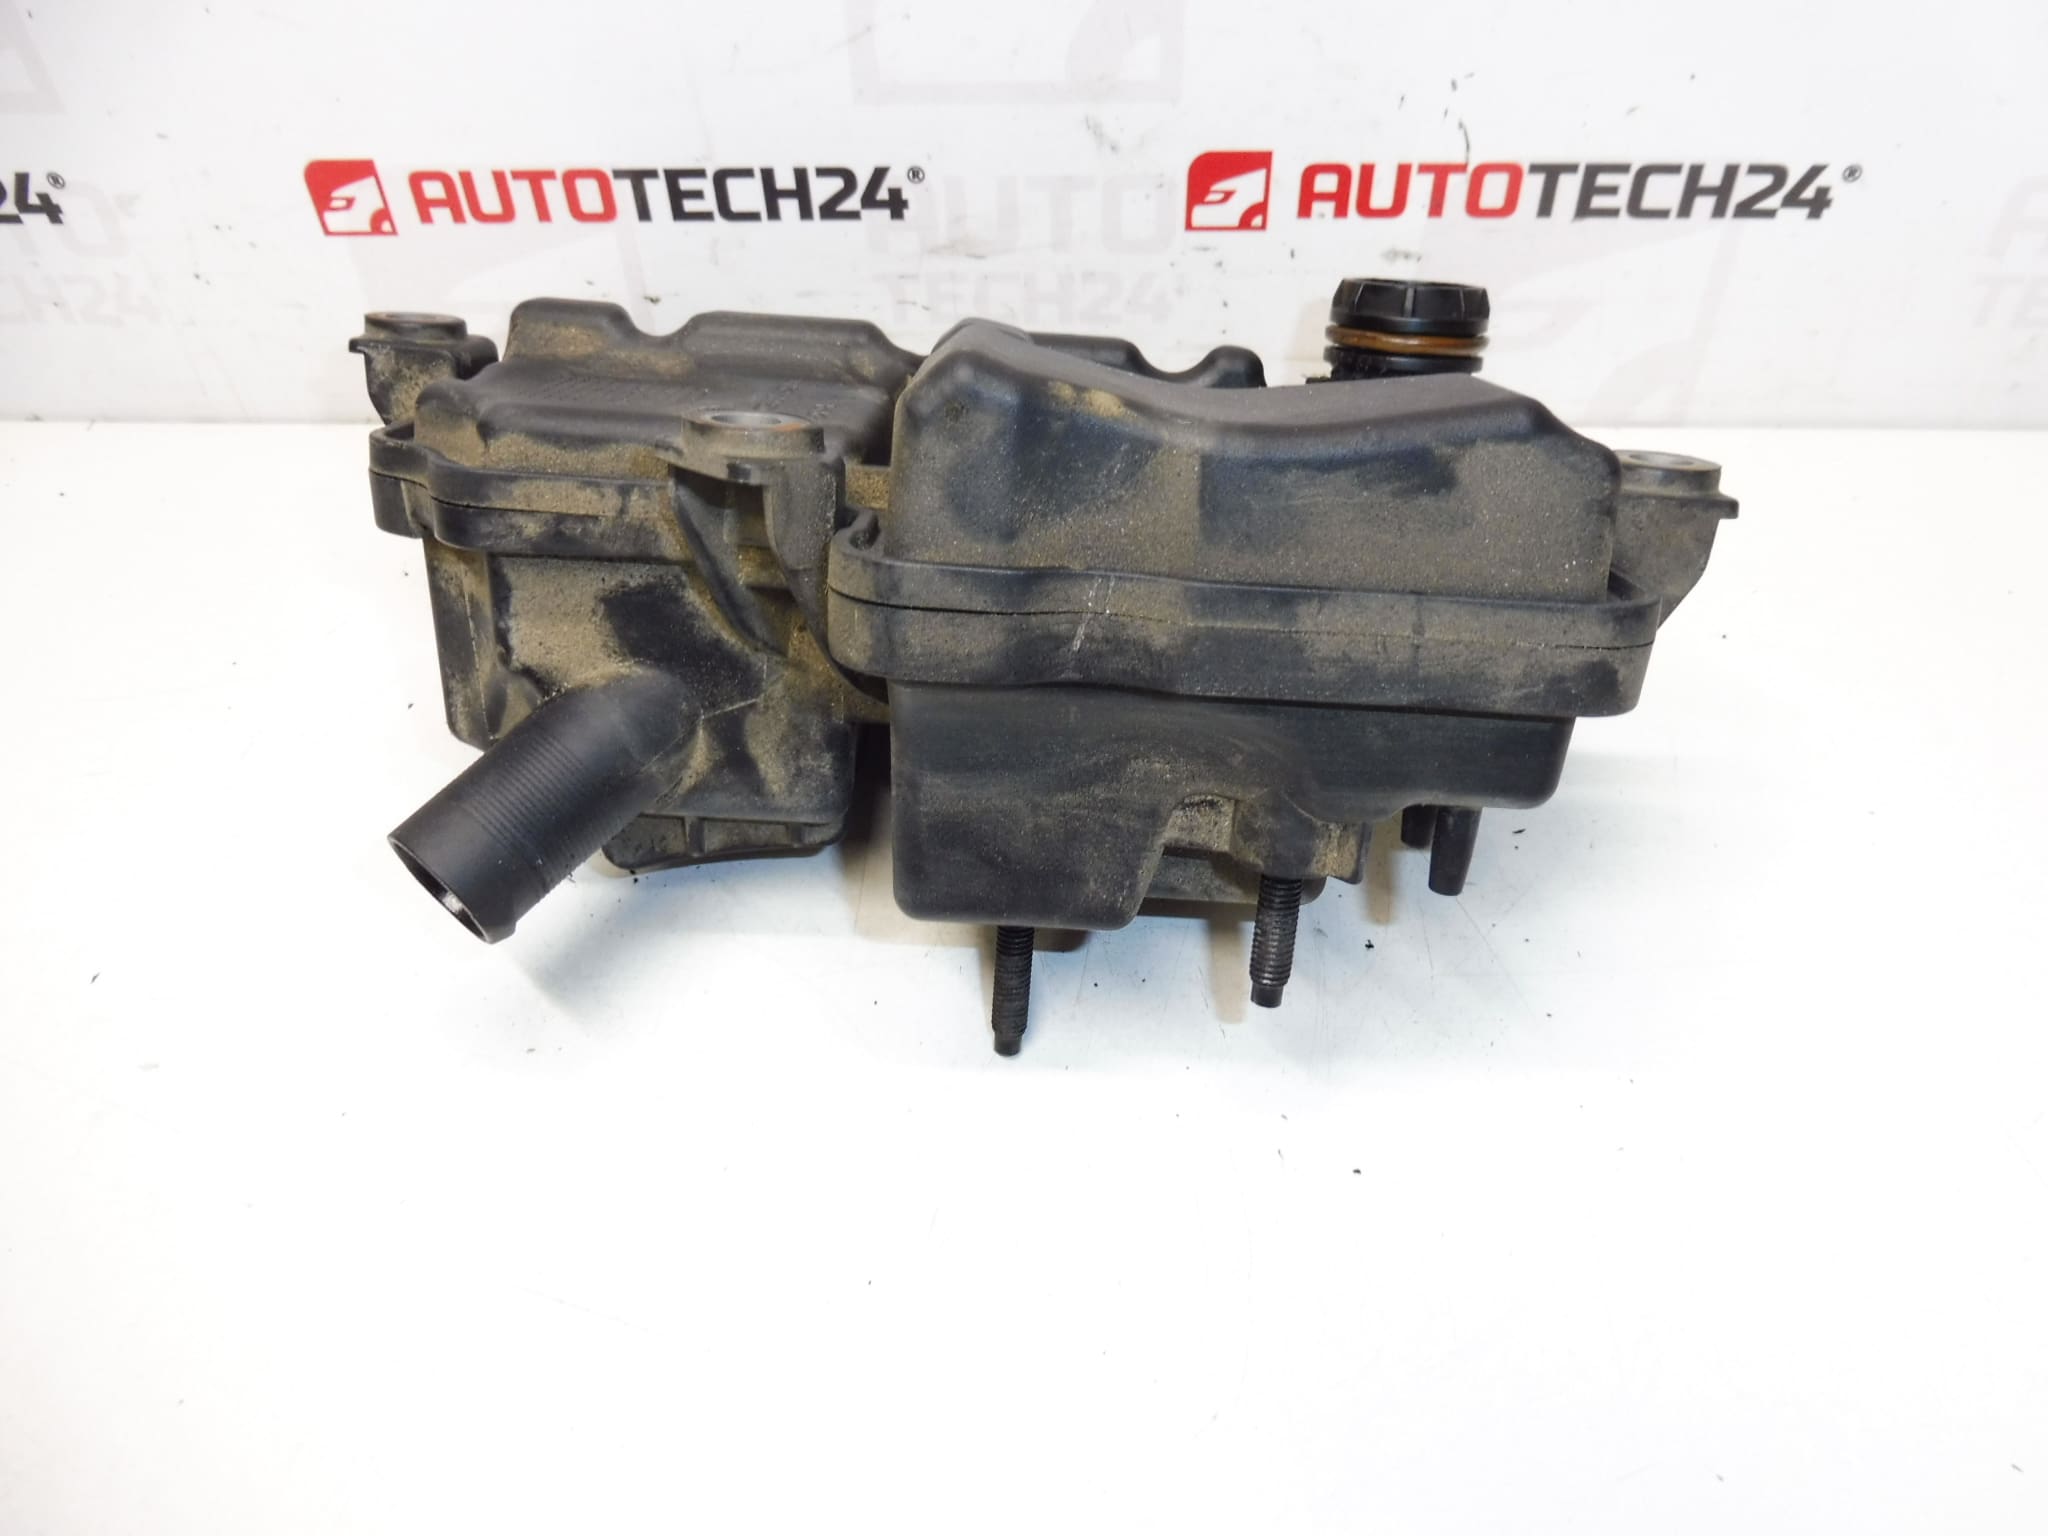
Vacuum reservoir and oil vapor separator for CITROËN and PEUGEOT vehicles with 2.2 HDi 125 kW engine.
The vacuum reservoir with integrated oil vapor separator is a direct-fit spare part for PSA 2.2 HDi powertrains. Designed for professional workshops and confident DIY mechanics, this component restores reliable vacuum supply for brake boosters and vacuum-operated actuators while preventing oil vapors from contaminating the intake system. Supplied under OEM reference numbers, it is an important wear item on high-mileage HDi engines and is often searched by its part numbers.
Key Benefits
– Restores stable vacuum reserve for consistent brake-assist performance and vacuum-controlled systems.
– Reduces oil vapor and blow-by entering the intake, helping to protect turbocharging and intake components.
– Direct replacement for PSA applications, simplifying fitment and reducing workshop downtime.
Compatibility
Fits Citroën and Peugeot models equipped with the 2.2 HDi (125 kW) engine. Typical applications include:
- Citroën C5 (X7)
- Citroën C6
- Citroën C8
- Peugeot 407
- Peugeot 607
- Peugeot 807
Technical Information
- Manufacturer: Stellantis / Citroën / Peugeot
- Model: Vehicles with 2.2 HDi 125 kW engine (see vehicle list above)
- Product Codes: 9653275280, 1180Q
- Other Numbers: —
How It Works
The reservoir stores vacuum generated by the engine vacuum source (or vacuum pump) to ensure immediate availability of vacuum for the brake servo and other vacuum-operated systems. The integrated oil vapor separator (PCV/charcoal style) traps oil mist and blow-by condensate before it can enter the intake tract, reducing carbon build-up and protecting turbocharger actuators and valves.
Common Failure Causes
The most frequent reasons for replacement are:
- Cracks or material fatigue in the plastic housing caused by age and thermal cycling, leading to vacuum leaks.
- Internal clogging from oil sludge and carbon deposits, which reduces separator efficiency and can allow oil to pass into the intake.
- Degraded or leaking hose connections and failed check valves that compromise vacuum retention.
- Broken mounting points or fasteners from vibration and chassis movement.
Replacement Procedure (General Guideline)
Recommended for professional mechanics or experienced DIYers. Exact steps vary by model—always follow the vehicle manufacturer’s service manual for torque values and safety instructions.
- Allow the engine to cool and park the vehicle on a level surface with the handbrake applied.
- Locate the vacuum reservoir assembly in the engine bay and identify all vacuum lines and electrical connectors (if fitted). Mark or photograph hose routing for correct reassembly.
- Carefully disconnect vacuum hoses and any electrical connectors. Replace any brittle hoses or worn clamps.
- Remove fasteners securing the reservoir, extract the assembly, and compare the new unit to the old one to confirm matching ports and mounting points.
- Install the new reservoir, fit new clamps where appropriate, reconnect hoses and connectors, and secure all fasteners to the specified torque where available.
- Start the engine and check for vacuum leaks, proper brake assist operation, and absence of unusual noises. Inspect for oil seepage around hose joints.
Installation Recommendations
- Replace associated vacuum hoses, check valves and clamps when changing the reservoir to ensure a long-term repair.
- Use OEM-quality clamps and ensure all hose connections are seated fully.
- Inspect nearby components (vacuum pump, brake booster, EGR/turbo connections) for signs of oil contamination or wear during the job.
- After installation, verify brake booster vacuum level and road-test the vehicle to confirm restored performance.
Why You Should Replace It Promptly
A leaking or clogged vacuum reservoir can lead to reduced brake assistance, harsher pedal feel, erratic operation of vacuum-controlled actuators, increased oil consumption, and accelerated intake/turbocharger wear. Timely replacement prevents secondary damage and avoids more expensive repairs.
Notes
Part numbers are commonly used in online searches and workshop ordering systems—use the product codes shown above when searching for compatible replacements.