Description
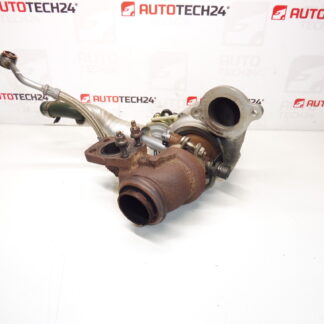
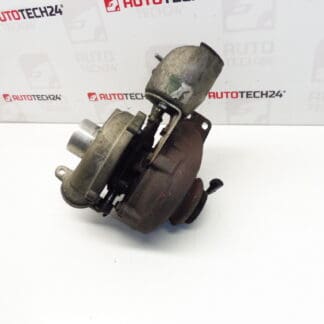
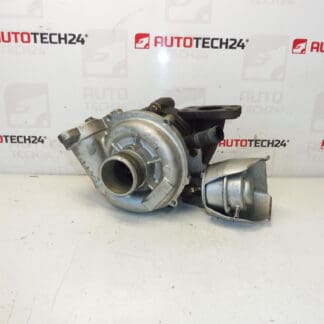
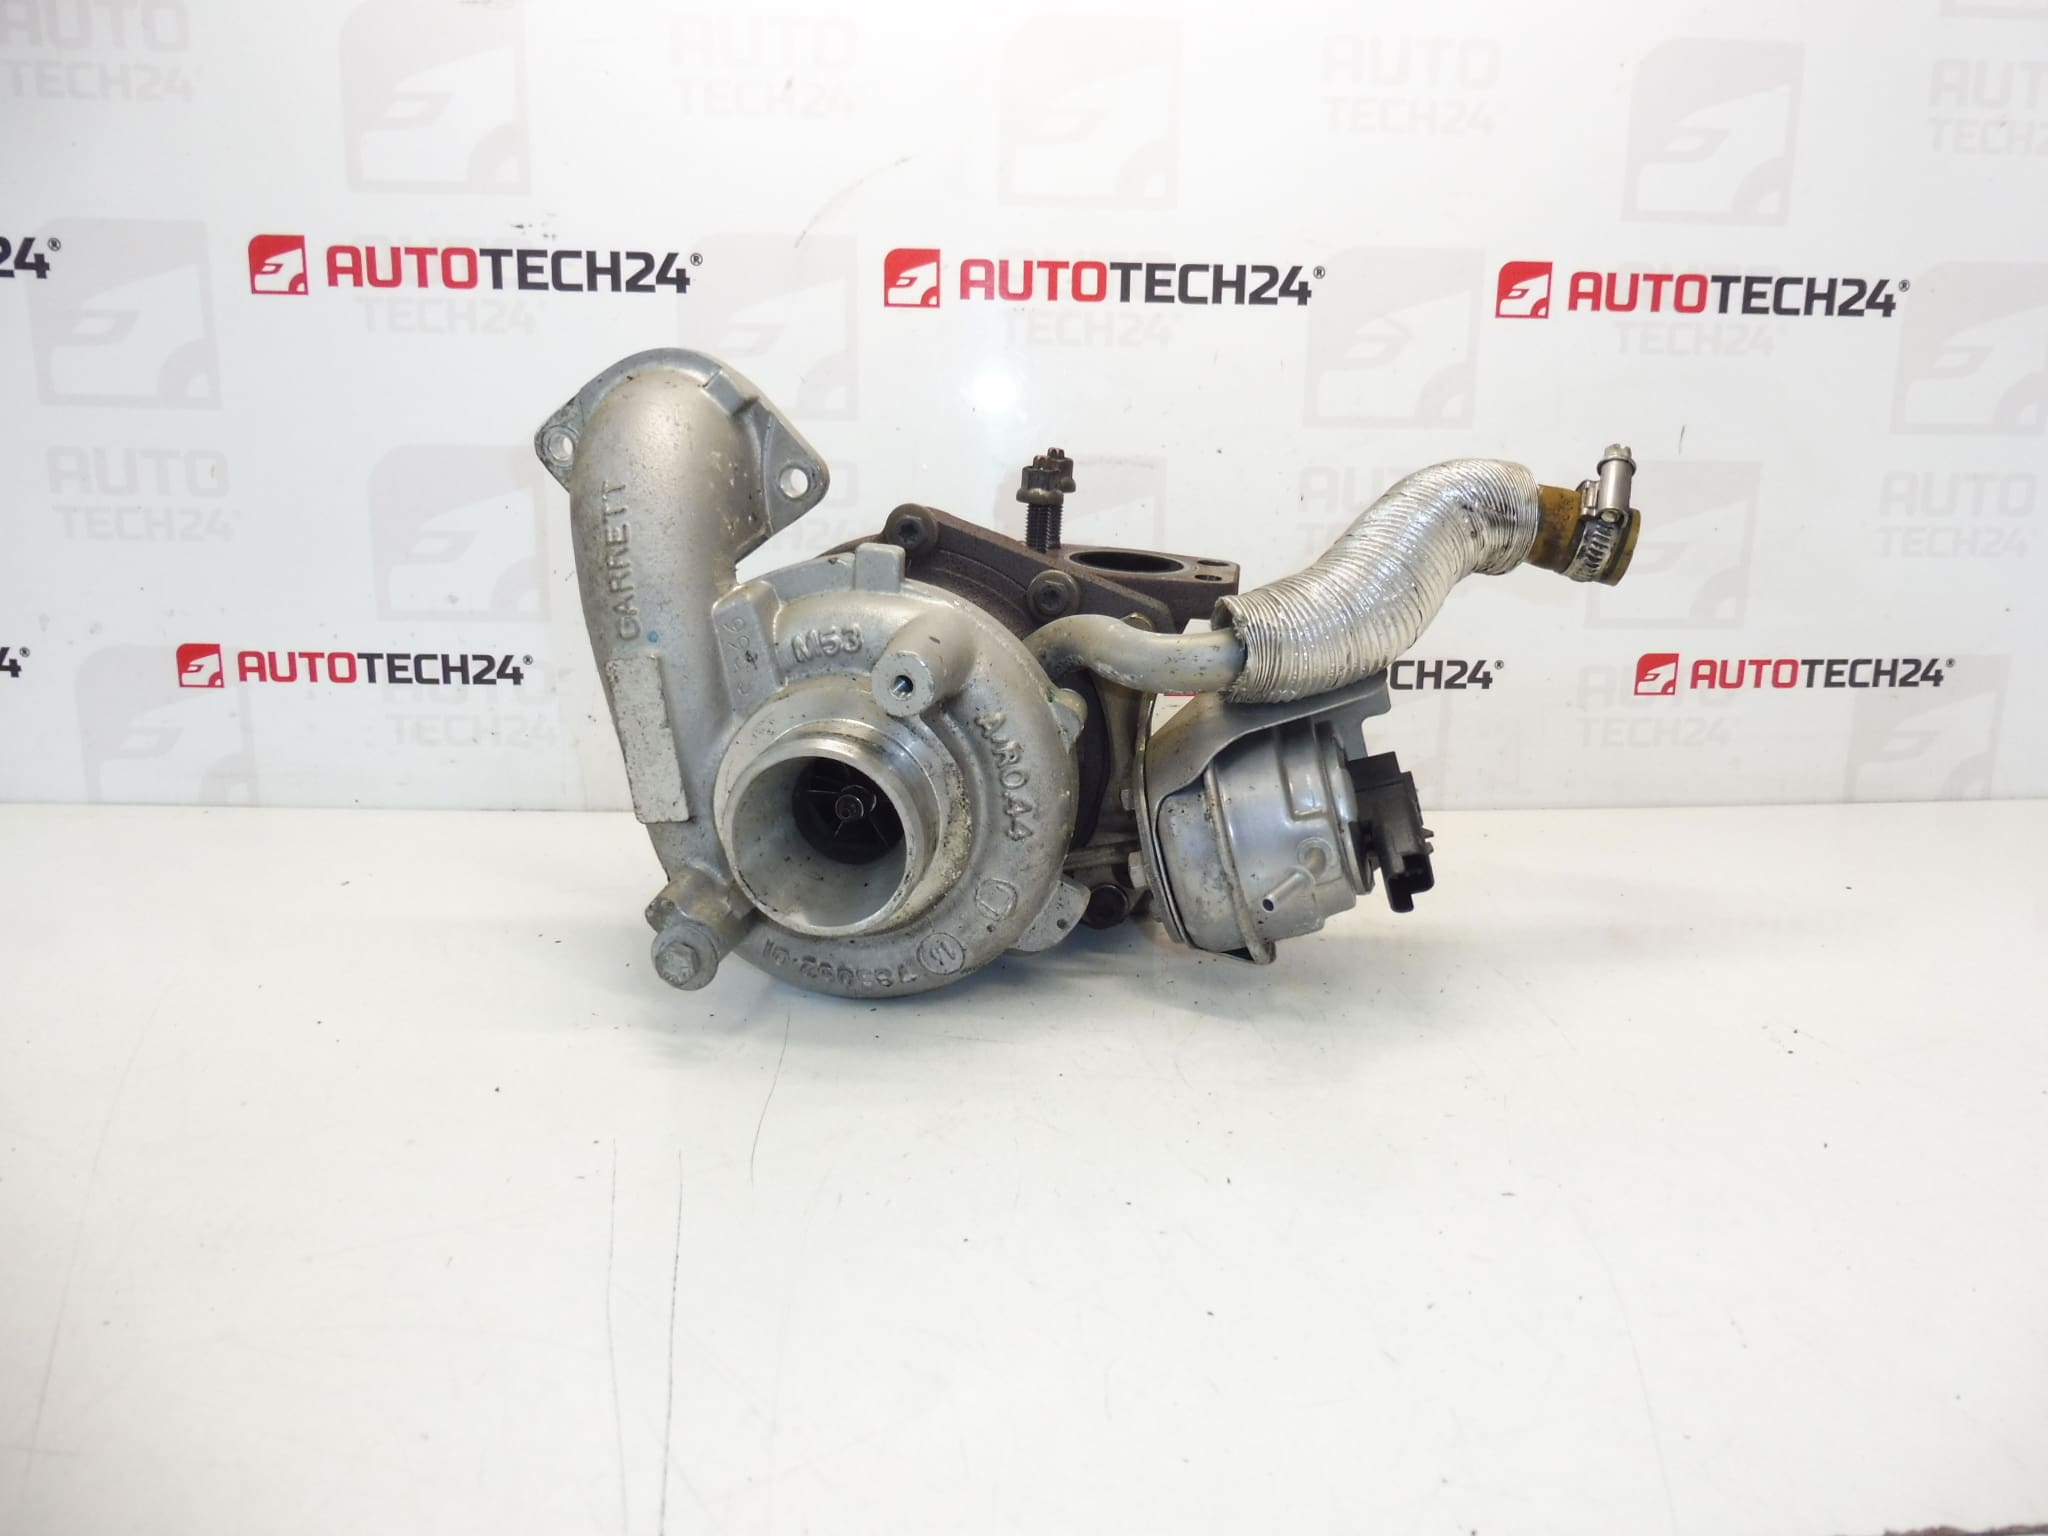
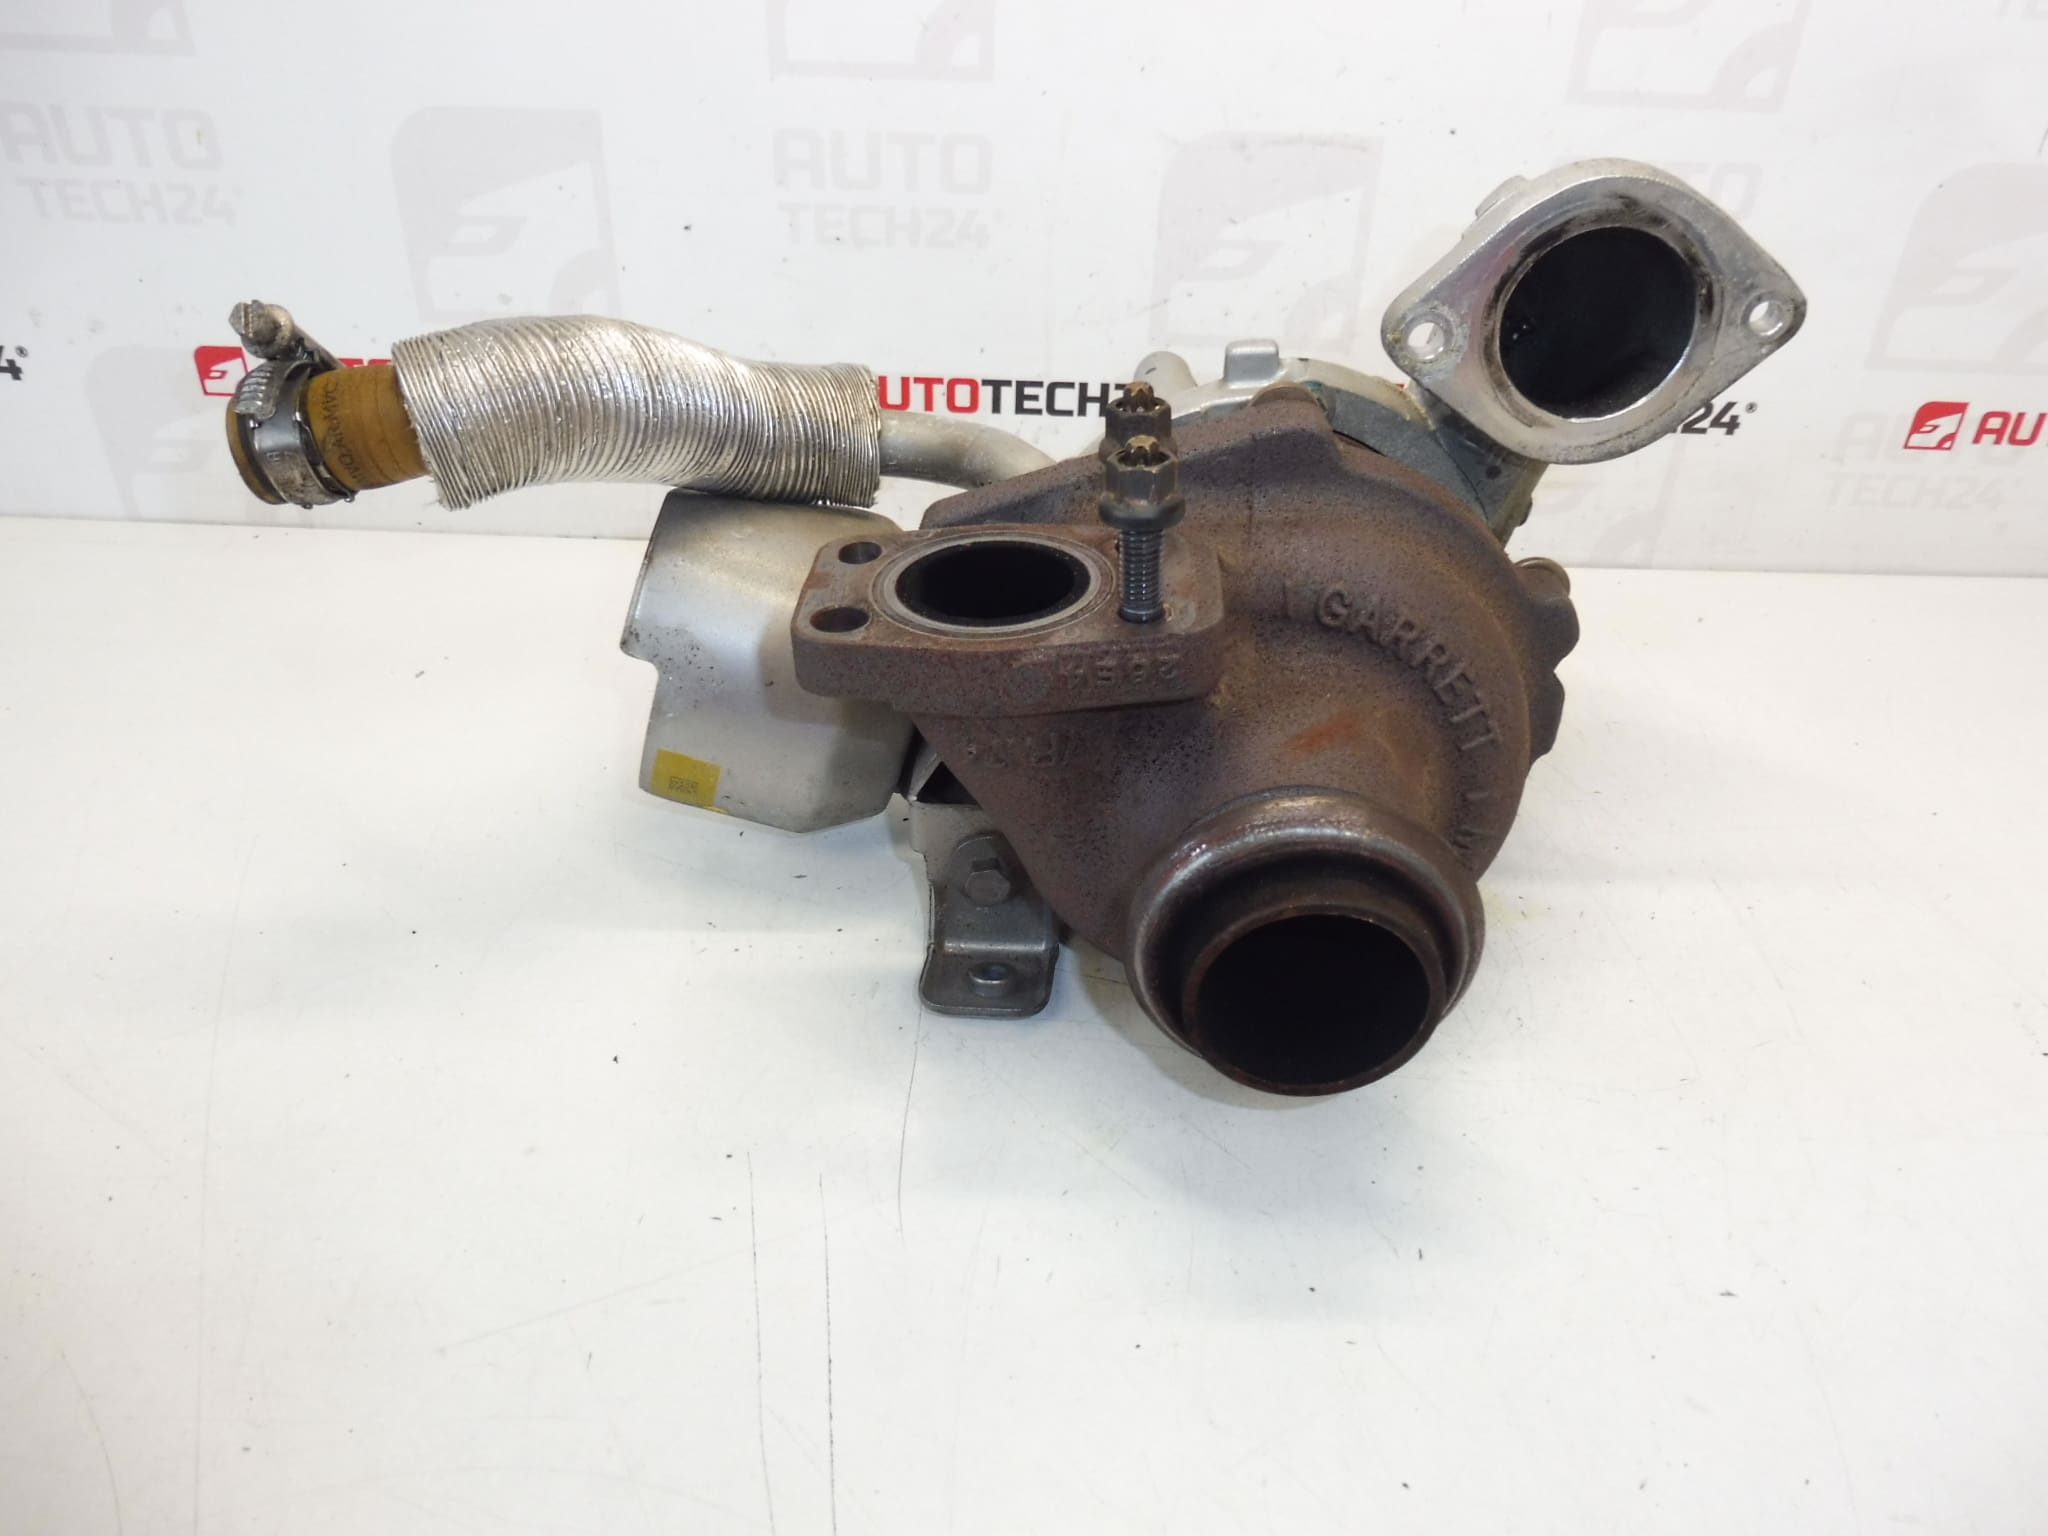
Turbocharger for CITROËN and PEUGEOT vehicles with a 1.6 e-HDI engine. From a vehicle with only 88,000 km.
This Garrett GTC1244VZ turbocharger is a direct-fit unit commonly referenced by part numbers GTC1244VZ, 9686120680, 0375P7 and 0375P8. Designed for 1.6 e-HDI diesel engines used across Stellantis models, it restores lost boost, improves torque at low rpm and helps the engine recover factory performance. The unit is ideal for professional garages and experienced DIY mechanics looking for a quality used turbo with clear identification by product code.
Technical Information
- Manufacturer: Garrett
- Model: Citroën C4; Citroën C4 II; Citroën C4 Picasso; Peugeot 3008 I; Peugeot 308; Peugeot 5008 I
- Product Codes: GTC1244VZ; 9686120680; 0375P7; 0375P8
- Additional Numbers: Stellantis (Citroën / Peugeot) references as above
Function And Benefits
The turbocharger compresses intake air to increase air density entering the cylinders, allowing more fuel to be burned and delivering higher torque and better drivability—especially important on small-displacement diesel engines like the 1.6 e-HDI. Replacing a worn or damaged turbo restores throttle response, reduces smoke under acceleration and often improves fuel economy compared to a failing unit.
Installation Recommendations
- Work On A Cold Engine: Allow the engine to cool before starting; hot components can cause burns and distort seals.
- Inspect And Replace Seals: Always fit new gaskets and sealing rings on the oil feed, oil return and exhaust flanges to prevent leaks.
- Check Oil Supply And Drain: Clean the oil feed line and ensure the return is free-flowing. Blocked or restricted oil supply is the most common cause of turbo damage.
- Prime The Turbo Before First Start: Before the first start after installation, prime the turbo oil inlet with clean engine oil to ensure immediate lubrication of bearings.
- Tightening And Alignment: Use manufacturer torque values from the repair manual for all turbo mounting bolts and exhaust connections. Ensure correct alignment of the downpipe and intake pipes to avoid stress on the housing.
- Replace Related Components If Necessary: Inspect intercooler, hoses, clamps and the intake tract for soot, cracks or leaks. Replace any damaged parts to avoid premature turbo failure.
- Post-Installation Procedure: After installation, let the engine idle for a short period to build oil pressure to the turbo, then avoid heavy load or high rpm for the first 10–15 minutes of operation.
- Recommendation For DIYers: If you are not familiar with turbo systems, use workshop manuals and proper tools. Critical steps include correct oil line handling, clean working environment and replacing all sealing components.
Most Common Failure Causes
- Oil Feed Problems: Contaminated oil, infrequent oil changes or blocked oil passages lead to bearing wear and turbo seizure.
- Oil Return Restriction: A restricted or poorly routed return causes oil to accumulate in the turbo and leads to seal failure and smoking.
- Foreign Object Ingestion: Inlet debris or exhaust particles can damage compressor or turbine wheels, causing imbalance and vibration.
- Soot And Coking: High soot levels in the intake/exhaust (often from EGR issues) can cause deposits and reduced cooling of the bearings.
- Excessive Exhaust Temperatures: Engine tuning, faulty injectors or diesel particulate filter problems can raise temperatures and damage the turbo.
- General Wear: Normal wear over time accelerates when maintenance is neglected; however, many failures are traced back to oil- or contamination-related causes rather than simple mileage.
This turbocharger is frequently searched by its part numbers—use the product codes listed above when comparing compatibility. The unit was removed from a vehicle with 88,000 km and is identified as Garrett GTC1244VZ (see product codes).