Description
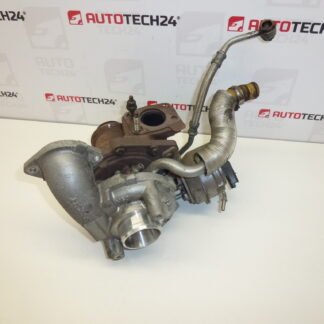
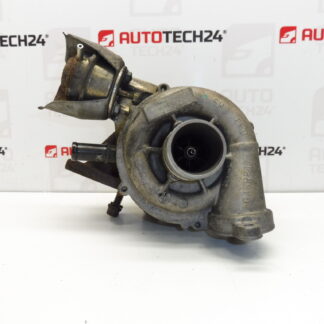
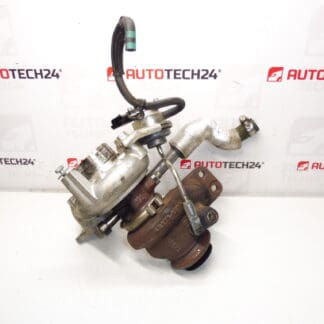
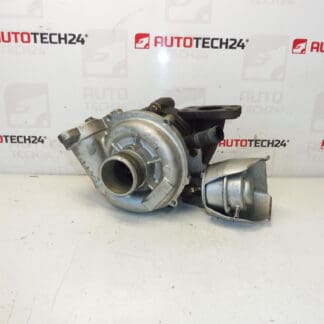
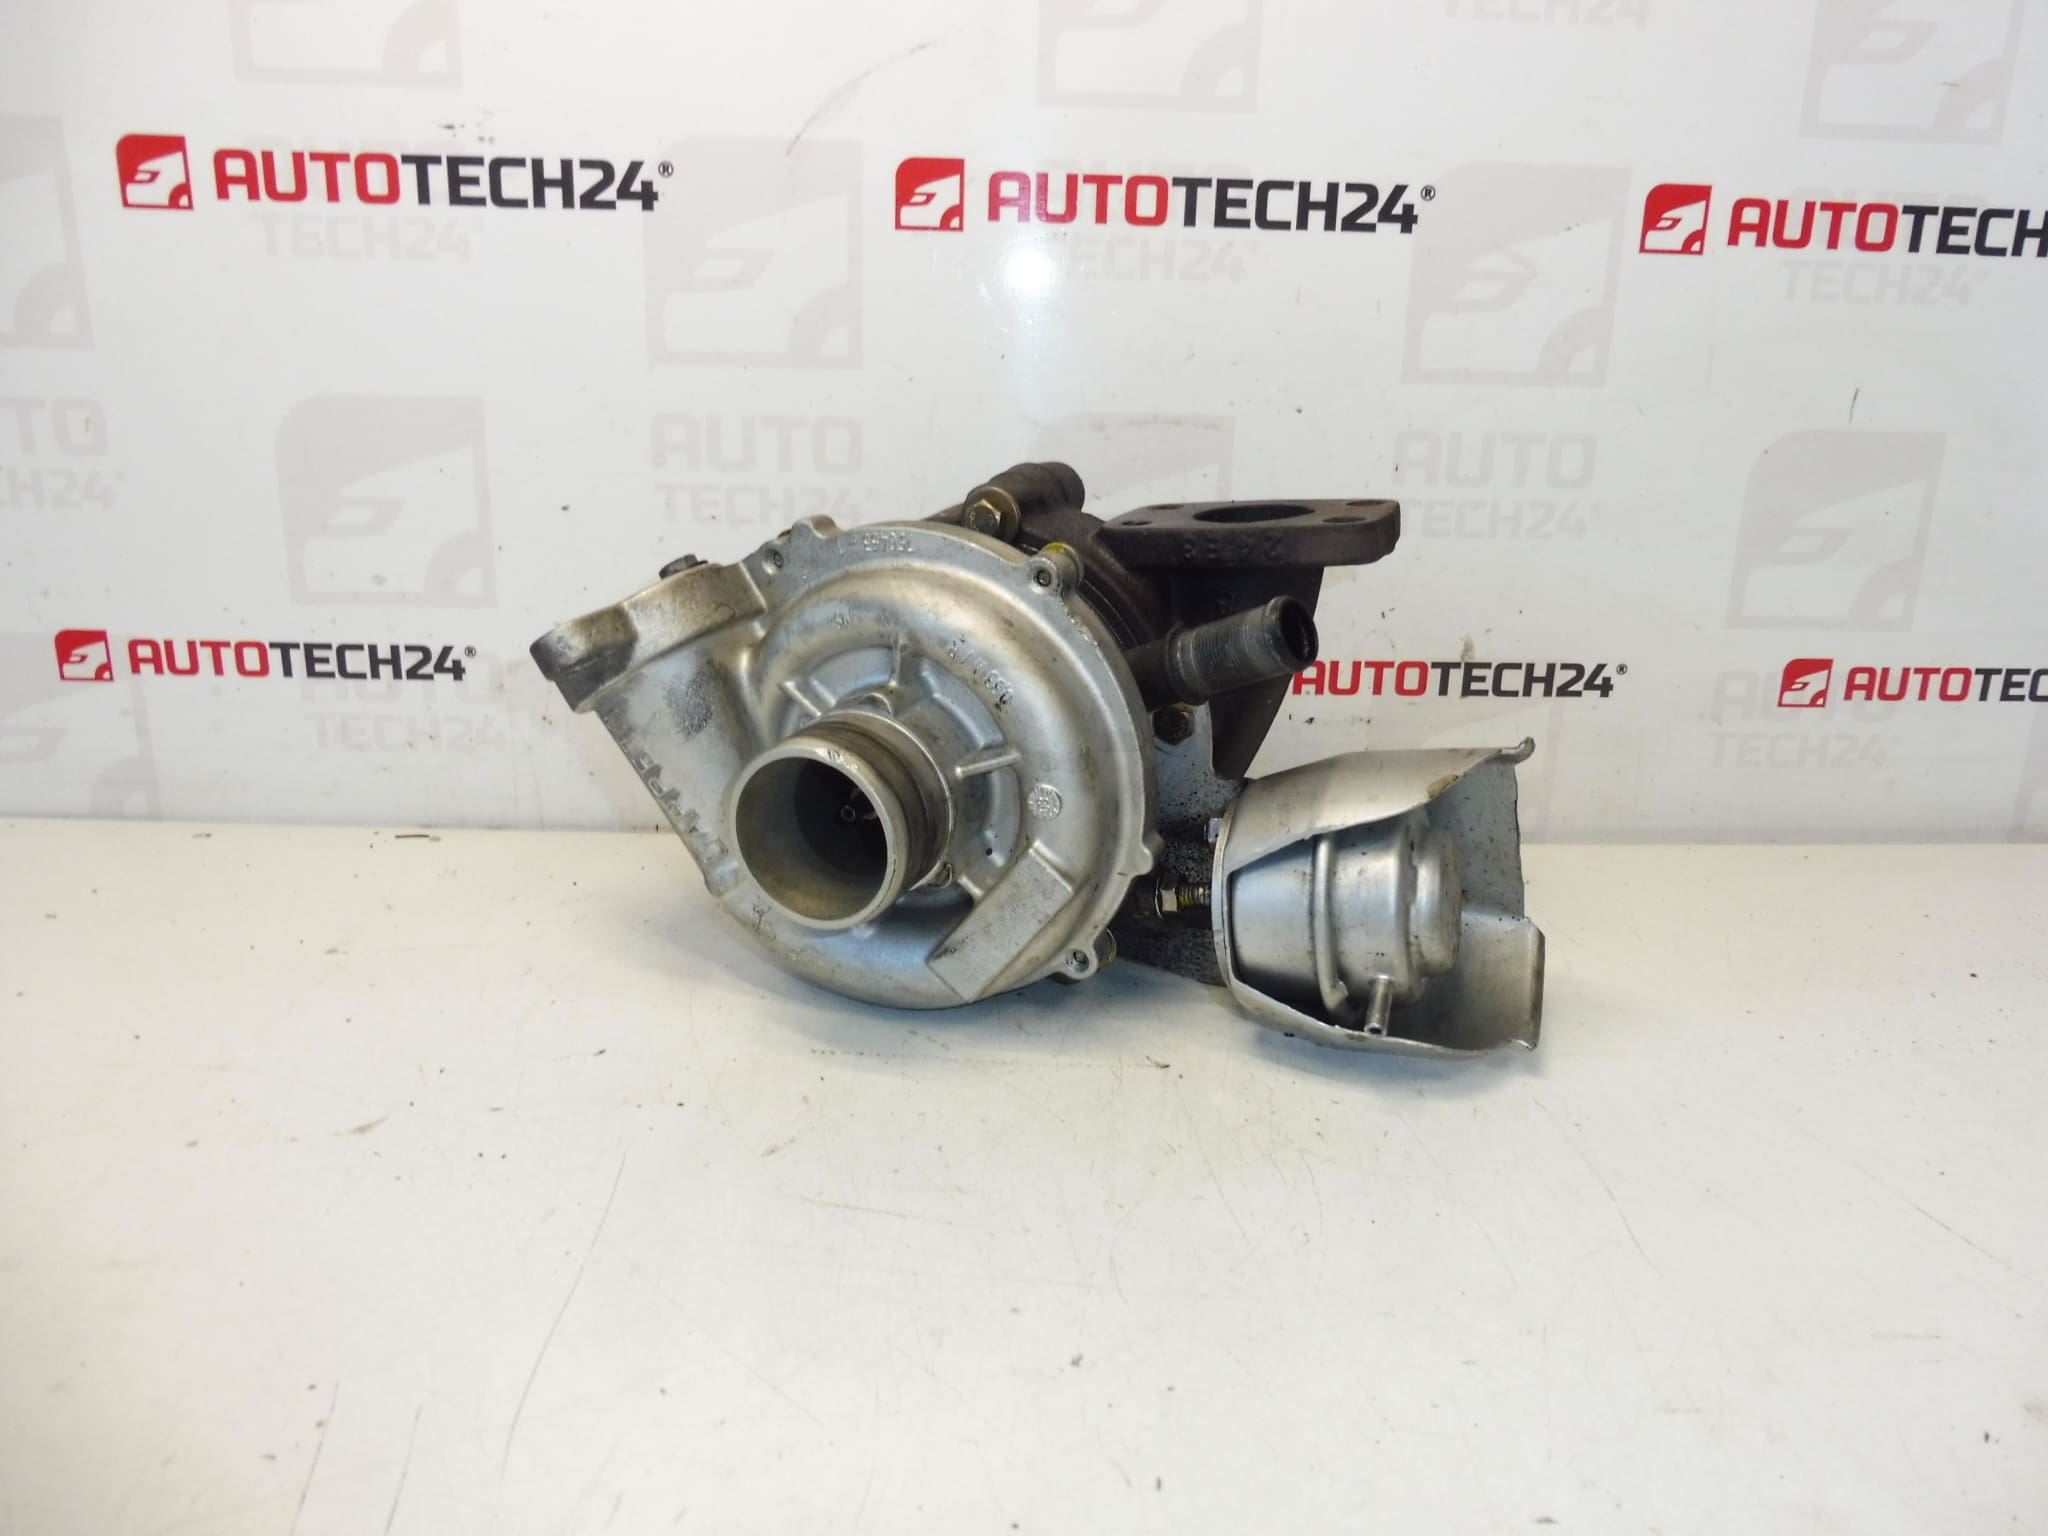
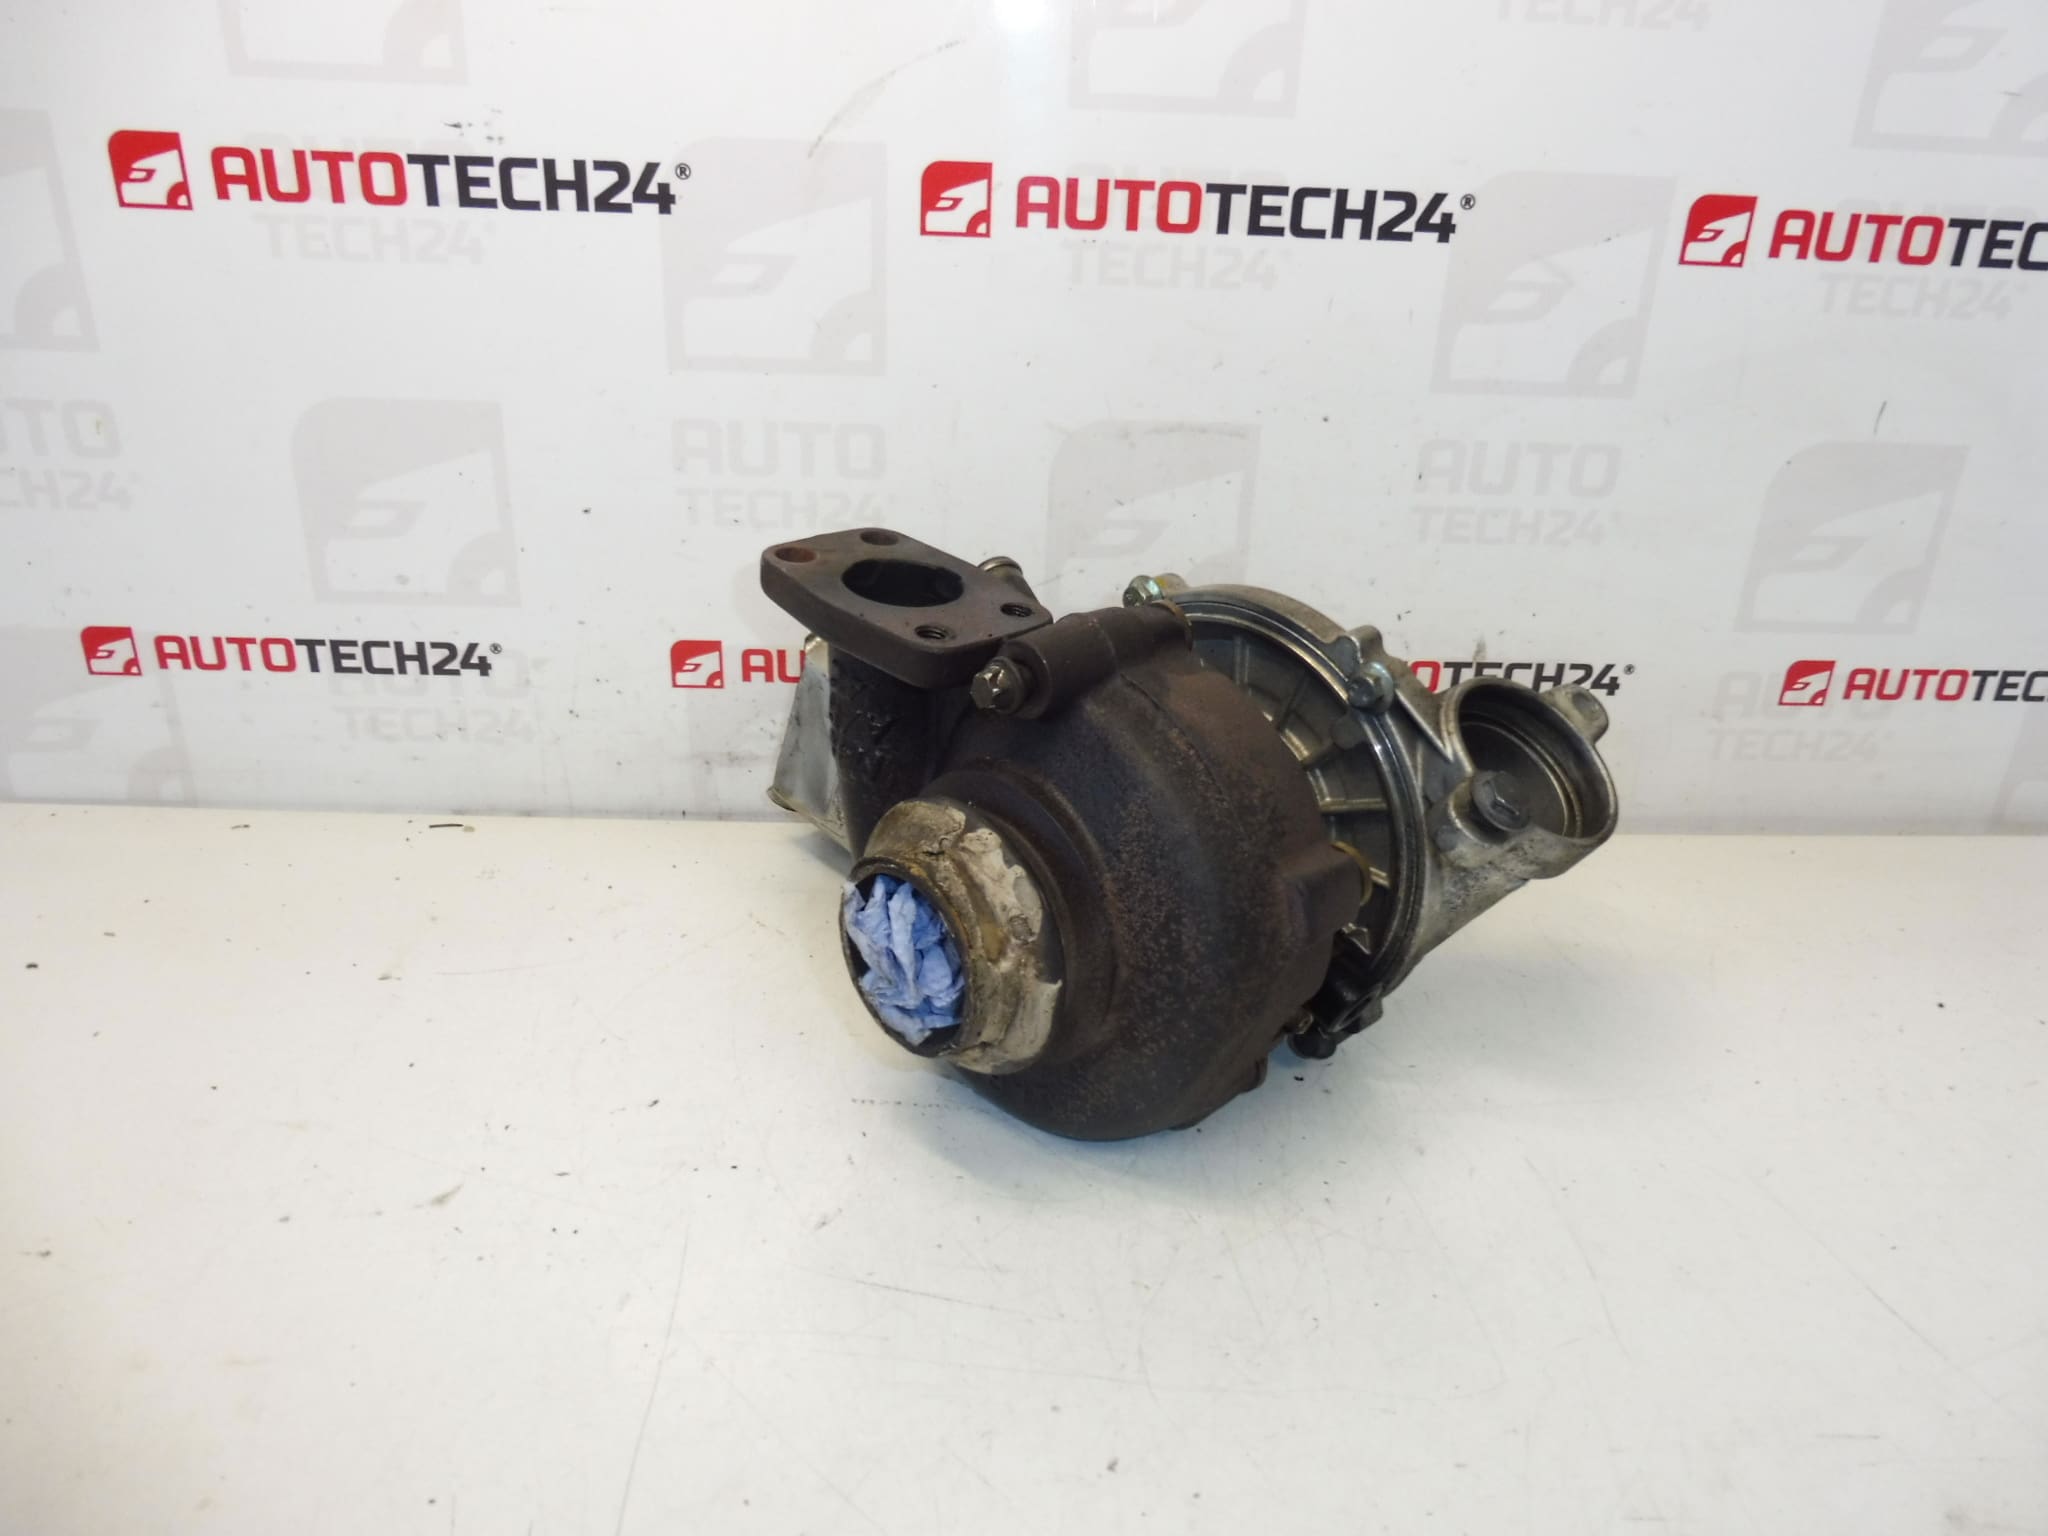
Remanufactured Turbocharger CITROËN PEUGEOT GARRETT GT1544V. The turbo has only 15,000 km mileage.
High-quality remanufactured Garrett GT1544V turbocharger designed for PSA 1.6 HDi applications. This unit is an economical replacement for worn or failed turbochargers and is particularly suited to professional workshops and experienced DIY mechanics who service Citroën and Peugeot vehicles. The turbo is compatible with common PSA turbo part numbers and OE references, making it easy to find by product code. Low post-remanufacture mileage (15,000 km) means long remaining service life when fitted and maintained correctly.
Technical Information
- Manufacturer: Garrett
- Model: GT1544V
- Product Codes: 9663199280, GT1544V, 0375J6, 0375J8, 0375J3, 0375J7, 0375N9
- Other Numbers: 0375J6 (common reference)
- Engine / Power: 1.6 HDi, 80 kW (commonly PSA DV6 family)
- Vehicle Brands: Citroën, Peugeot
Suitable Applications
Intended for 1.6 HDi turbocharged diesel engines (approx. 80 kW) from the PSA group. Frequently used on a range of Citroën and Peugeot models equipped with the DV6 engine family. Always verify compatibility by product code before ordering.
Function and Benefits
The turbocharger increases engine power and efficiency by forcing additional compressed air into the combustion chamber. A properly functioning Garrett GT1544V improves throttle response, reduces smoke under load, and helps maintain fuel economy compared with a degraded turbo. This remanufactured unit offers cost-effective restoration of turbo performance without the price of a new OEM component.
How It Is Replaced
- Allow Engine To Cool Completely. Work On A Cold Engine To Avoid Burns.
- Disconnect Intake And Intercooler Ducting To Access The Turbocharger.
- Disconnect Oil Feed And Return Lines (Cap And Recover Oil To Prevent Contamination).
- Disconnect Any Coolant Lines If Present, And Remove Exhaust Downpipe To Access Turbo Mounting Bolts.
- Unbolt Turbocharger From Exhaust Manifold And Remove Unit Carefully.
- Fit New Turbo Using New Gaskets And Replace Any Damaged Nuts/Studs; Ensure Correct Alignment.
- Before First Start, Prime Turbo With Engine Oil (Pour A Small Amount Into Oil Inlet) And Turn Engine To Distribute Oil Without Starting Long-Term.
- Start Engine And Idle For Several Minutes To Build Oil Pressure, Then Check For Leaks And Re-Torque Fasteners If REQUIRED.
Installation Recommendations
- Use New Gaskets And Fasteners Where Applicable. Do Not Reuse Crush Washers Or Old Gaskets.
- Replace Engine Oil And Oil Filter When Installing A Turbocharger To Prevent Contamination.
- Prime The Turbo With Clean Engine Oil Before First Start To Avoid Dry-Running Bearings.
- Follow Manufacturer Torque Values And Tightening Sequences; If Unsure, Use Workshop Manual.
- After Installation, Allow Engine To Idle Until Normal Oil Pressure Is Achieved; Avoid Heavy Load Or High Engine Speed For The First 200–500 Km.
- Inspect And Clean Intake And Intercooler Tracts To Prevent Foreign Object Damage.
Why This Part Fails Most Often
- Oil Contamination Or Degradation: Dirty oil or clogged oil feed/return lines cause premature bearing wear.
- Oil Starvation: Blocked oil feed, low oil level, or delayed oil pressure at startup damages bearings.
- Soot And Carbon Build-Up: Variable vane (VNT) mechanisms can stick from soot deposits, leading to poor boost control or failure.
- Foreign Object Damage: Ingested debris from the intake side or exhaust fragments cause blade damage and imbalance.
- Excessive Exhaust Gas Temperatures: Running rich or engine faults can overheat the turbo and damage the turbine or bearings.
- Wear From High Mileage Or Neglect: Bearings and seals wear over time if regular maintenance is not performed.
Practical Notes For Mechanics
This turbo is a remanufactured Garrett GT1544V and is sold with the product codes listed above for easy searching. Its relatively low post-remanufacture mileage (15,000 km) is an advantage compared to heavily used cores. Fitment is typically straightforward for trained technicians; however, attention to oil supply cleanliness and correct installation practice is essential to ensure long service life.
Warranty And Quality
Check the shop’s warranty terms and any included return policy. For workshop professionals, replacing the oil supply/return gaskets and ensuring clean oil circulation are the best ways to protect the new turbo and meet warranty conditions.