Description
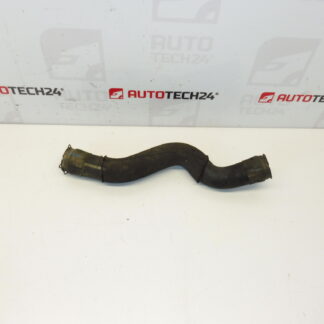
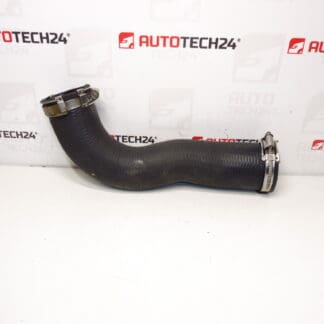
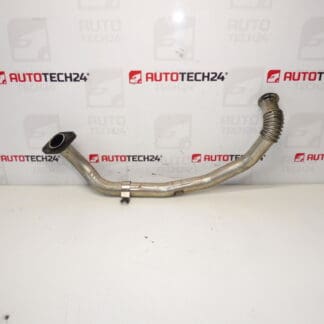
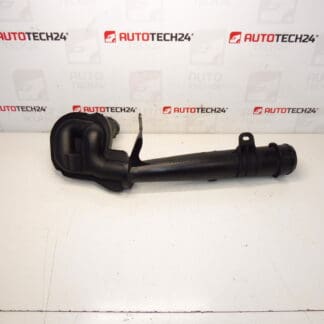
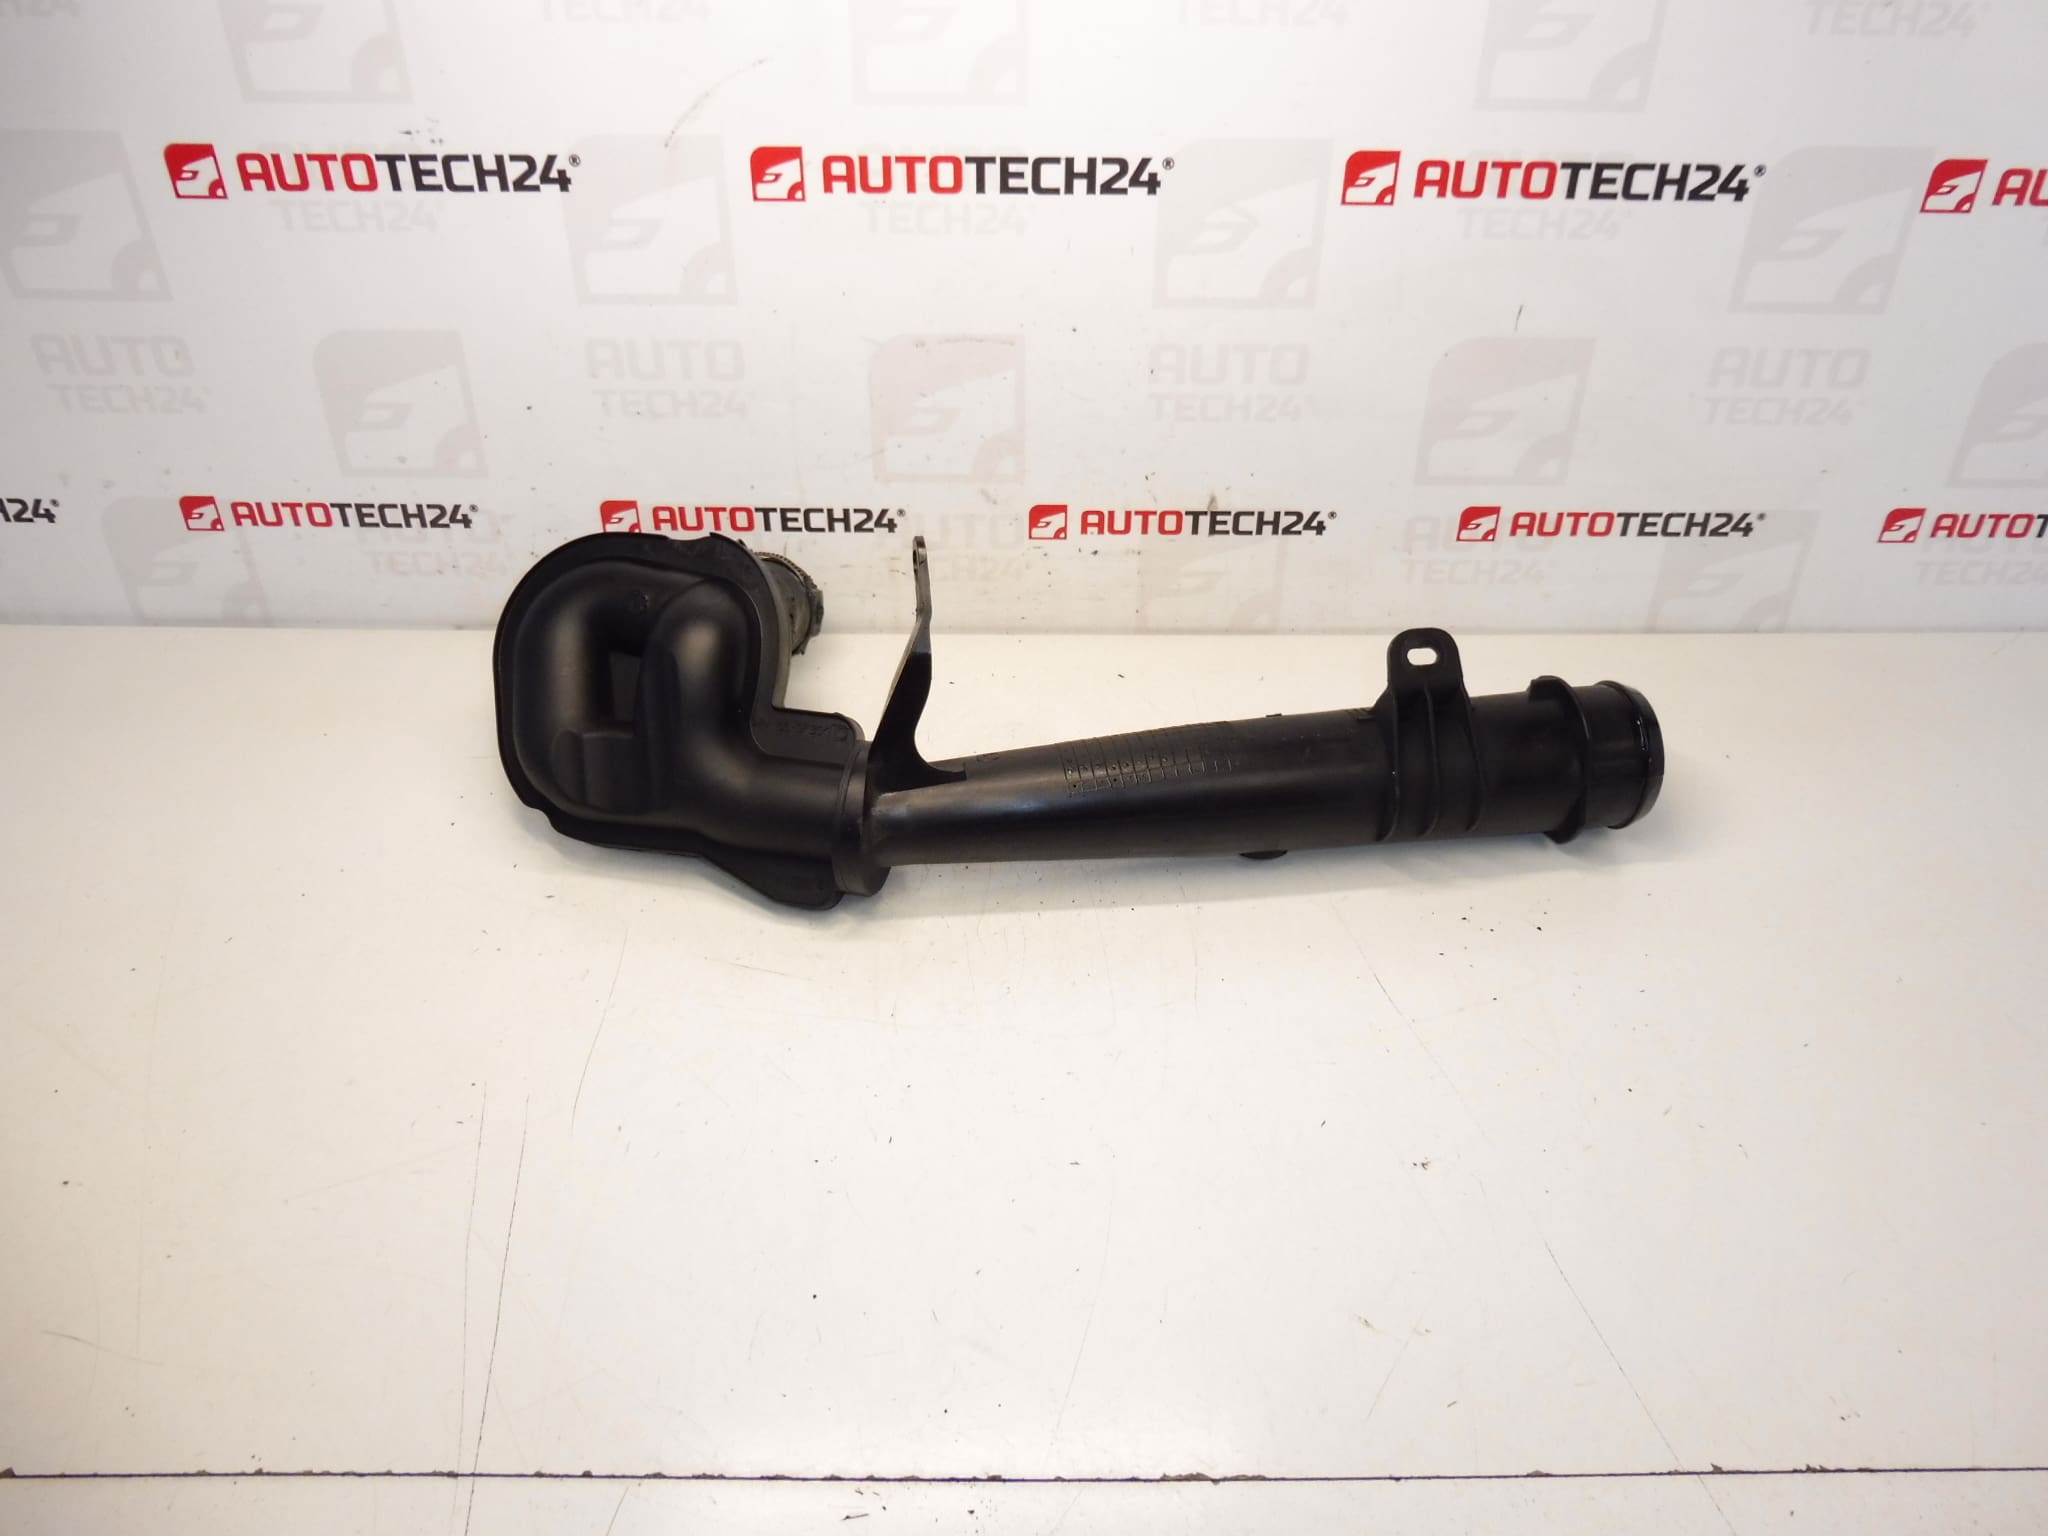
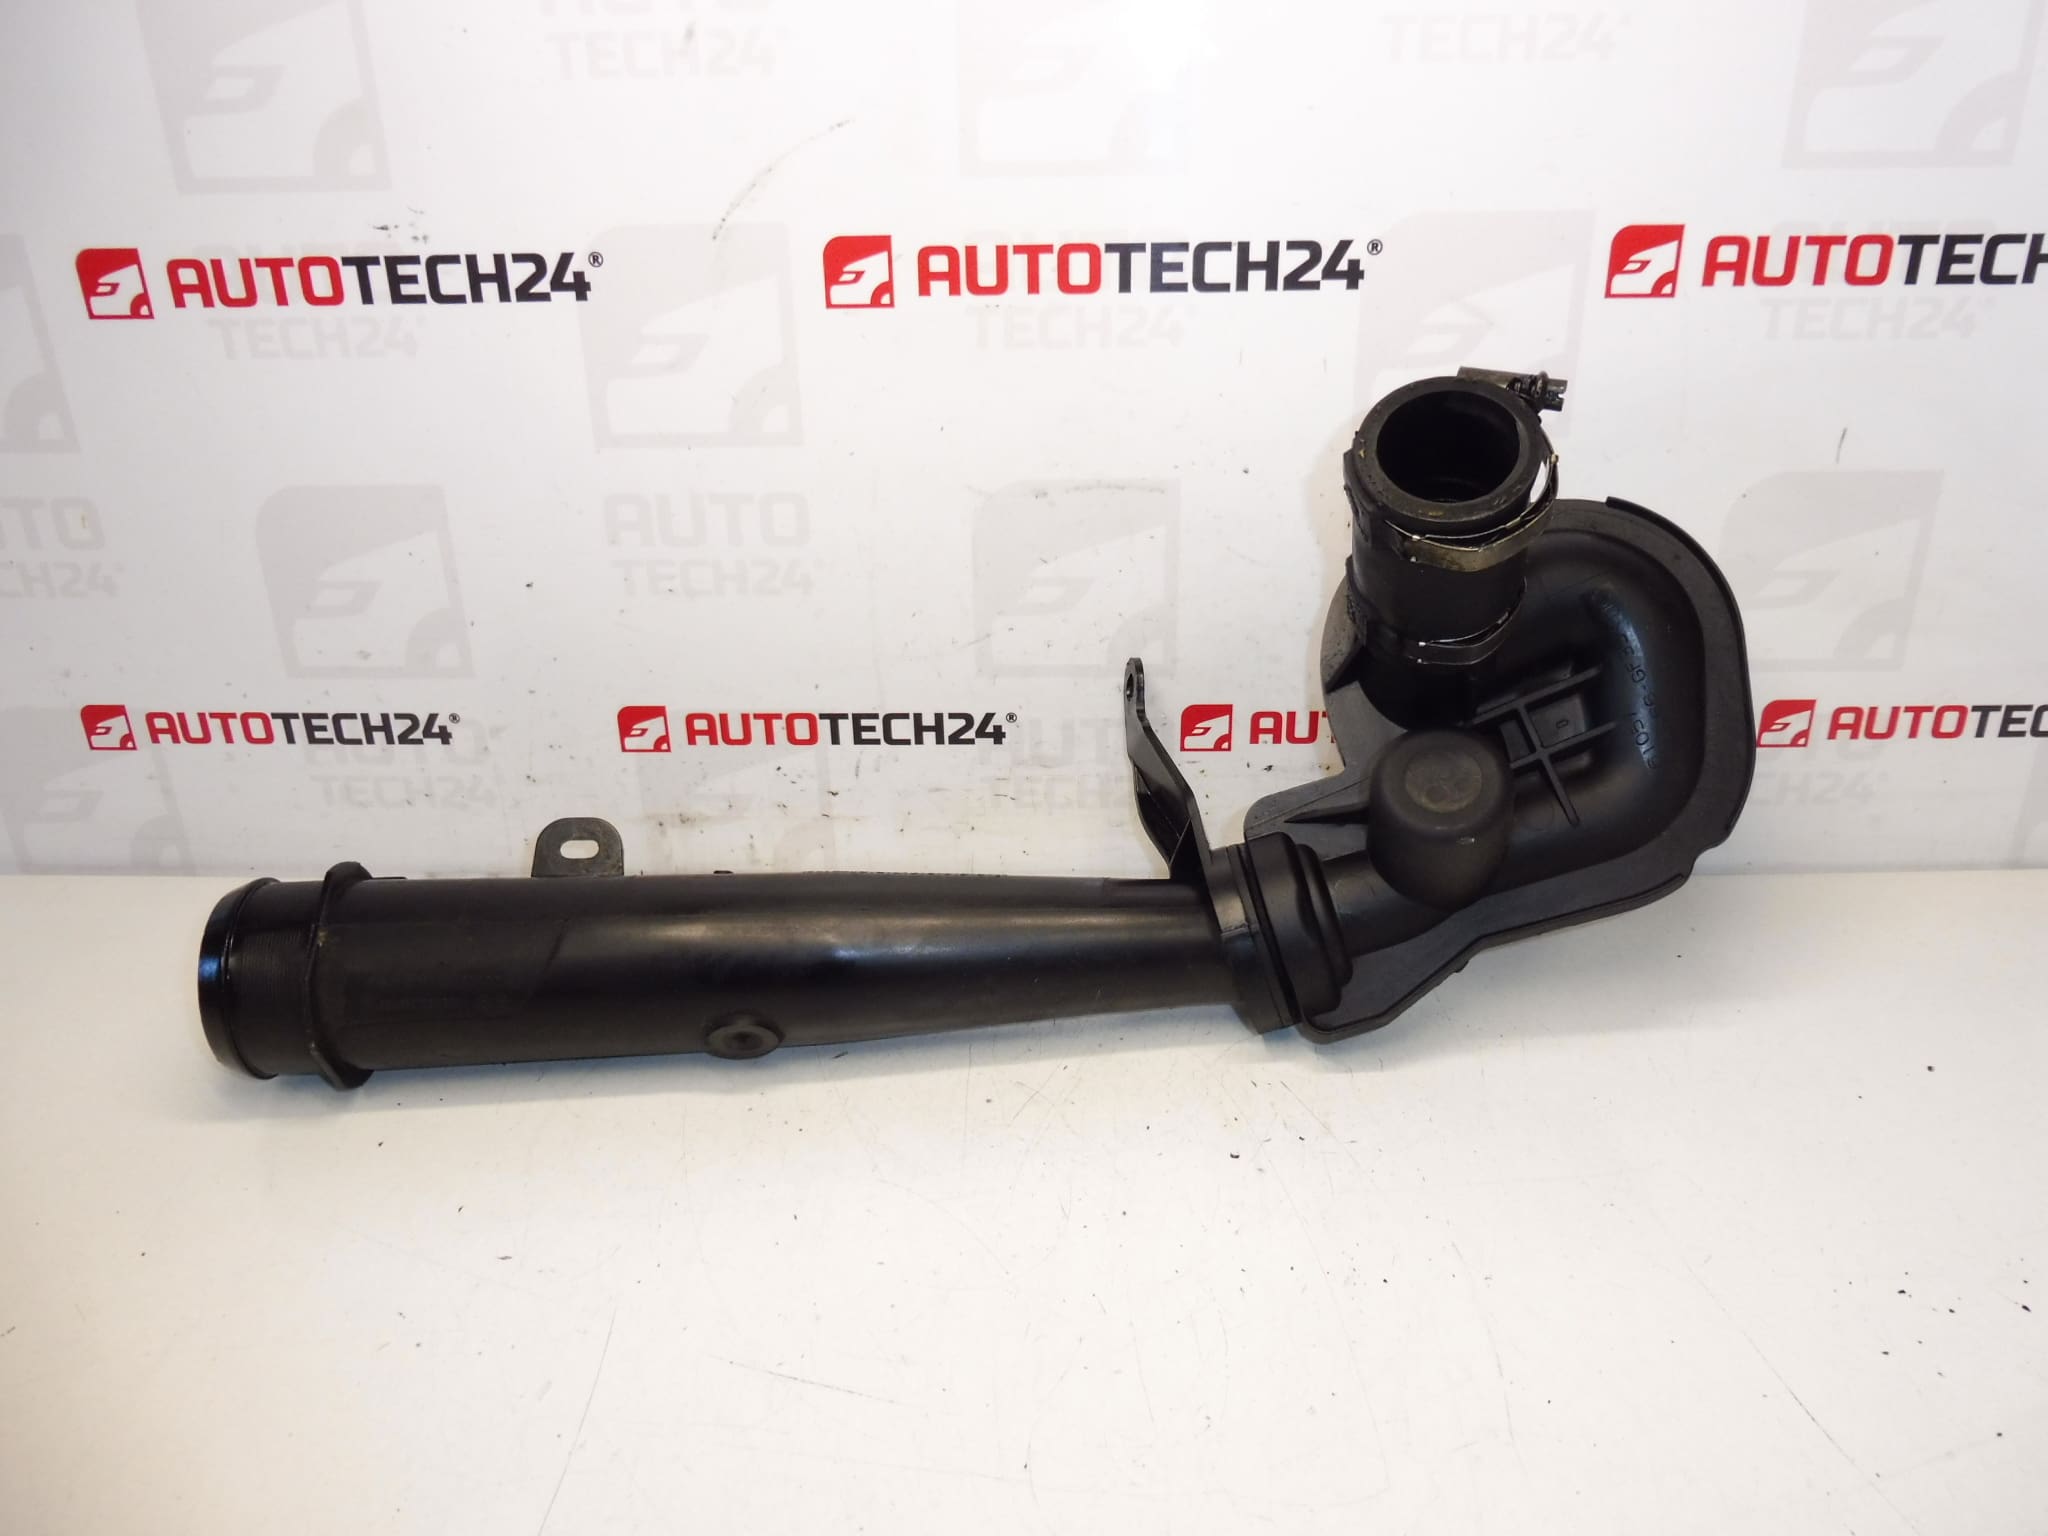
Turbocharger air connection for CITROEN PEUGEOT 2.0 HDI engines
It is from a Citroen C4 Grand Picasso 2007
Part description
This turbo air connection is a used original part for Citroën and Peugeot cars. It is a part of the intake line in the category hoses, intake pipes and turbo, which for 2.0 HDI engines is involved in the correct air flow to or from the turbocharger, depending on the specific design of the car.
The part is suitable for anyone who is looking for a replacement car part according to the original number and needs to maintain the correct connection to the existing intake system. For used parts of this type, the design of the ends, the shape of the pipe and the matching of the connection points with the old piece are particularly important.
The advantage is the original PSA design, which tends to be a practical choice for car mechanics and do-it-yourselfers who want to replace a damaged or leaking part without unnecessary modifications.
Technical information
- Manufacturer: Stellantis Citroën Peugeot
- Model: Citroën C4 Grand Picasso 2007
- Other numbers: 0382JW, NFP
Product codes
- Product codes: 9680995580, 0382JW
- Models from labels/backgrounds: Citroën C4 PICASSO, PEUGEOT 3008 I, PEUGEOT 5008 I
Installation recommendations
Generally/typically for this type of part, the exact replacement procedure depends on the specific car model and the design of the engine compartment. For the turbo air connection, it is crucial to maintain tightness, proper seating and matching of the connection with the old part.
1) Before assembly
- Check whether the new and original designs match in terms of shape, connection diameter, lock position and attachment.
- Inspect the used part for cracks, deformations, abrasions in the contact surfaces or damaged locking parts.
- Check the condition of the sealing elements, if they are part of the structure. A damaged or hardened gasket is a frequent cause of leakage.
- Compare the part numbers 9680995580 and 0382JW with the old part if they are legible on the disassembled part.
2) Necessary tools and materials
- A common set of hand tools
- Screwdrivers and pliers according to the type of joints
- Detergent for removing grease and dirt
- Clean rags or towels
- Work lighting
- Protective gloves
3) Step-by-step assembly procedure
- Secure the vehicle against movement and allow the engine to cool.
- Make space available around the part being changed by removing obstructing covers or parts if necessary.
- Carefully loosen the fasteners and disconnect the original air connection from the downstream parts of the intake.
- When disassembling, observe the exact position of the part, the orientation of the terminals and the wiring in the engine compartment.
- Check the downstream parts of the system for dirt, cracks or mechanical damage.
- Clean the bearing and connecting surfaces so that no deposits, oil film or dirt residues remain on them.
- First place the used part on a clean surface and verify that there is no tension anywhere and that the line matches the original piece.
- Subsequently insert the part correctly in all connection points and secure it in the original way.
- Check that the connection is not crossed, twisted or forcibly stretched.
- Return all disassembled covers and other parts that had to be removed during work.
-
4) Post-assembly checks and test drive/function verification
- After assembly, visually check whether the connection is correctly seated along the entire length of the connection.
- After starting, observe for signs of leakage, unusual suction sound or loose connection.
- After a short test drive, recheck the fastening and any traces of air leakage or oil contamination around the joint.
- If after replacement there is a change in the sound of the engine or a deterioration in operation, re-verify that all connections are correctly seated.
5) The most common assembly mistakes + how to avoid them
- Exchanging a similar part – always compare the numbers and shape of the old and new part.
- Insufficient cleaning of the contact surfaces – dirt often causes a leak even with a correctly mounted part.
- Force fit – if the part does not fit naturally, do not continue to force and recheck the orientation.
- Overlooking damage to connected parts – the leak does not have to be just the replaced connection, but also the surrounding wiring.
- Insufficient output inspection – always perform a visual inspection after assembly and verify function during normal operation.
Reasons why the part is damaged
- Age and heat stress – long-term exposure to high temperatures in the engine compartment leads to loss of elasticity and brittleness of the material.
- Motor vibration – repeated stress can cause cracks in stressed areas or joints.
- Leakage in the intake system – poorly seated joints and worn gaskets increase the stress on the part.
- Contact with oil impurities – grease and deposits can accelerate the degradation of the material and worsen the tightness of the joints.
- Careless disassembly or assembly – prying, twisting or forceful release will often damage the locking elements and connection edges.