Description
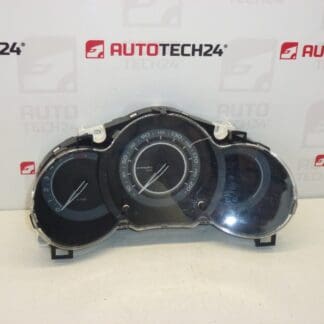
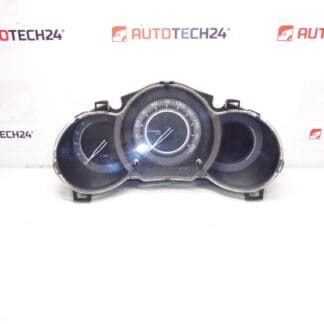
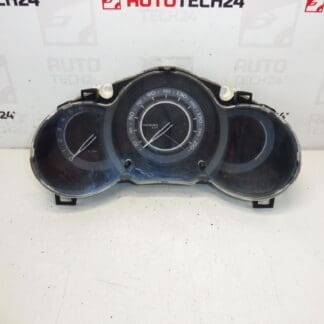
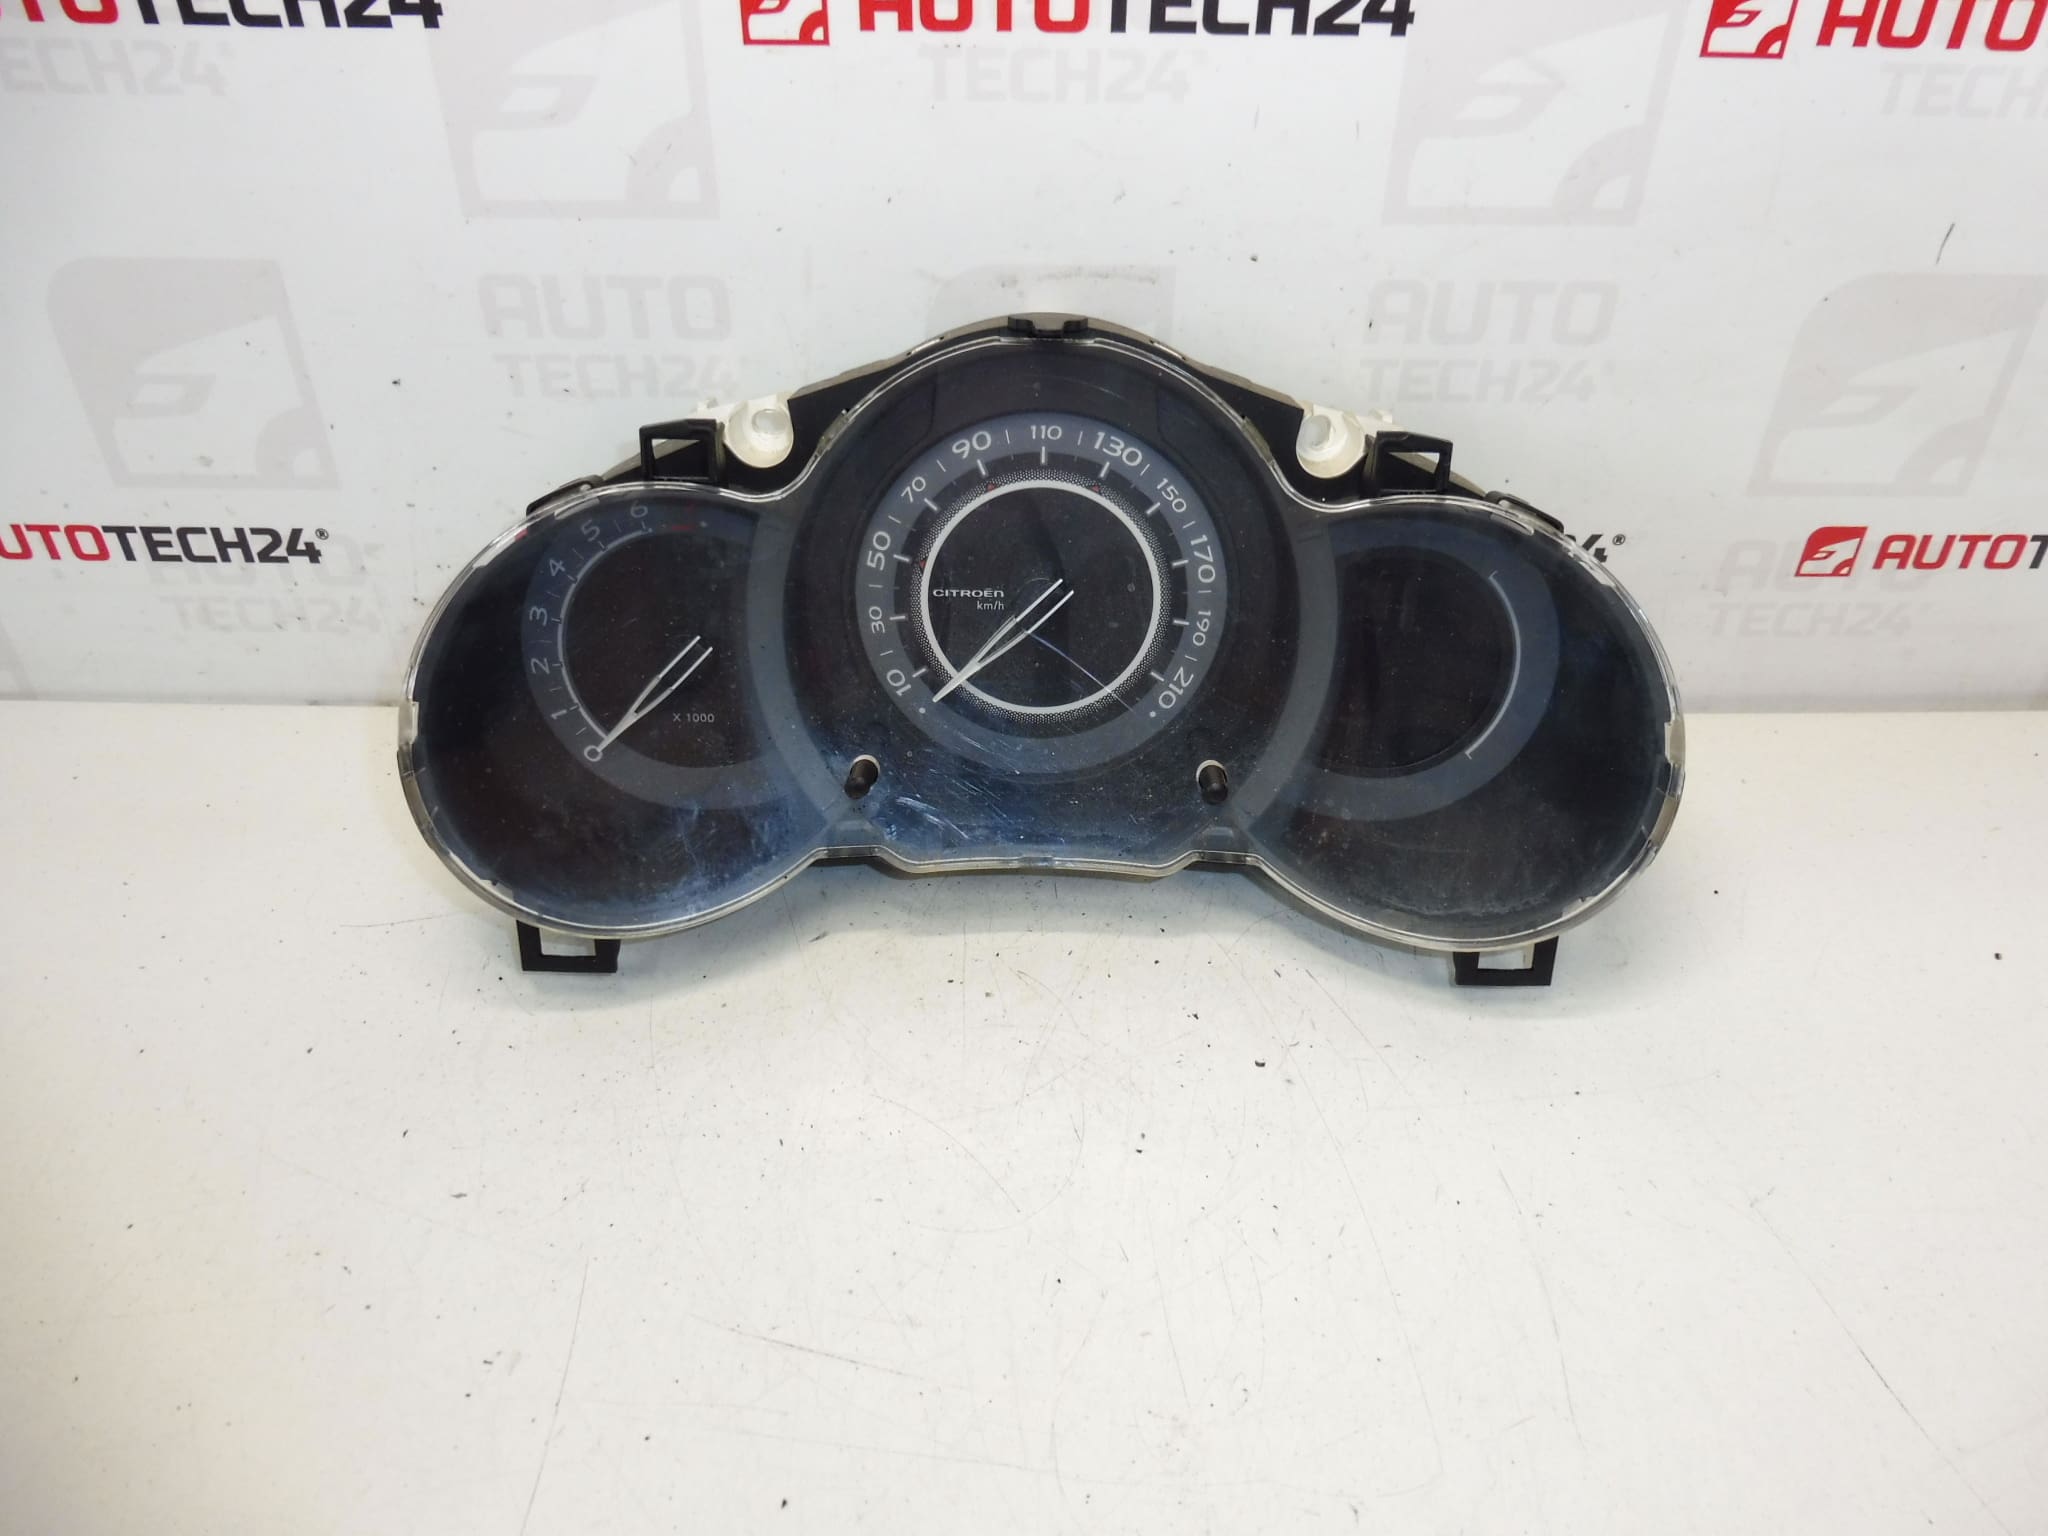
Complete instrument cluster CITROEN C3 II A51 from 2009 to 2016. Approximately 220,000 km driven.
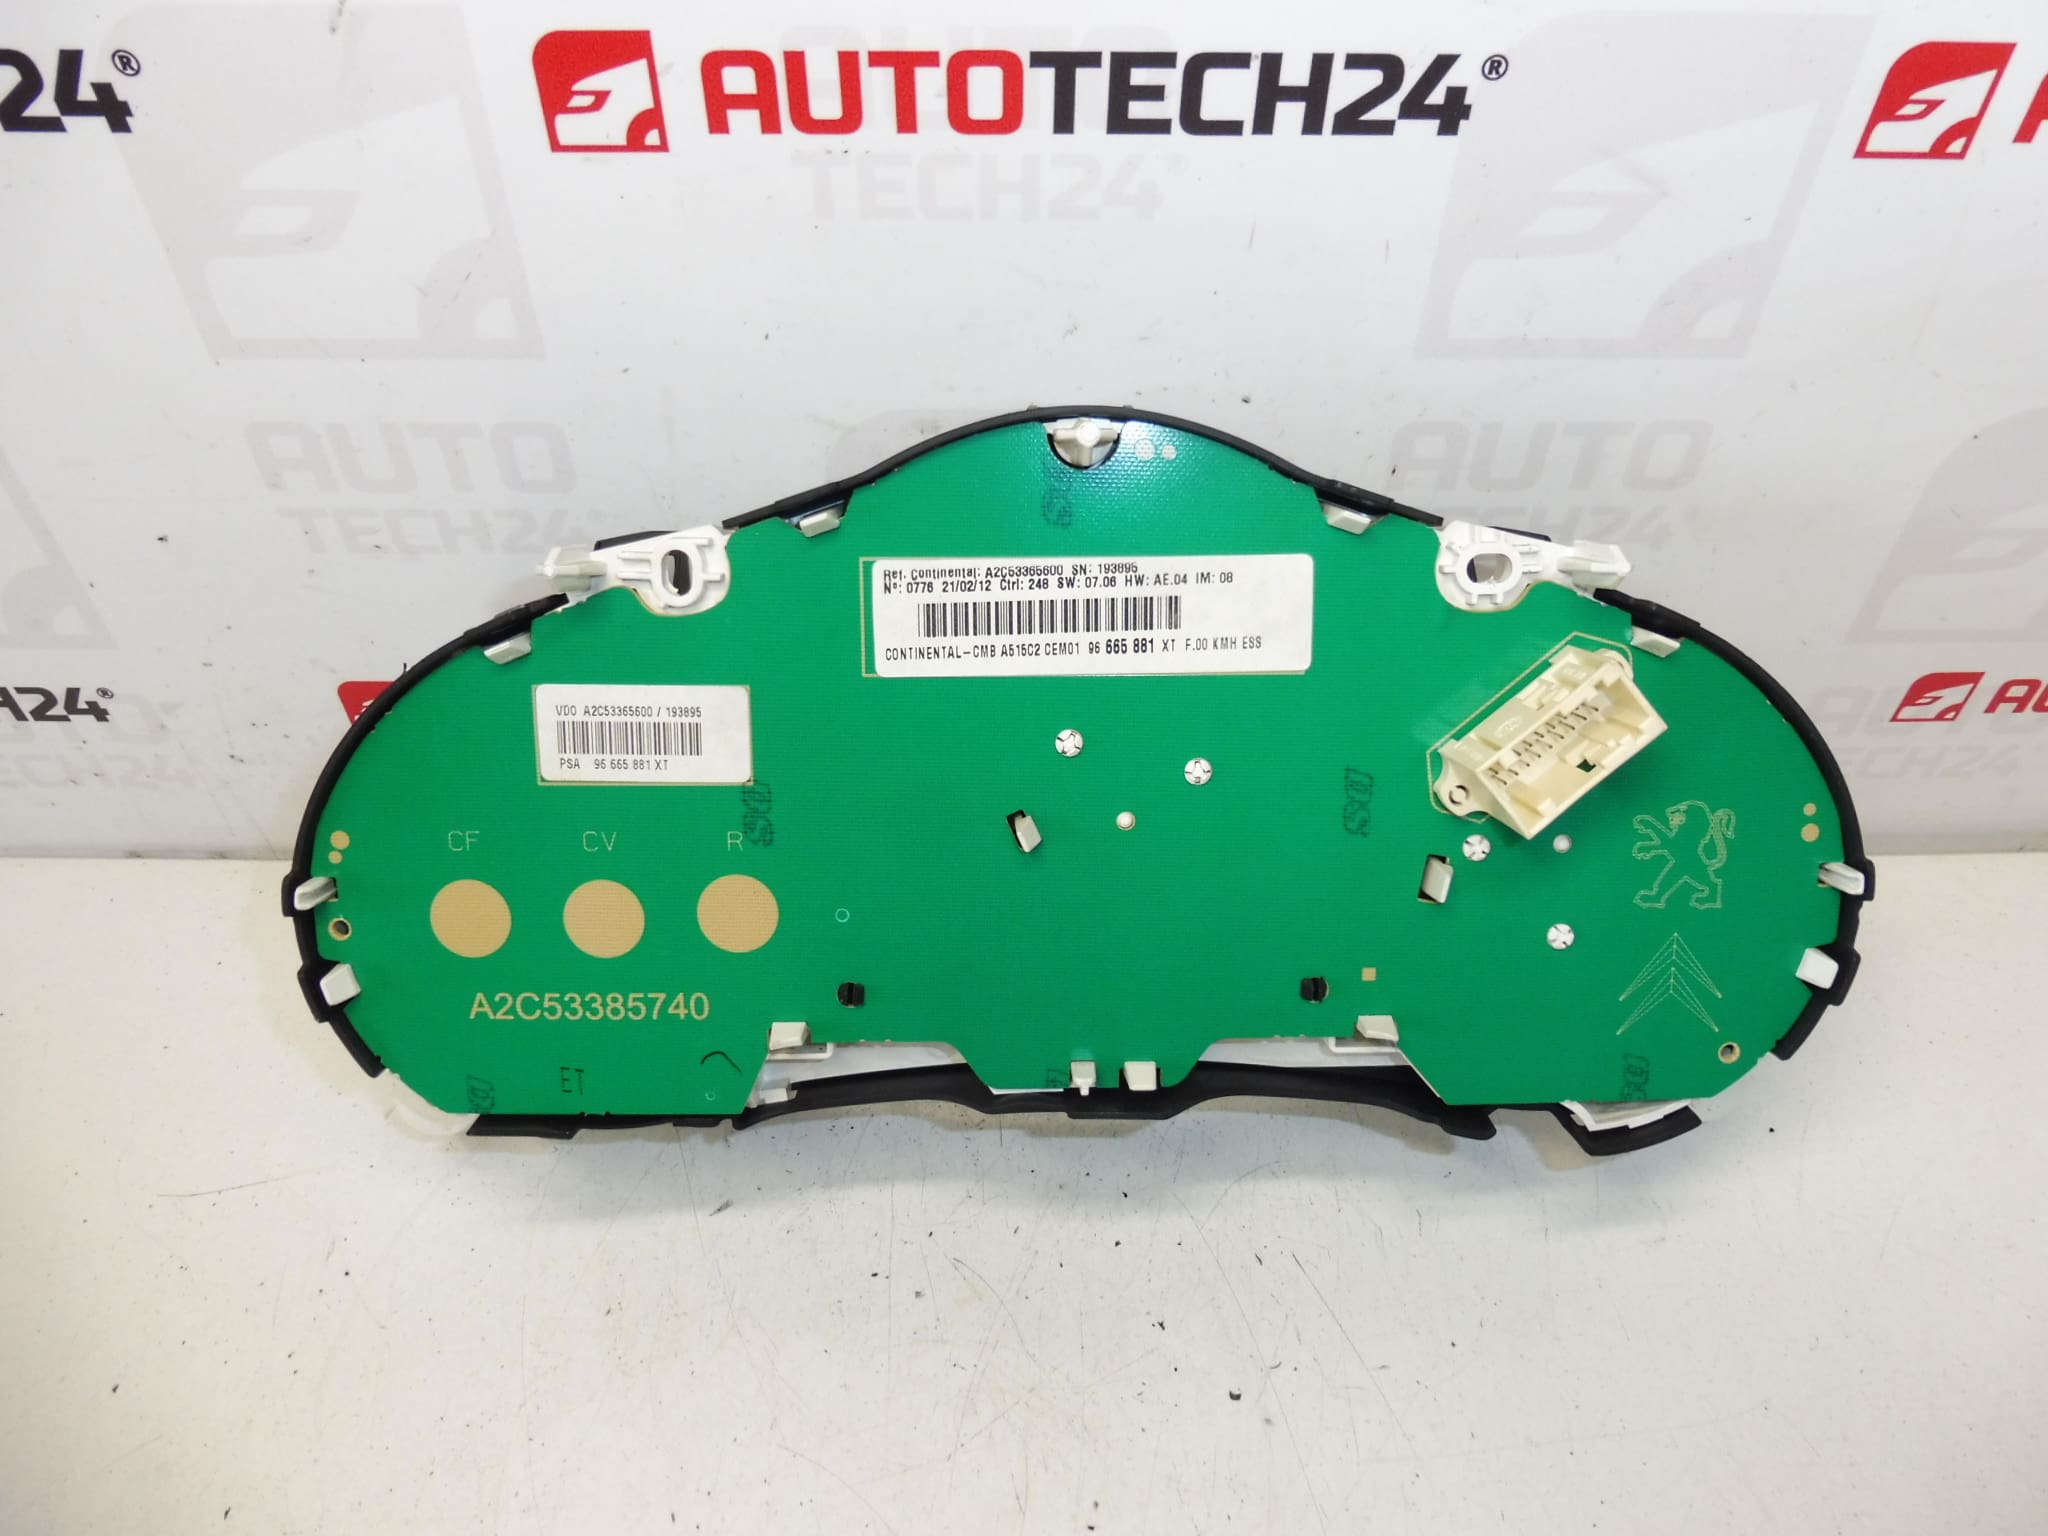
This complete instrument cluster (tachometer and dashboard module) is a direct fit for Citroën C3 II (A51) models built between 2009 and 2016. Supplied with original manufacturer part codes, it is intended for professional workshops and experienced DIY mechanics who need a reliable replacement instrument panel. Perfect when the original cluster shows display faults, intermittent gauges, dead backlight or incorrect mileage display.
Key Features
- Complete Instrument Cluster Assembly: Includes speedometer, tachometer, fuel gauge, temperature gauge, odometer and warning lamp cluster.
- Original Equipment Codes: Supplied with manufacturer reference numbers for straightforward identification.
- Straightforward Replacement: Designed to mount into the factory location without cutting or splicing harnesses.
- Suitable For Technicians And Competent DIYers: Useful spare for repair shops and home mechanics comfortable with vehicle electrical systems.
Compatibility & Fitment
Fits Citroën C3 II (A51) production years 2009–2016. Verify fitment by matching the physical connector layout and part numbers printed on the original cluster. Exact compatibility depends on dashboard trim and instrument variant; this item is intended for the same series and mounting bracket configuration as the original unit.
Installation Recommendation
- Always Disconnect Battery Before Starting Work To Avoid Short Circuits And Risk Of Damage.
- Remove Surrounding Trim Panels Carefully To Access The Cluster Retaining Screws; Use Proper Trim Tools To Prevent Damage.
- Disconnect Electrical Connectors By Releasing Their Locks; Avoid Pulling On Wiring.
- Refit In Reverse Order And Check All Functions Immediately After Reconnection.
- Cluster Replacement May Require Initialization Or Coding To Restore Full Functionality Of Odometer/Immobilizer-Linked Features. It Is Recommended To Use Proper Diagnostic Equipment For Final Checks And Adjustments.
Why This Part Fails Most Often
- Age-Related Wear: Internal stepper motors and printed circuit contacts wear after many operational cycles, especially on higher-mileage units.
- Moisture And Condensation: Water ingress or prolonged humidity can corrode connectors or circuit traces, causing partial or total failure of gauges or backlighting.
- Electrical Surges And Faulty Charging Systems: Voltage spikes from alternator or battery faults can damage electronic components inside the cluster.
- Display And Backlight Degradation: LEDs or fluorescent backlights can dim or fail over time, reducing readability.
Technical Information
- Manufacturer: Citroën (Stellantis)
- Model: Citroën C3 II (A51), 2009–2016
- Product Codes: 96665881XT, 6103GG
- Additional Numbers: 98041179XT
Condition
Used unit. Mileage On Unit Approximately 220,000 Km. Expected Cosmetic Signs Of Use May Be Present; Functional Condition Should Be Verified After Installation.