Description
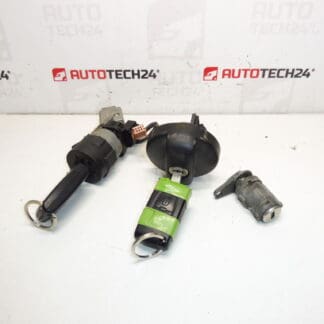
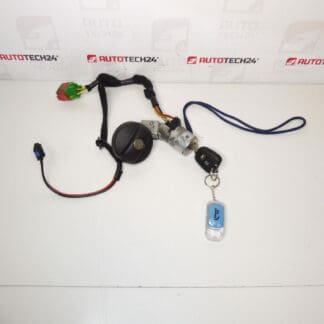
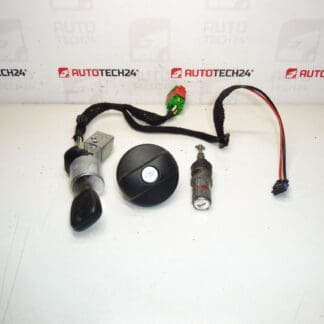
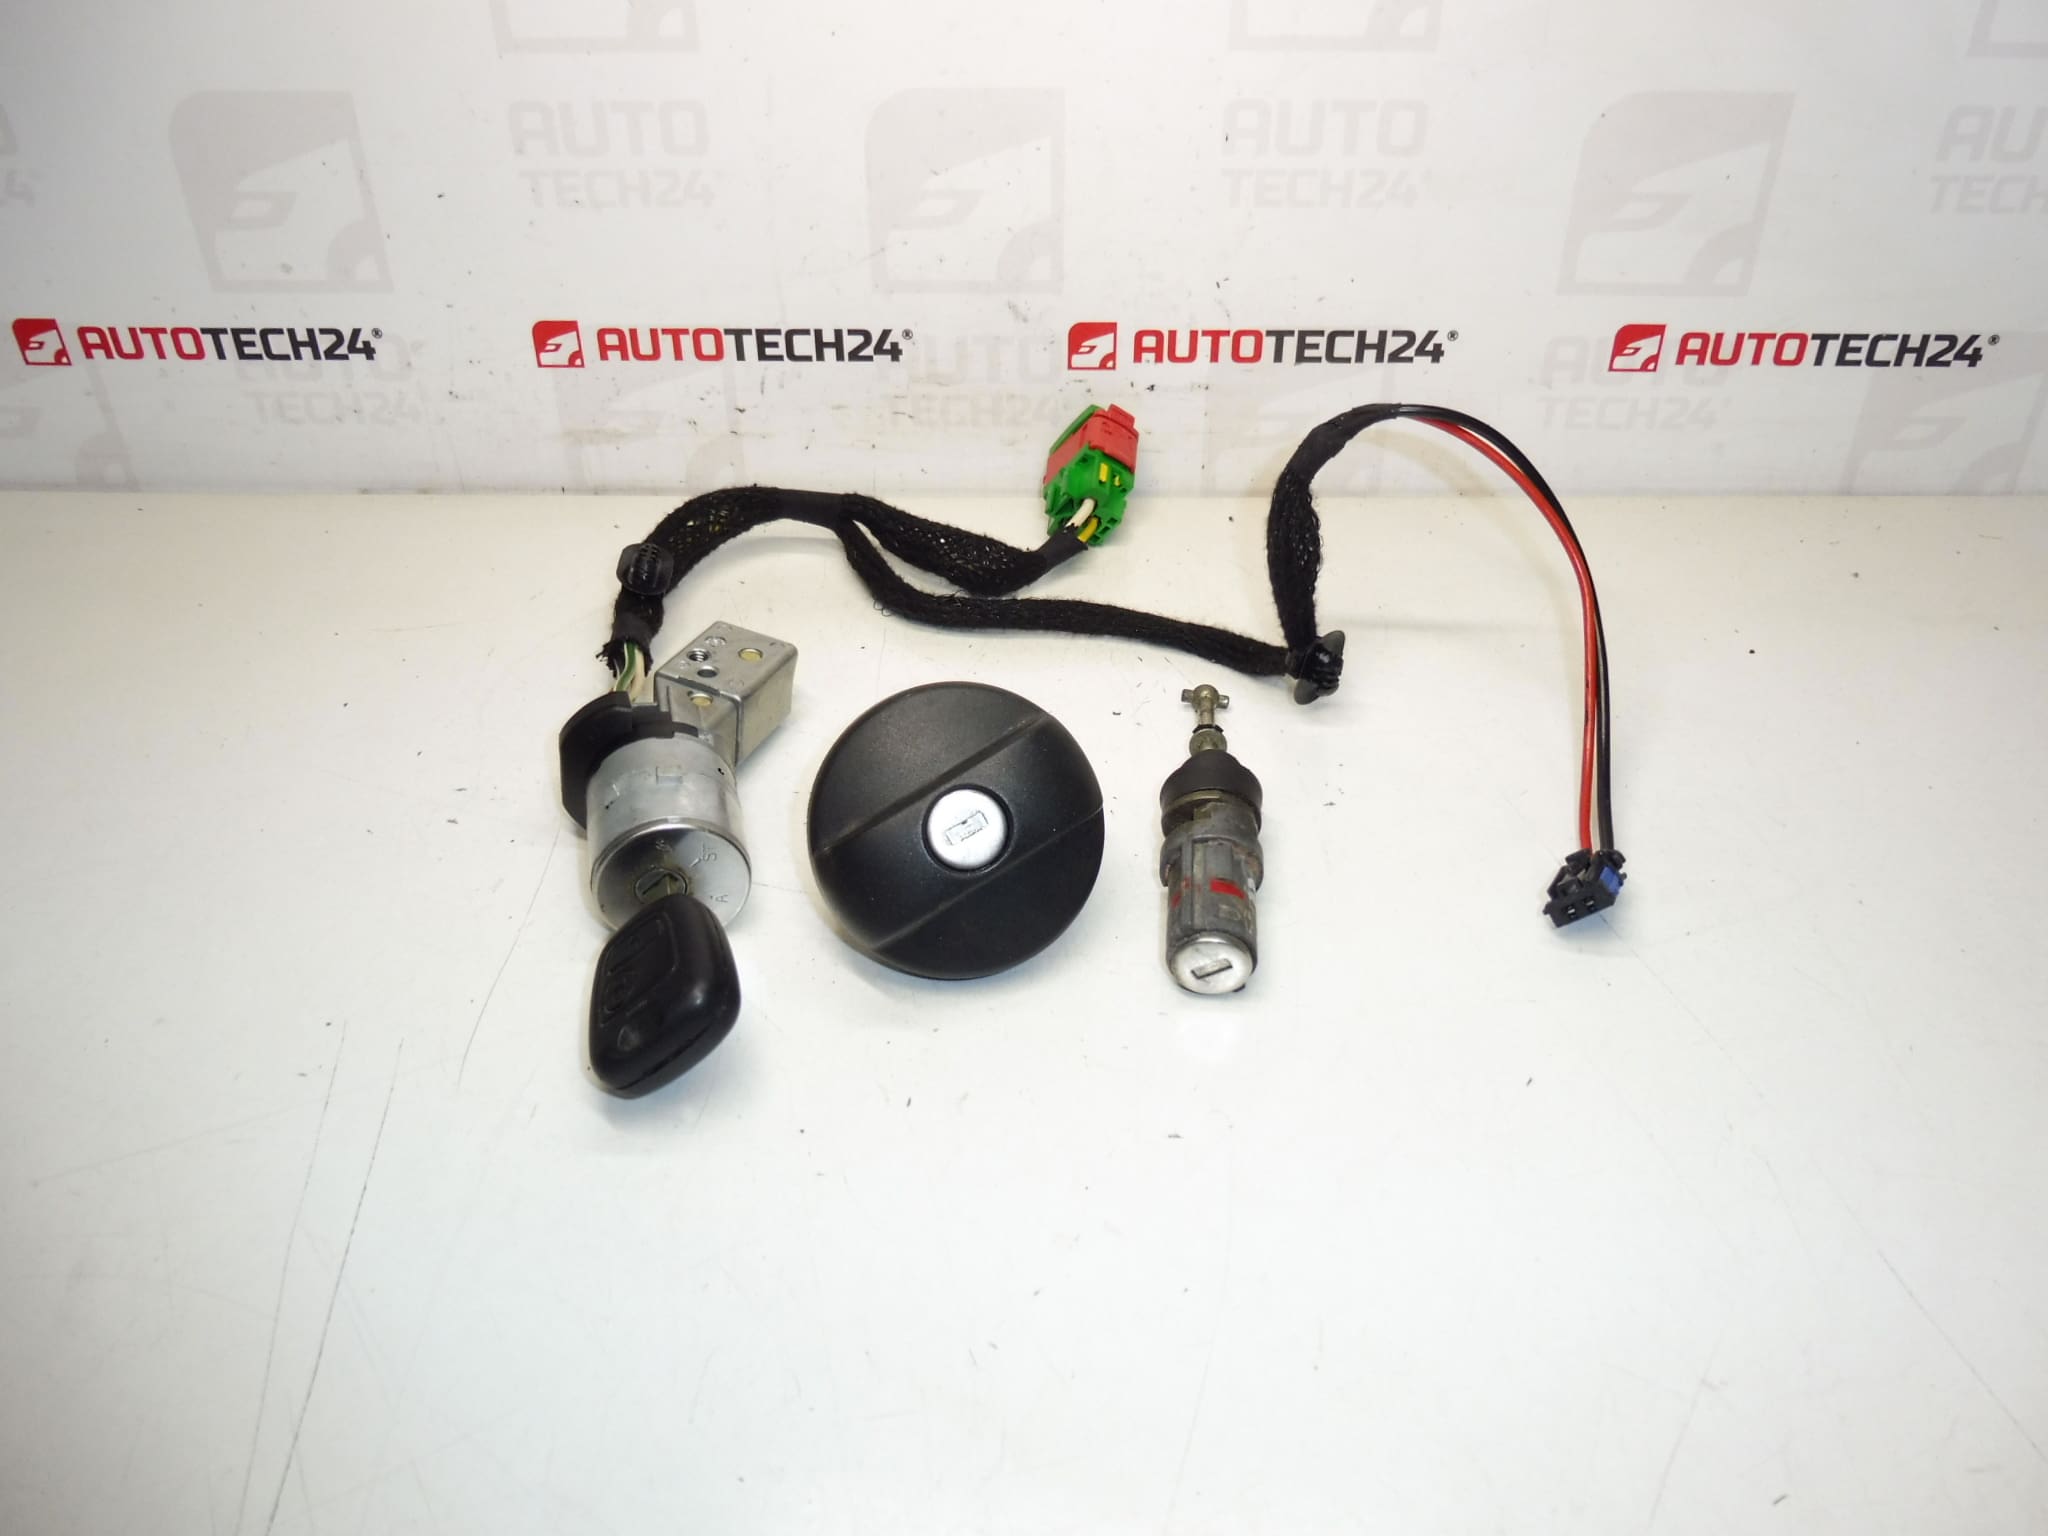
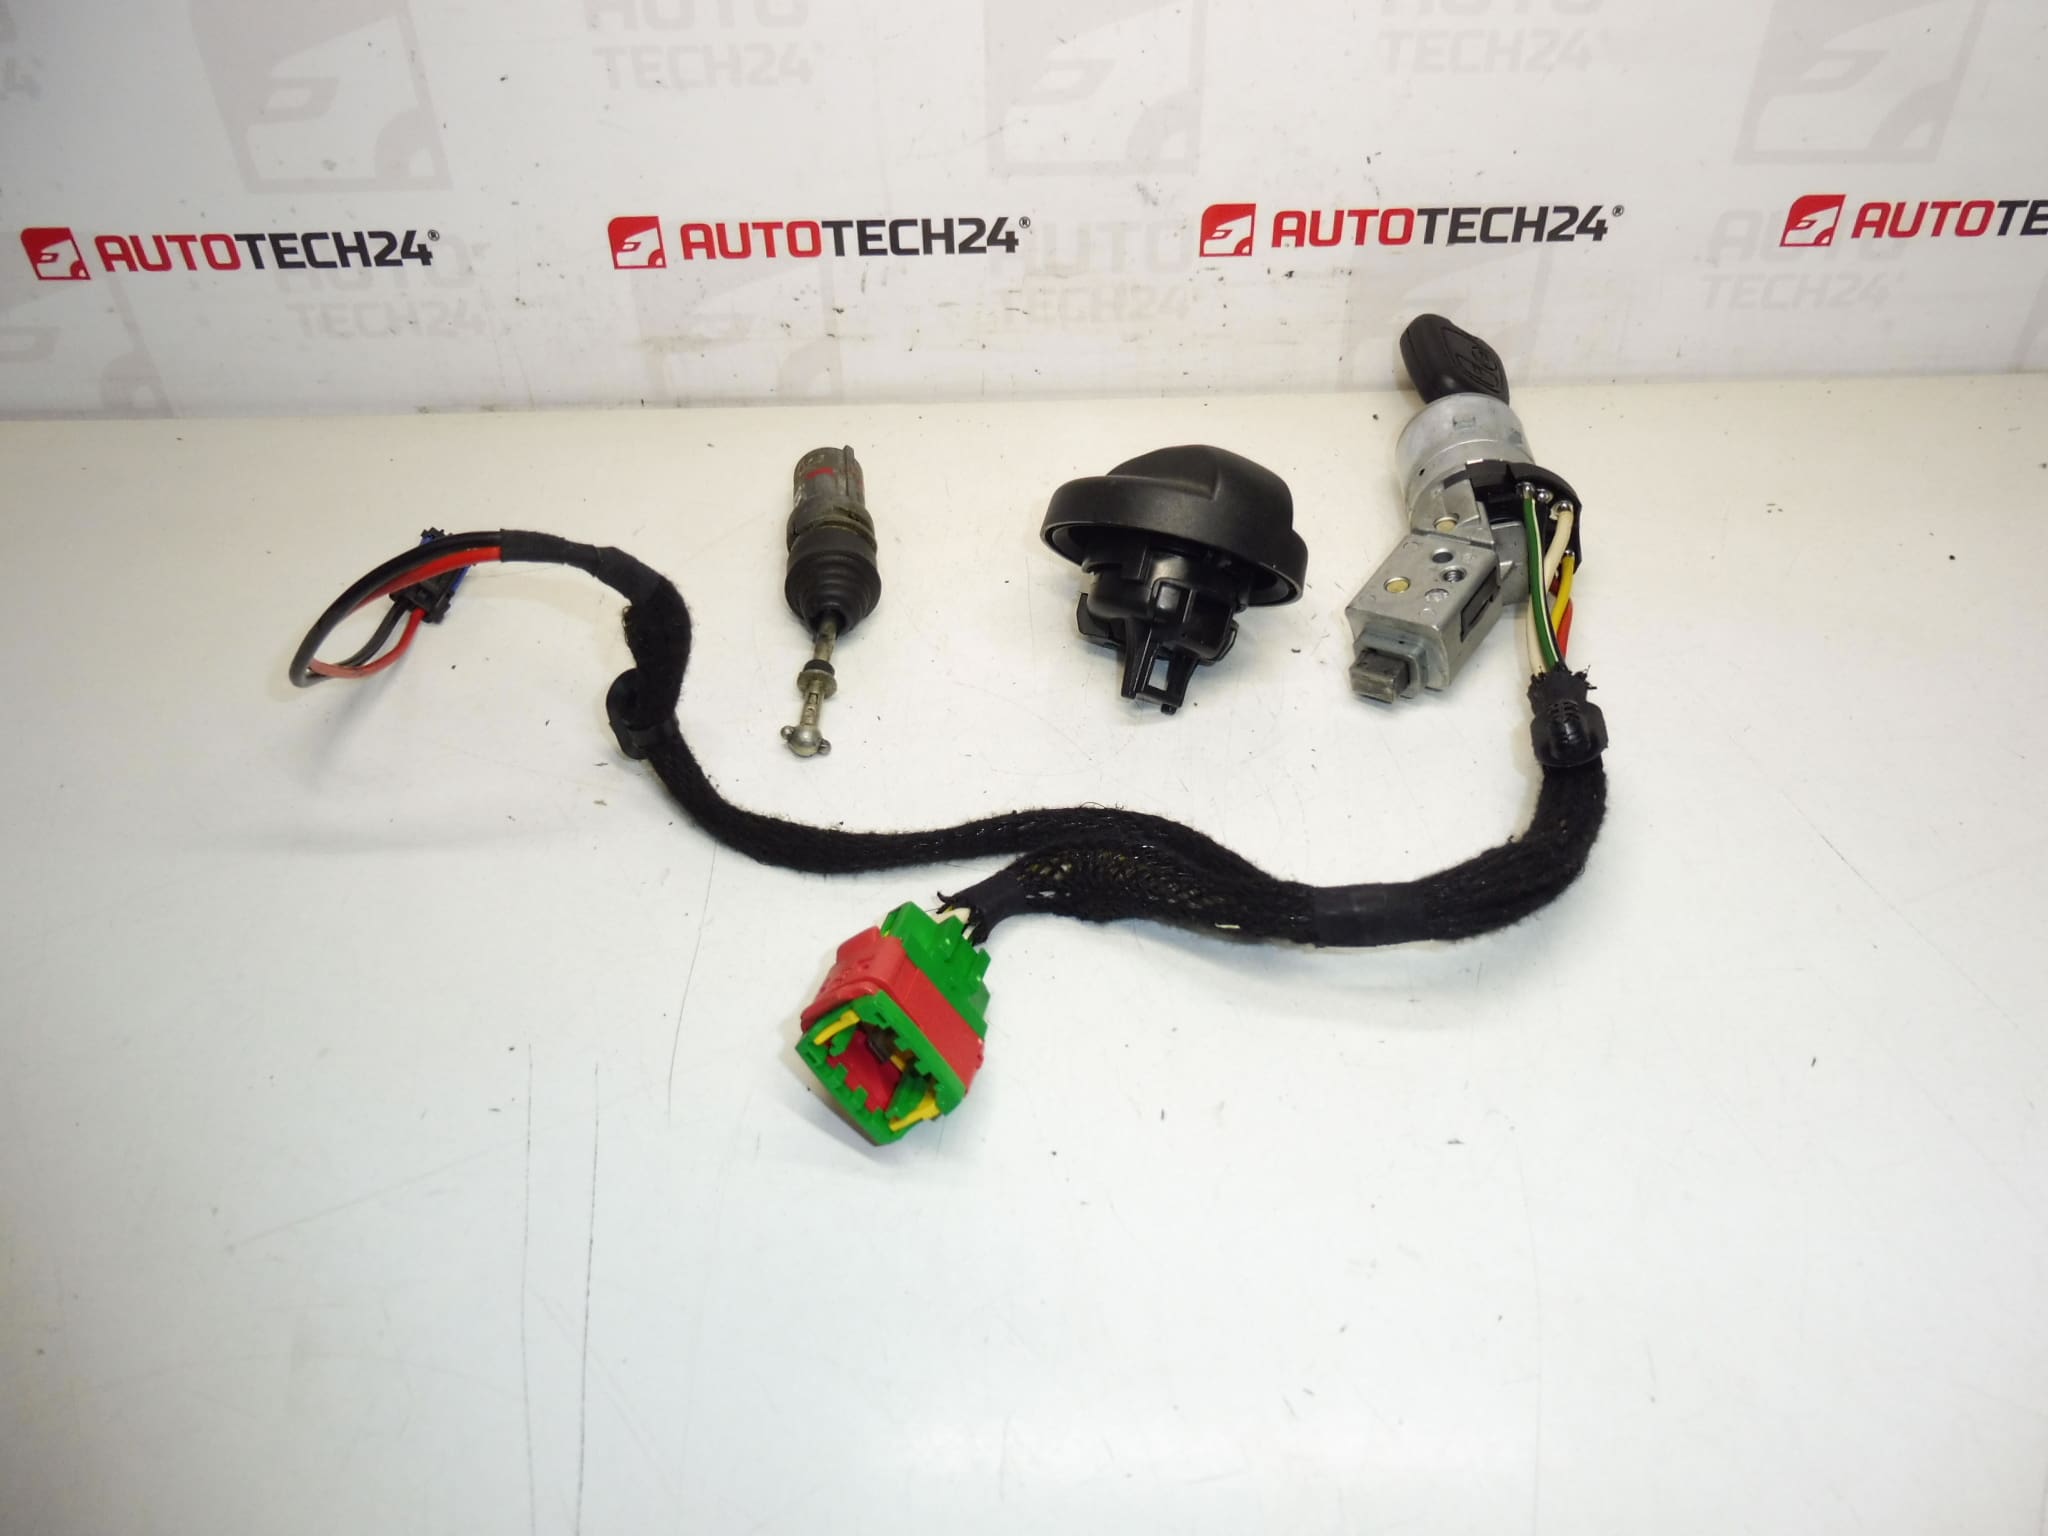
Lock Set: Ignition Barrel, Fuel Filler Cap, Driver’s Door Lock for Peugeot 307 CC up to 2004. 1x Key Blade.
This complete lock set is designed for mechanics and DIY enthusiasts who need a reliable replacement for worn or damaged locks on Peugeot 307 CC (coupe‑convertible) models up to 2004. The kit includes the ignition barrel, fuel filler cap lock and driver’s door lock, supplied with one key blade, enabling a single‑key solution after installation. Frequently searched under product codes 4162CQ and 4162X4, this set restores mechanical security, improves door and fuel flap operation and helps eliminate ignition problems caused by worn tumblers.
Technical Information
Manufacturer: Stellantis (Peugeot/Citroën)
Model: Peugeot 307 CC (up to 2004)
Product Codes: 4162CQ, 4162X4
Other Numbers / Notes: Kit Includes Ignition Barrel, Fuel Filler Lock, Driver Door Lock, 1x Key Blade
Fitment
Intended for Peugeot 307 CC models manufactured up to 2004 (Coupe‑Cabriolet). Ensure the vehicle body type corresponds to the CC variant. The set targets vehicles with mechanical key locks; compatibility with different trim levels may vary depending on factory options.
Function And Common Failures
The lock set performs three primary functions: allow key operation for engine start (ignition barrel), secure the fuel filler flap, and lock/unlock the driver’s door. Common failure modes include:
- Wear Of Tumblers And Wafers: Repeated use leads to sloppy key turn, intermittent contact or inability to turn the key.
- Corrosion And Moisture Ingress: Especially in door and fuel flap locks, causing seizure or sticky operation.
- Broken Or Worn Key Blades: Metal fatigue or improper key cutting results in poor engagement.
- Mechanical Damage From Forced Entry Or Misuse: Bent components or broken retaining clips prevent normal function.
Installation Recommendations
Recommended For: Experienced Mechanics And Competent DIYers.
- Safety First: Disconnect the negative battery terminal before working on the ignition system to avoid short circuits and airbag/steering column risks.
- Ignition Barrel Removal: Remove the lower and upper steering column covers to access the barrel retaining screw or clips. Depress the release pin (usually accessed with the key in a specific position) and slide out the old barrel.
- Door And Fuel Filler Locks: Remove inner door trim or fuel flap access panel if required. Support rods and retaining clips should be handled carefully to avoid breakage—replace any brittle clips during reassembly.
- Key And Alignment: Use the supplied key blade to cut and check mechanical engagement. Lubricate locks with graphite or silicone‑based lubricant; avoid oil‑based products that attract dirt.
- Final Check: Reassemble column covers, reconnect the battery and verify smooth operation of ignition, central locking (if applicable) and fuel flap locking/unlocking.
- When To Seek Professional Help: If electrical immobiliser issues appear after installation, or if the vehicle has transponder keys and uncertain programming requirements, consult a qualified locksmith or workshop with diagnostic capability.
What Is Included
- Ignition Barrel (Spínací Skříňka)
- Fuel Filler Cap Lock
- Driver’s Door Lock
- 1x Key Blade (Planžeta)
This lock set offers a practical and cost‑effective solution to restore security and reliable operation on Peugeot 307 CC cars. Product codes 4162CQ and 4162X4 are commonly used when searching for this specific replacement kit.