Description
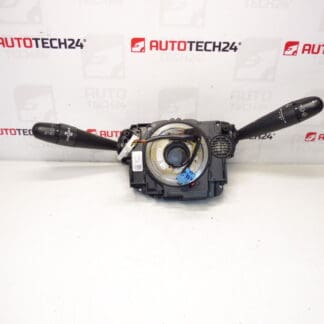
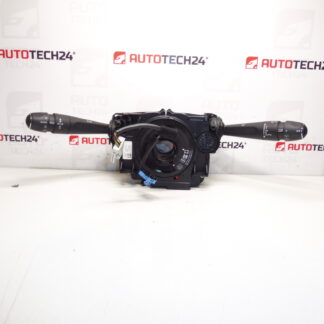
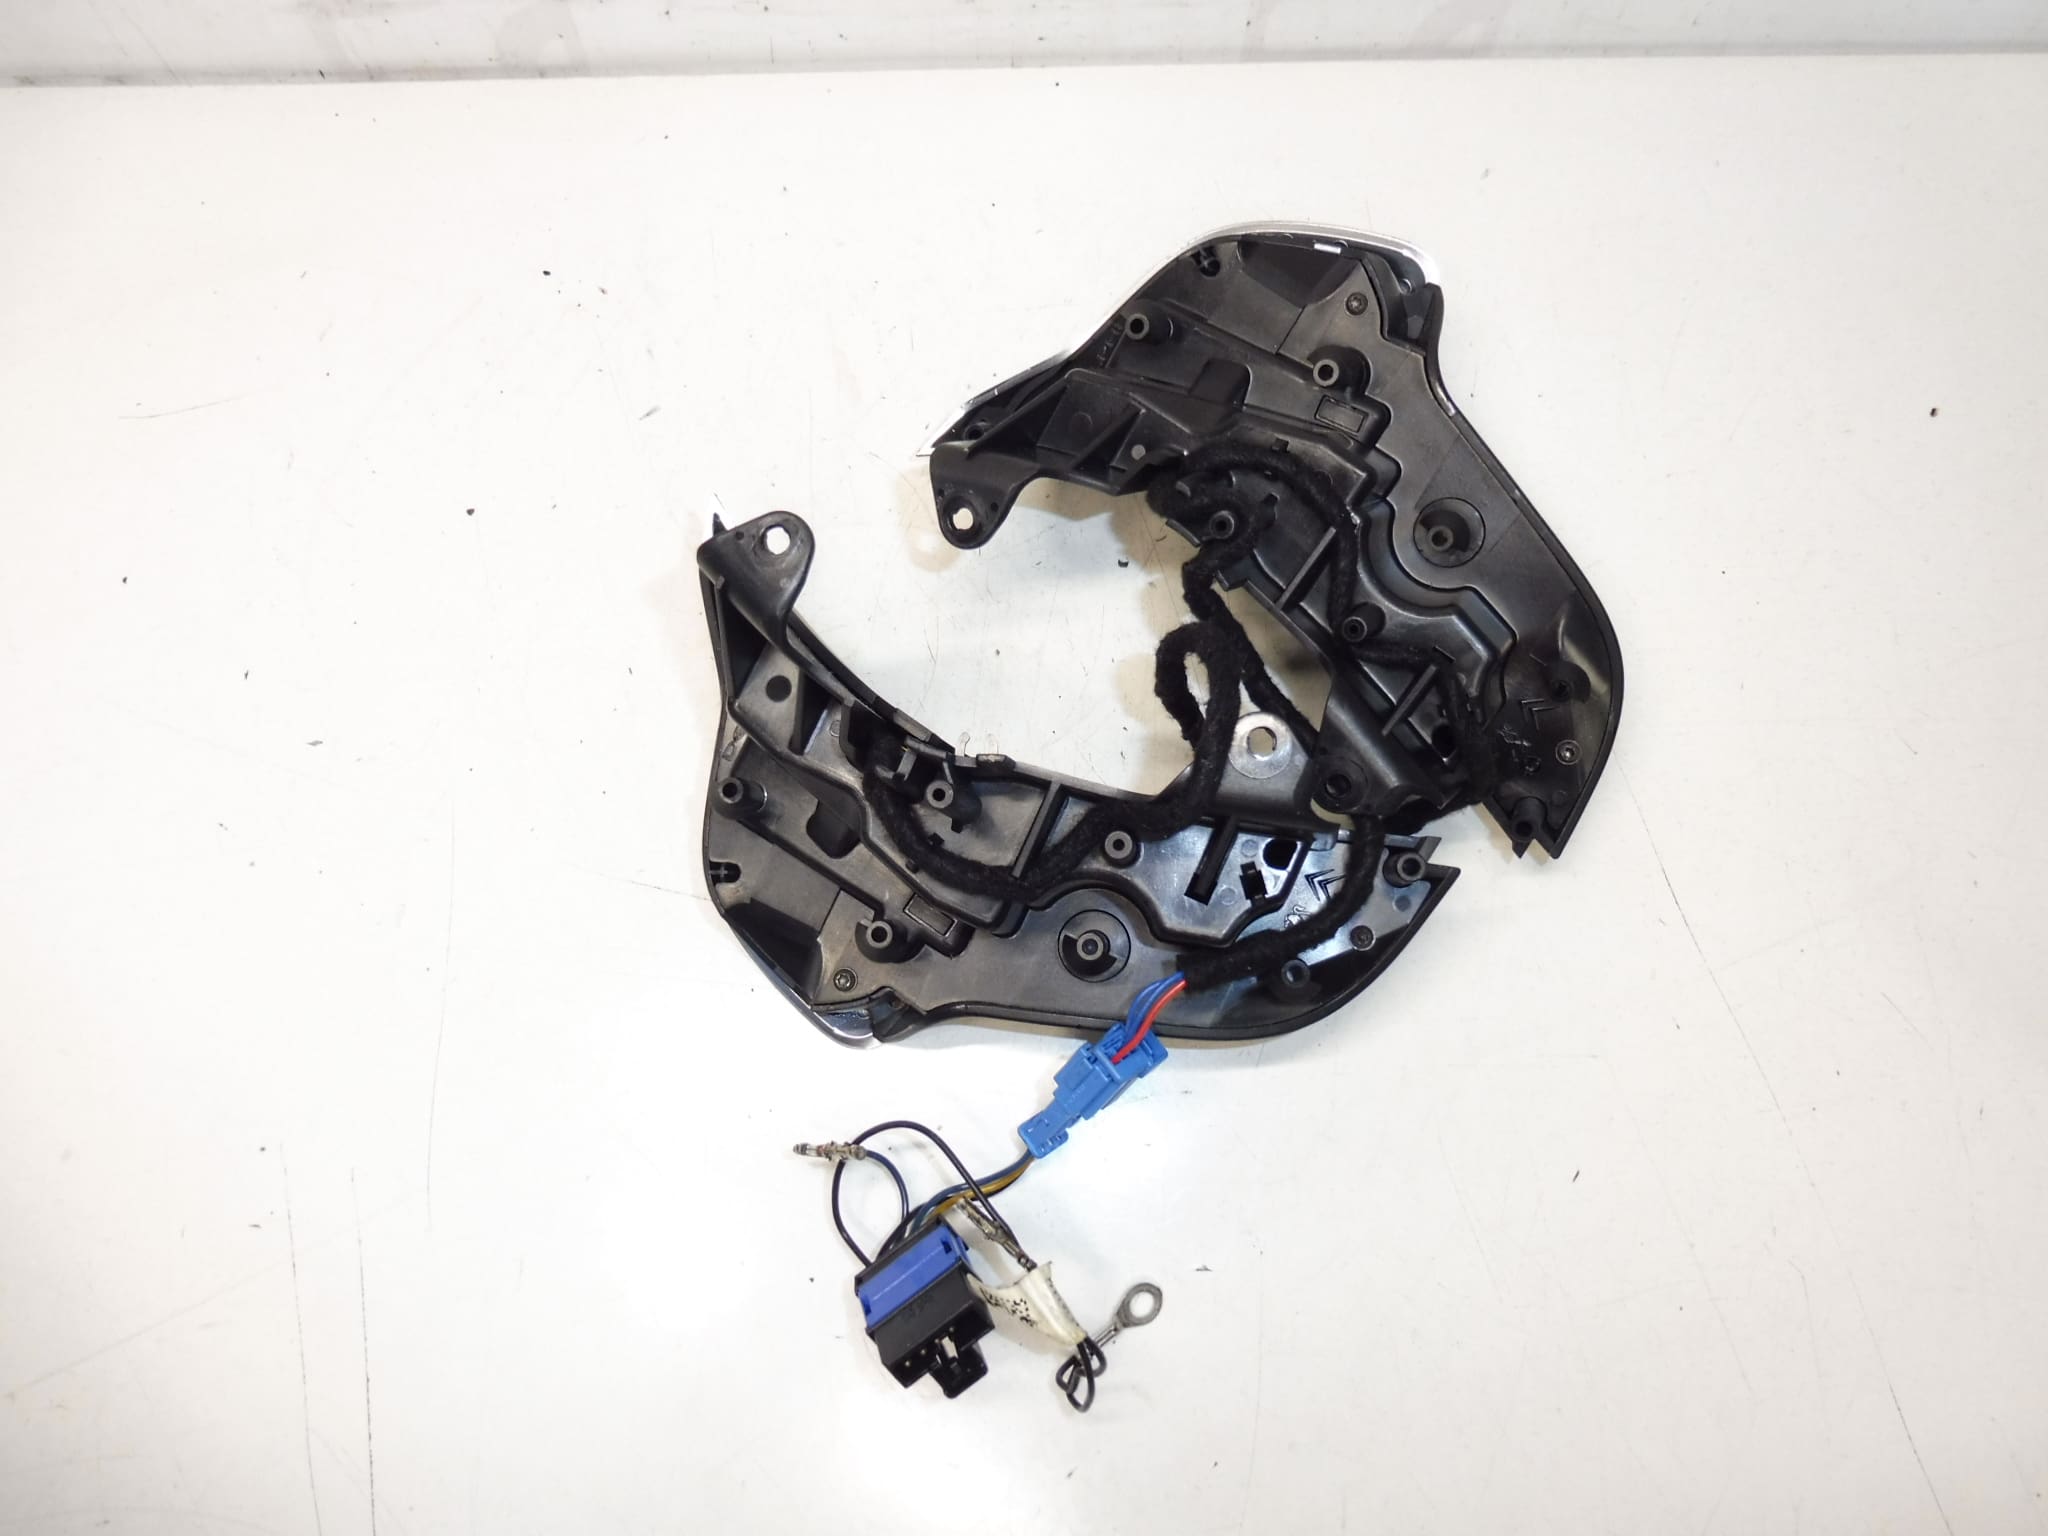
Integrated switching module on the VMF steering wheel for Citrony C4 II cars
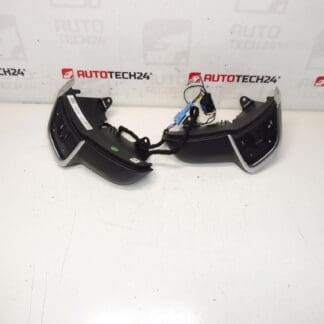
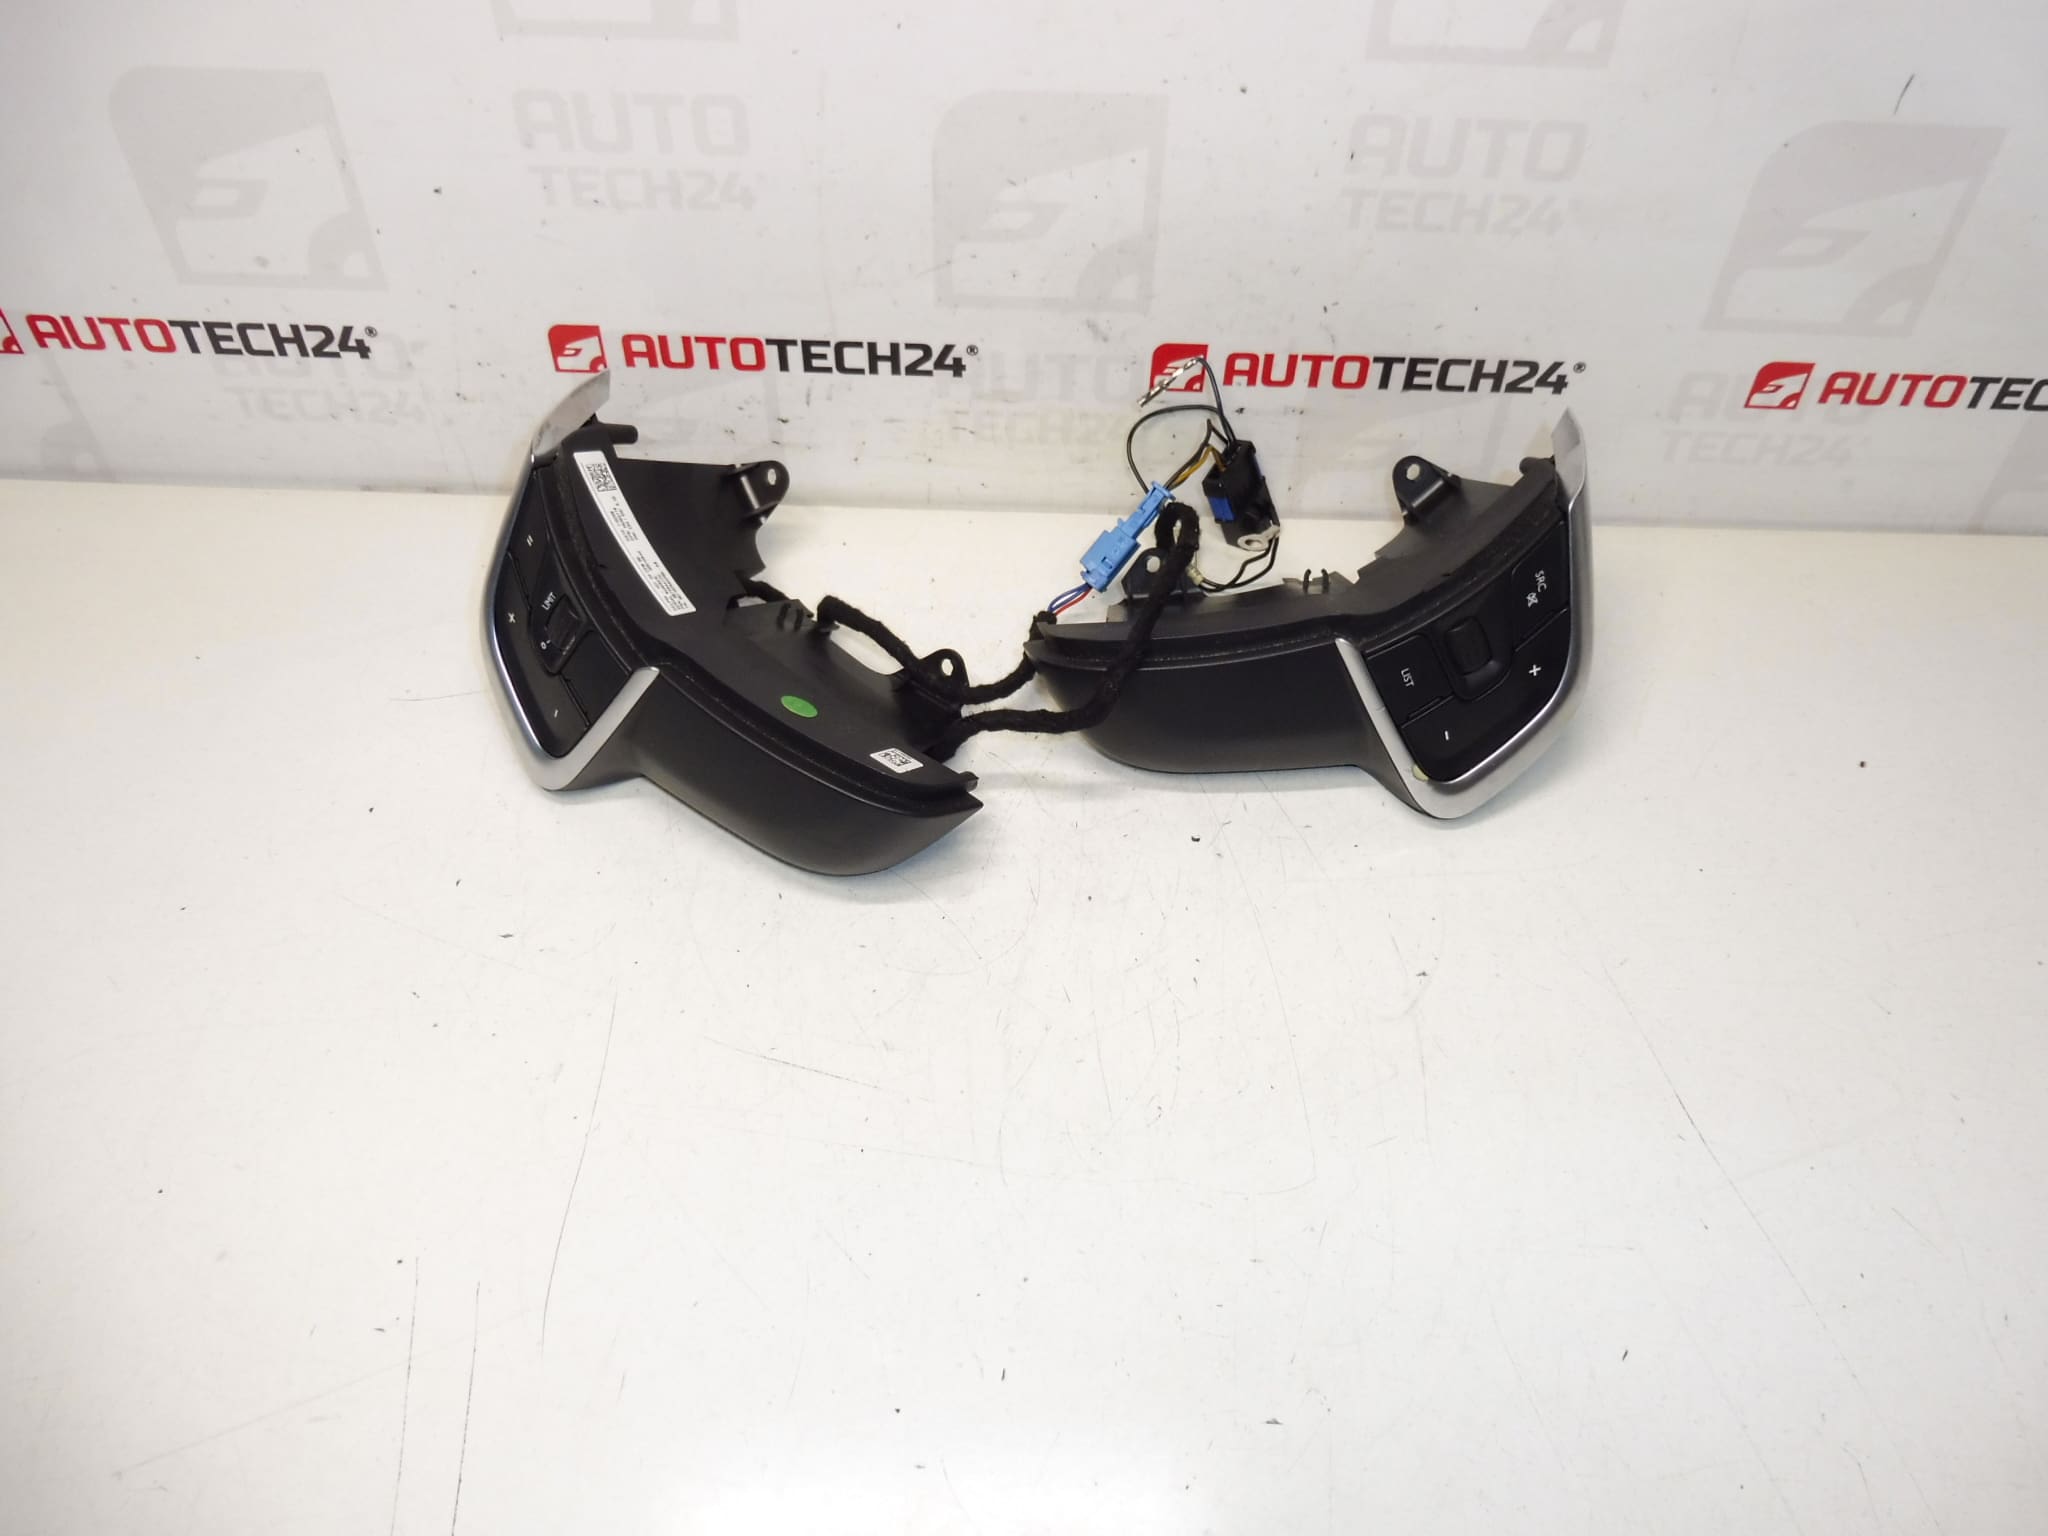
!!! Fully functional, damaged right chrome car photo, can be easily replaced!!!
Part description
These are steering wheel controls (integrated VMF switching module) designed for Citroën/Peugeot cars. Thanks to this module, you can easily control the functions directly on the steering wheel. The offered piece is fully functional, only it has damaged right chrome (see photo) – according to the description, it is a cosmetic defect that can be easily solved by replacing the chrome part.
A suitable solution if you are looking for the exact part number (typically according to the label) and want to quickly restore control on the steering wheel without unnecessary compromises.
Technical information
- Manufacturer: Stellantis (Citroën / Peugeot)
- Model: Citroën C4 II (other models not listed)
- Other numbers: 96759249XT, 98000200ZD, 6243C4
Product codes
- Product codes: 96720447ZD, 98094695ZD, 96759249XT, 98000200ZD, 6243C4
Installation recommendations
Generally/typically for steering wheel controls, the exact procedure may vary depending on the specific car design and equipment. Below is a safe, practical procedure for this type of part.
1) Before assembly (checks of used part)
- Compare the part numbers on the label/reflection with the old part (especially: 96720447ZD, 98094695ZD and the “other numbers” listed).
- Visually check the connectors, latches, guide elements and the condition of the wiring in the surrounding area (there must be no pulled pins or cracked fasteners).
- Verify the declared condition: the module is functional, but the right chrome is damaged – consider whether you don’t mind the cosmetics, or prepare a replacement.
2) Necessary tools and materials (in general)
- Screwdriver / bit set (common interior types)
- Plastic pry bar for panel removal (to minimize plastic damage)
- Contact cleaner (as needed) and a clean cloth
- Protective gloves
3) Step-by-step assembly procedure
- Turn off the ignition, remove the key/put the car in idle mode.
- Disconnect the battery (this is a standard safety step when working on the steering wheel).
- Ensure access to the controls on the steering wheel according to design (removal of covers/trimming parts – use a plastic crowbar).
- Carefully release the original controller/module attachment (do not bend the plastic latches).
- Disconnect the electrical connector(s) – pull on the body of the connector, not the cables.
- Compare the old and new part side by side: shape, connectors, mounting and numbers.
- Plug the connector(s) into the new part and check fit/lock.
- Place the module in its original position and secure it (snaps/screws according to design).
- Put back the removed covers/trims, do not pinch anything and allow all latches to seat properly.
- Reconnect the battery.
- Turn on the ignition and verify the basic functions of the controls on the steering wheel.
-
4) Post-assembly checks and test drive/function verification
- Verify that the buttons respond consistently and nothing mechanically rubs.
- Check that the interior parts are properly aligned and that there is no looseness.
- During a short test drive, verify the functions that the controller typically operates (depending on the car’s equipment) and whether any unusual messages appear.
5) The most common assembly mistakes + how to avoid them
- Battery not disconnected → always disconnect, reduces the risk of electrical damage and problems in the steering wheel area.
- Switched/improperly clicked connectors → connectors must fit and lock, otherwise blackouts occur.
- Broken trim latches → use a plastic pry bar and do not pull with force in the wrong direction.
- Part code mismatch → always compare product numbers; for this type of work, it is often searched by them.
Reasons why the part is damaged
- Mechanical wear of buttons and their frequent use (squeezing, loss of “click”).
- Damage to the finish (e.g. chrome parts) from normal use, rings, careless cleaning or interior cosmetics.
- Intrusion of dirt into the buttons and joints, which deteriorates the operation over time.
- Improper disassembly – cracks in handles, damage to connectors or cabling during careless disassembly.